This post is a quick trip highlight reel of my 2025 in chronological order. I will include Strava links if anyone is getting inspired to go for it!
50k mountain run
This one has to be mentioned since it was a great milestone for me personally. Awesome experience! Original post here.
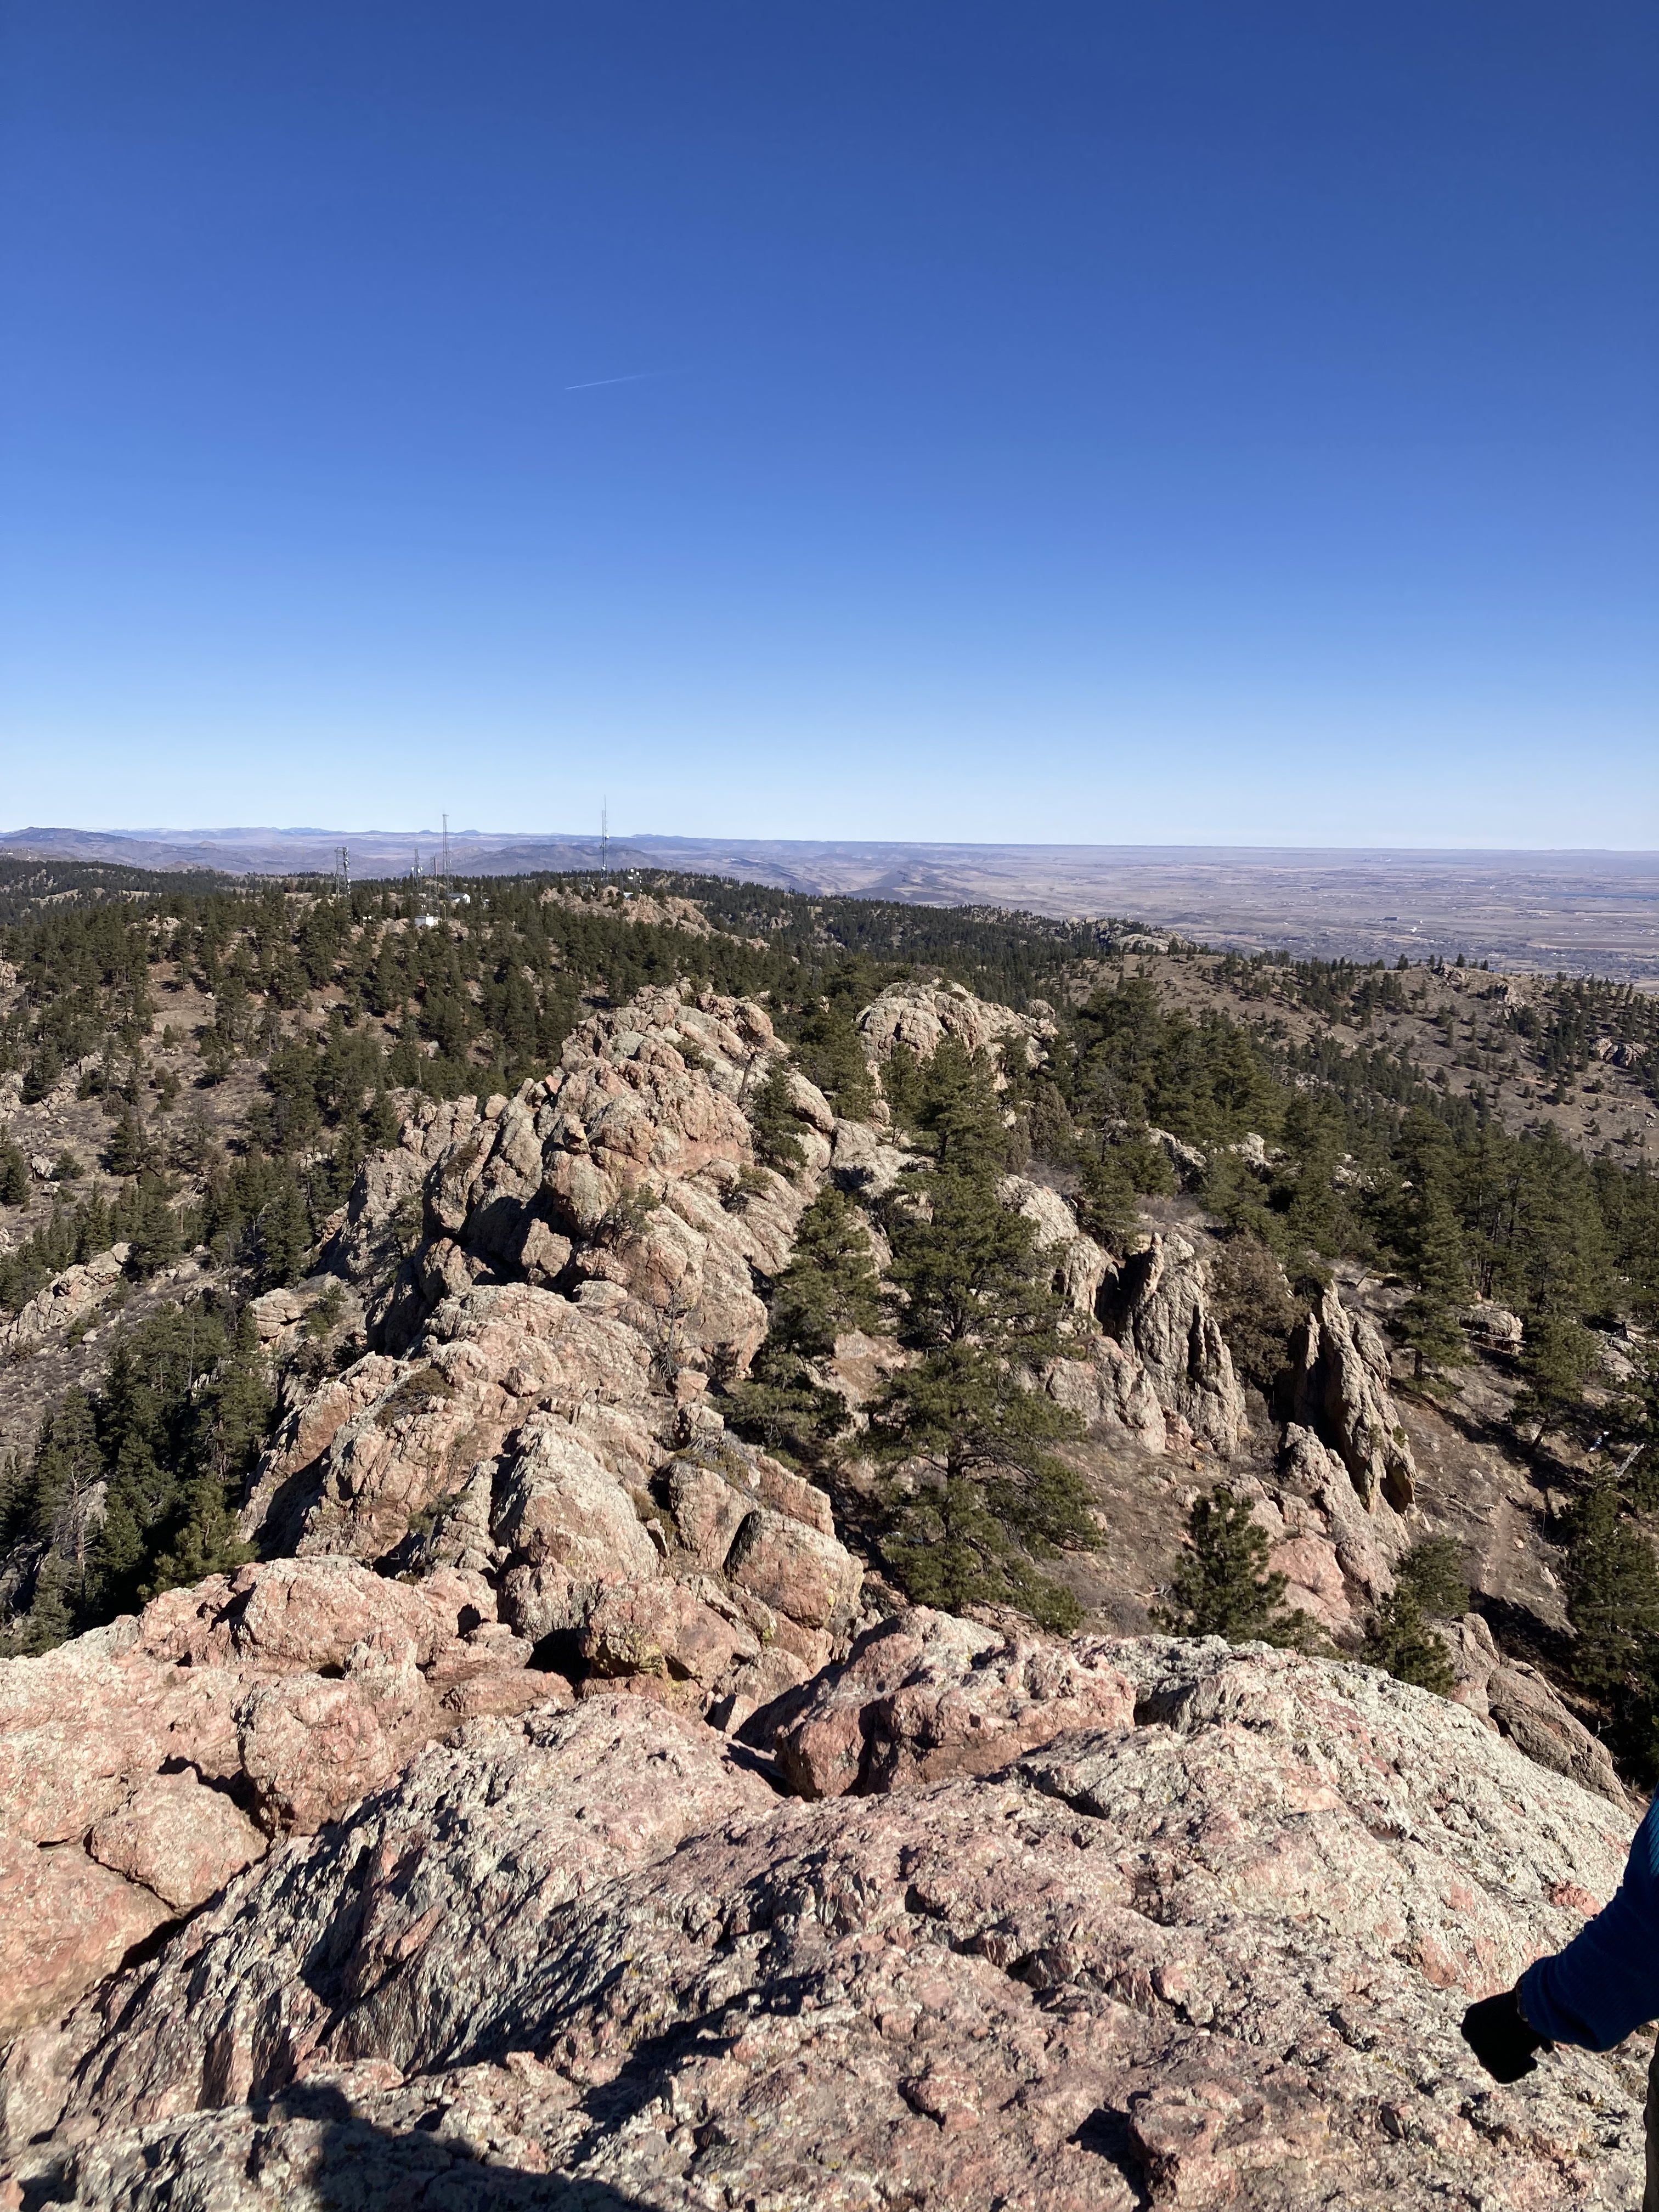
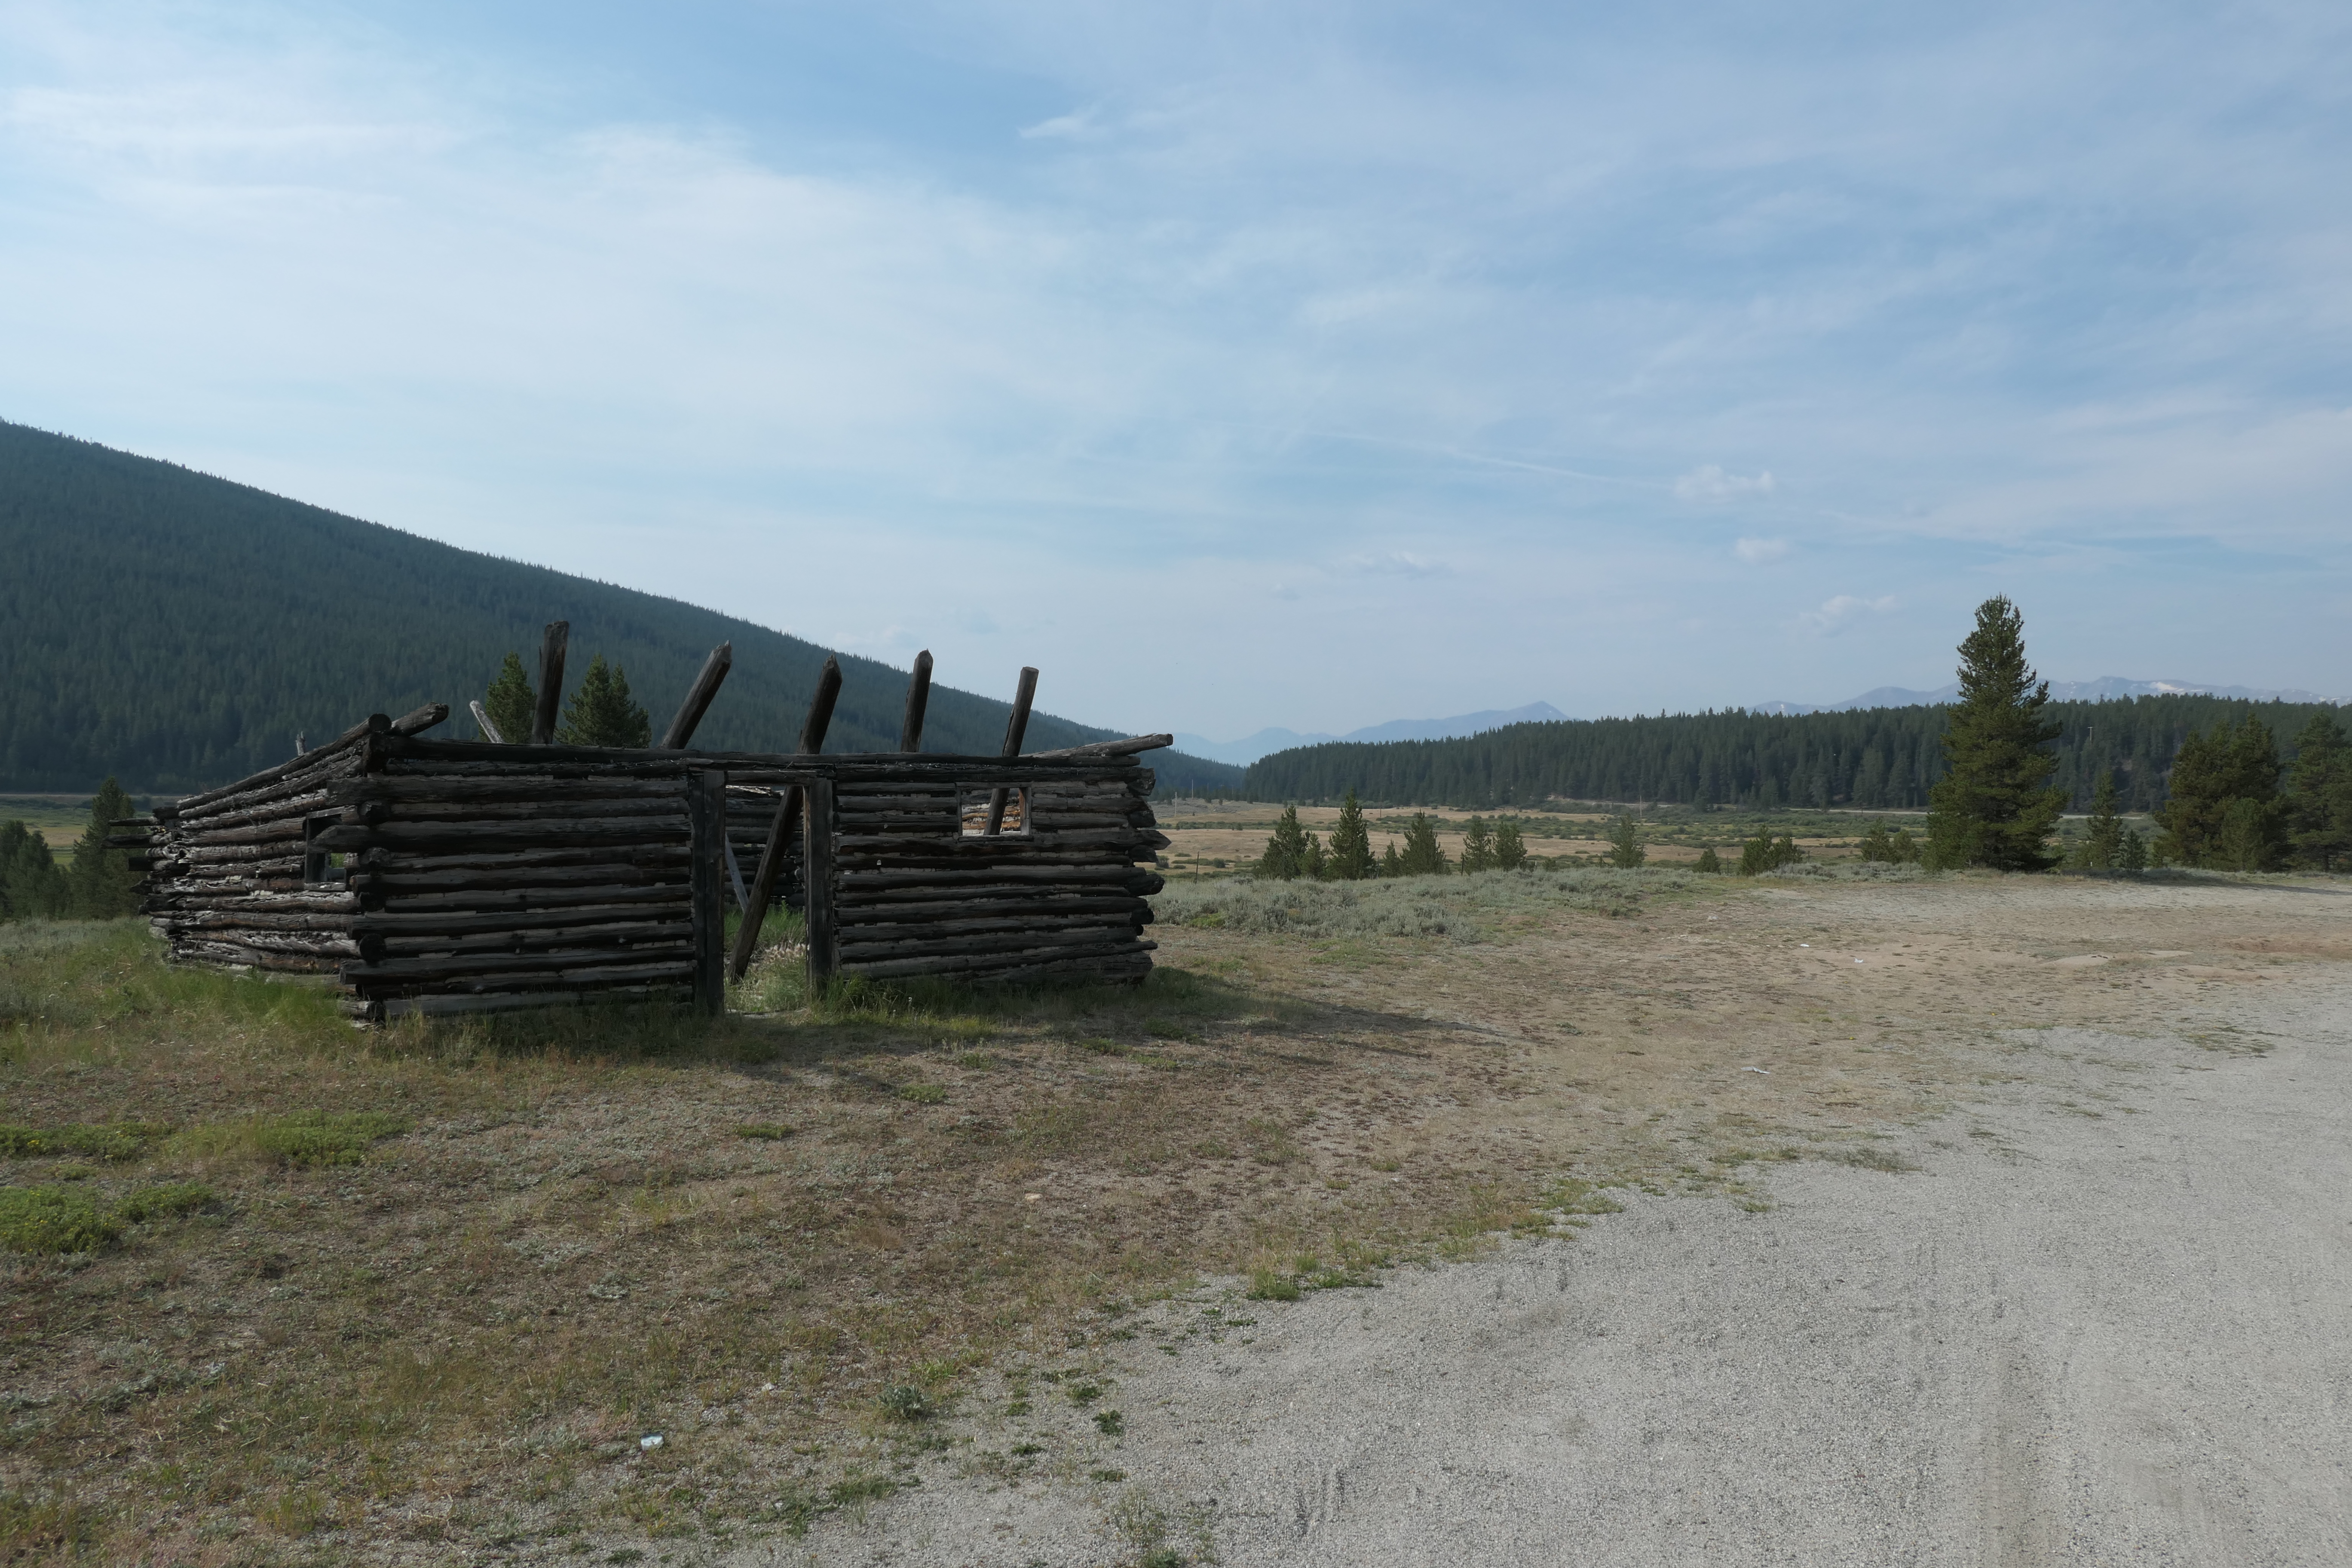
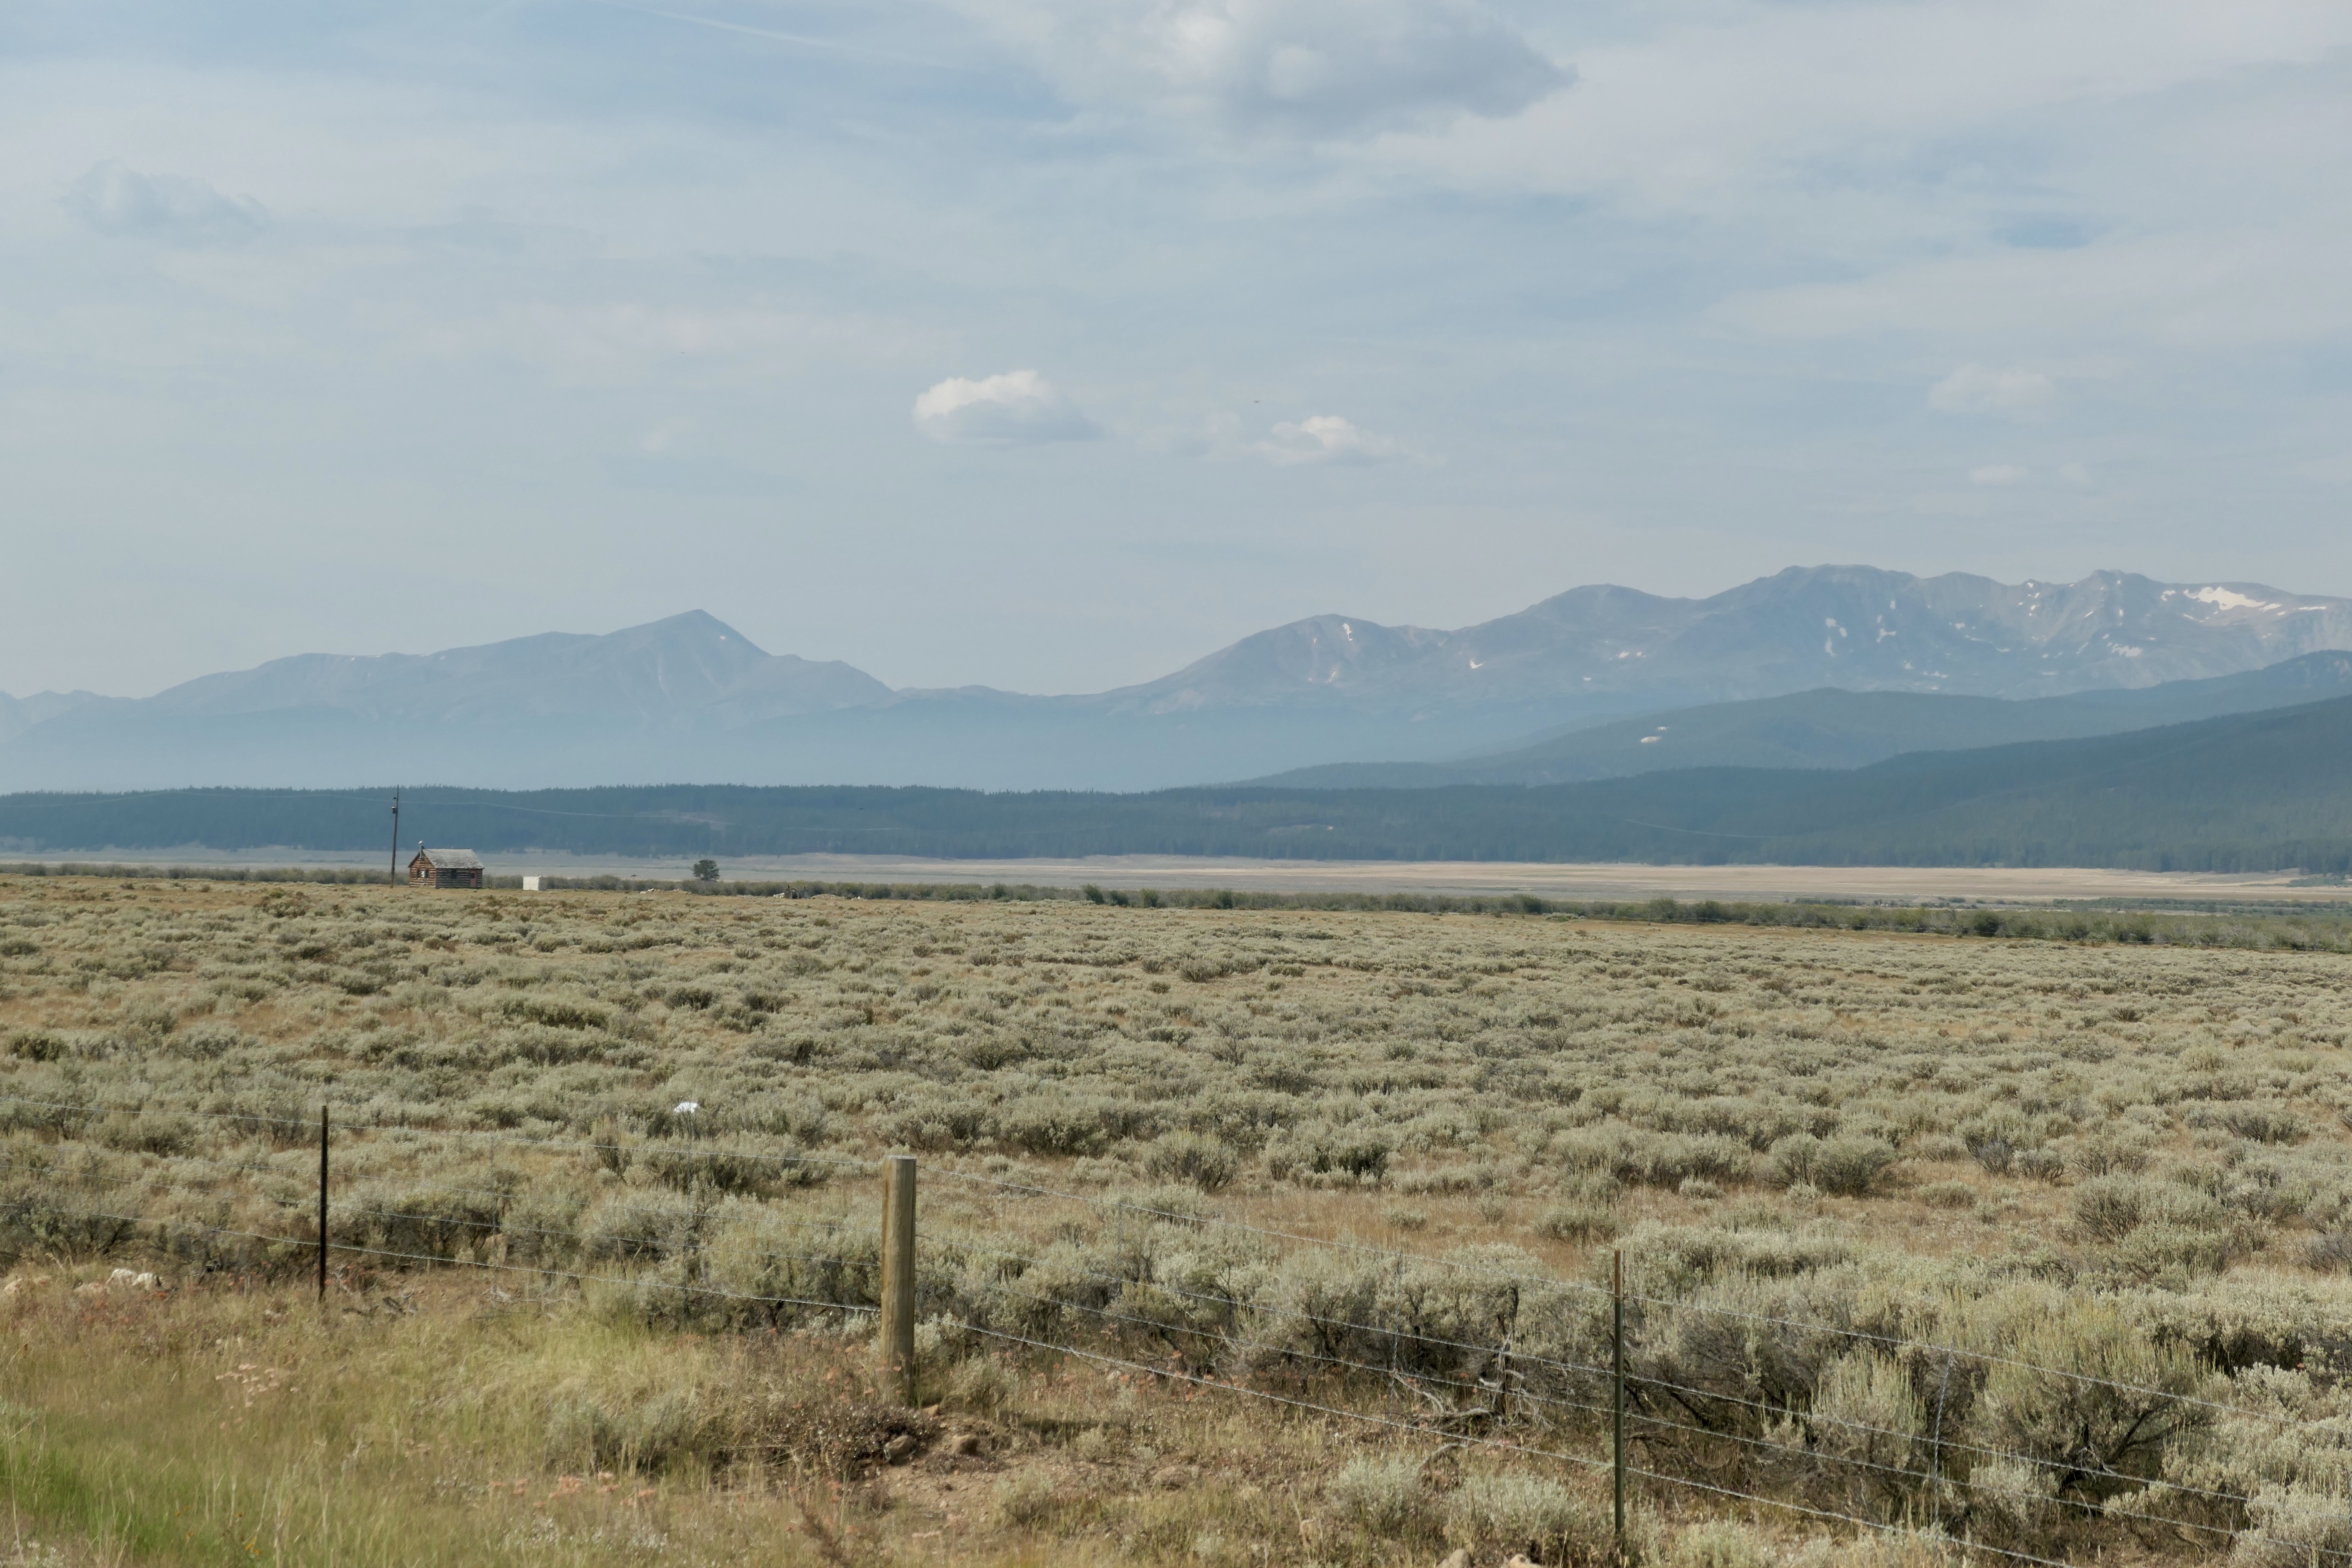
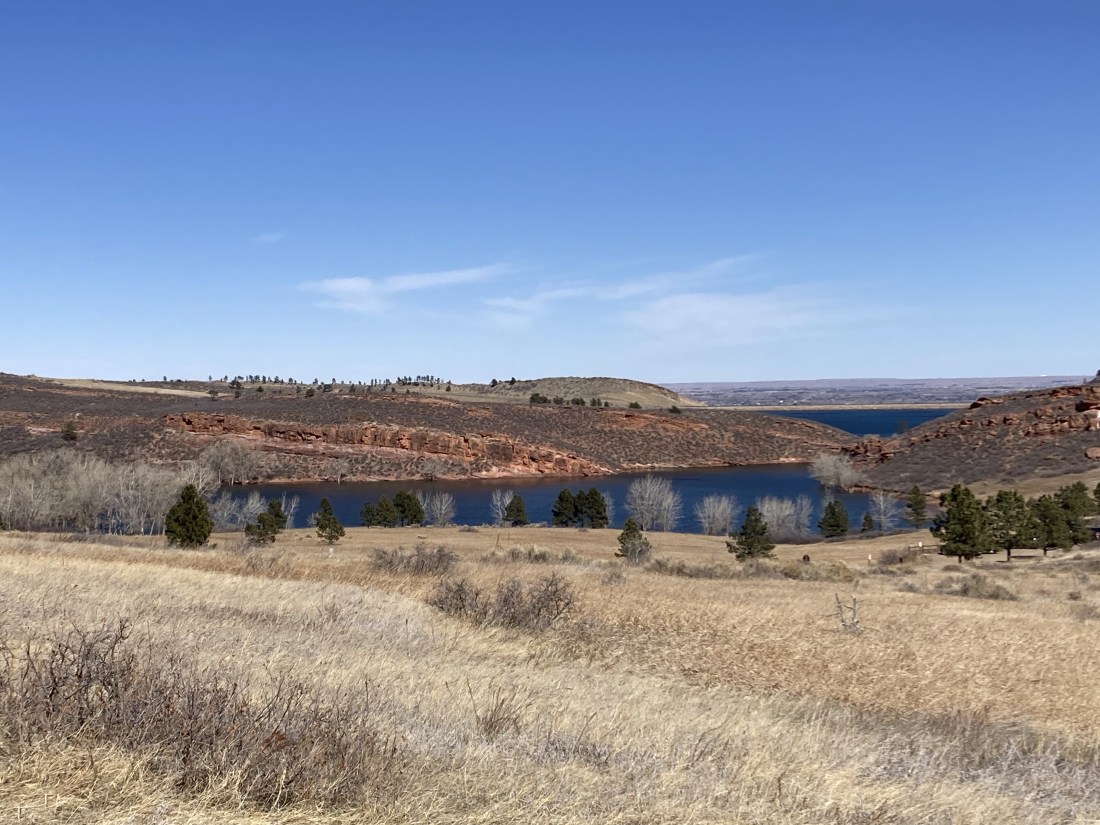
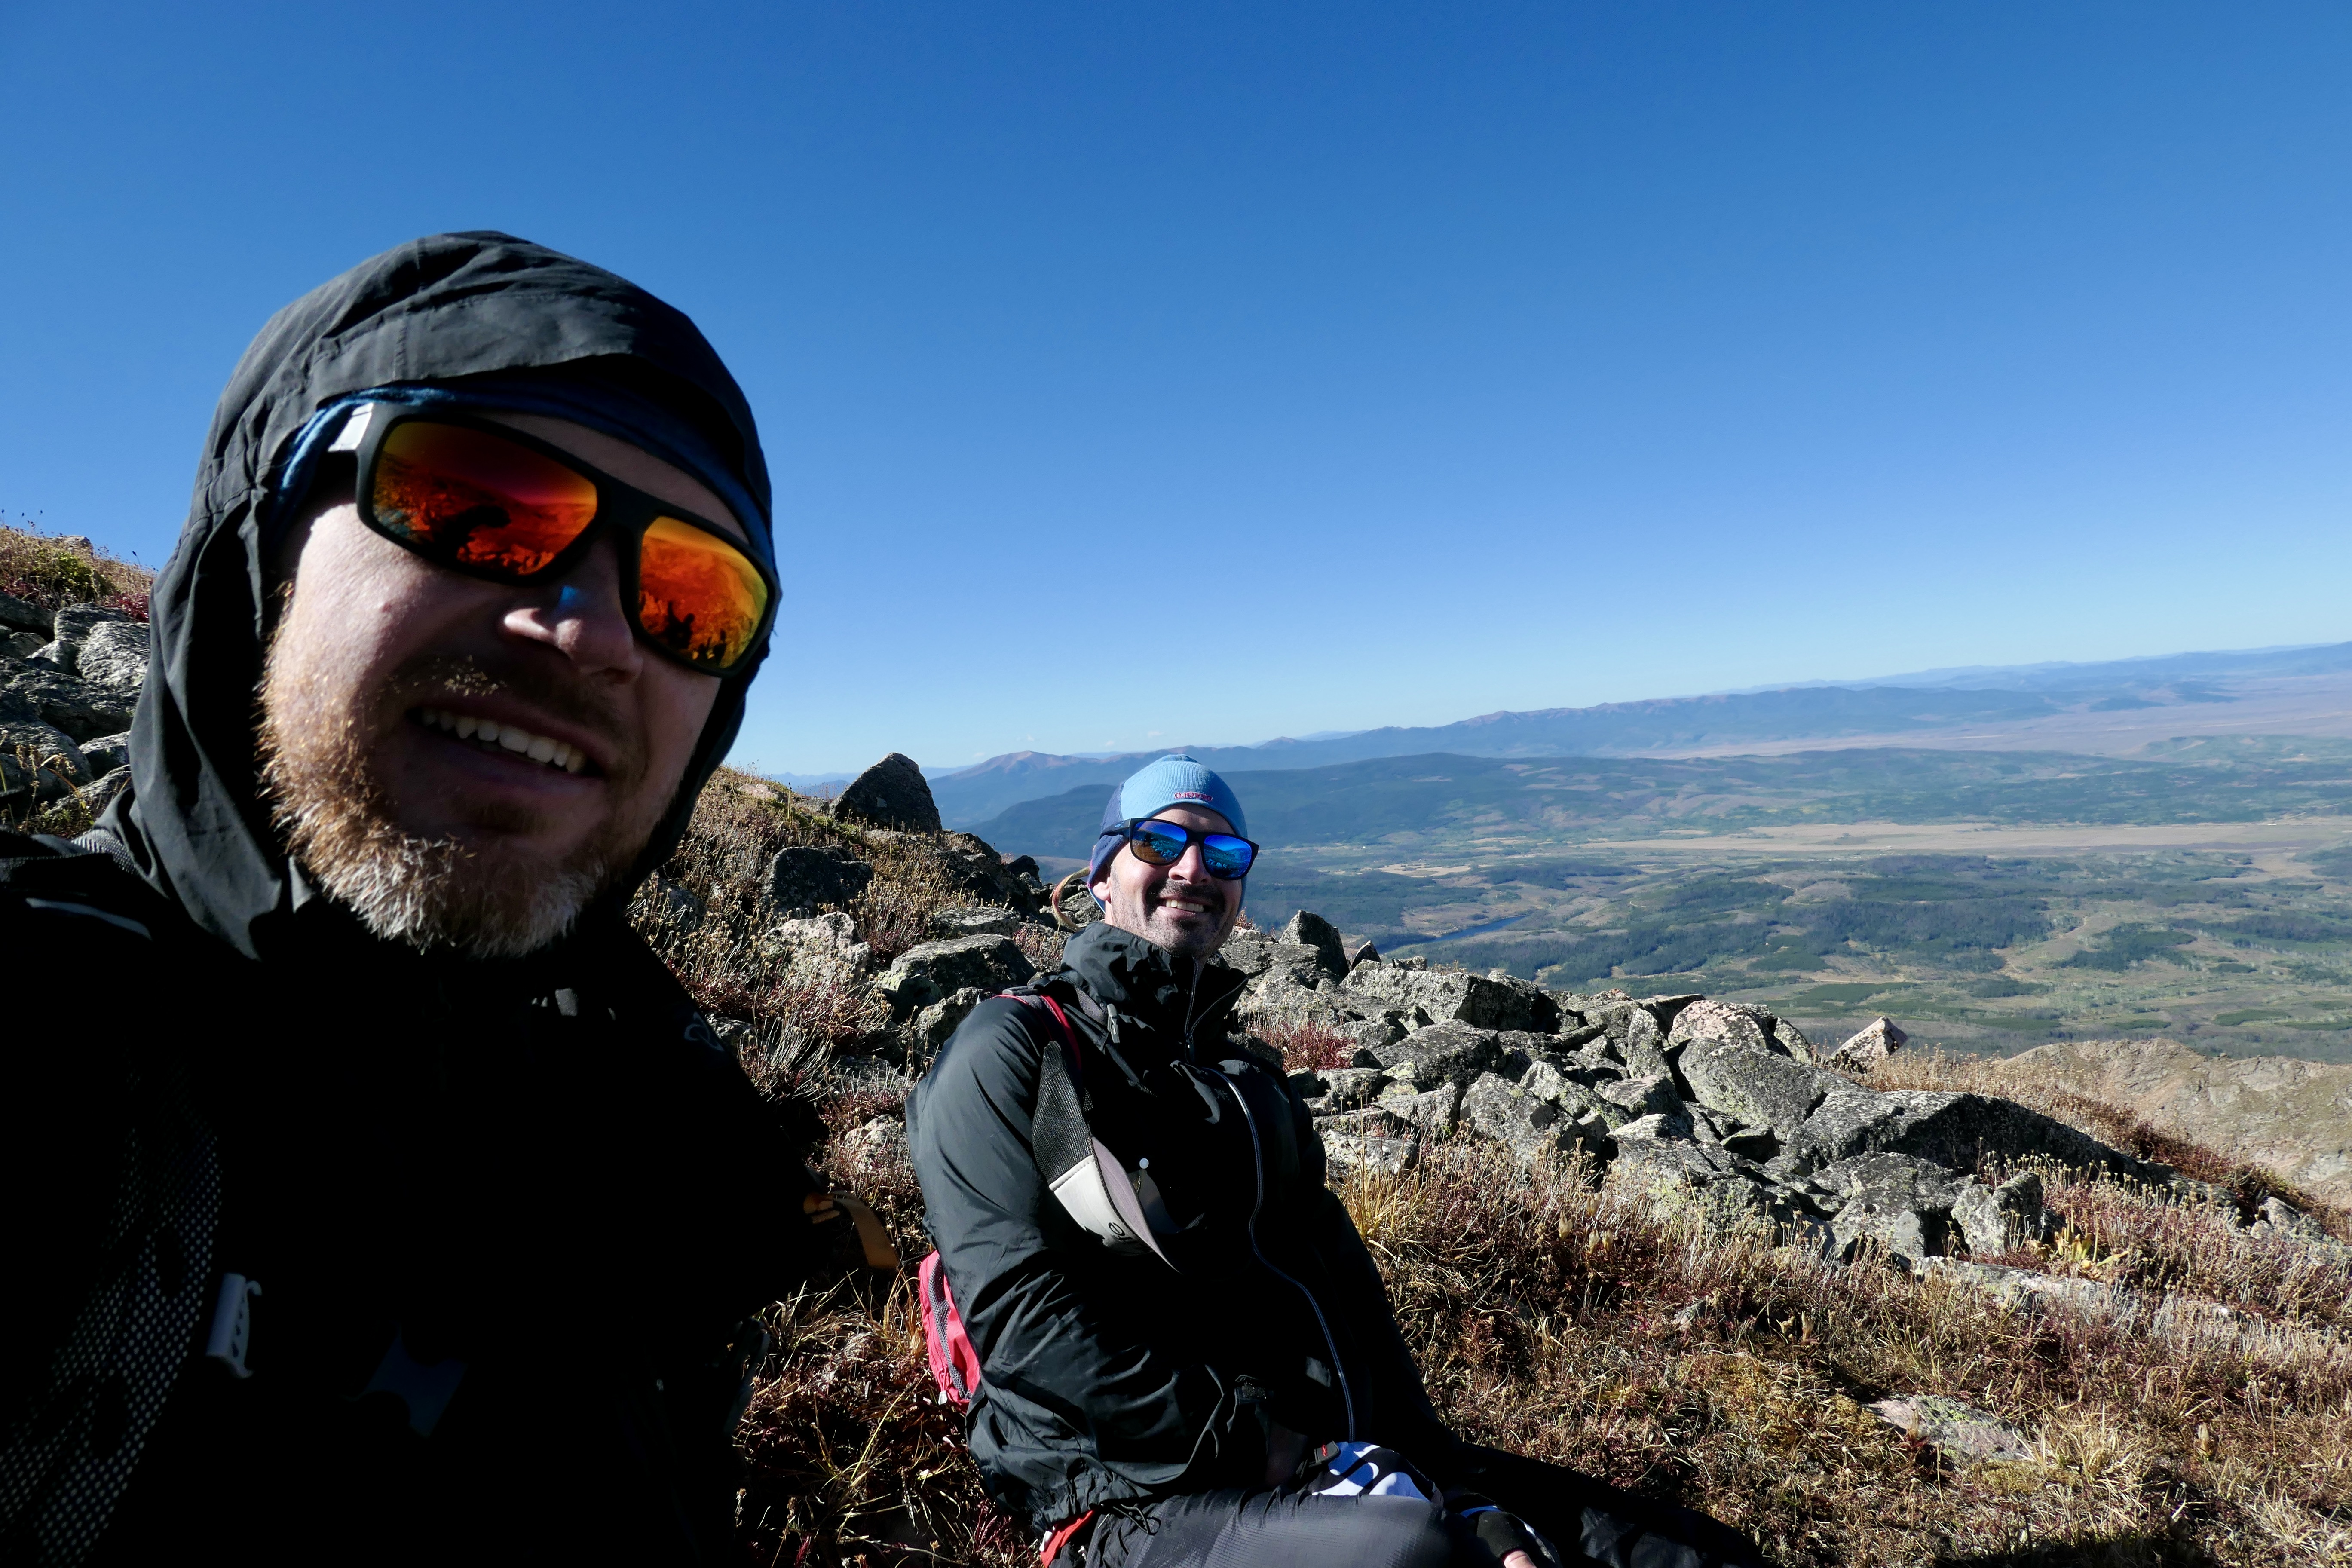
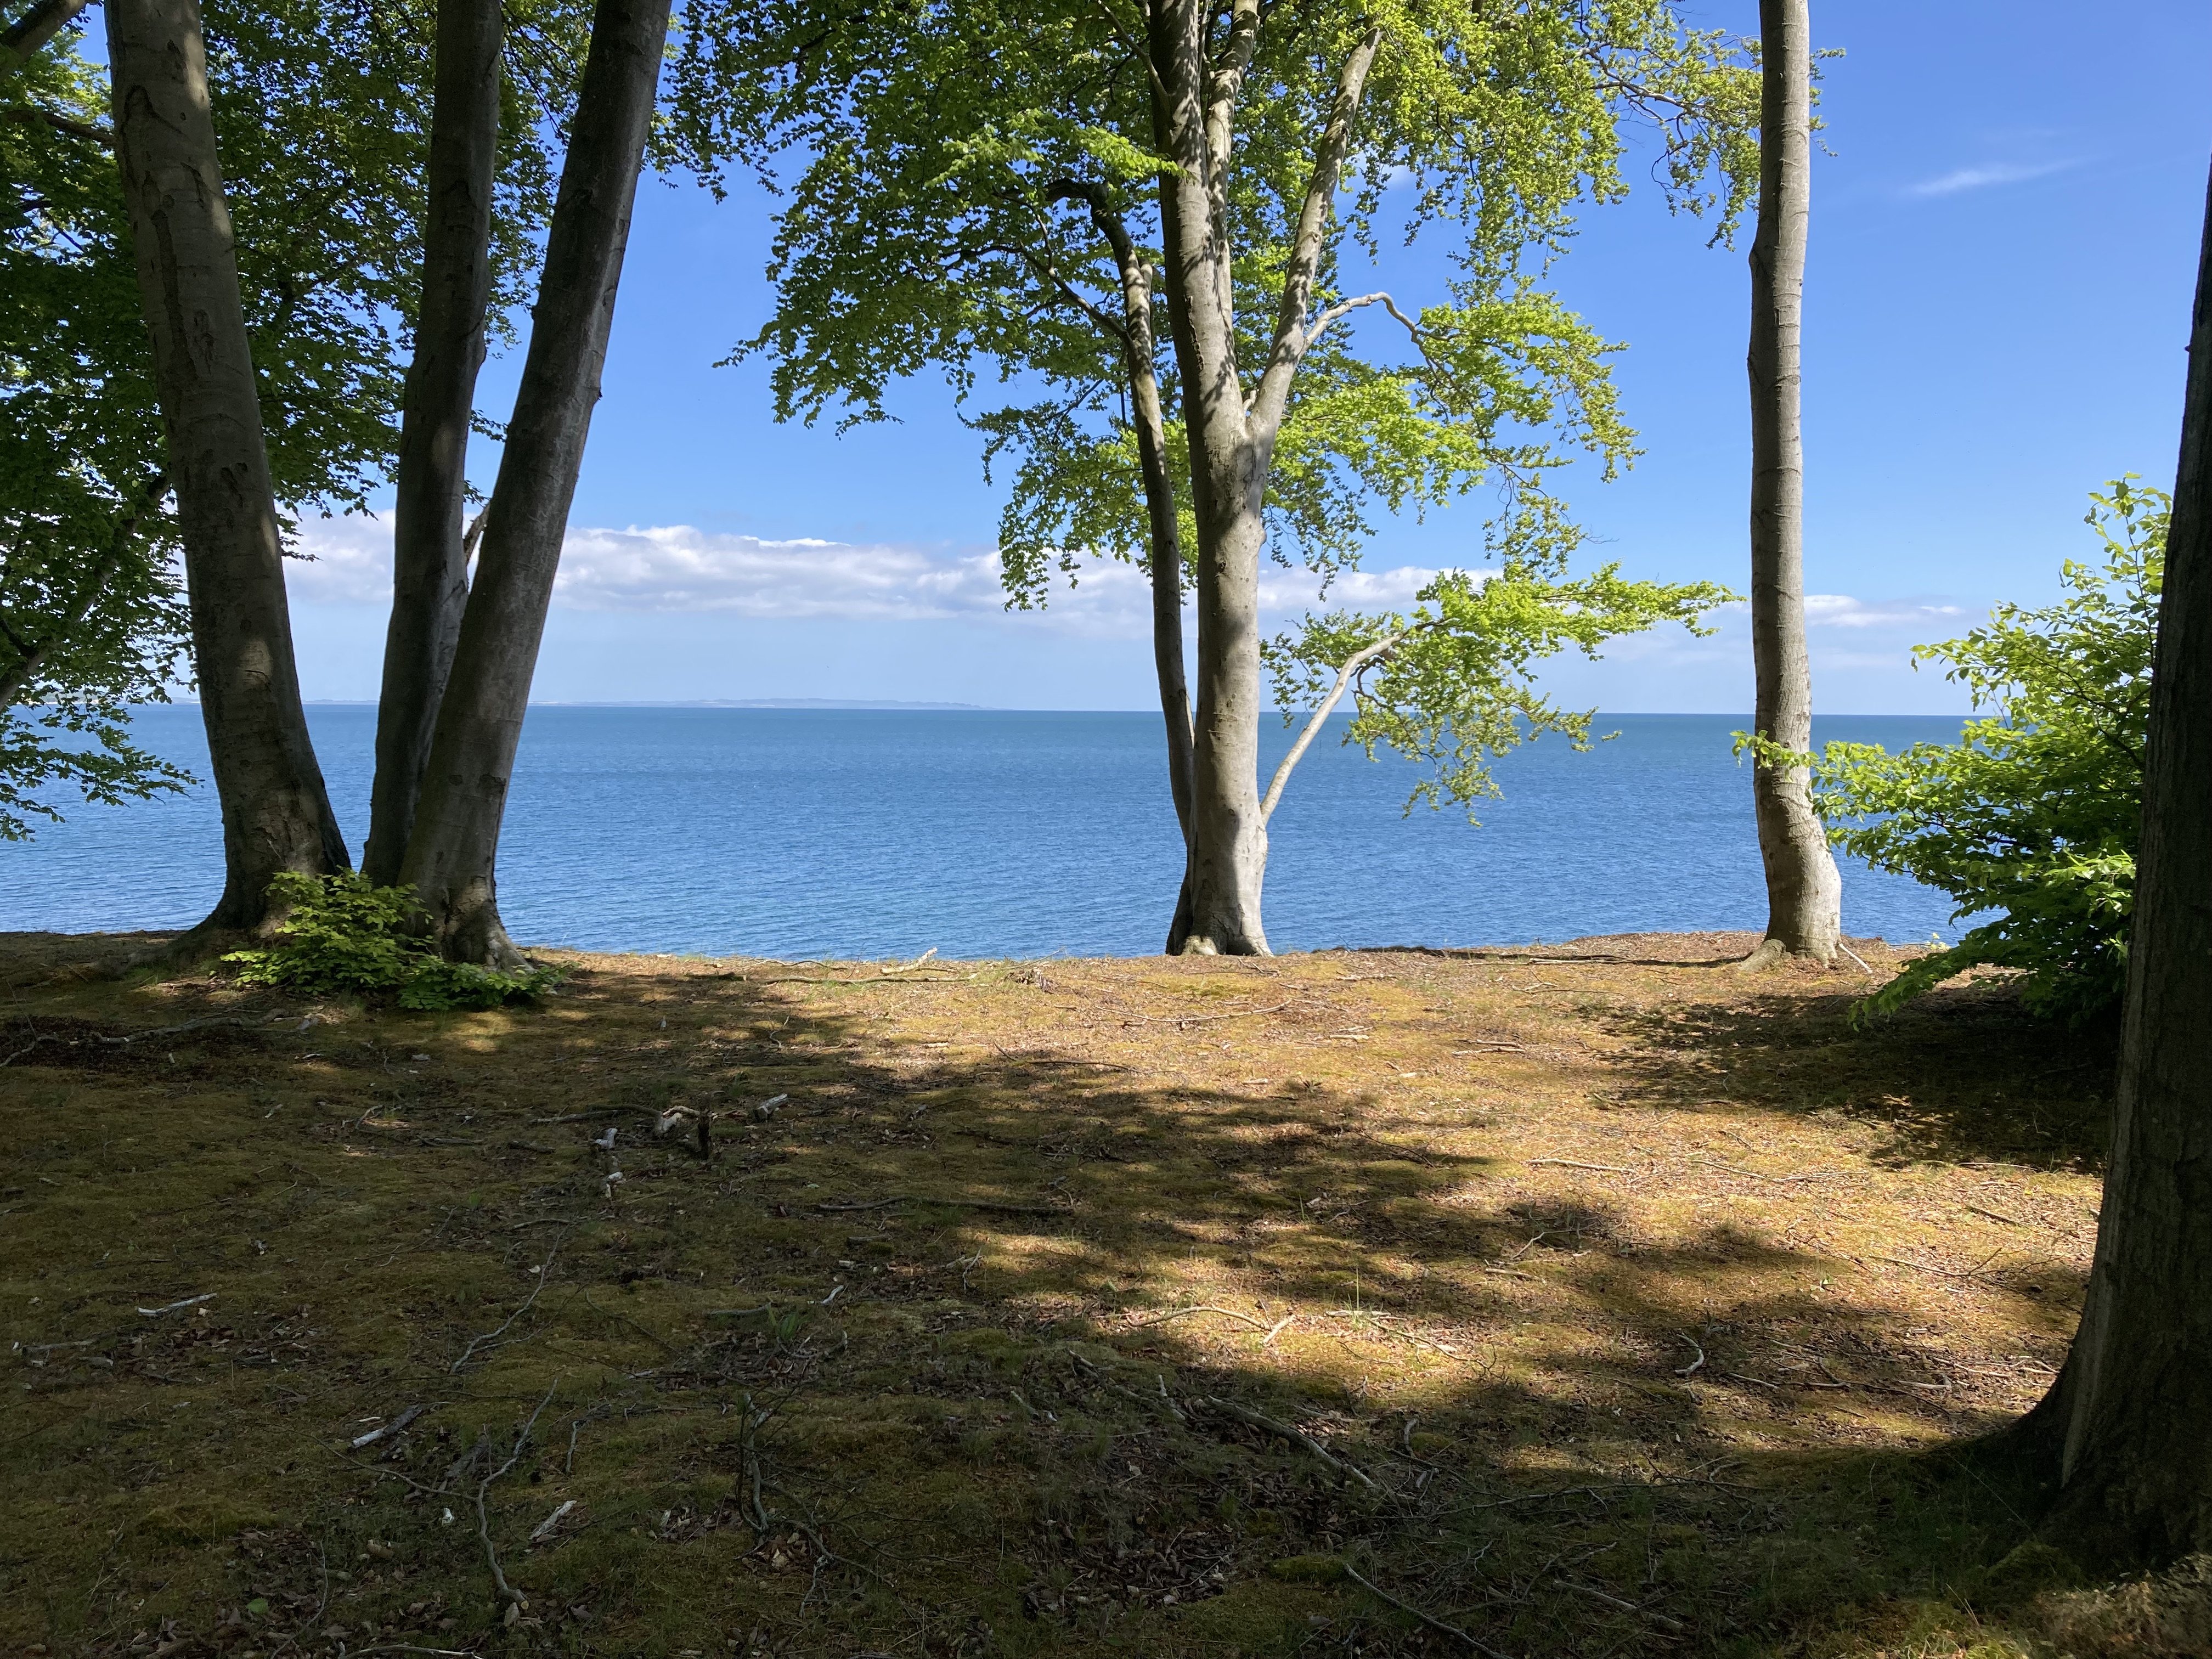
The top of Horsetooth Rock
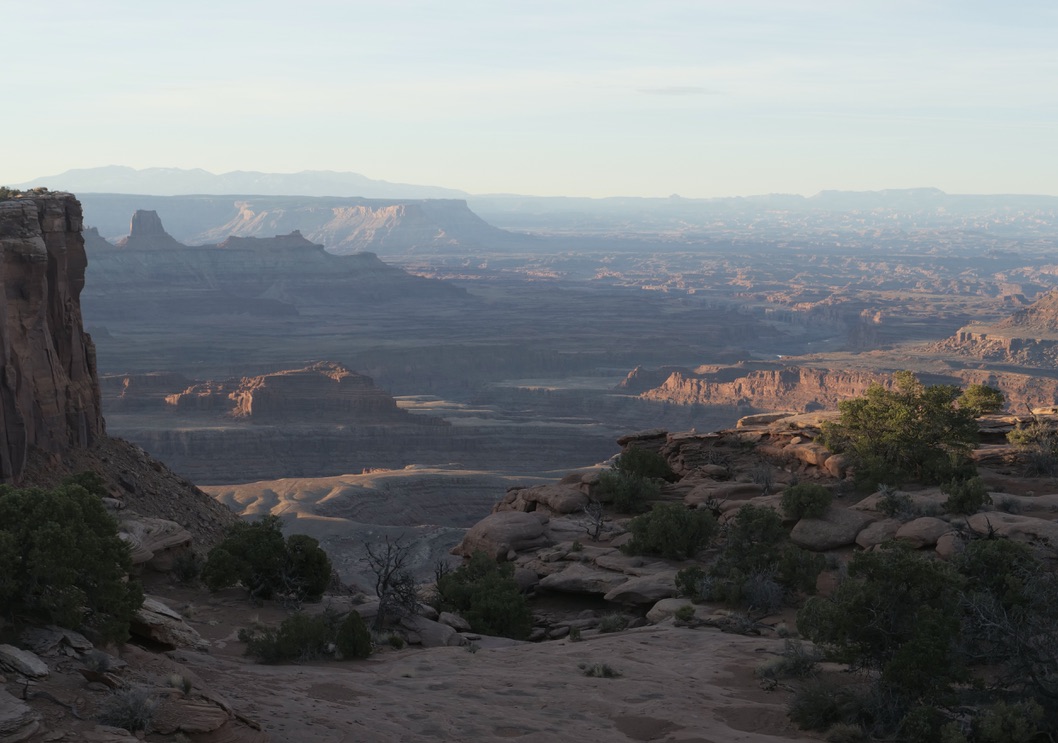
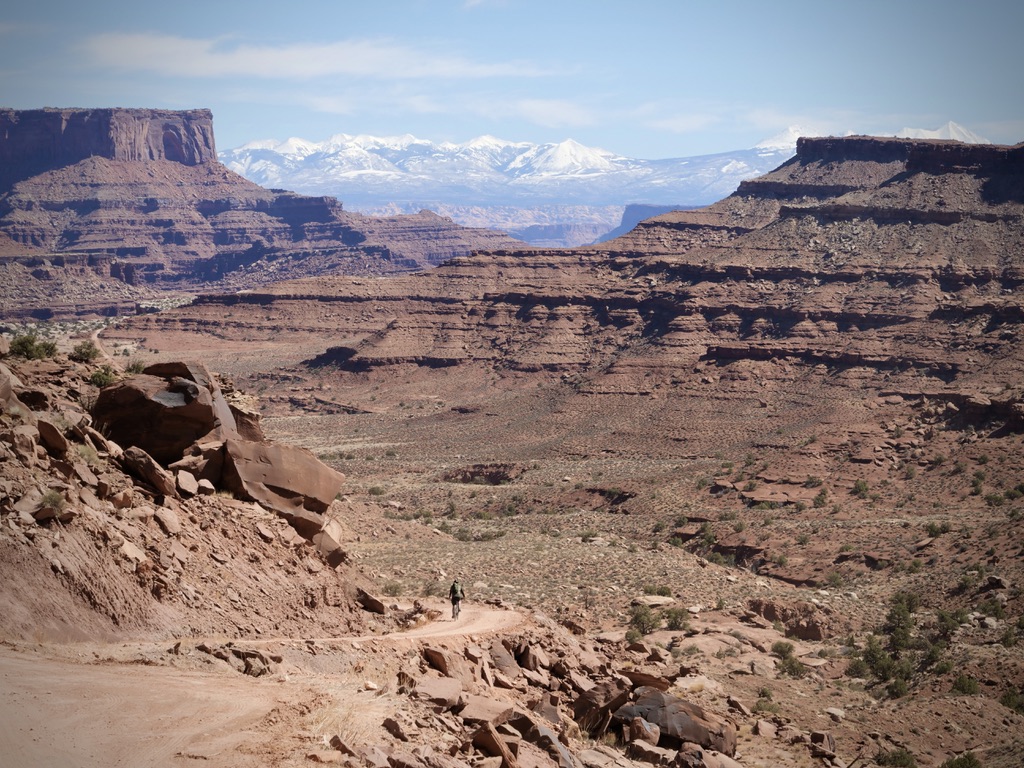
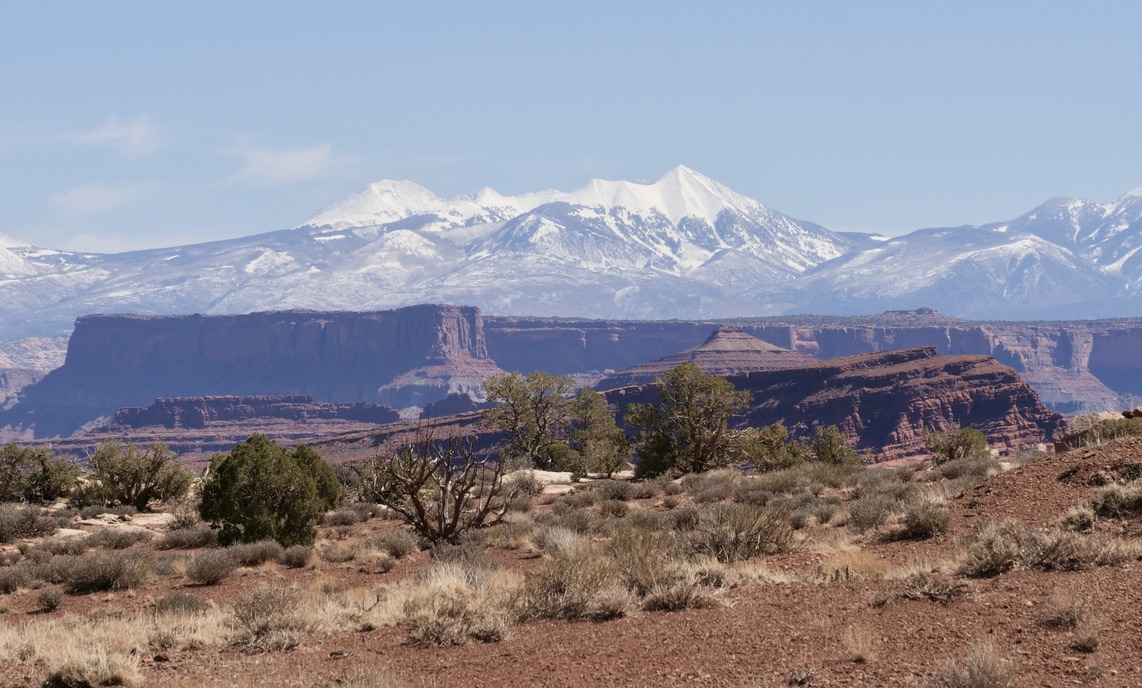
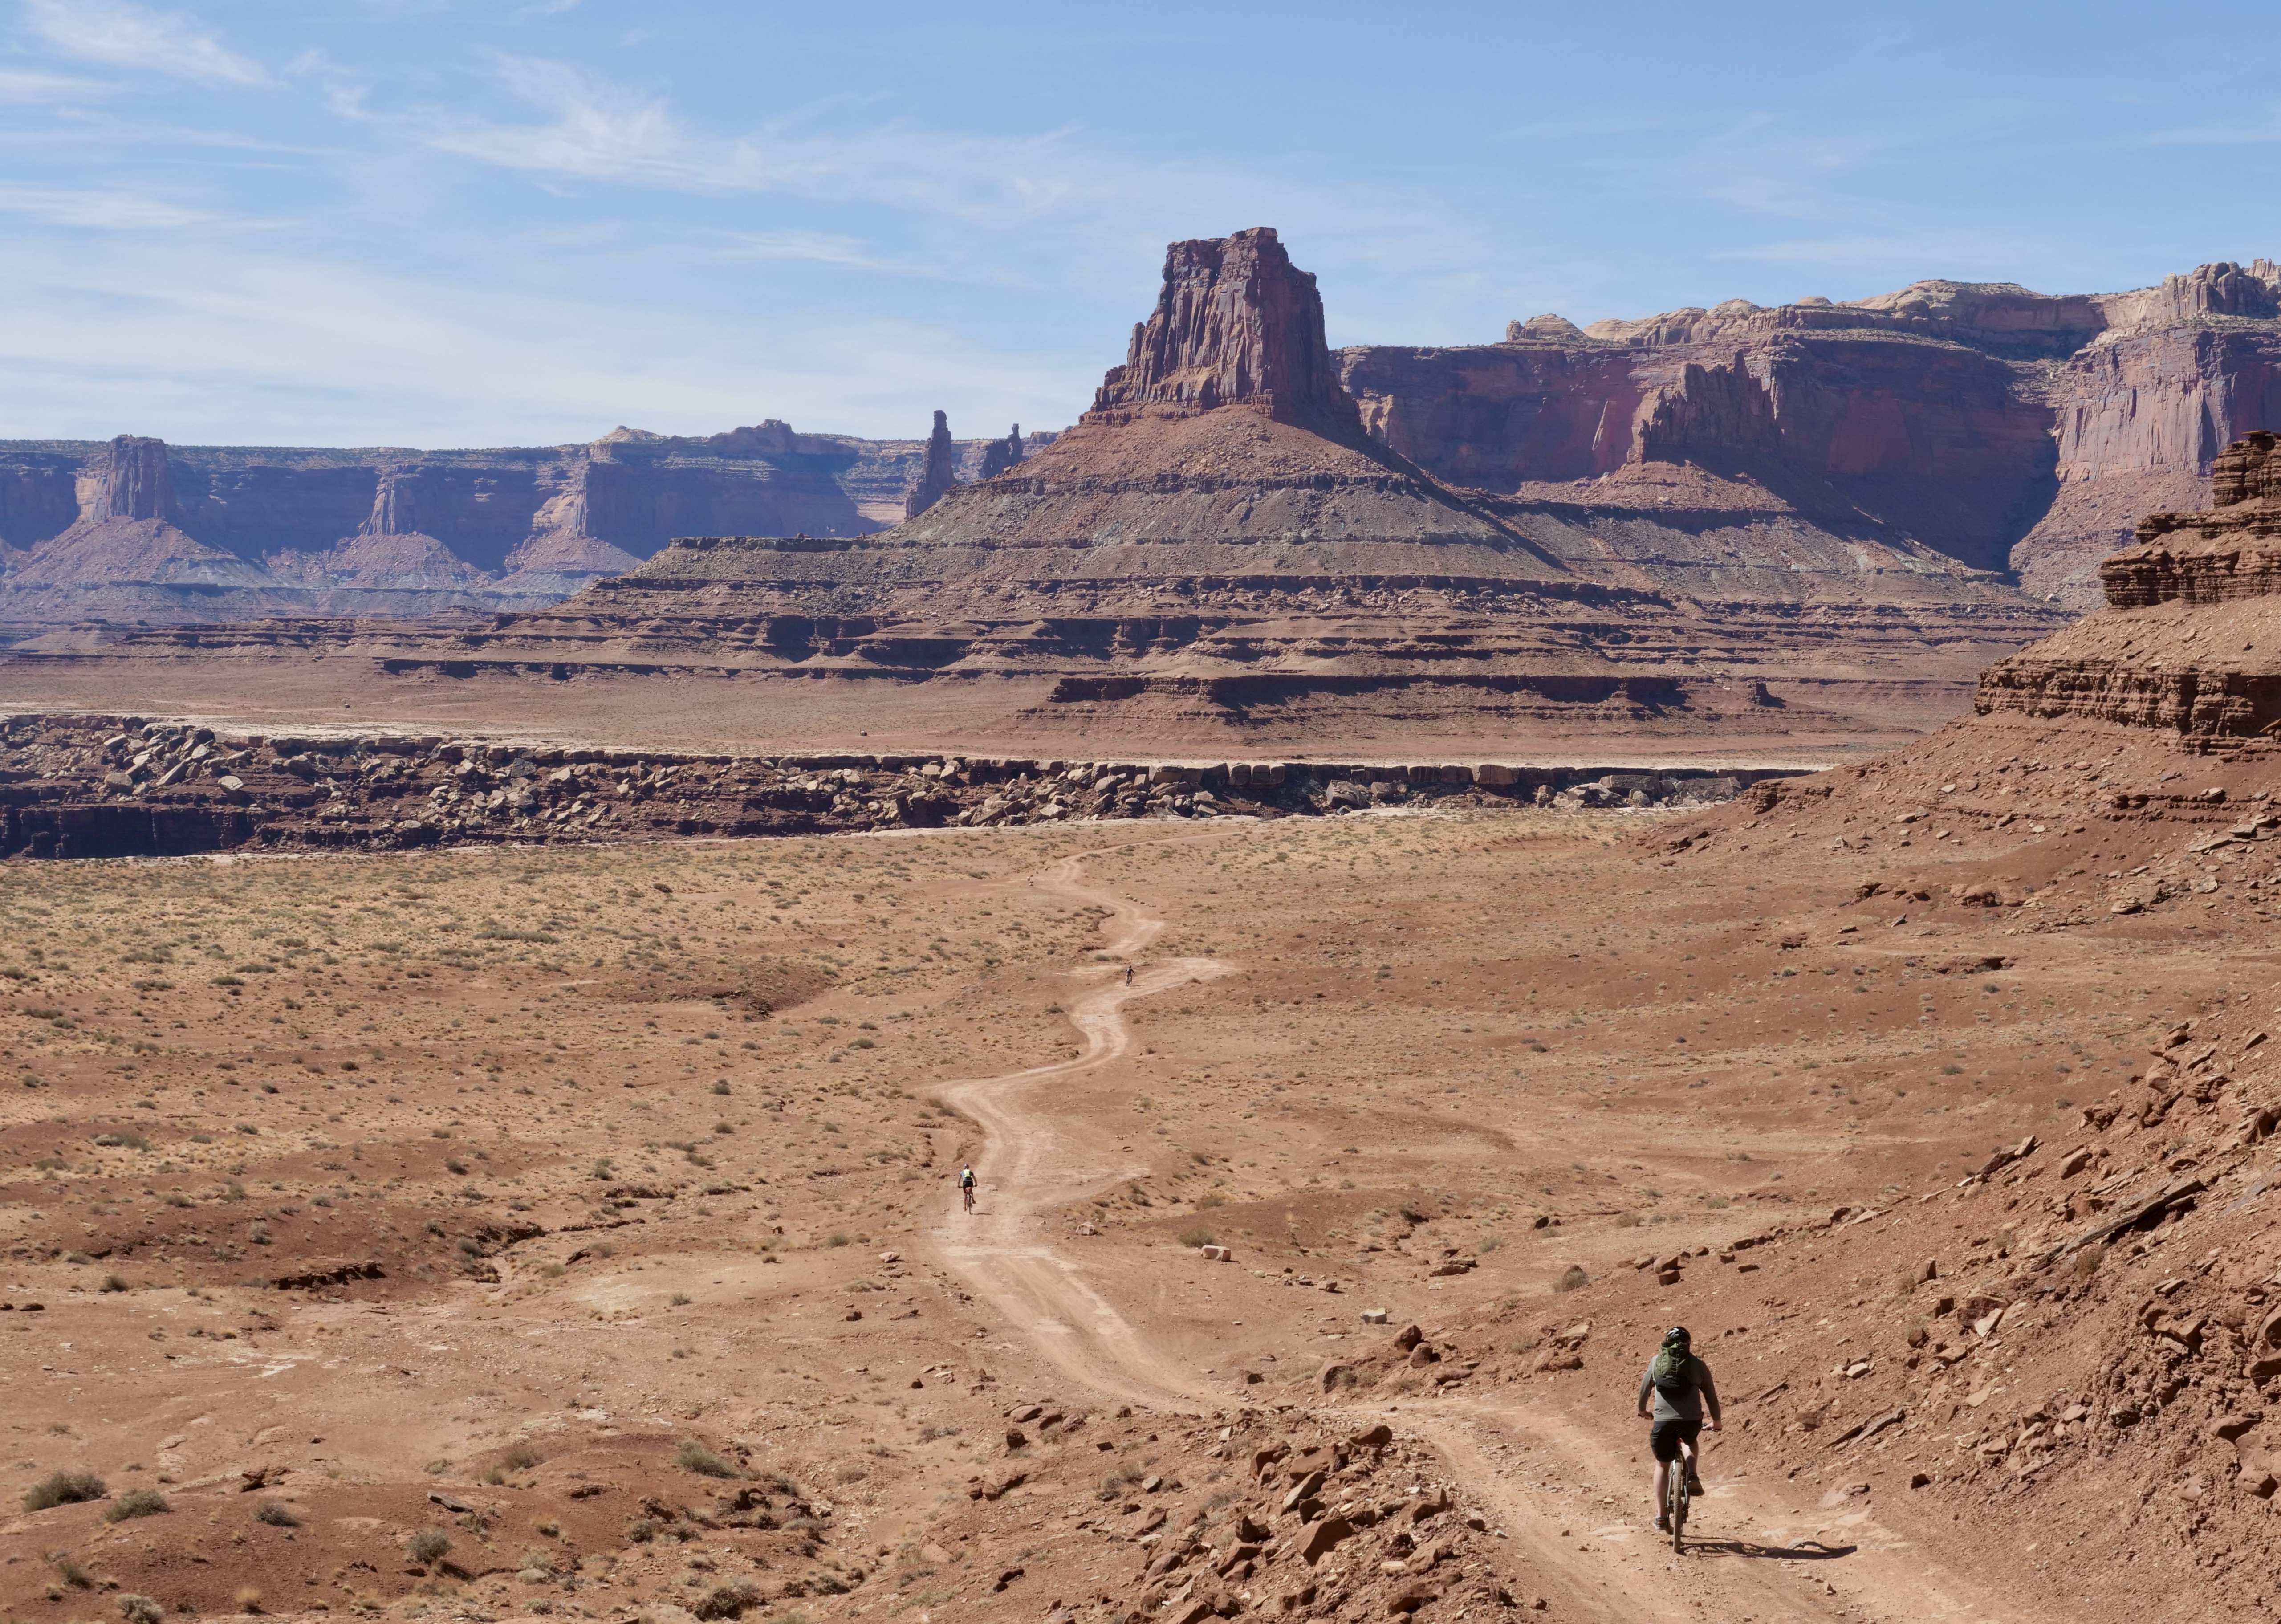
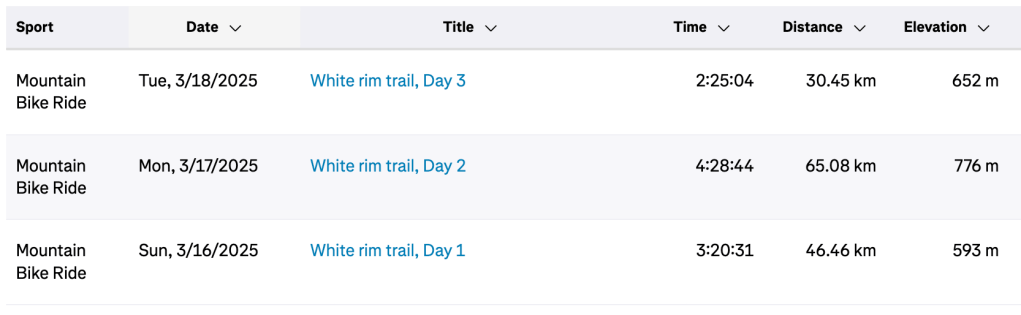
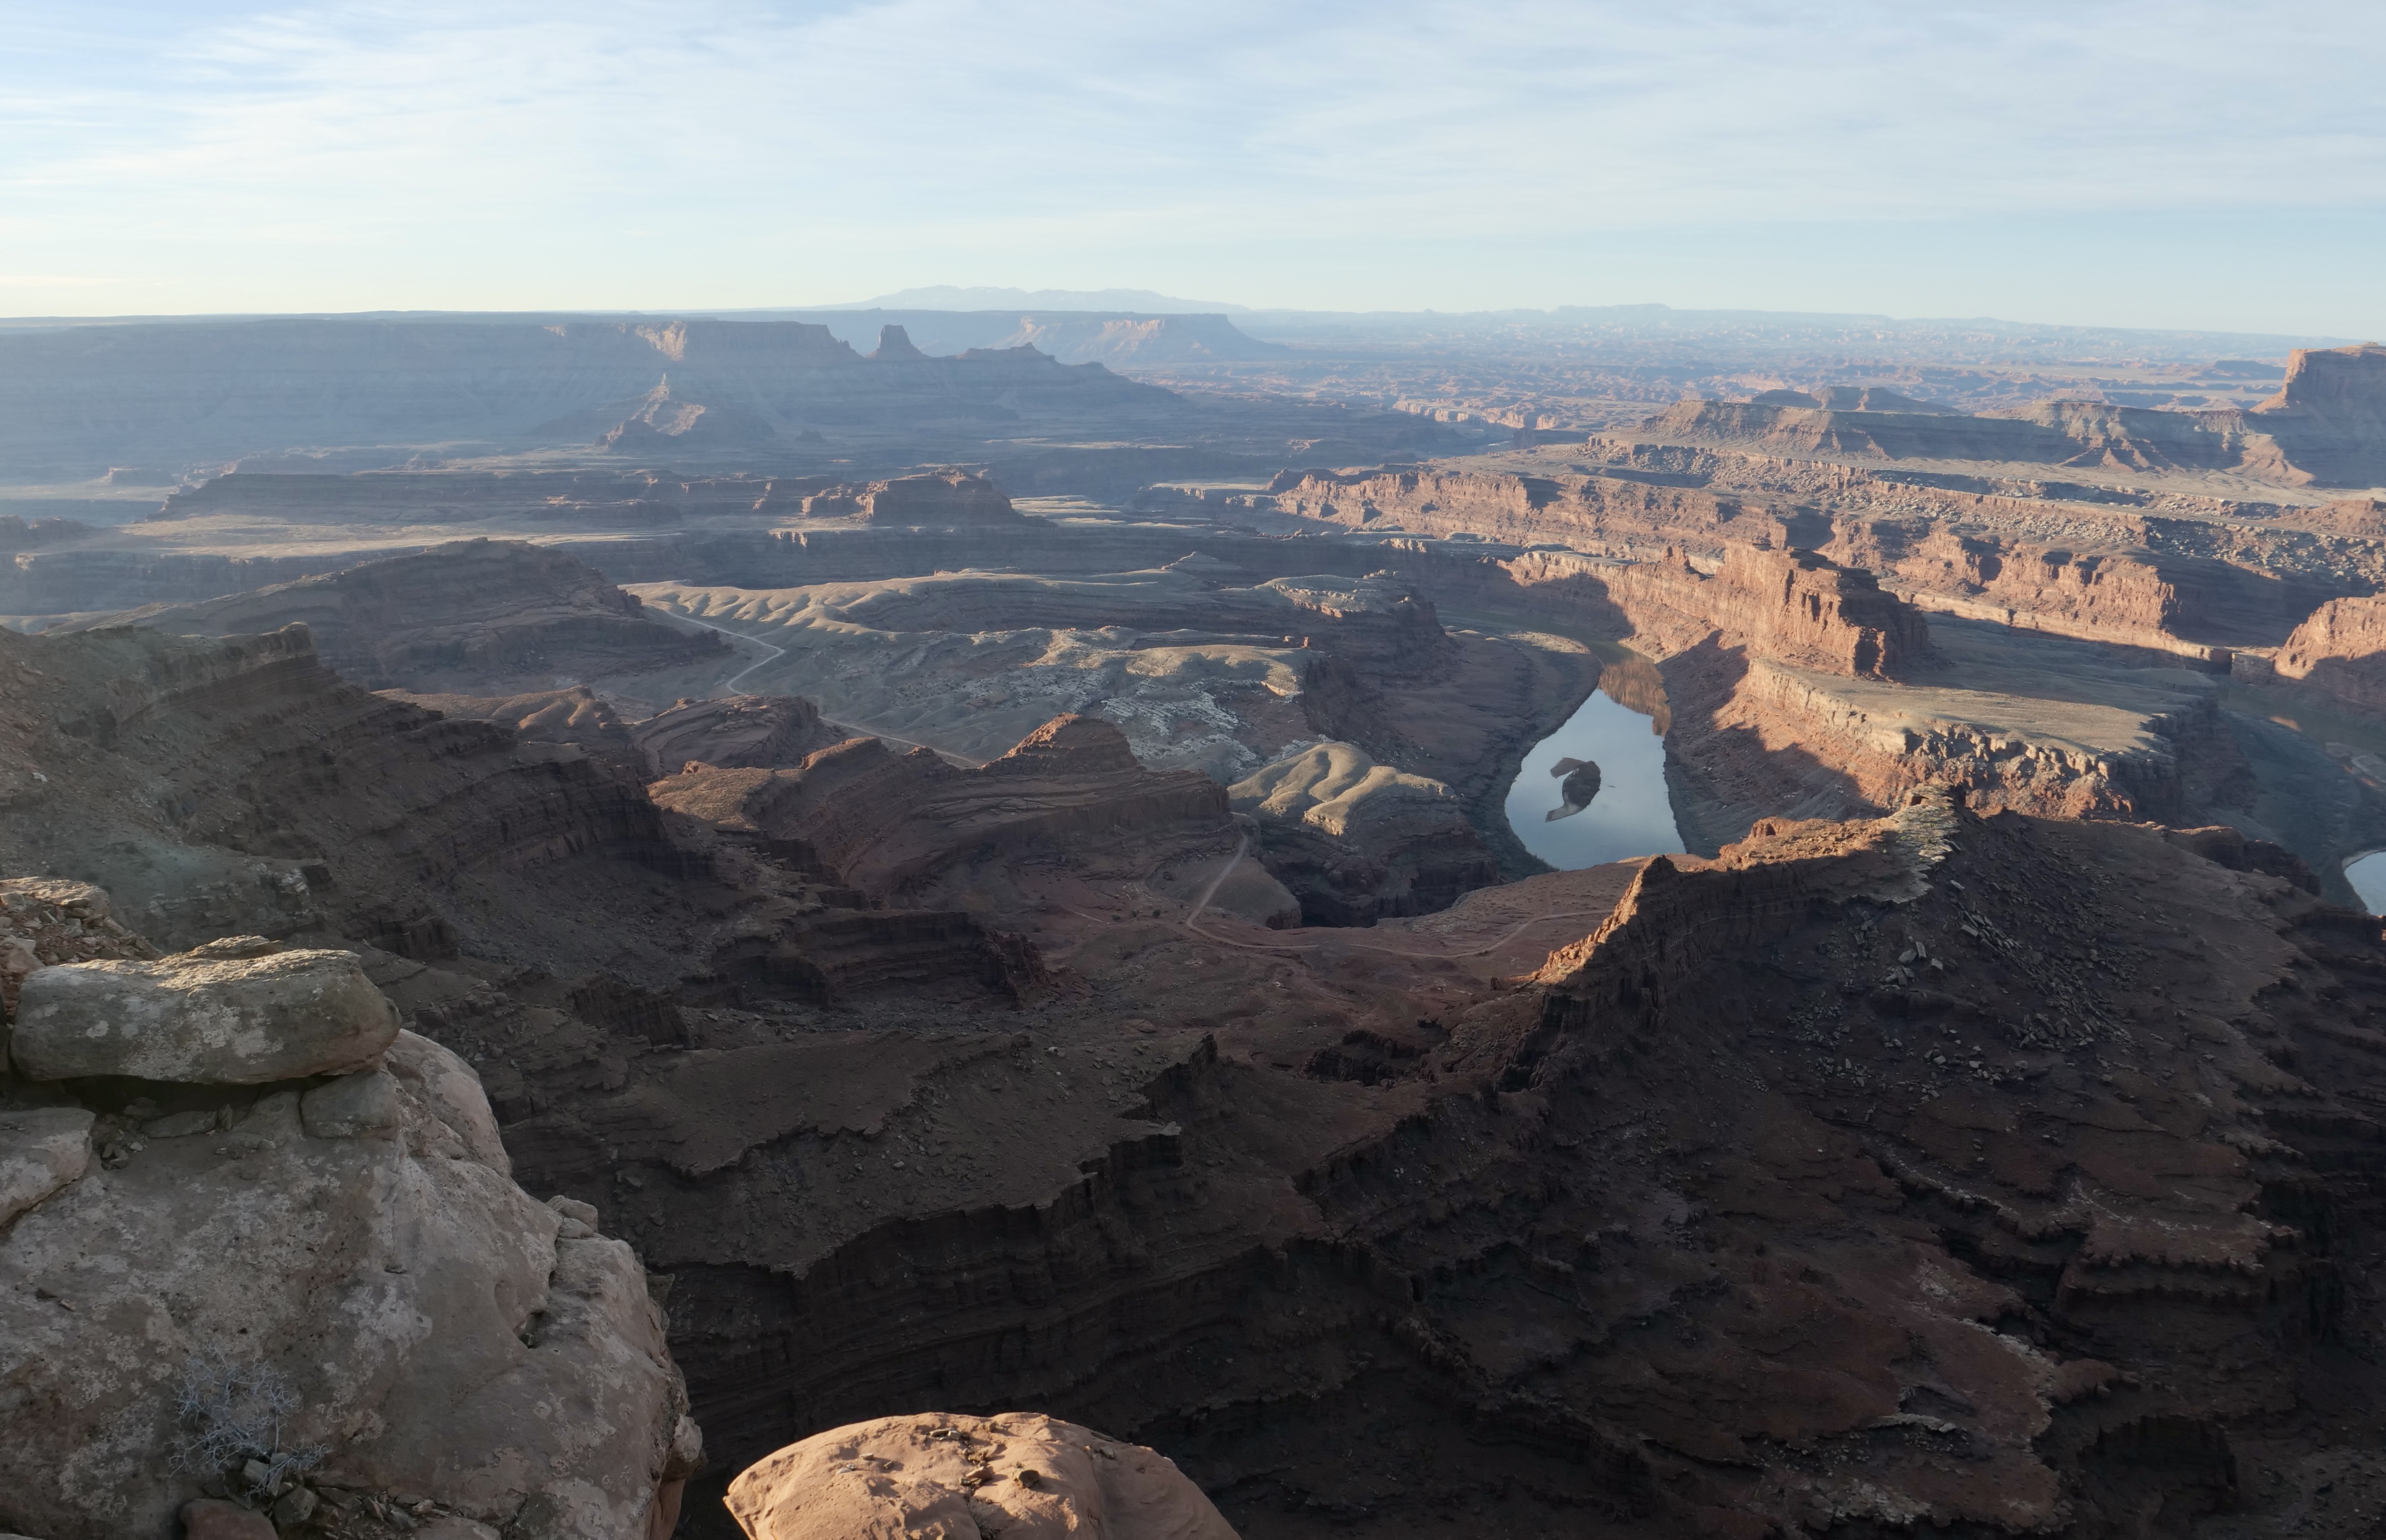
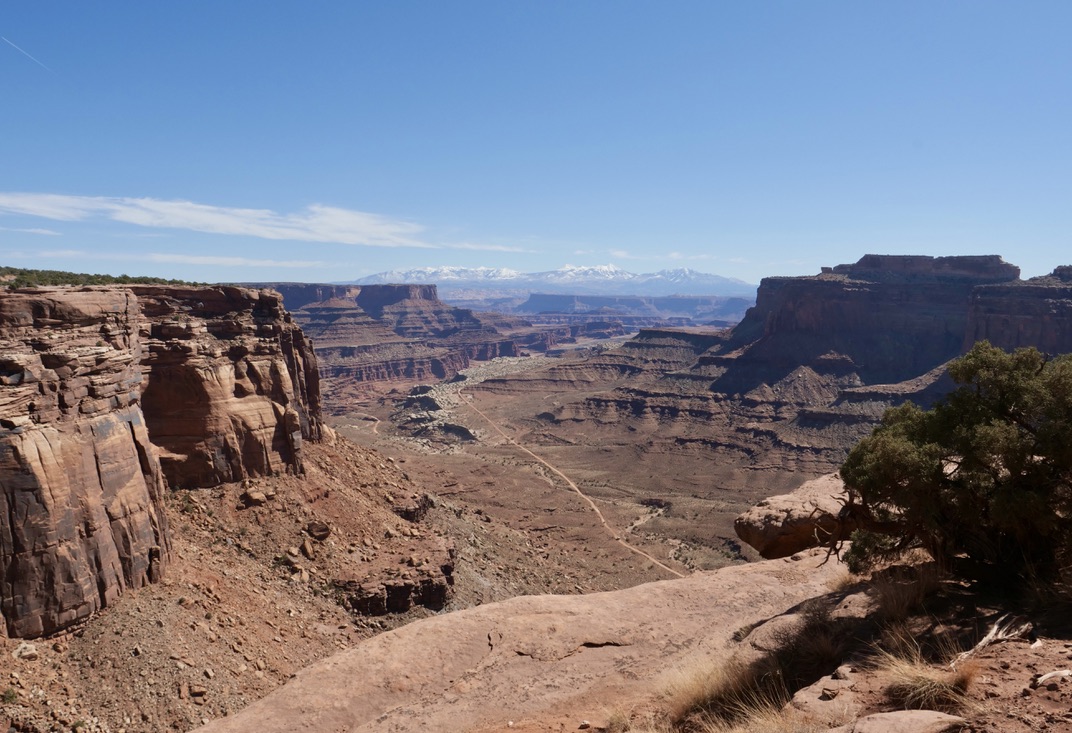
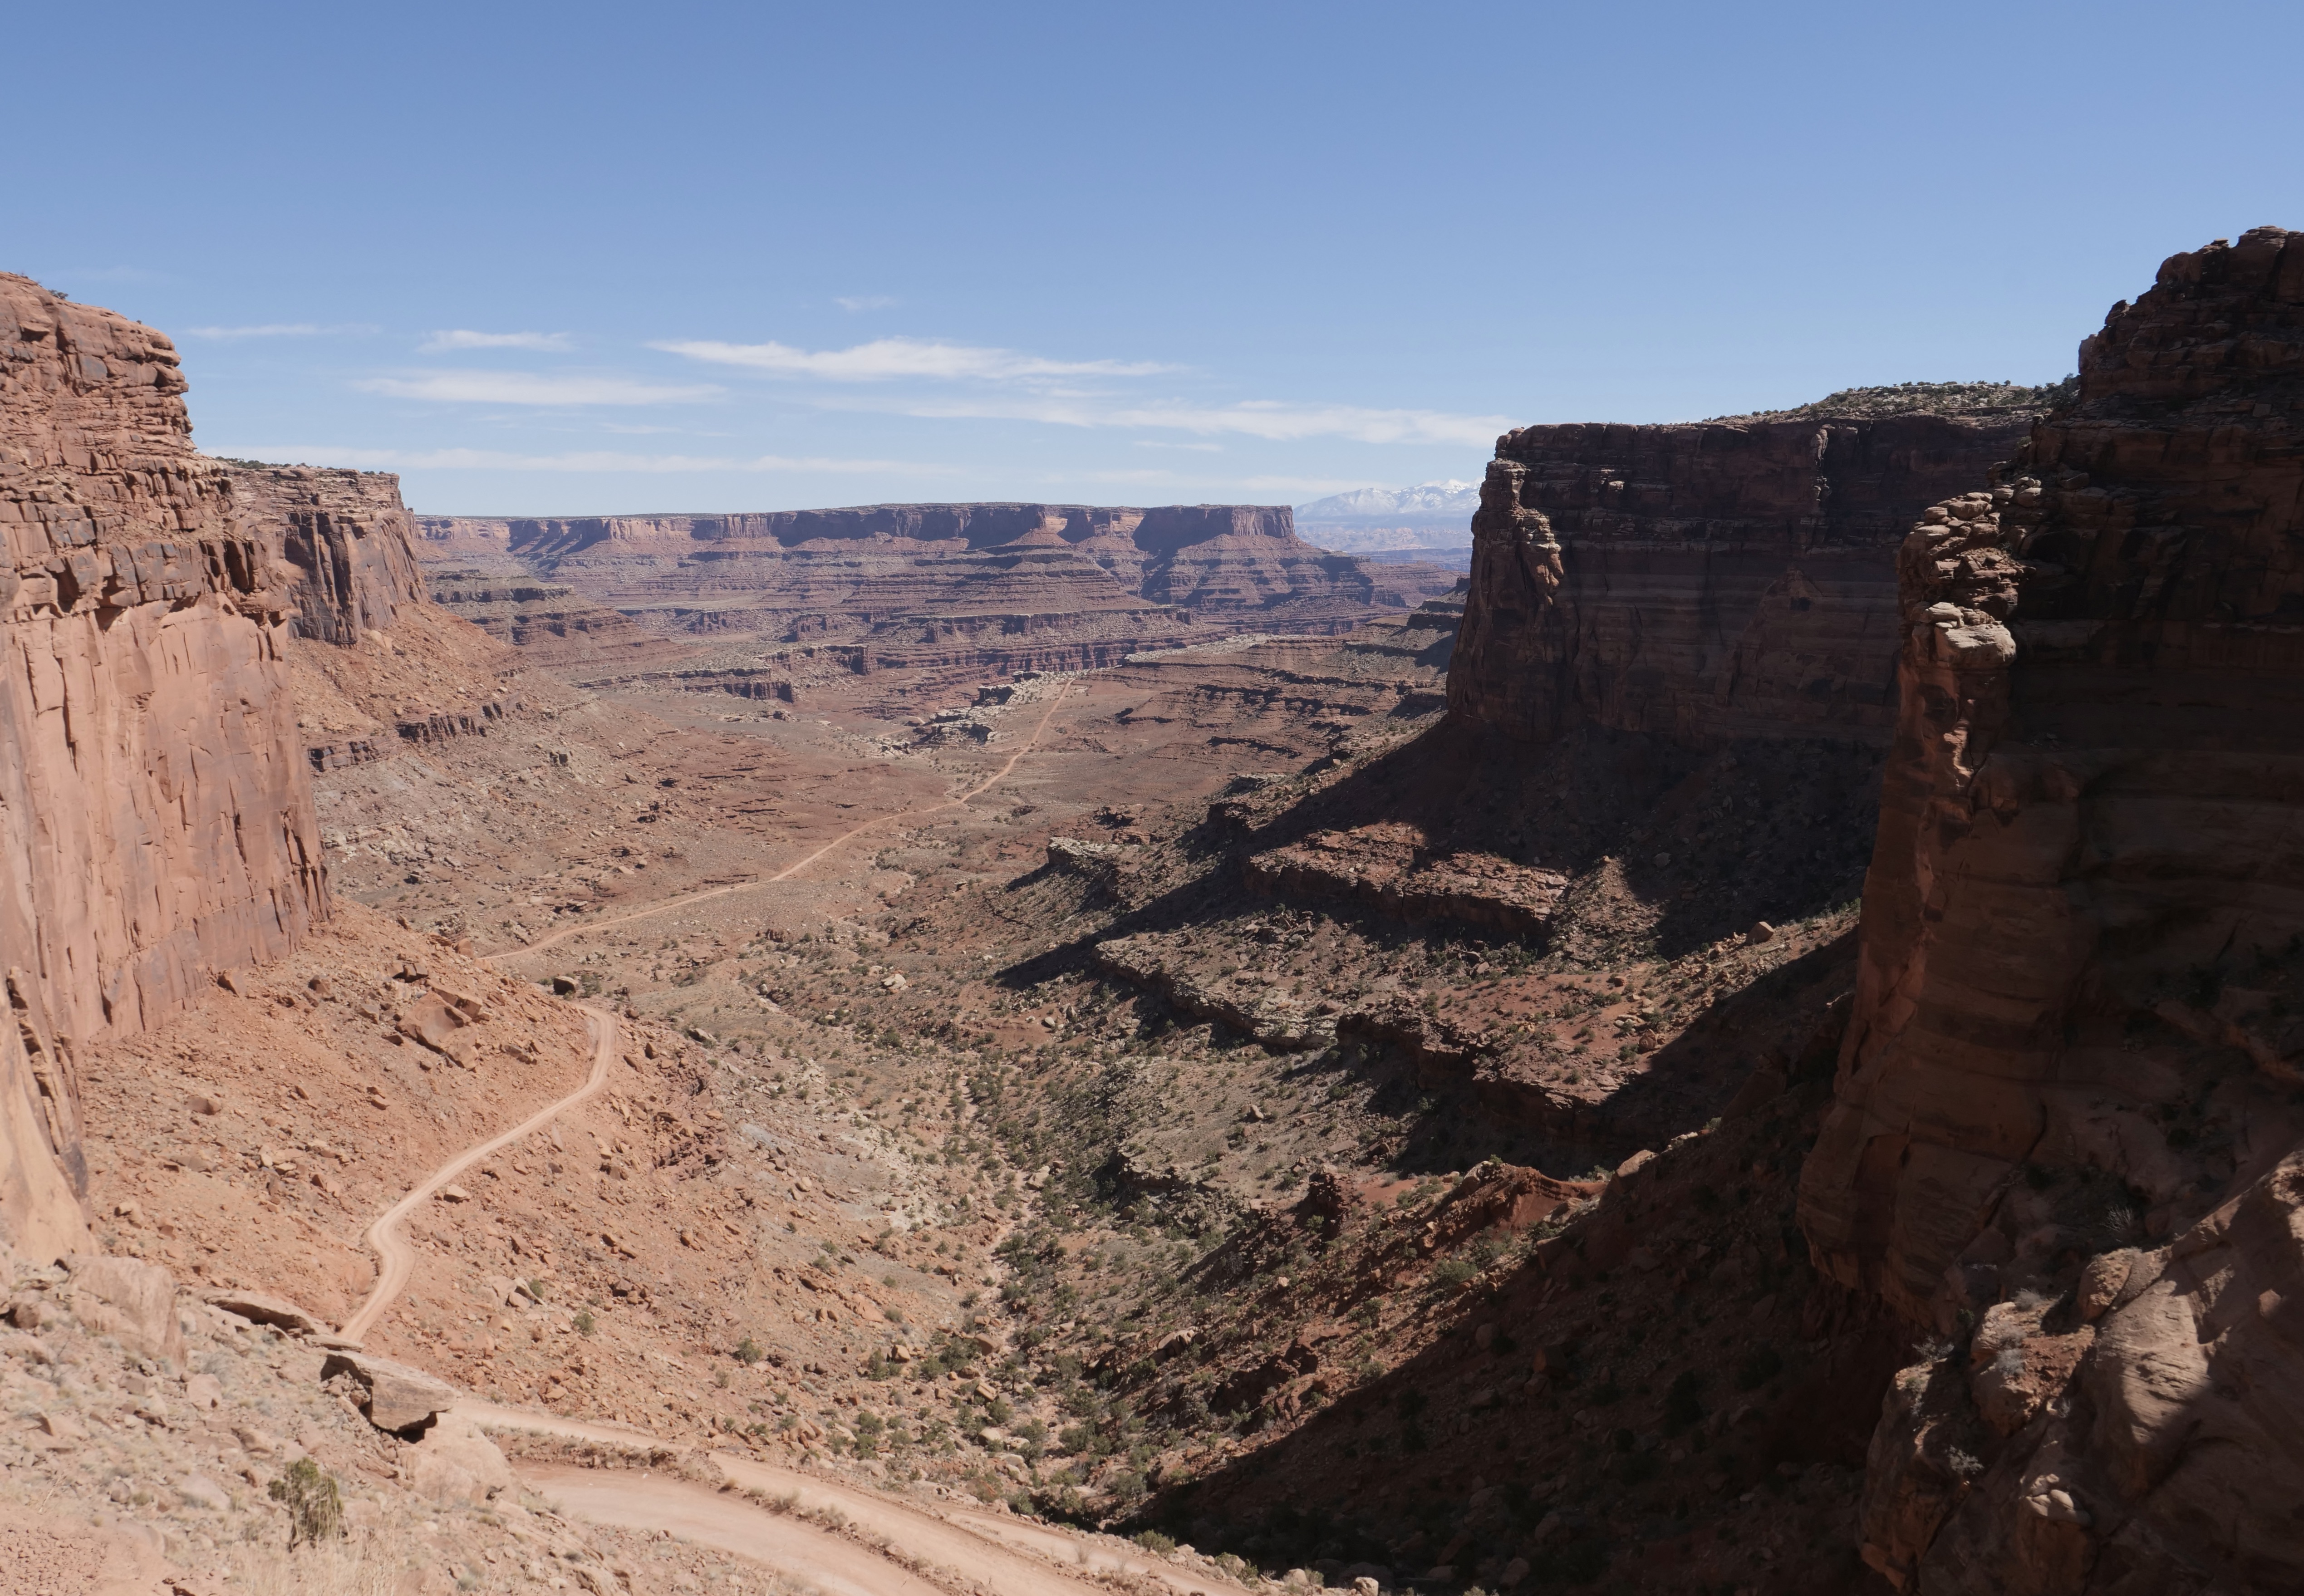
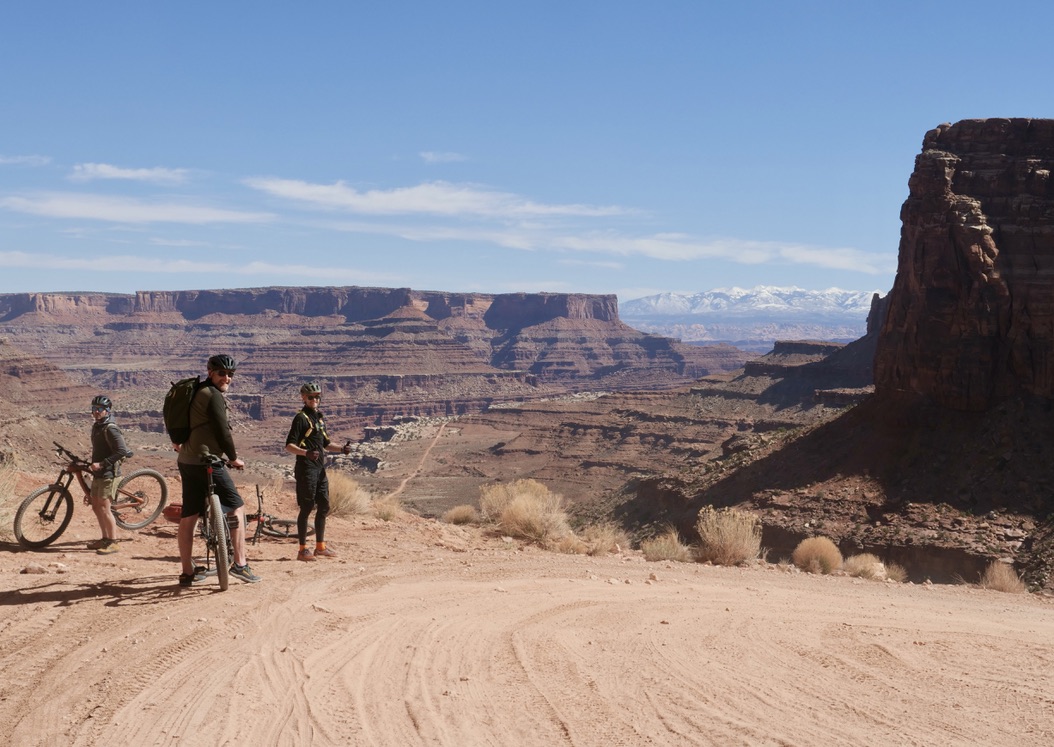
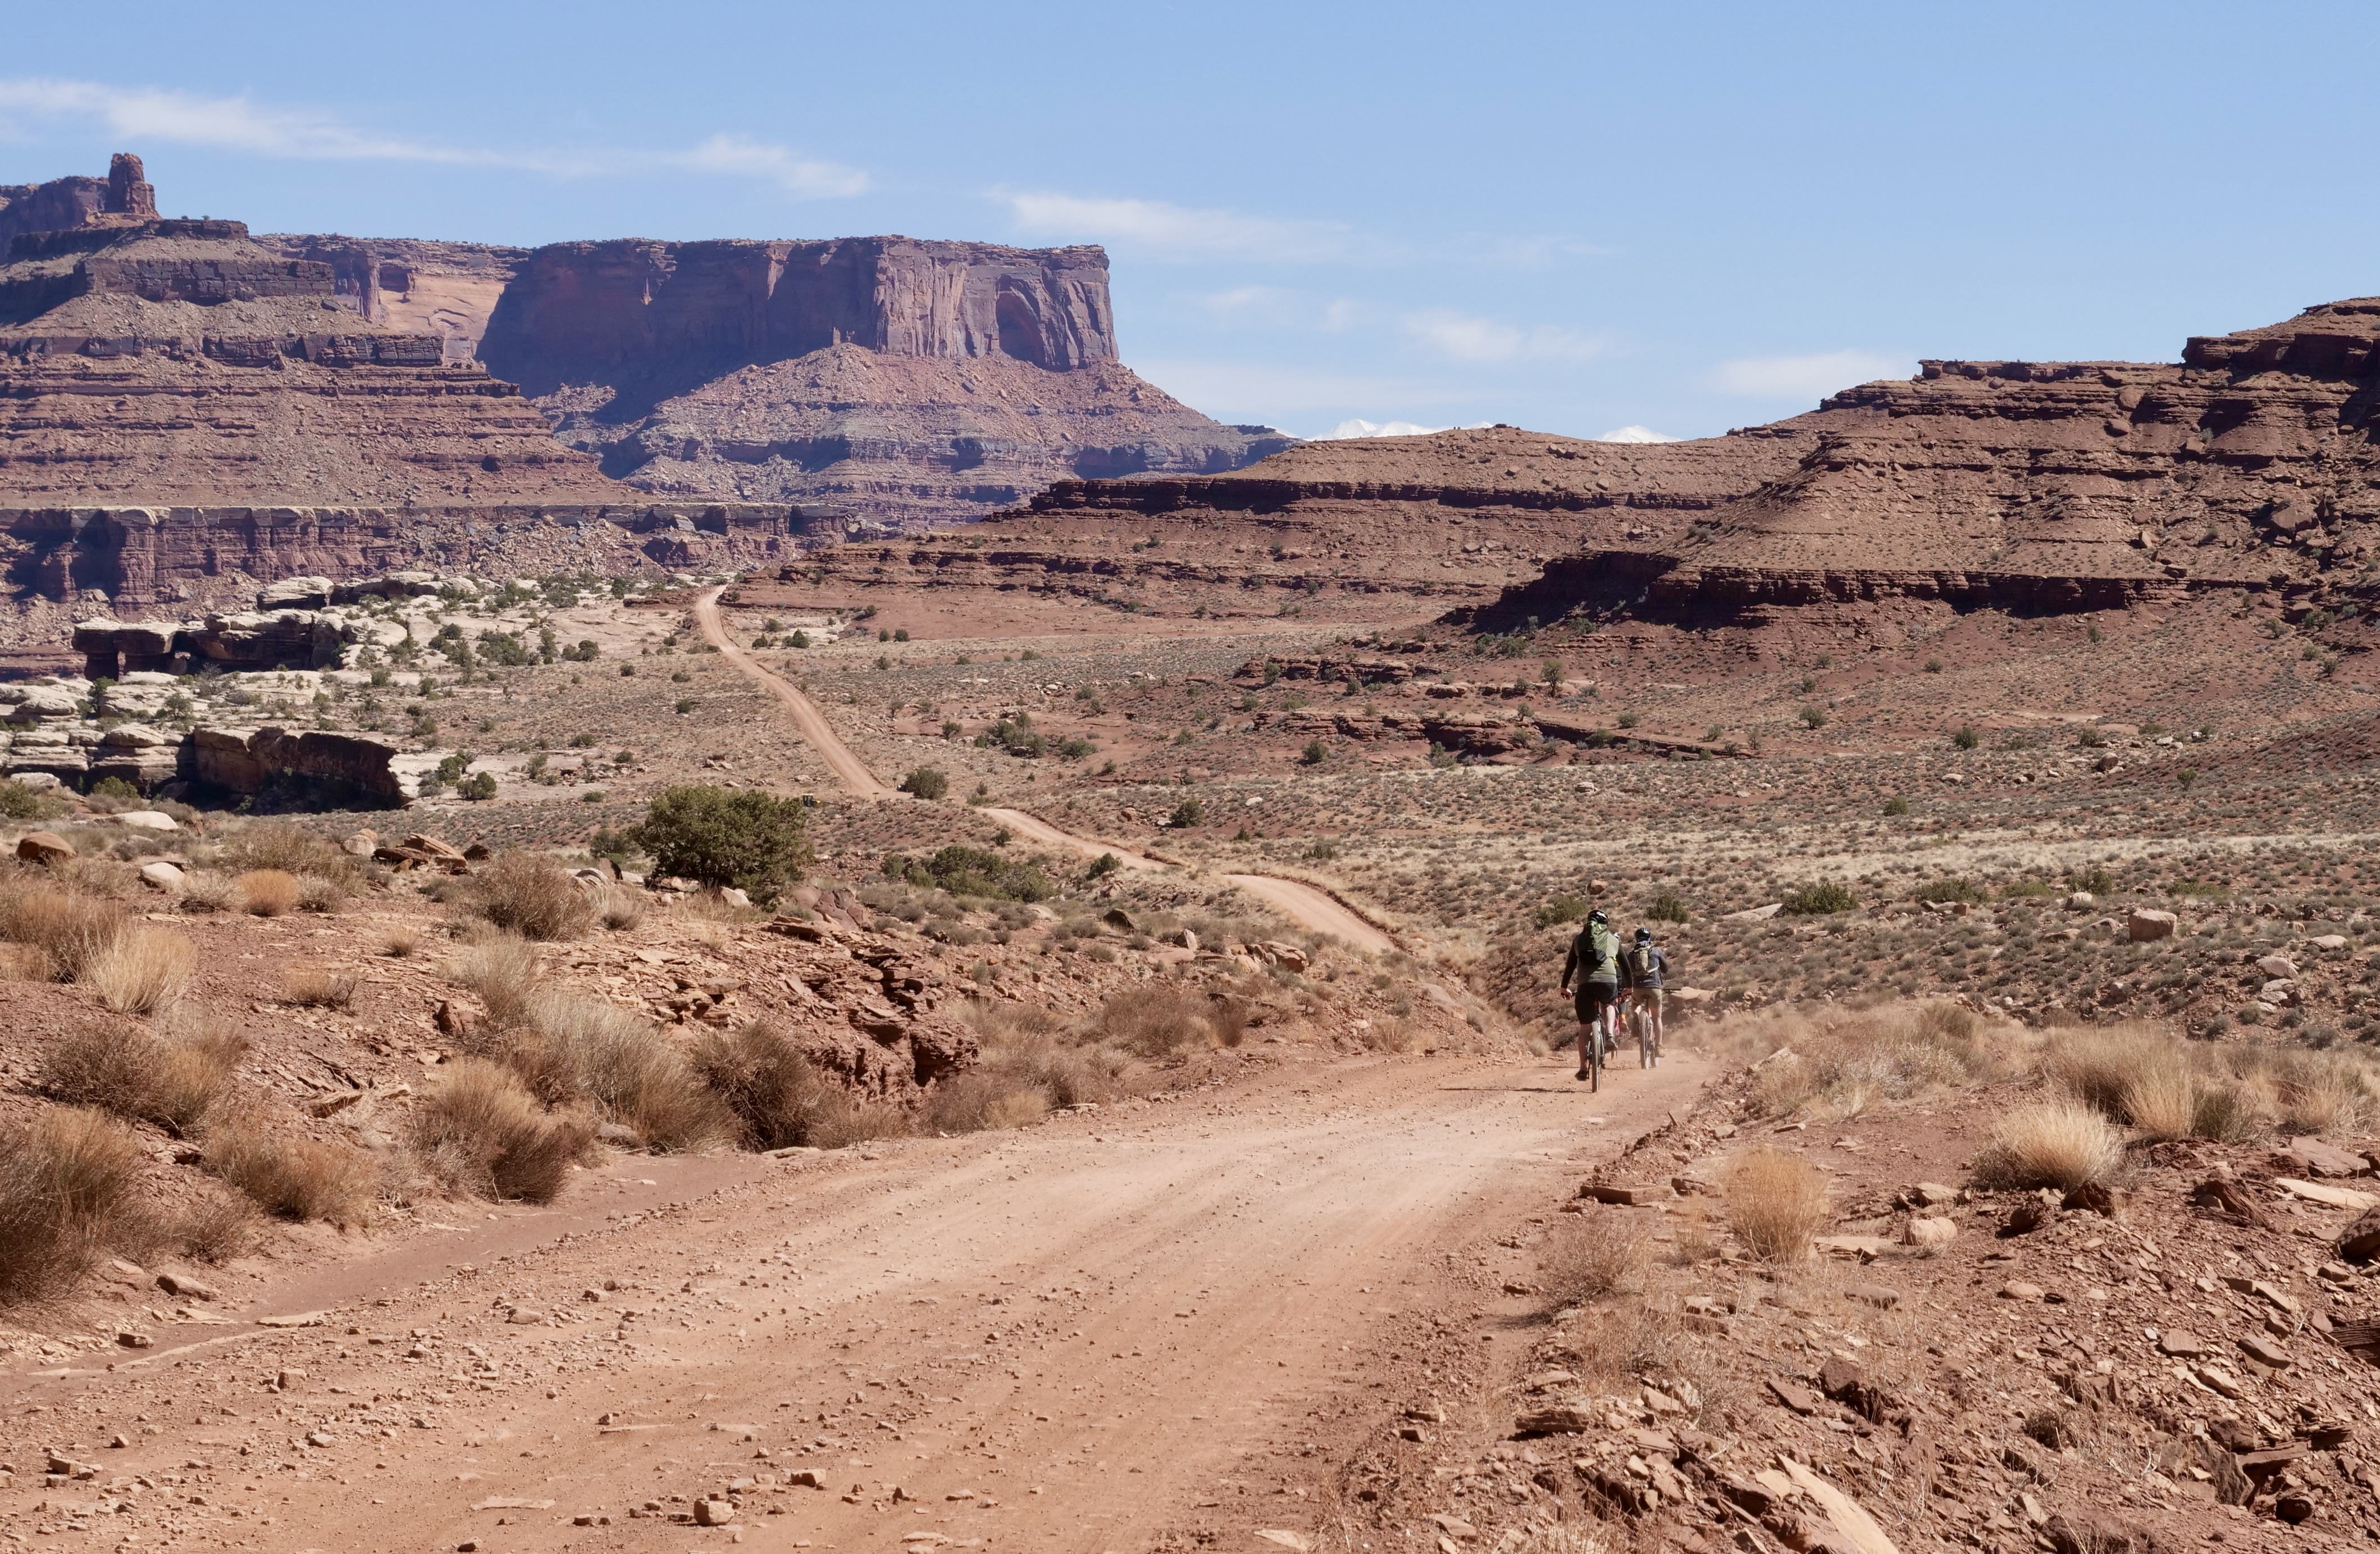
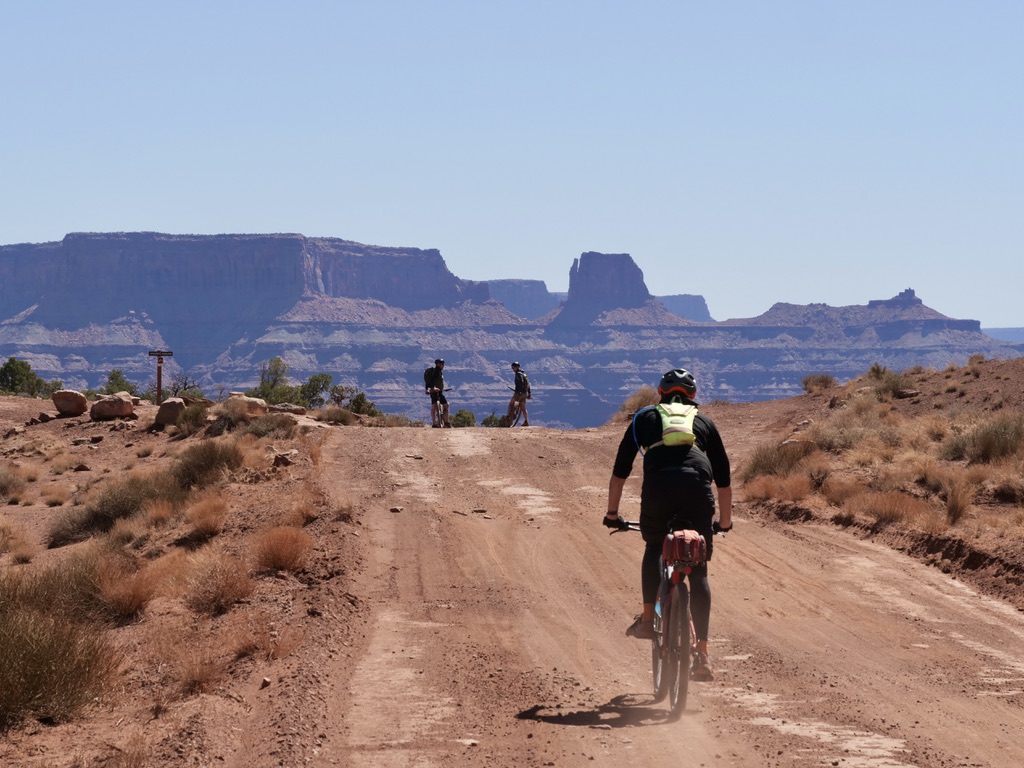
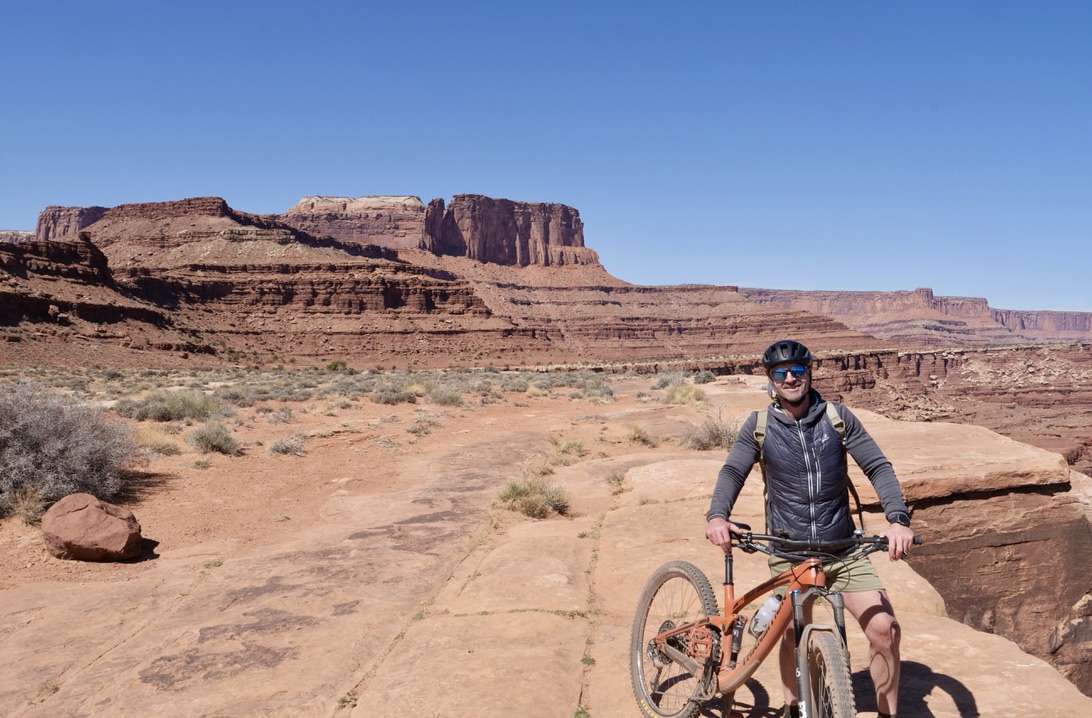
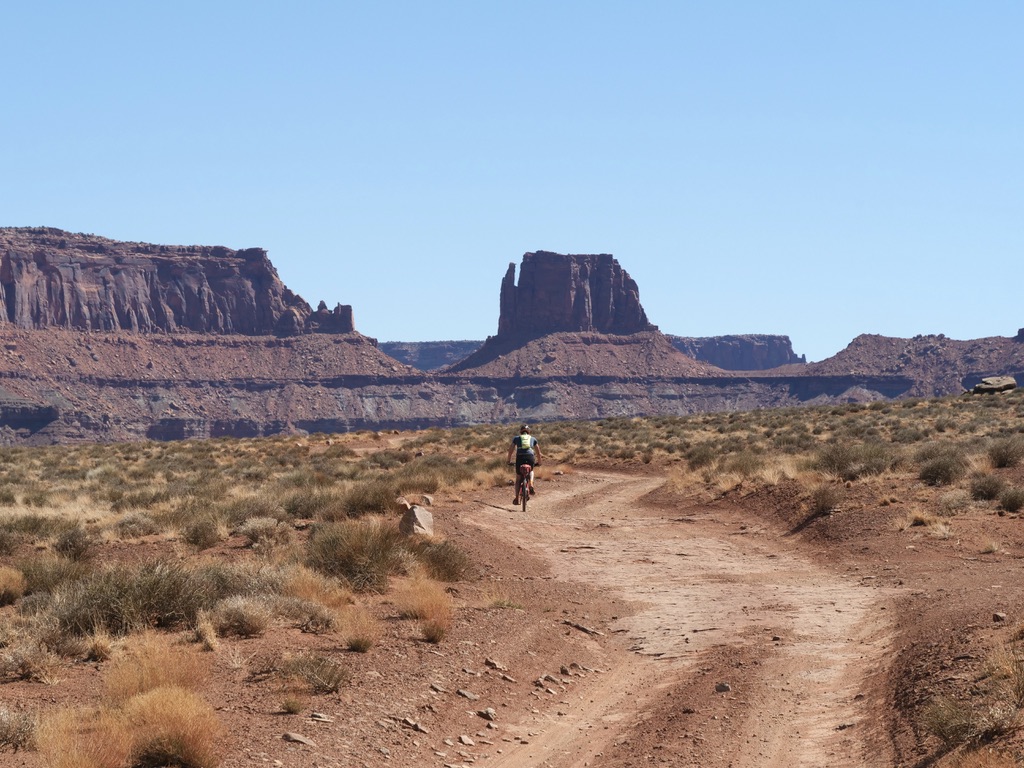
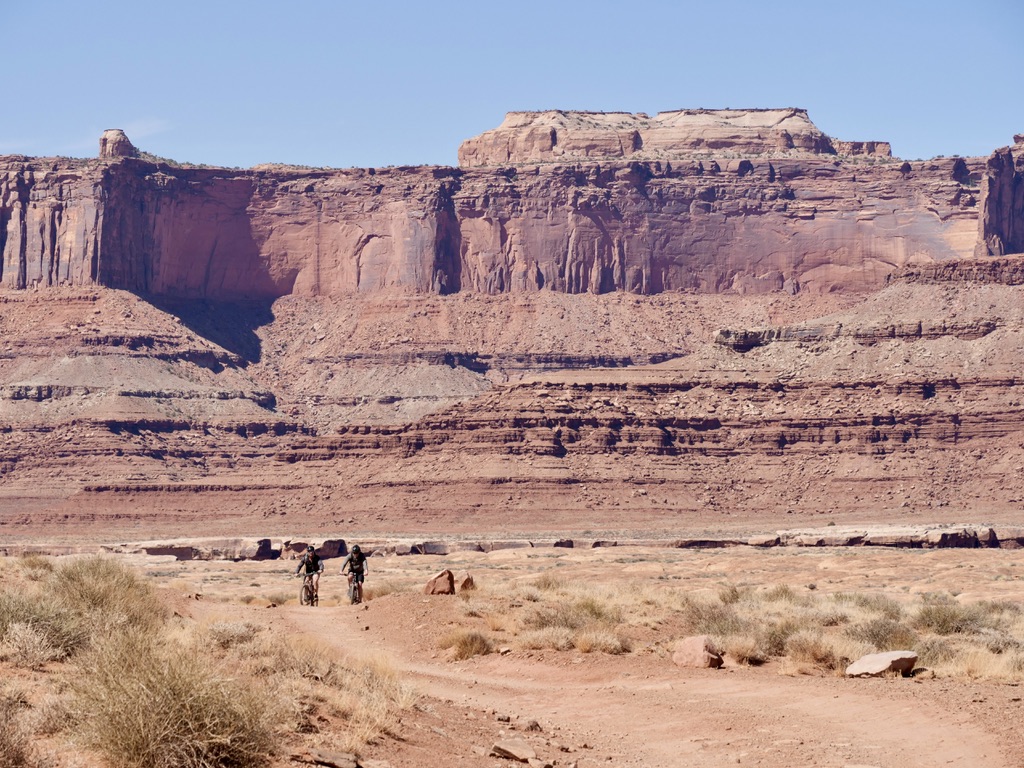
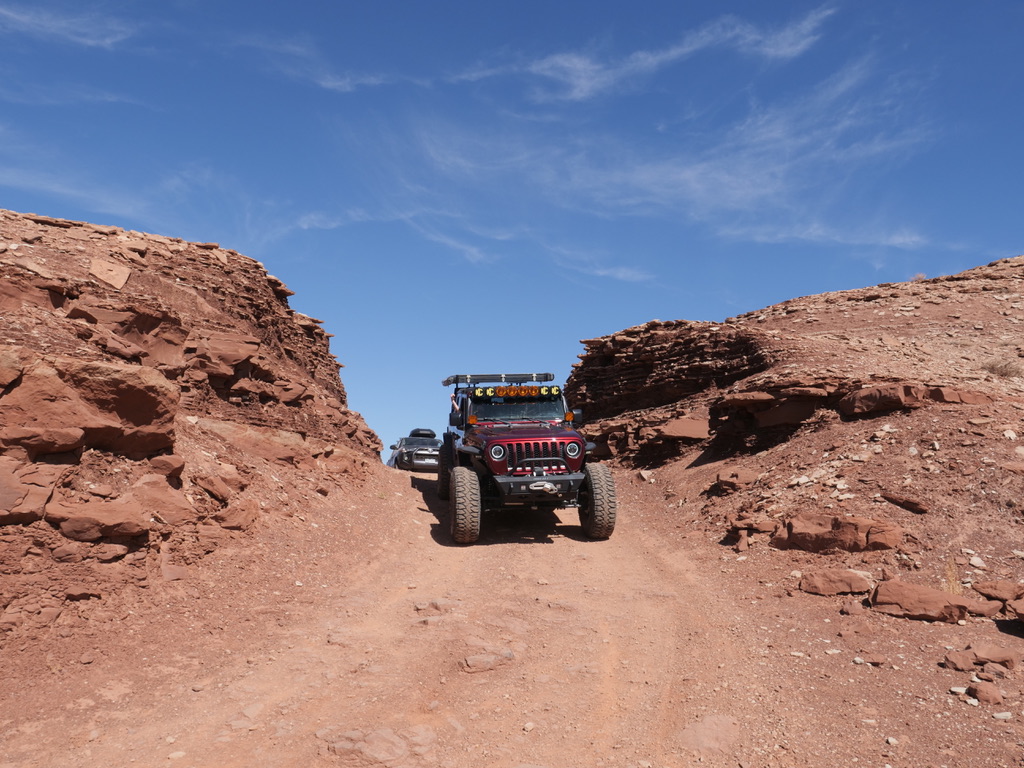
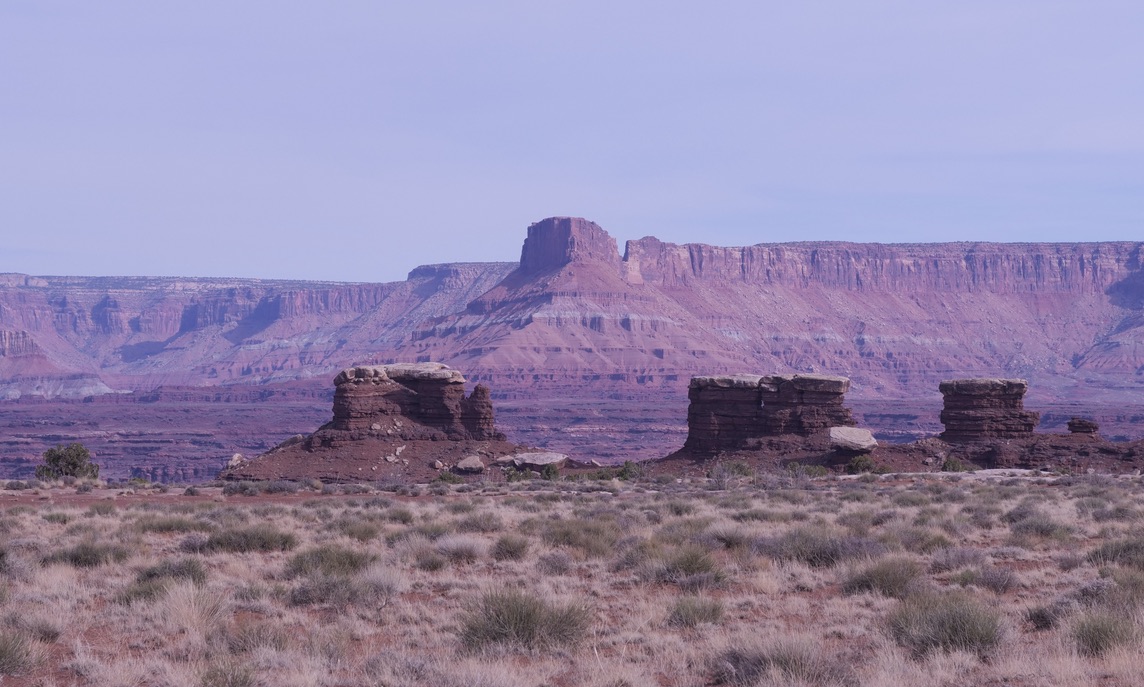
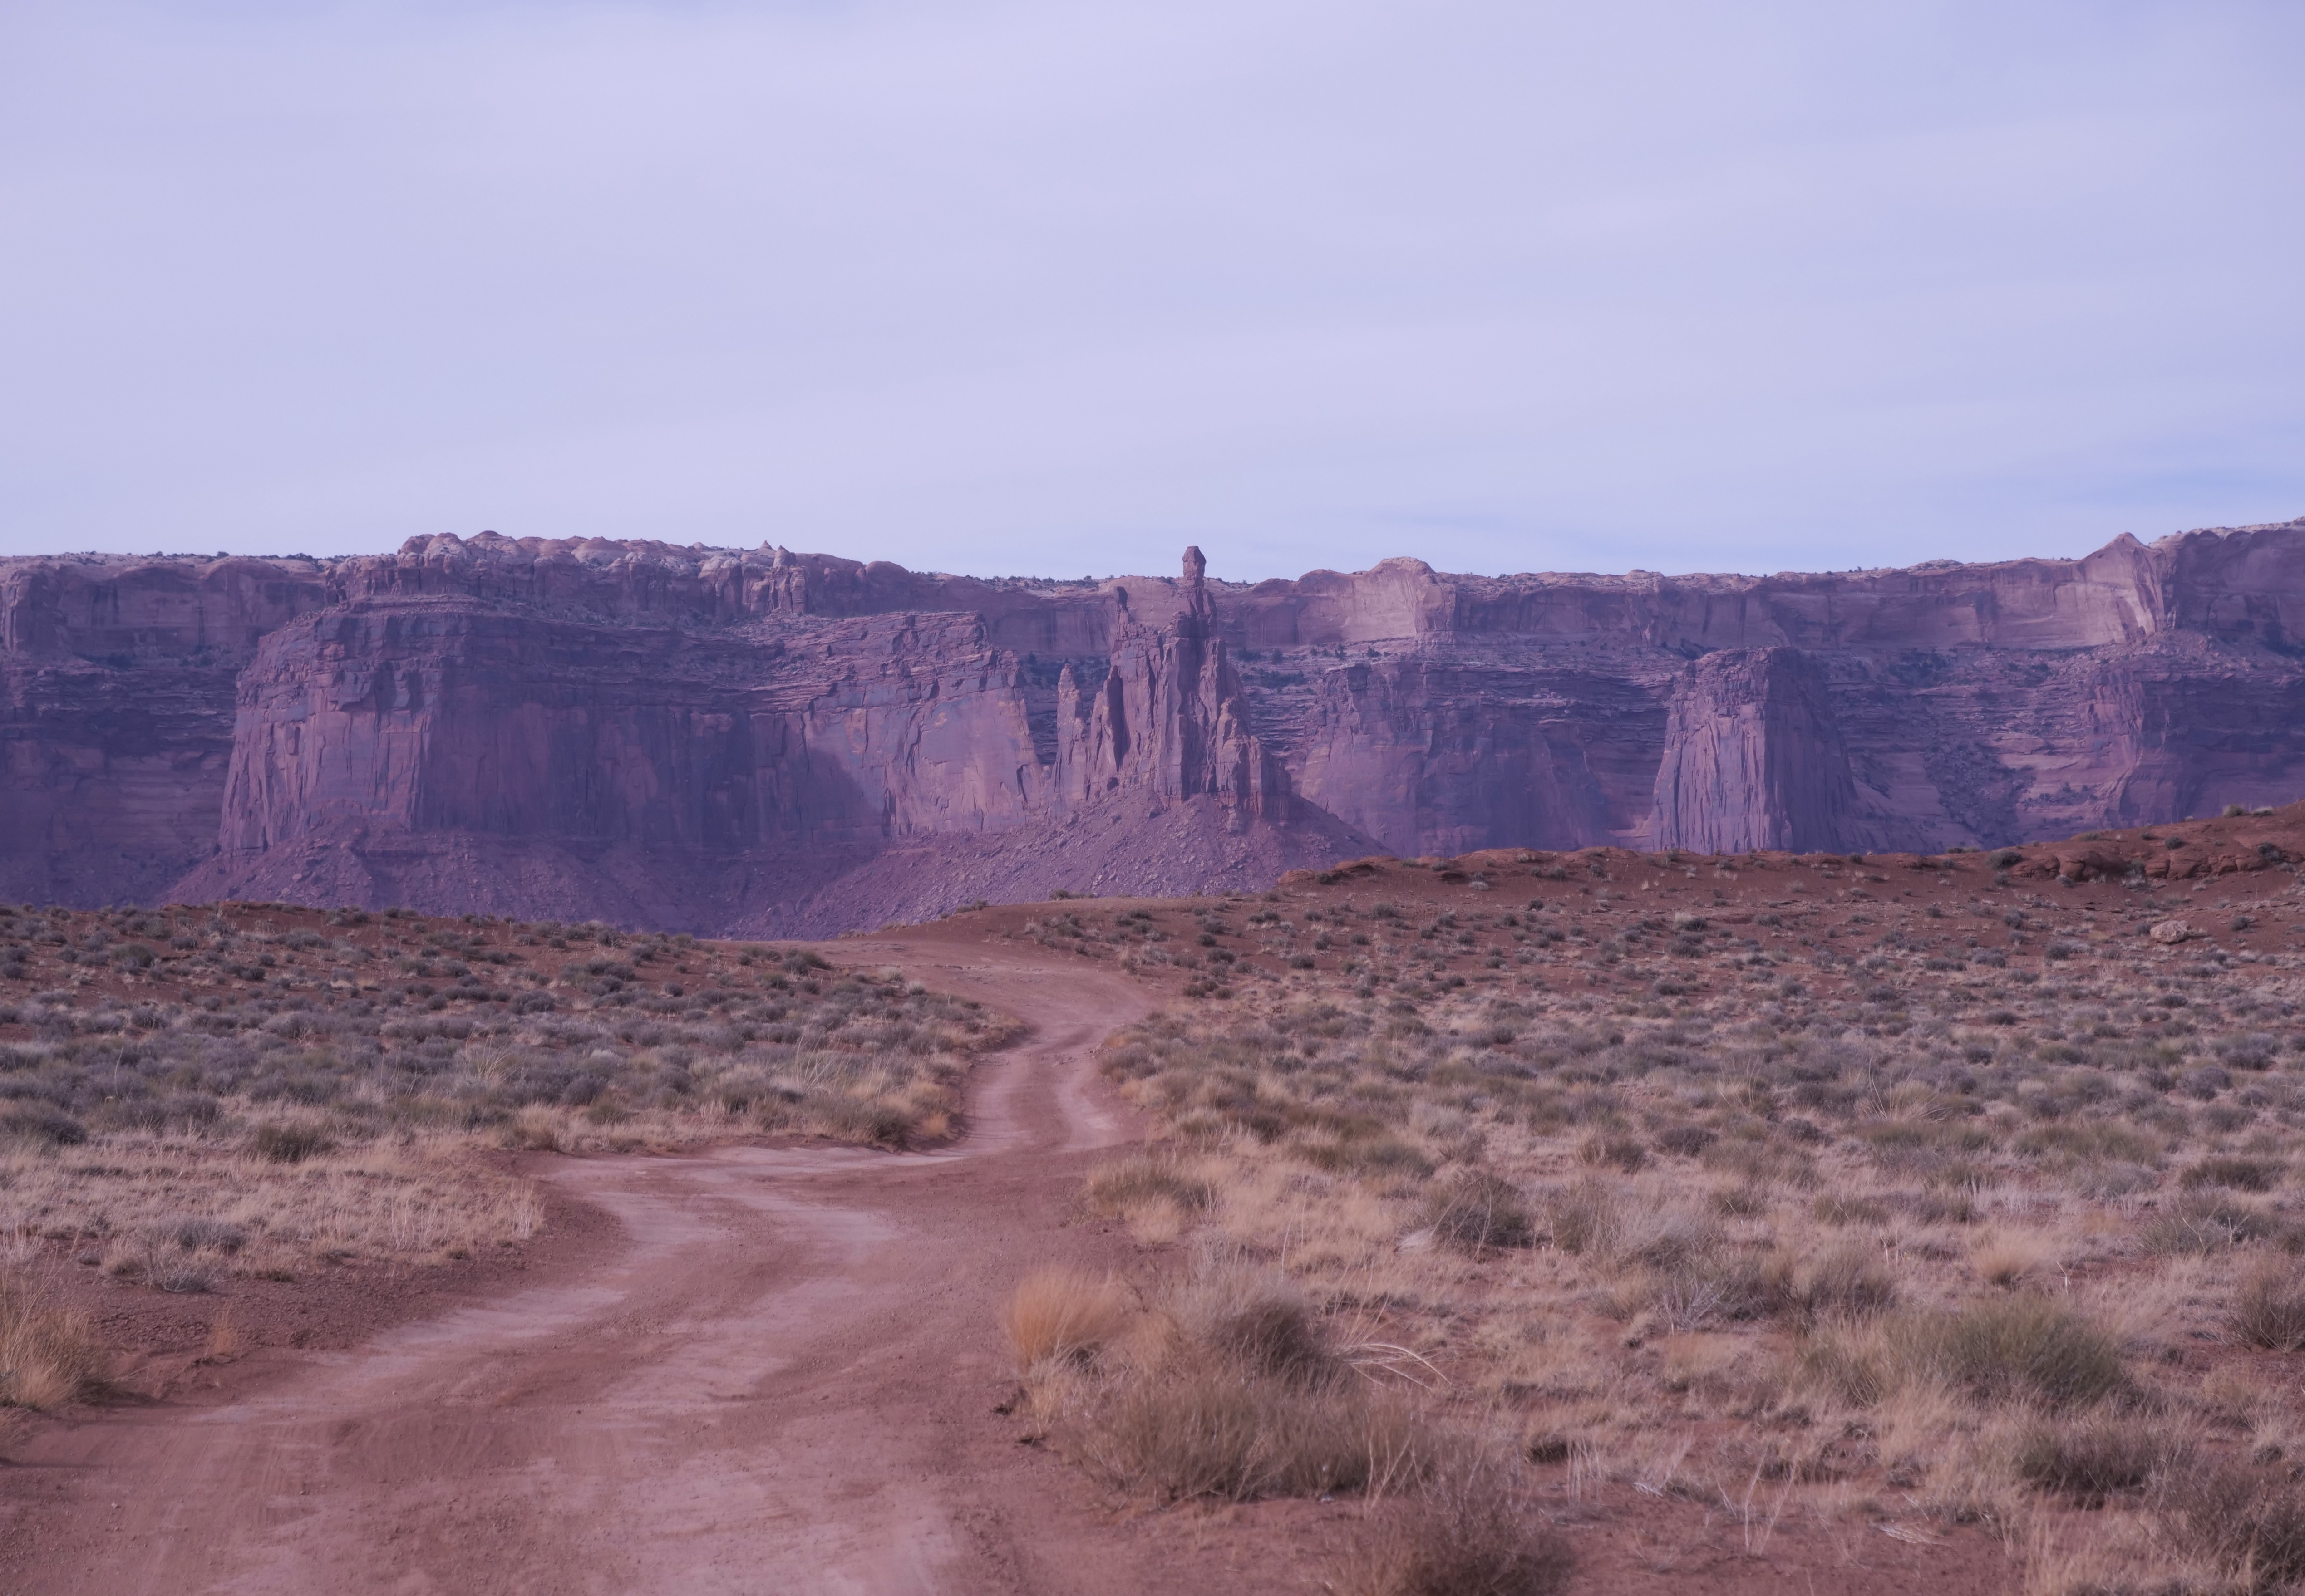
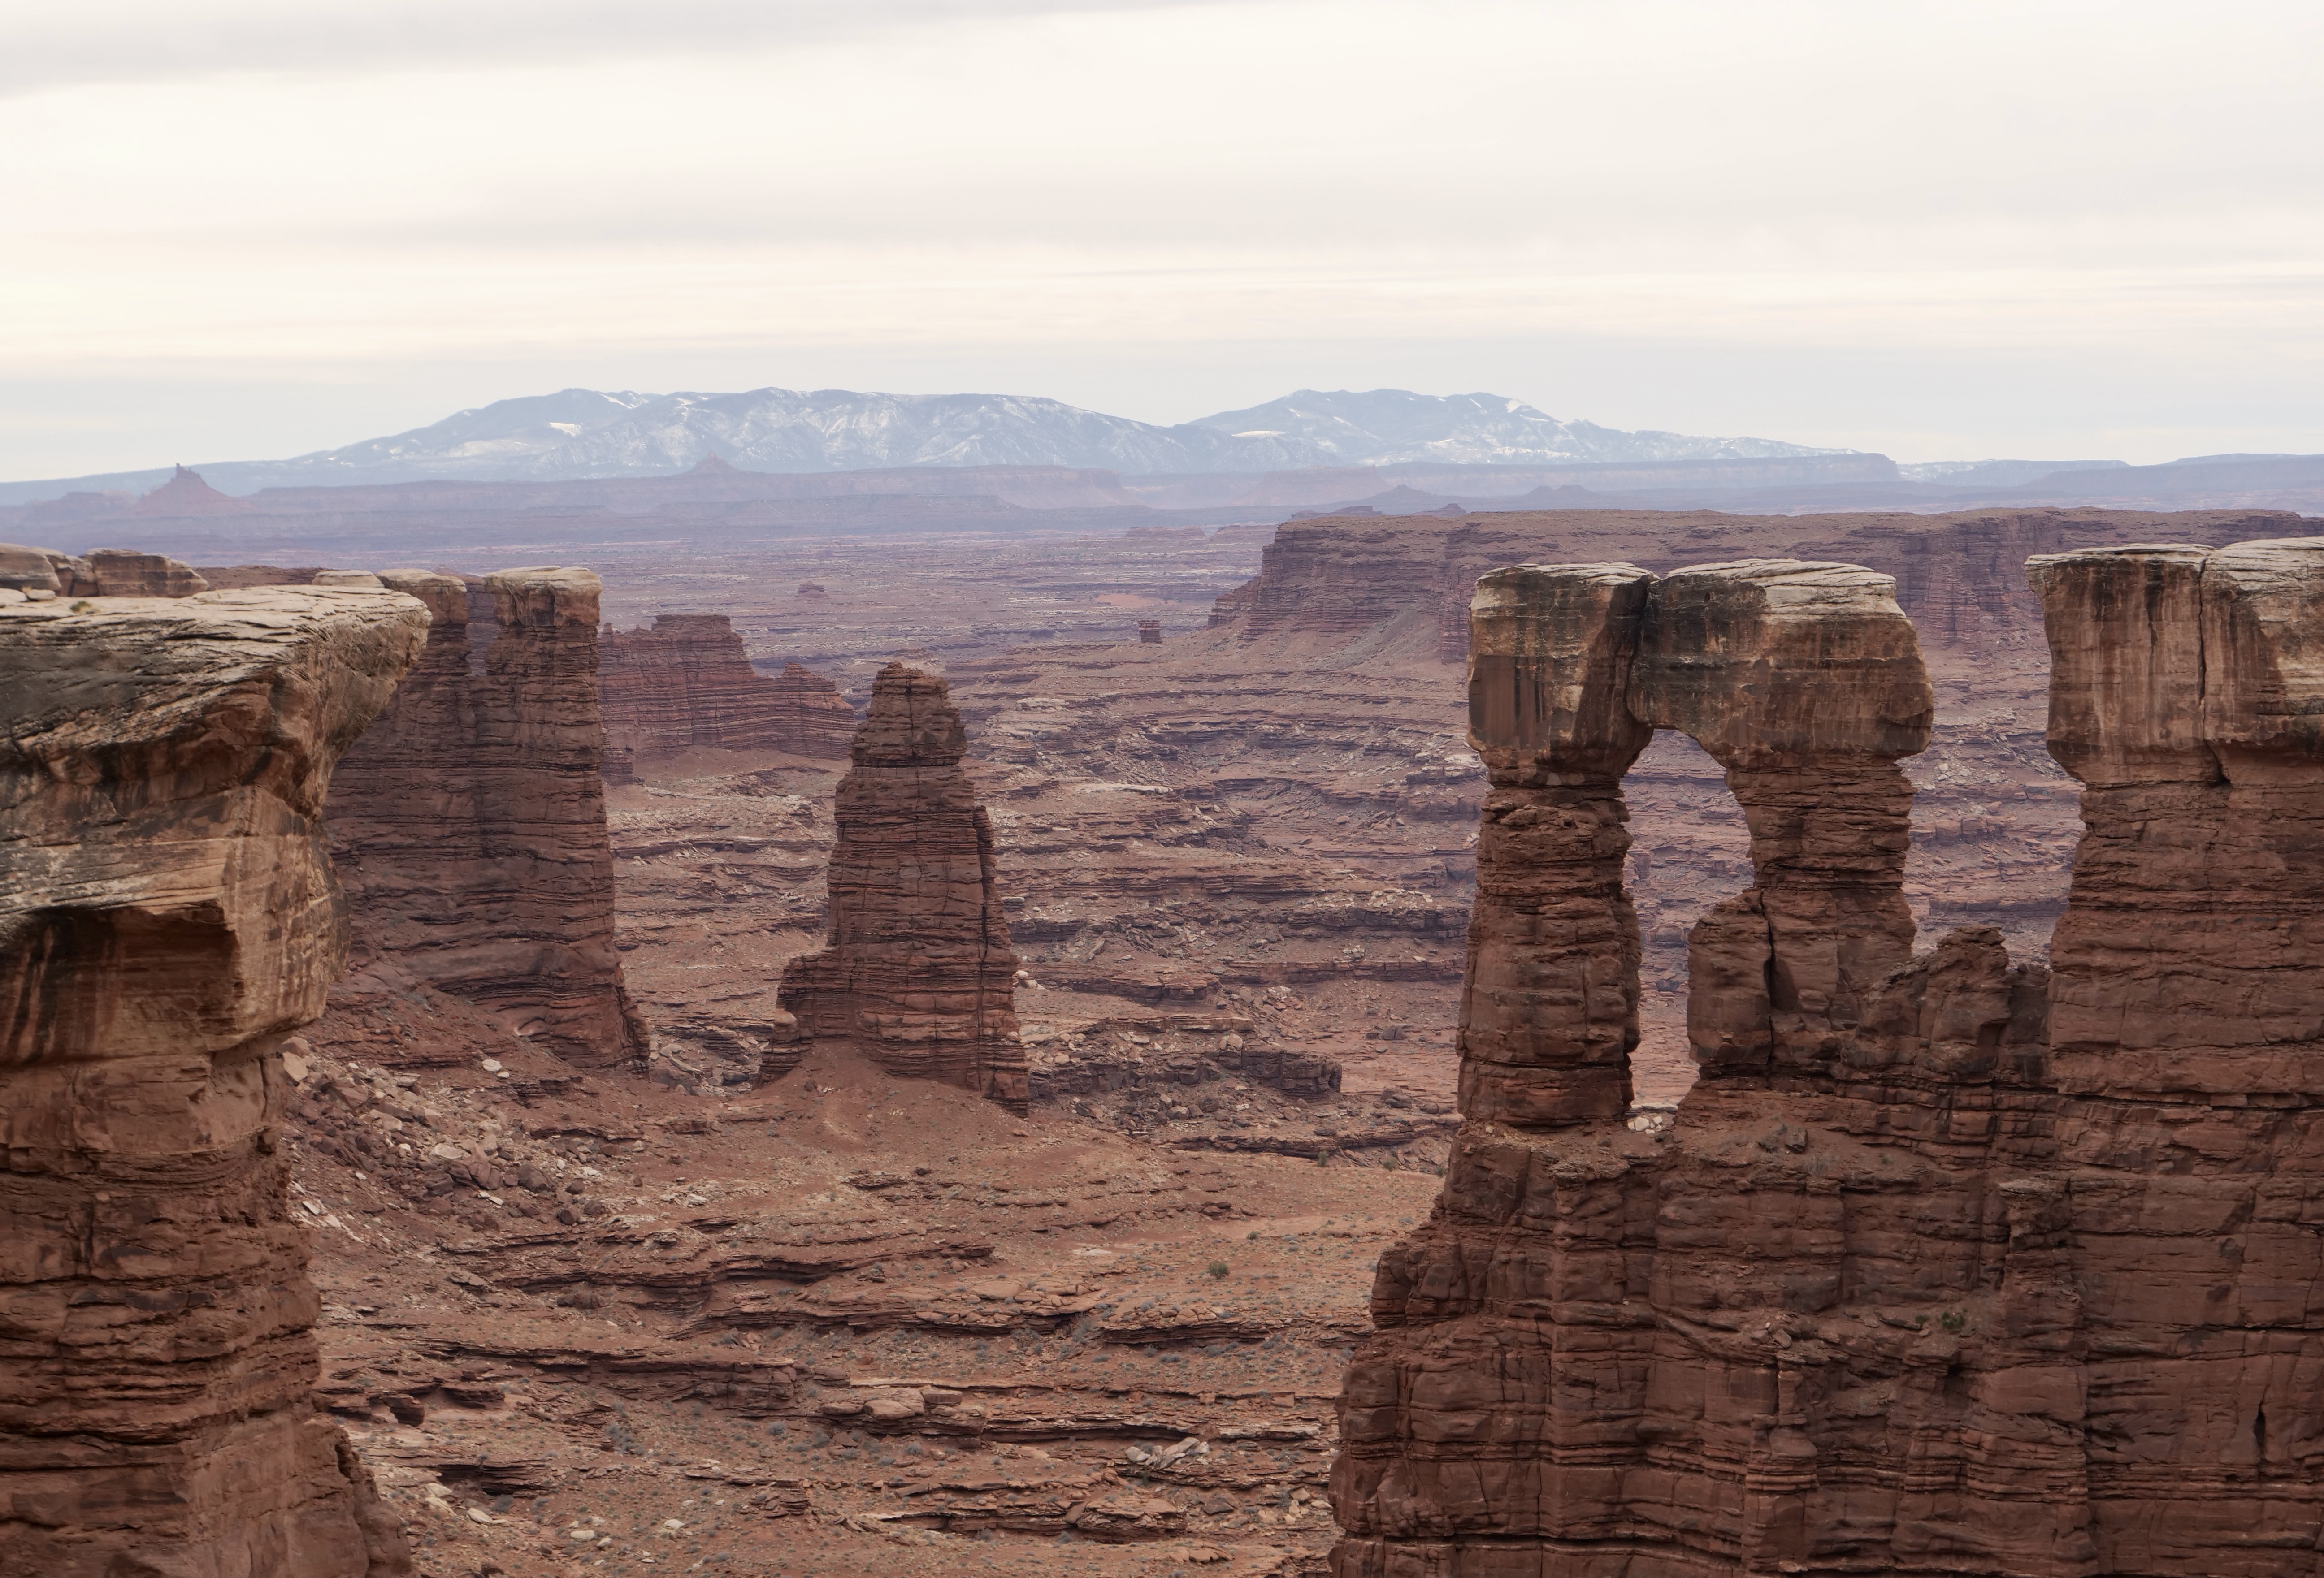
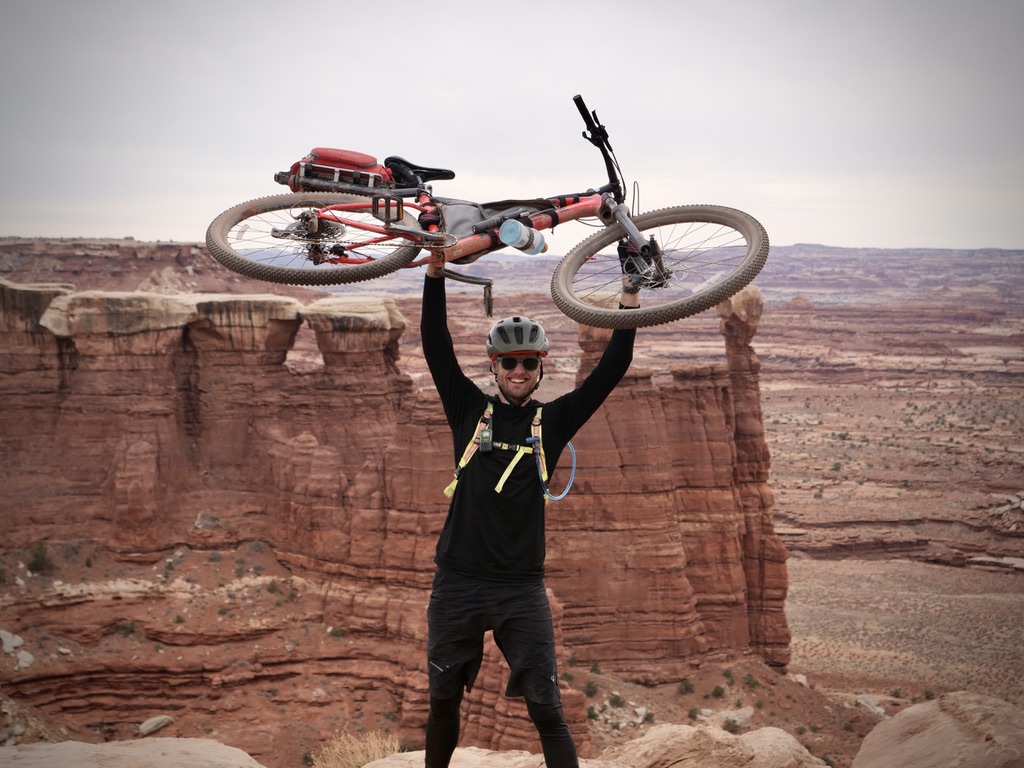
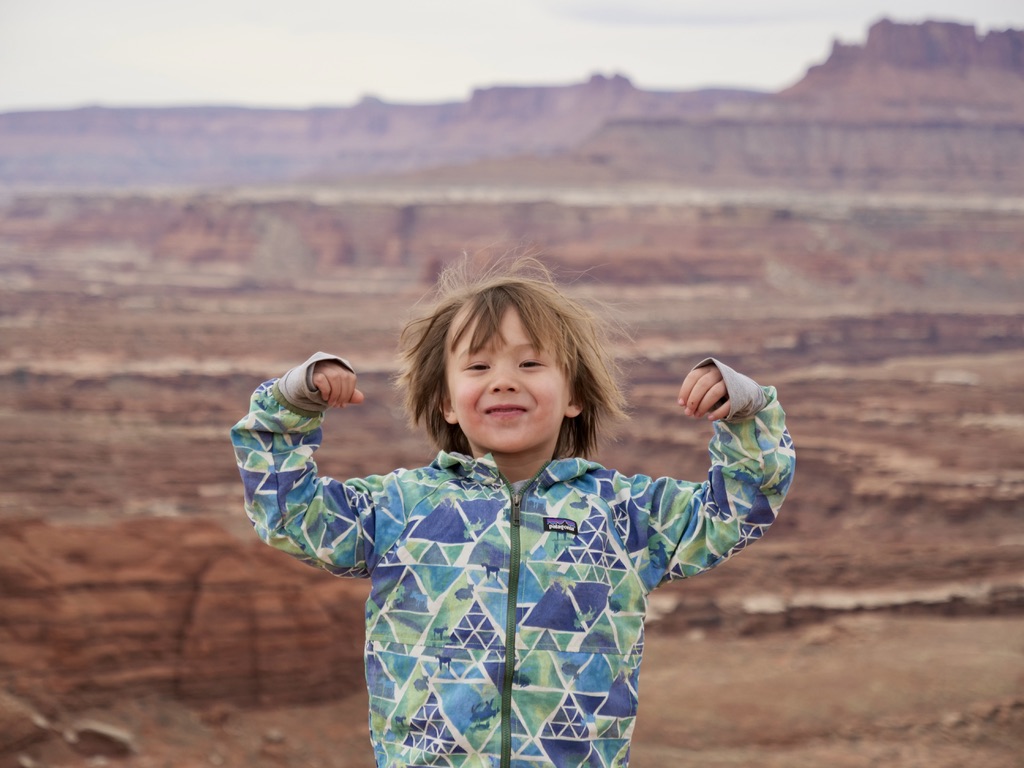
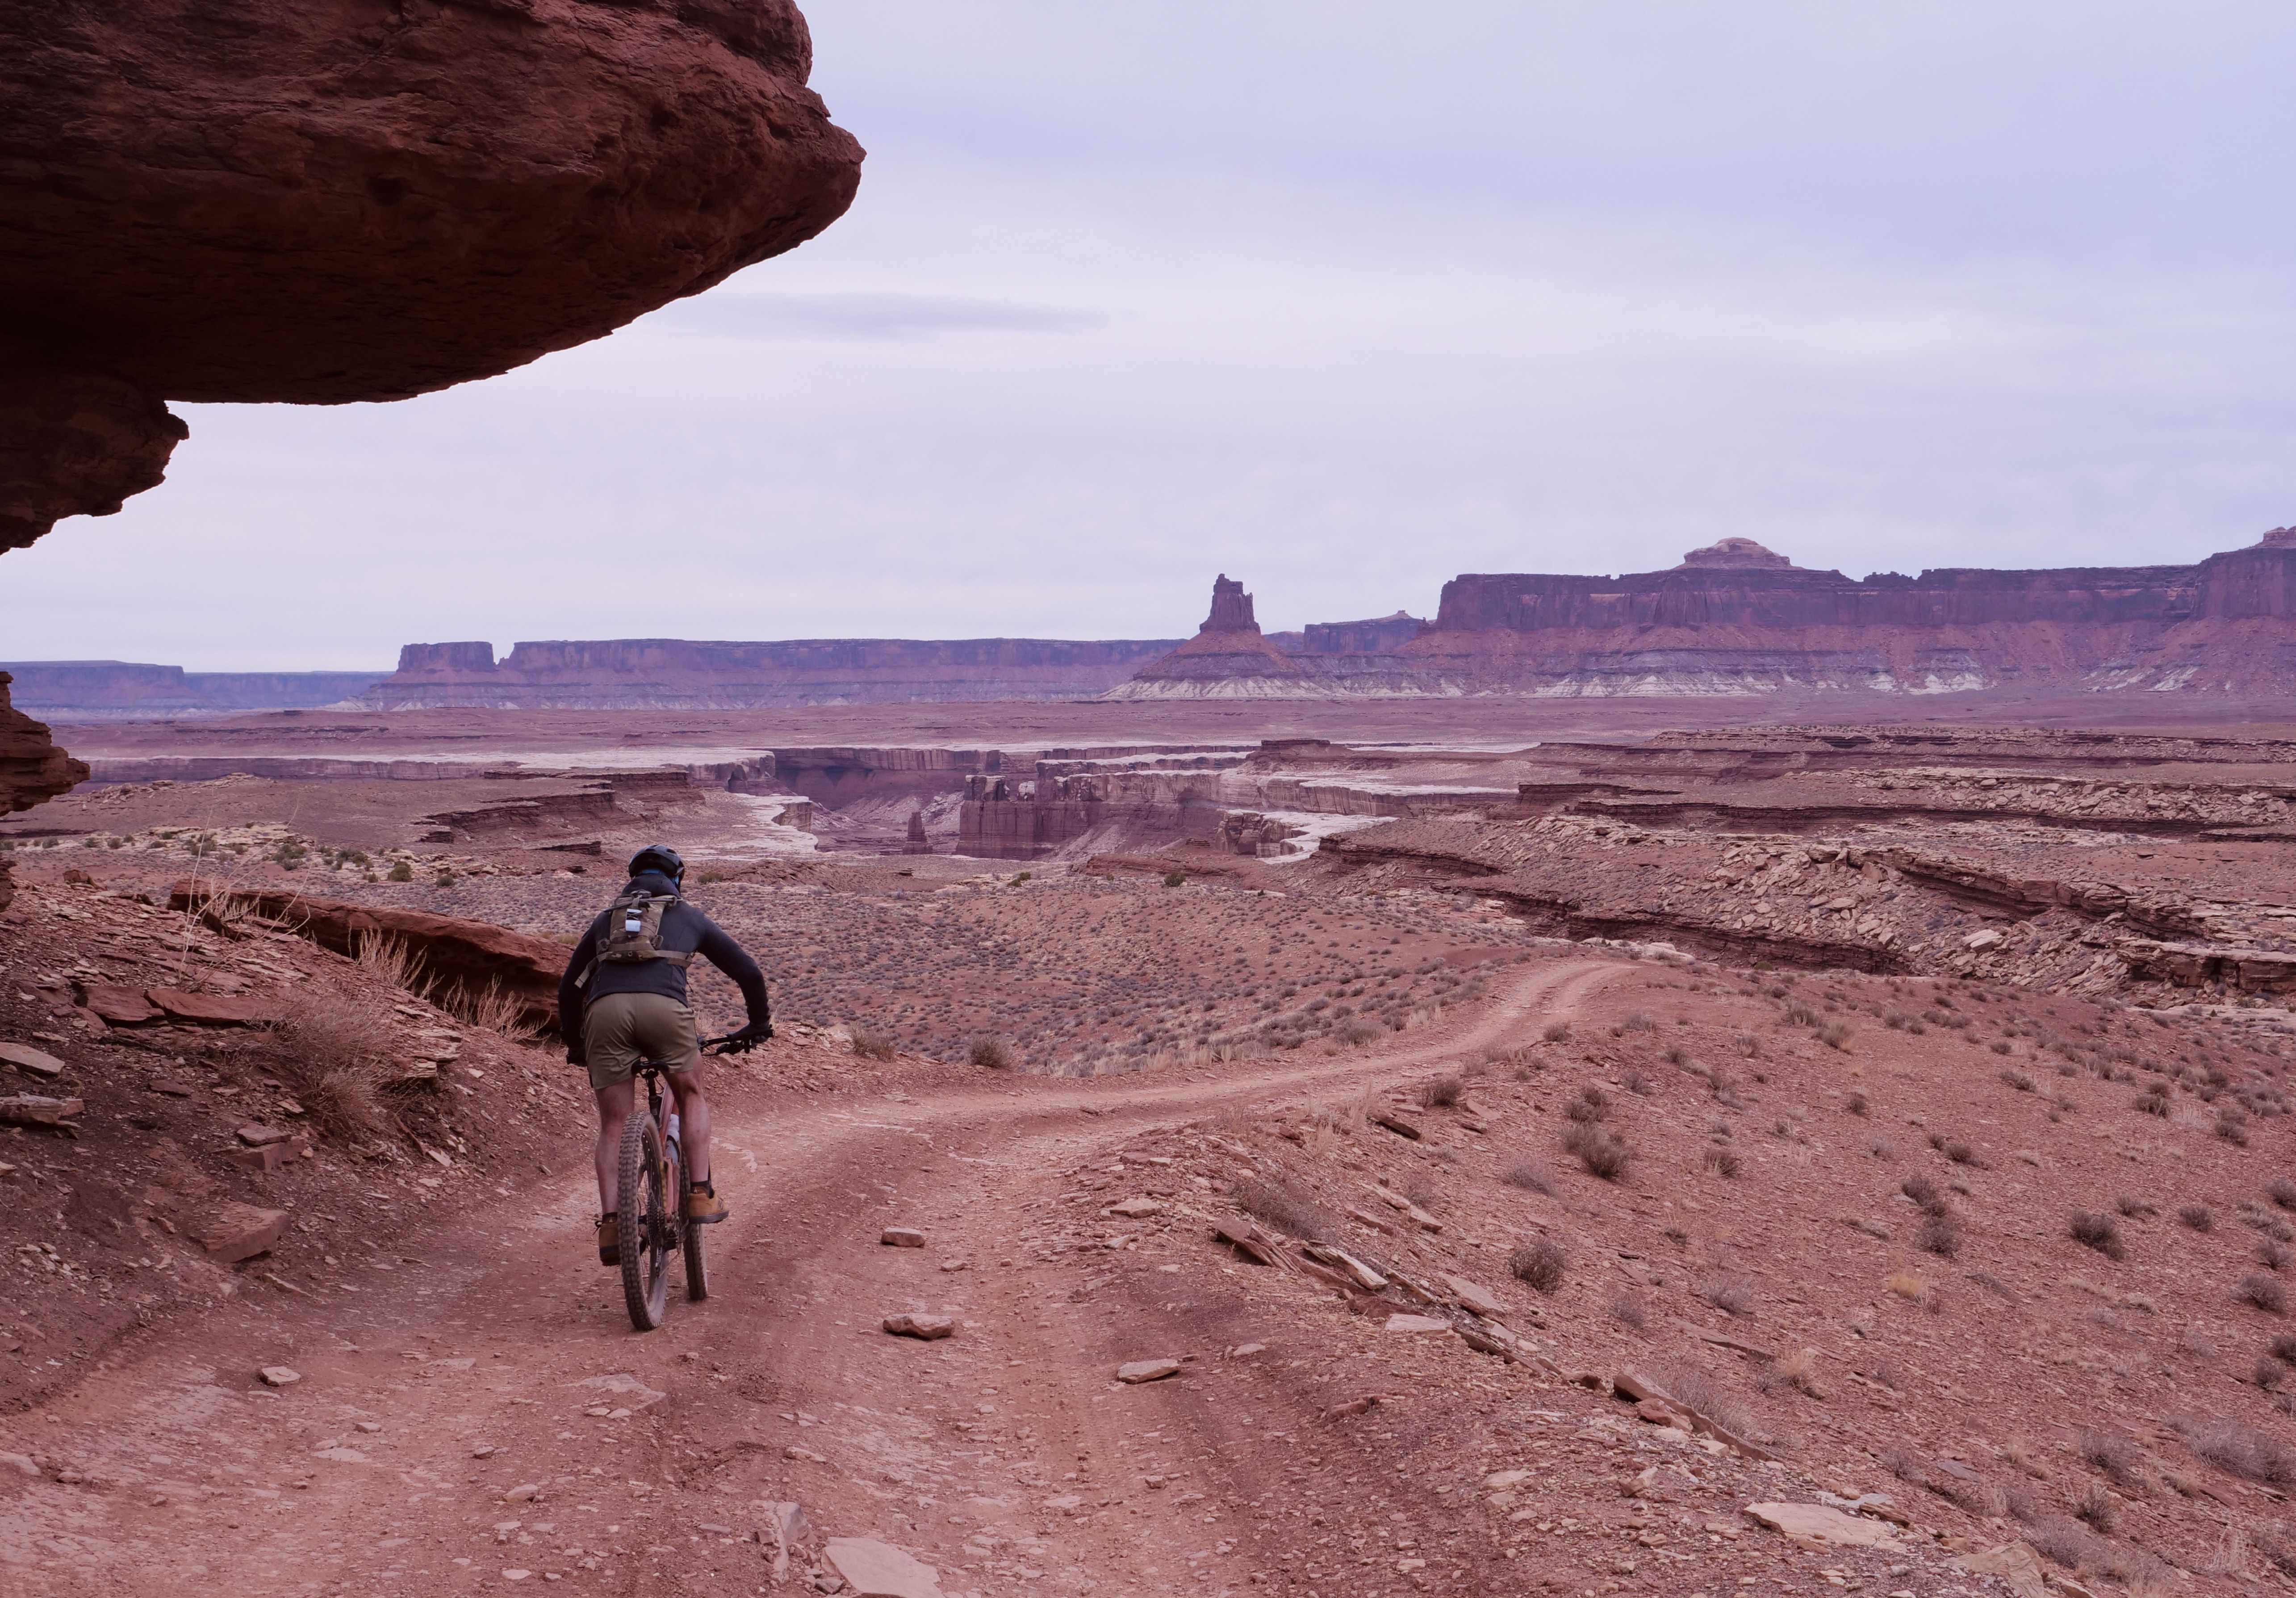
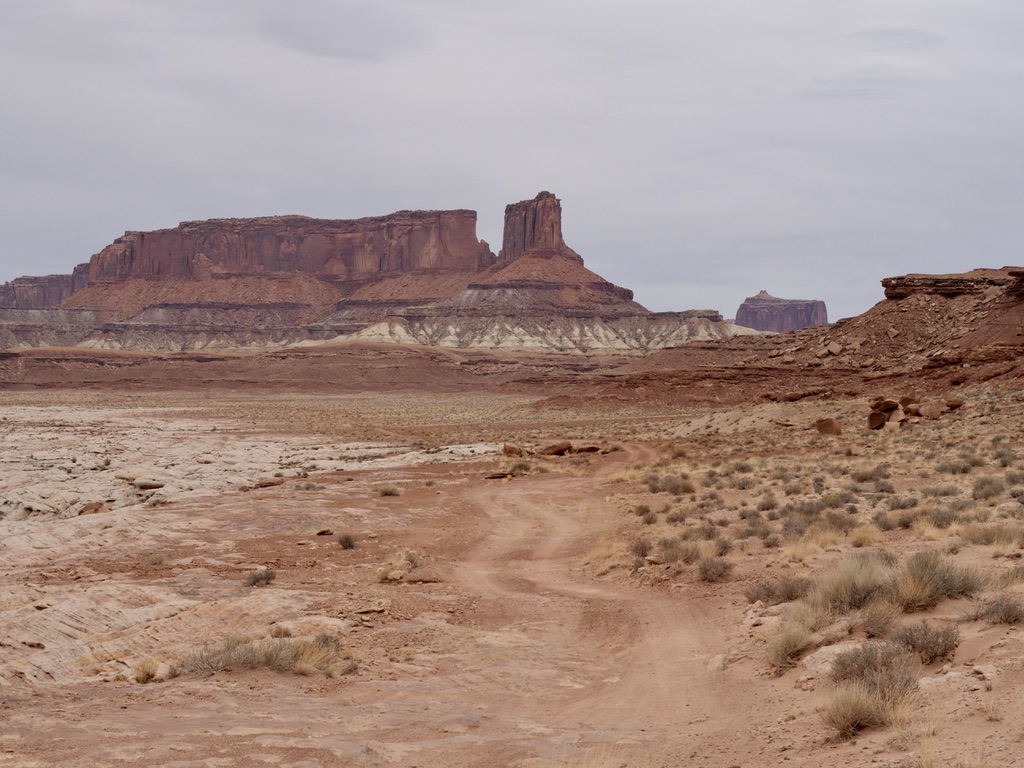
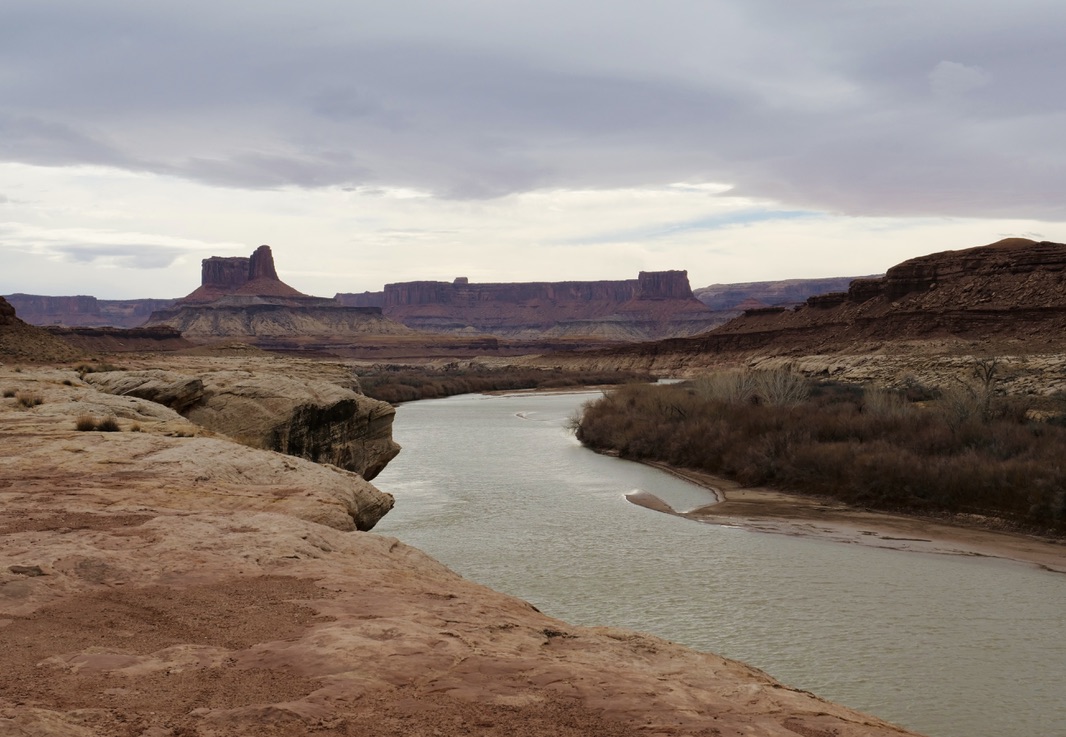
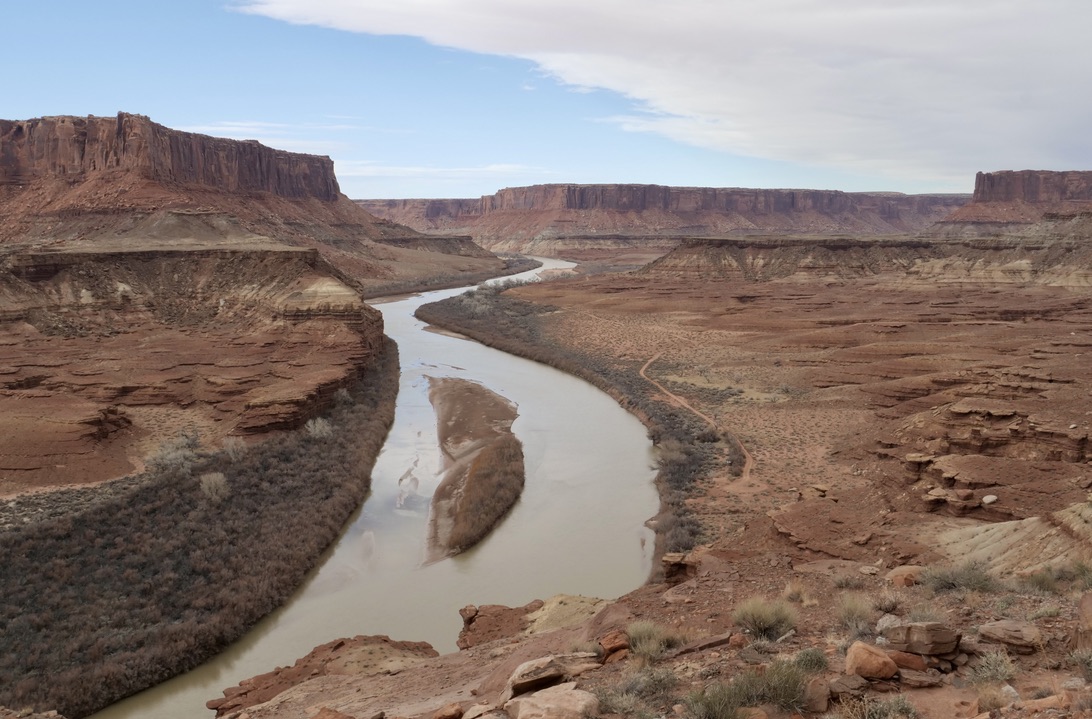
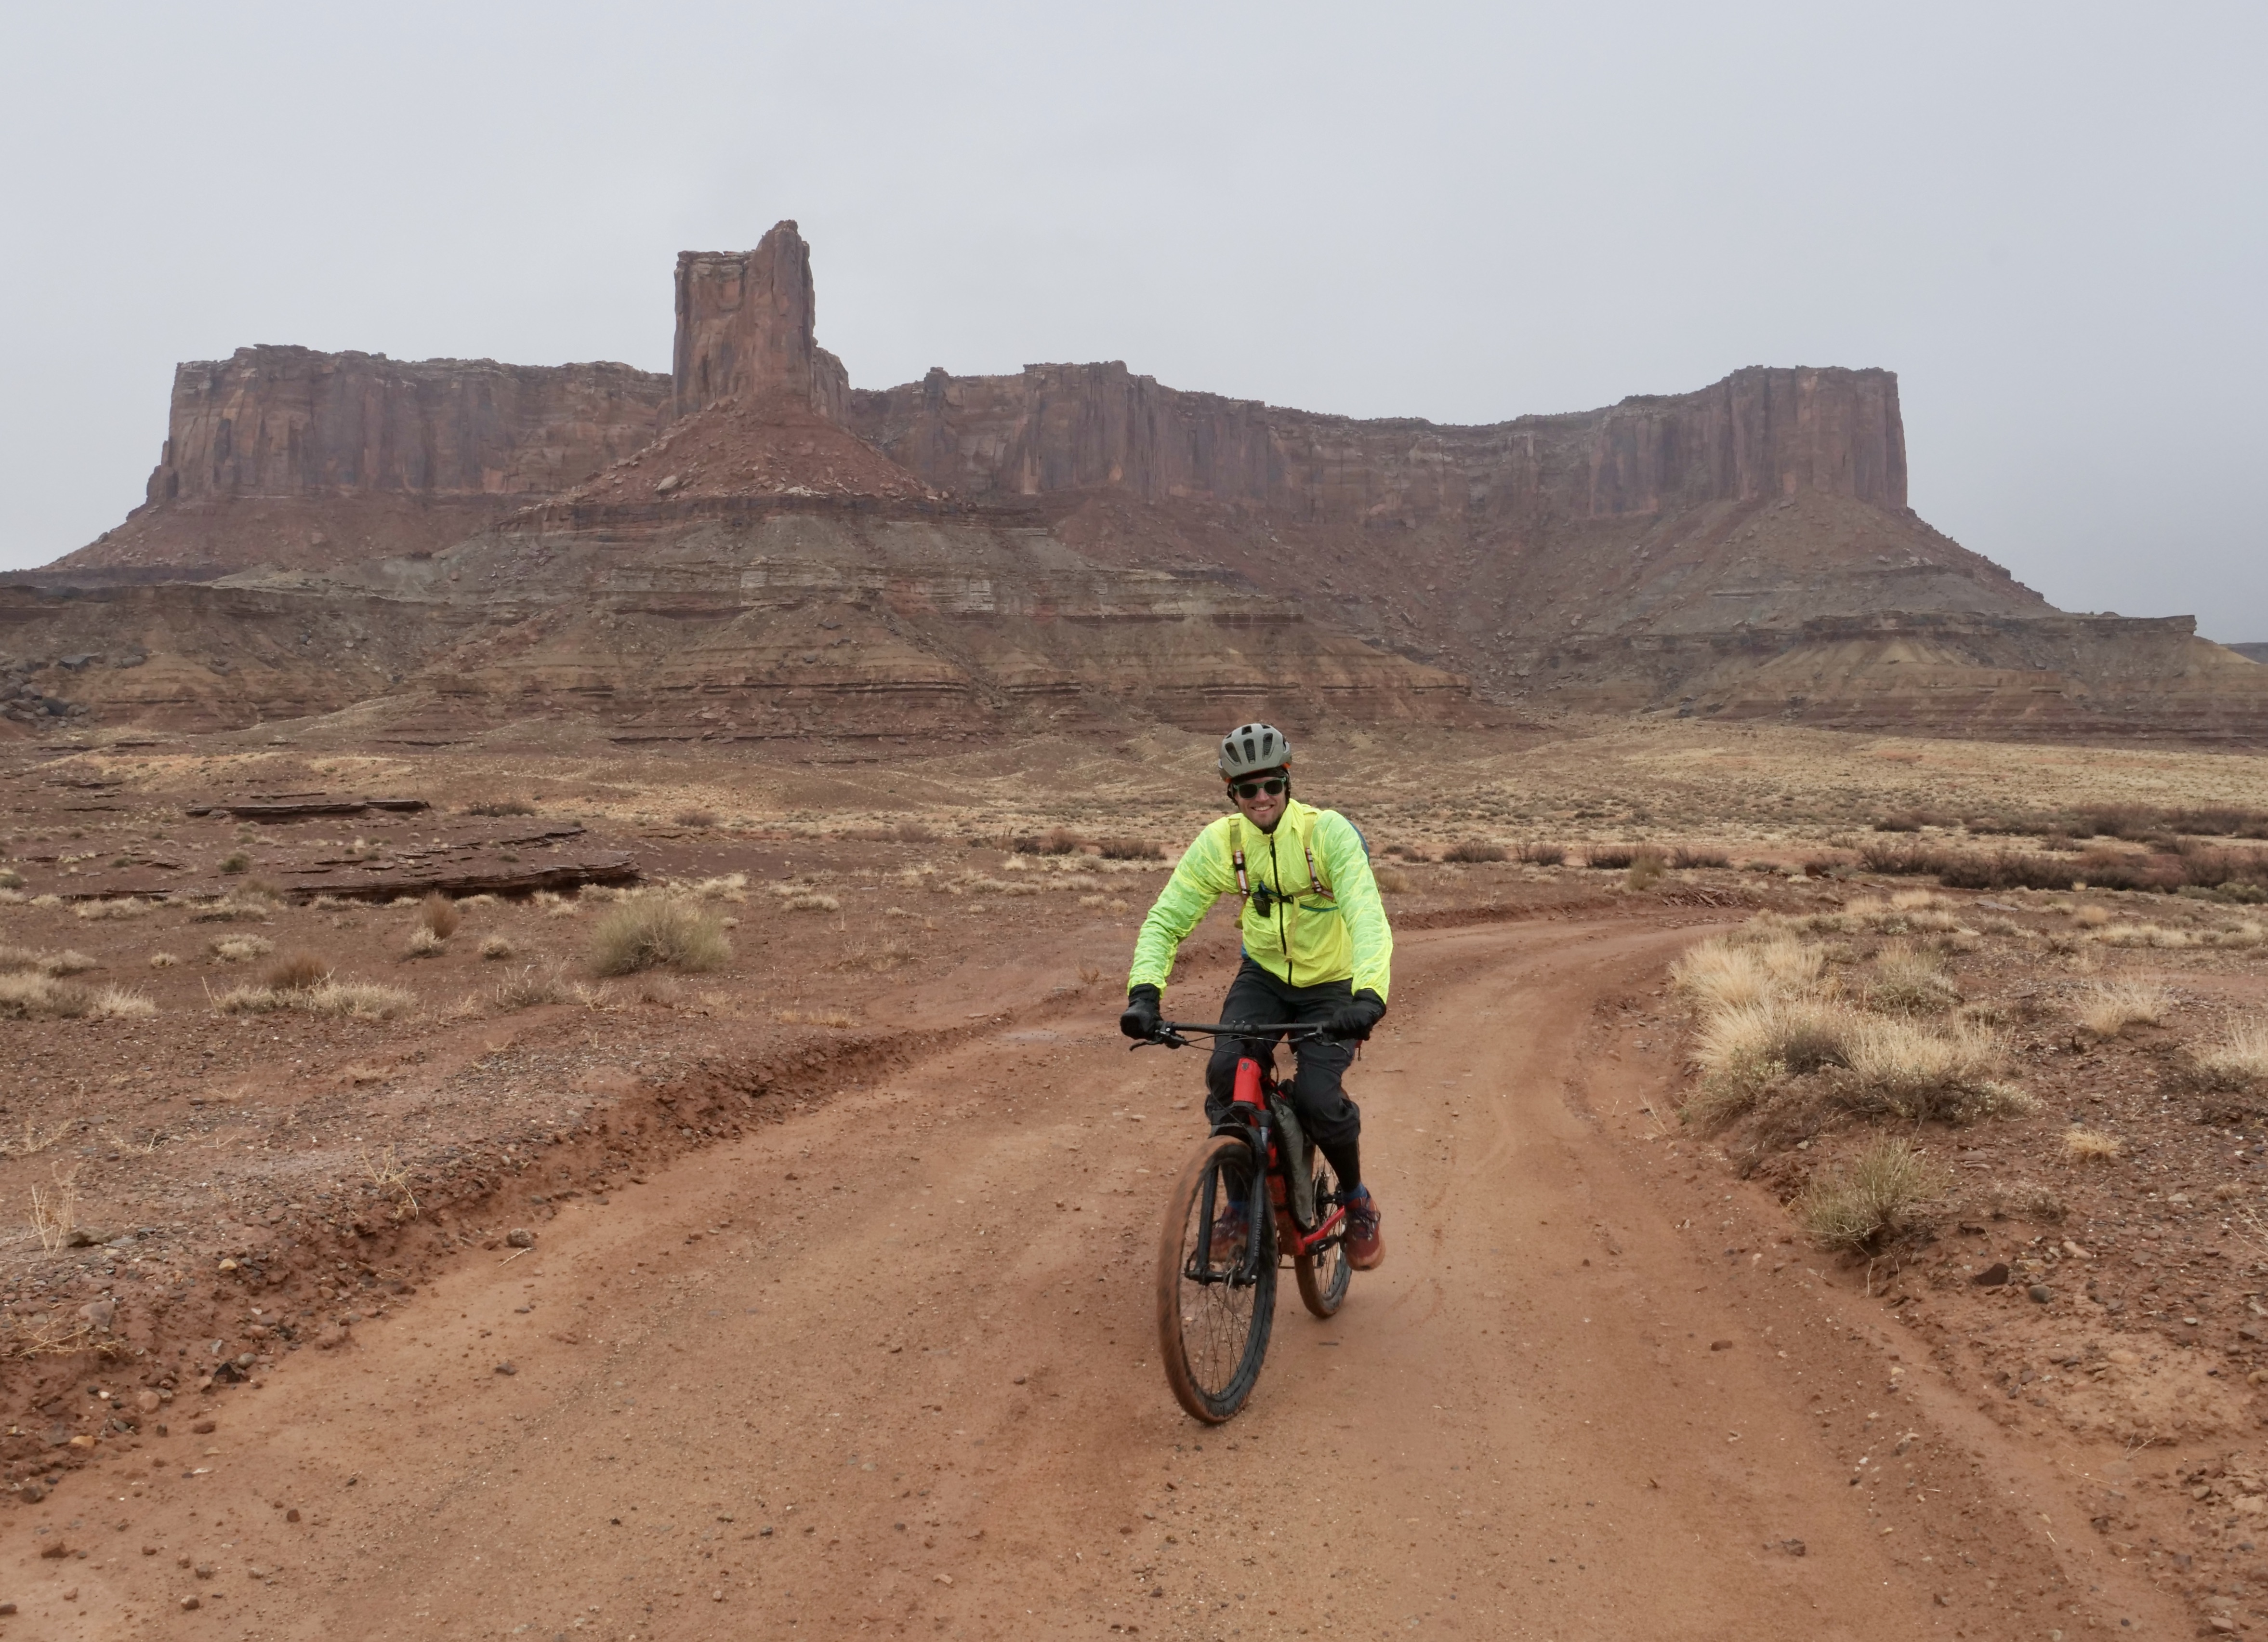
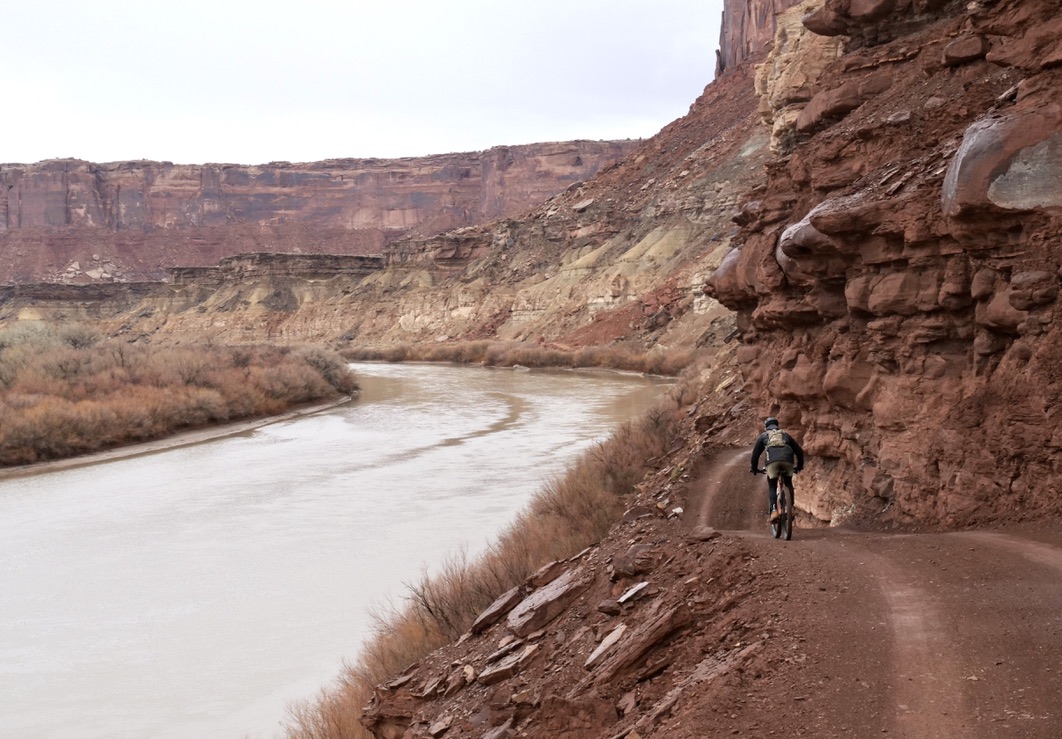
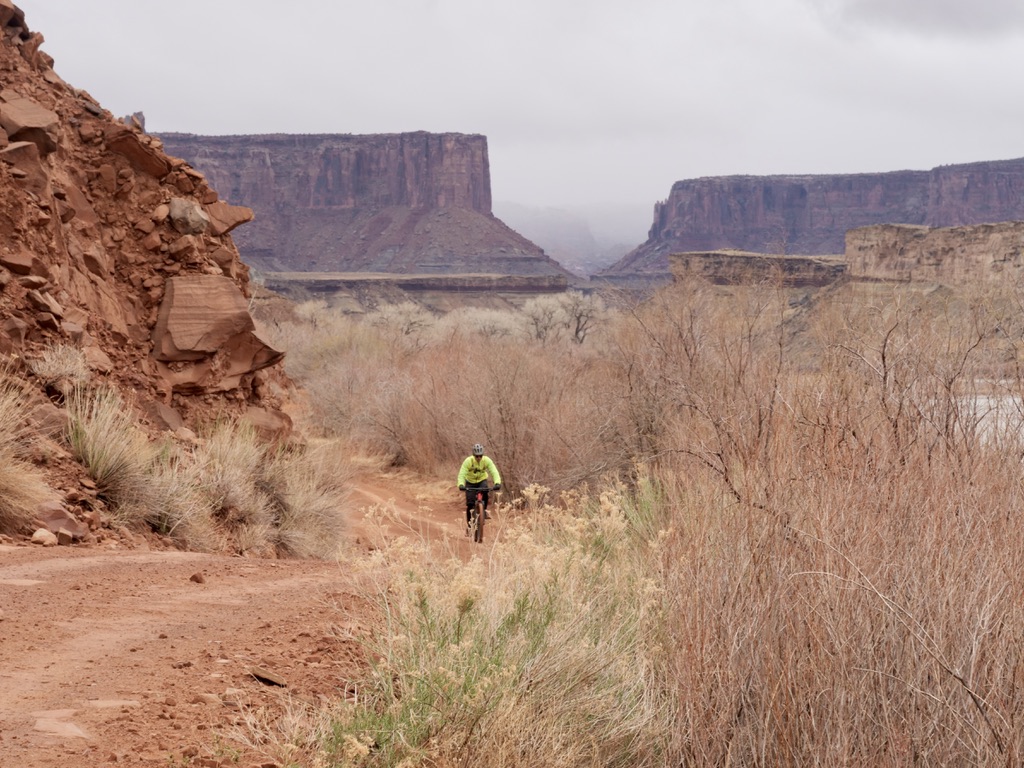
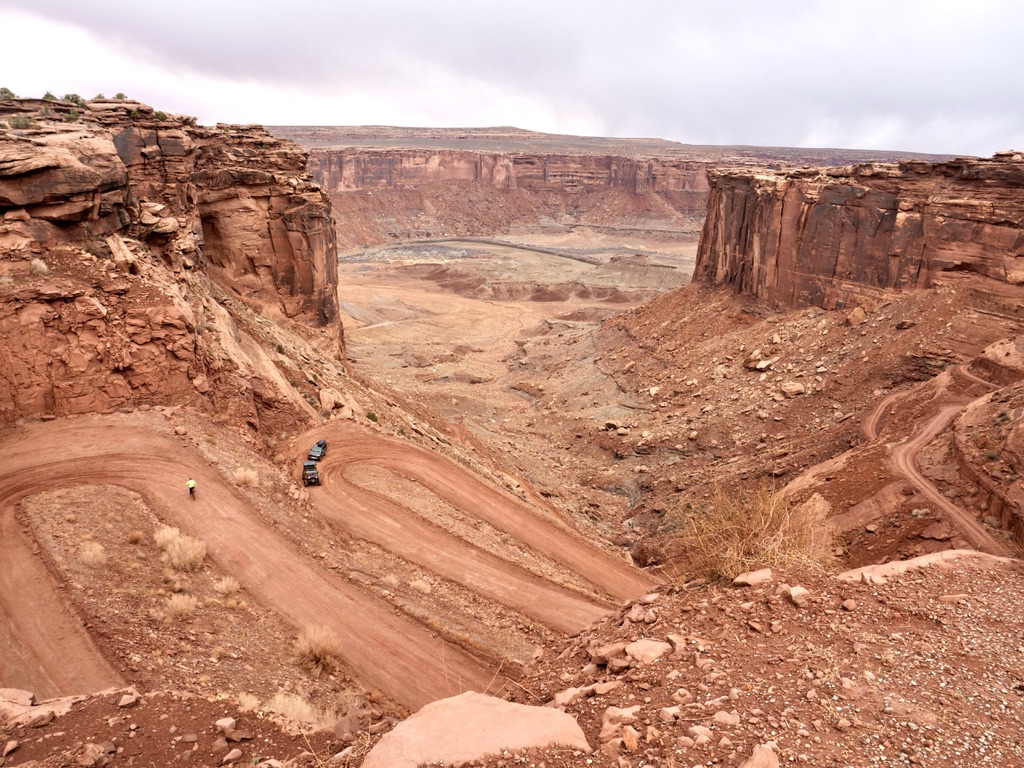
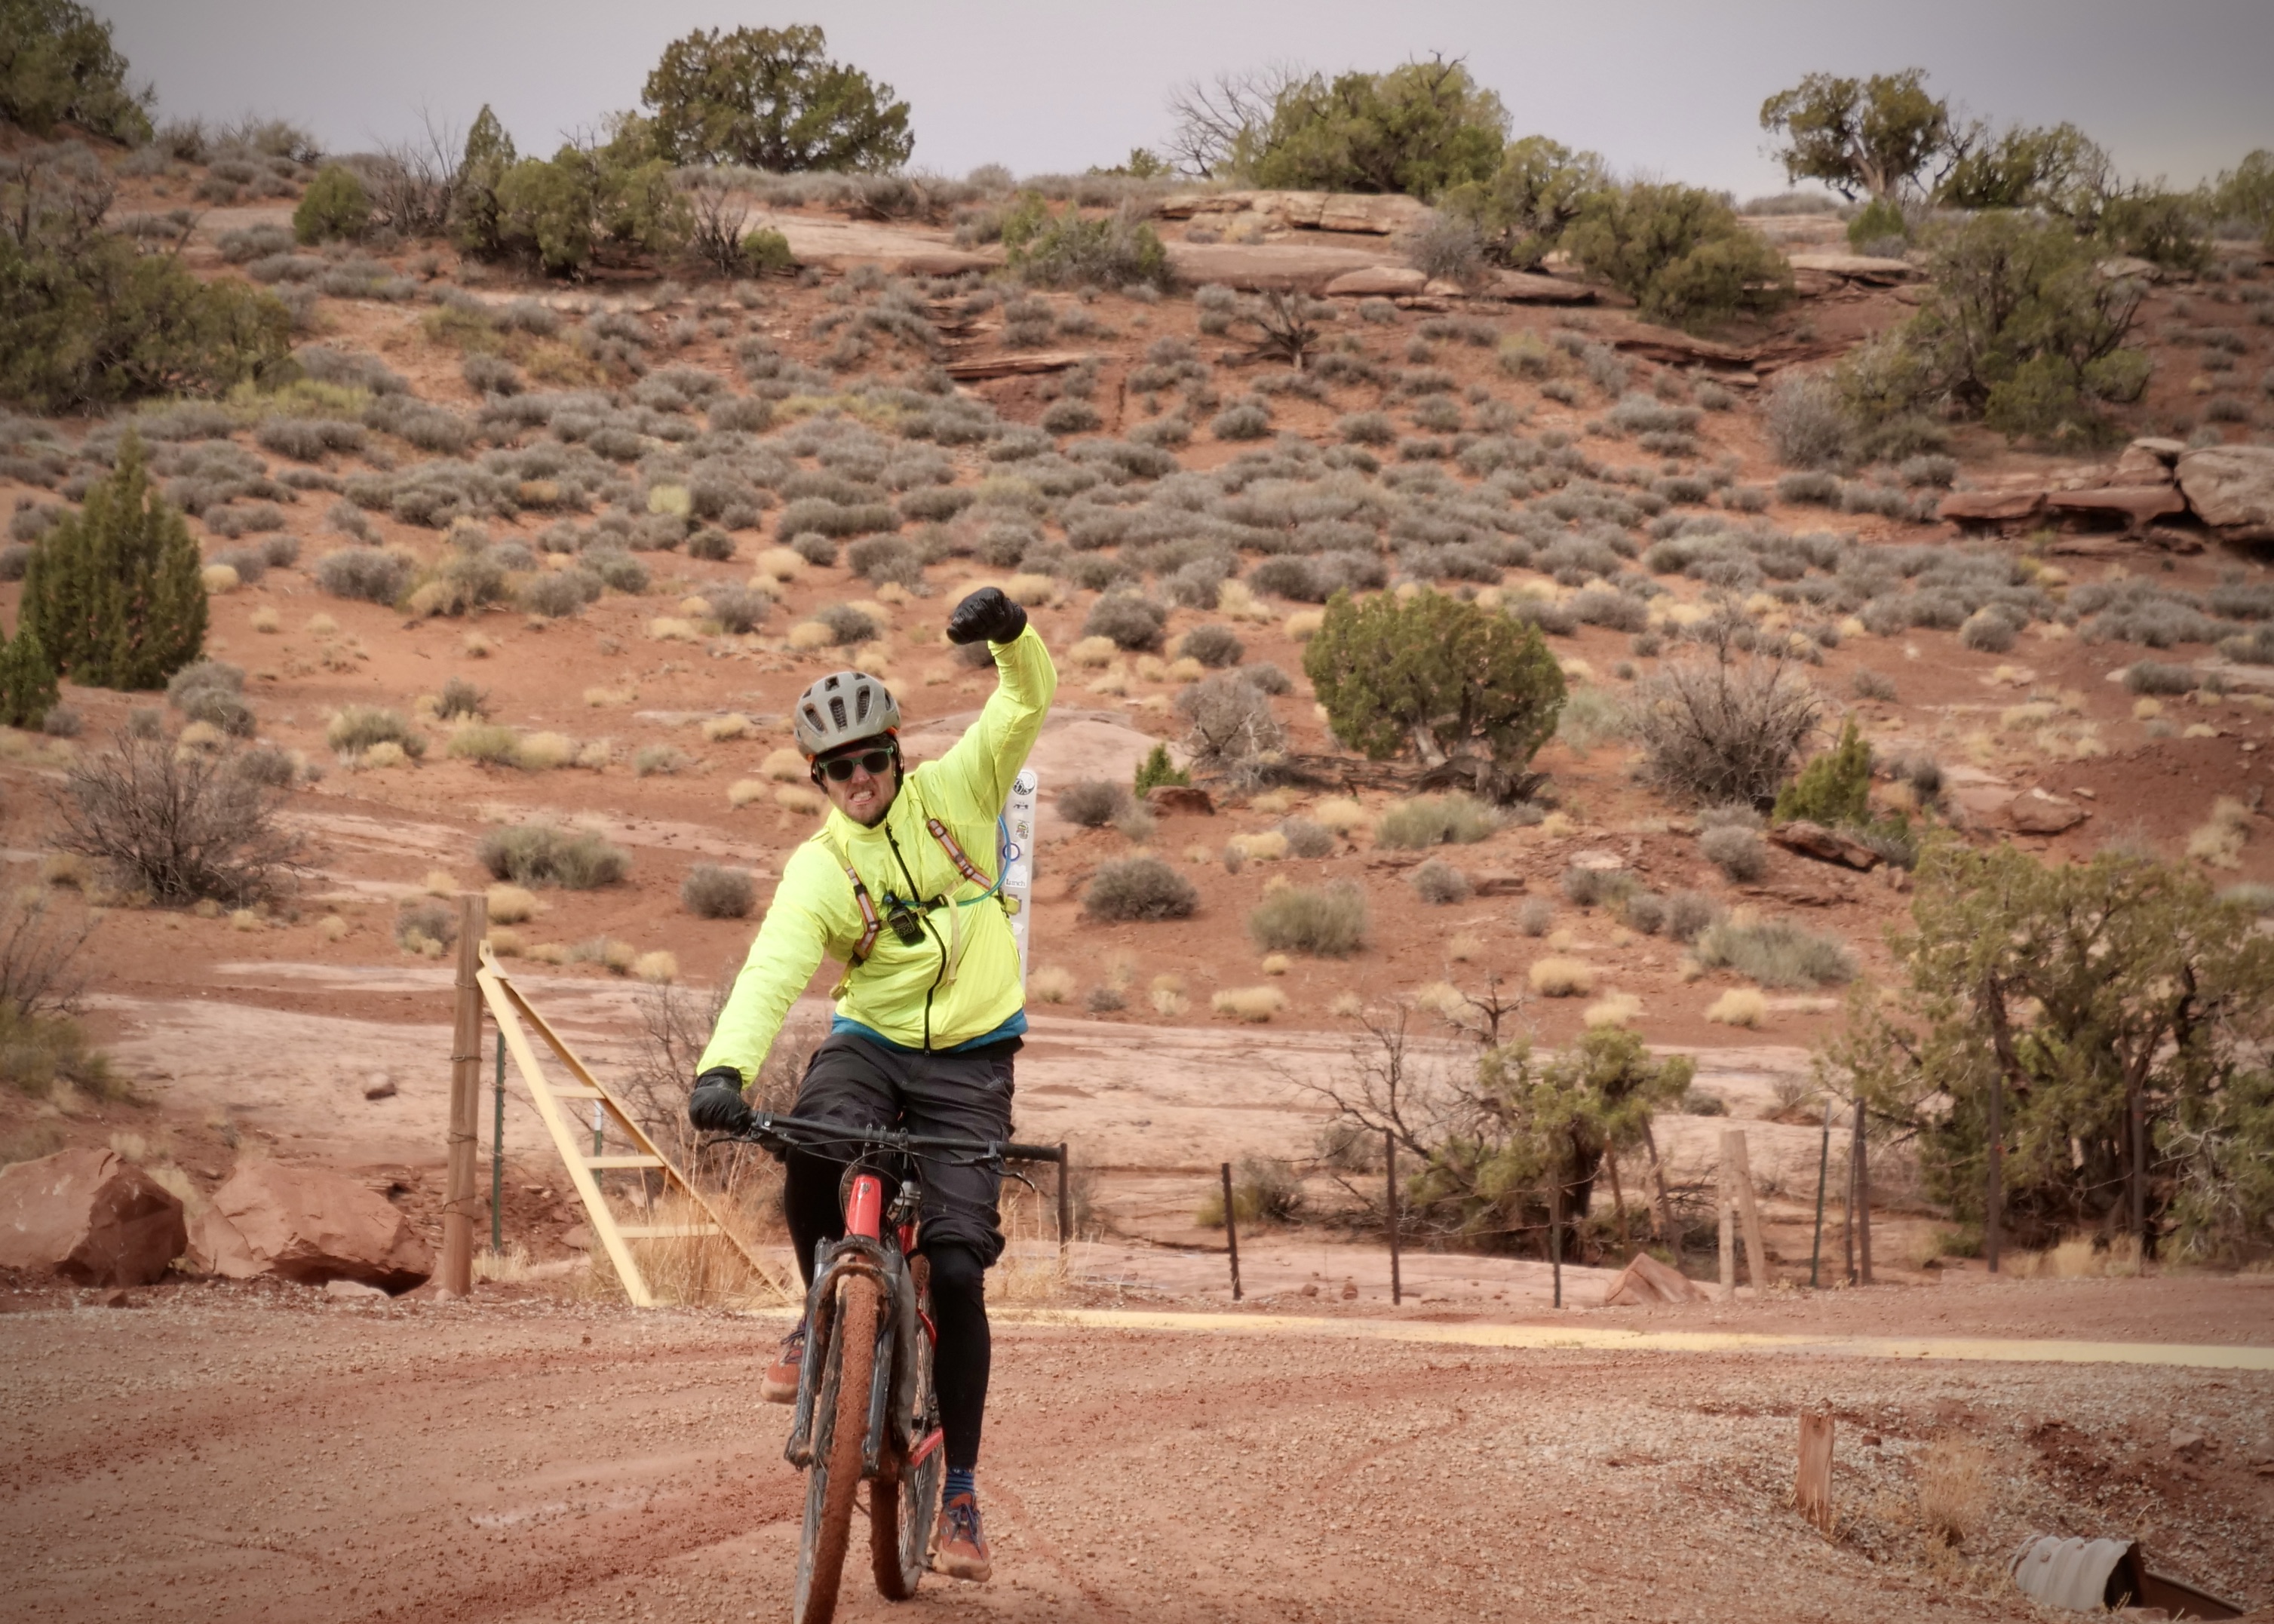
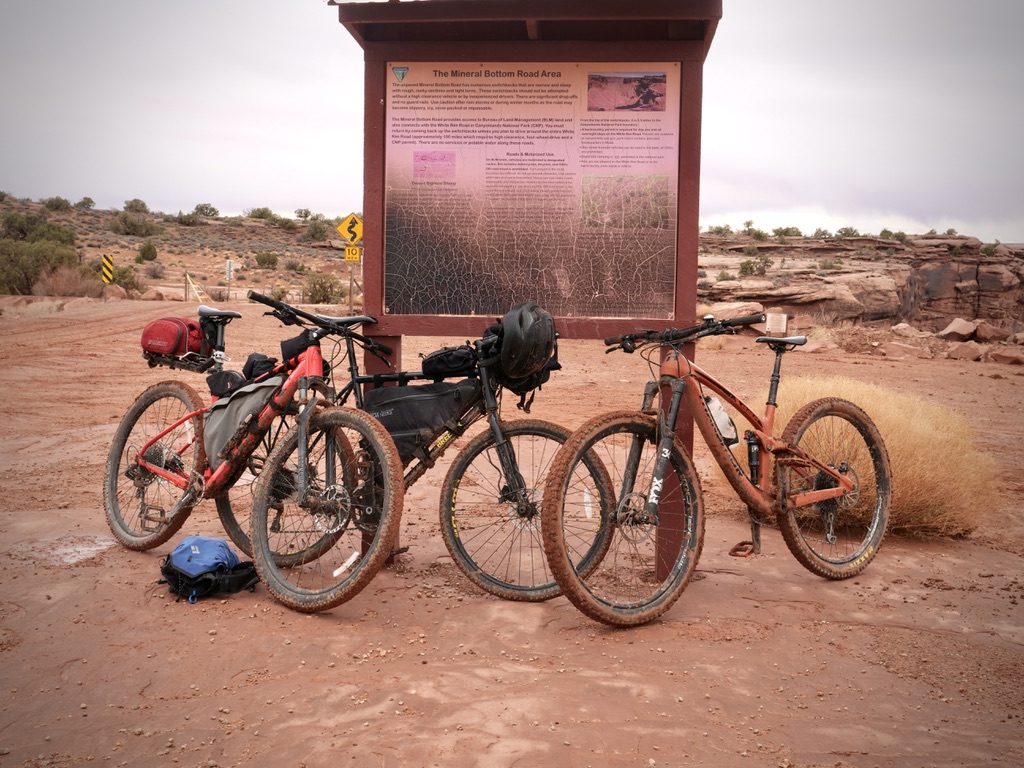
Biking the White Rim Trail in Utah, Canyonlands National Park
This was just such an amazing experience with my family and best friends from Colorado. It’s hard for me to imaging that biking can get more fun than this! Original post here.
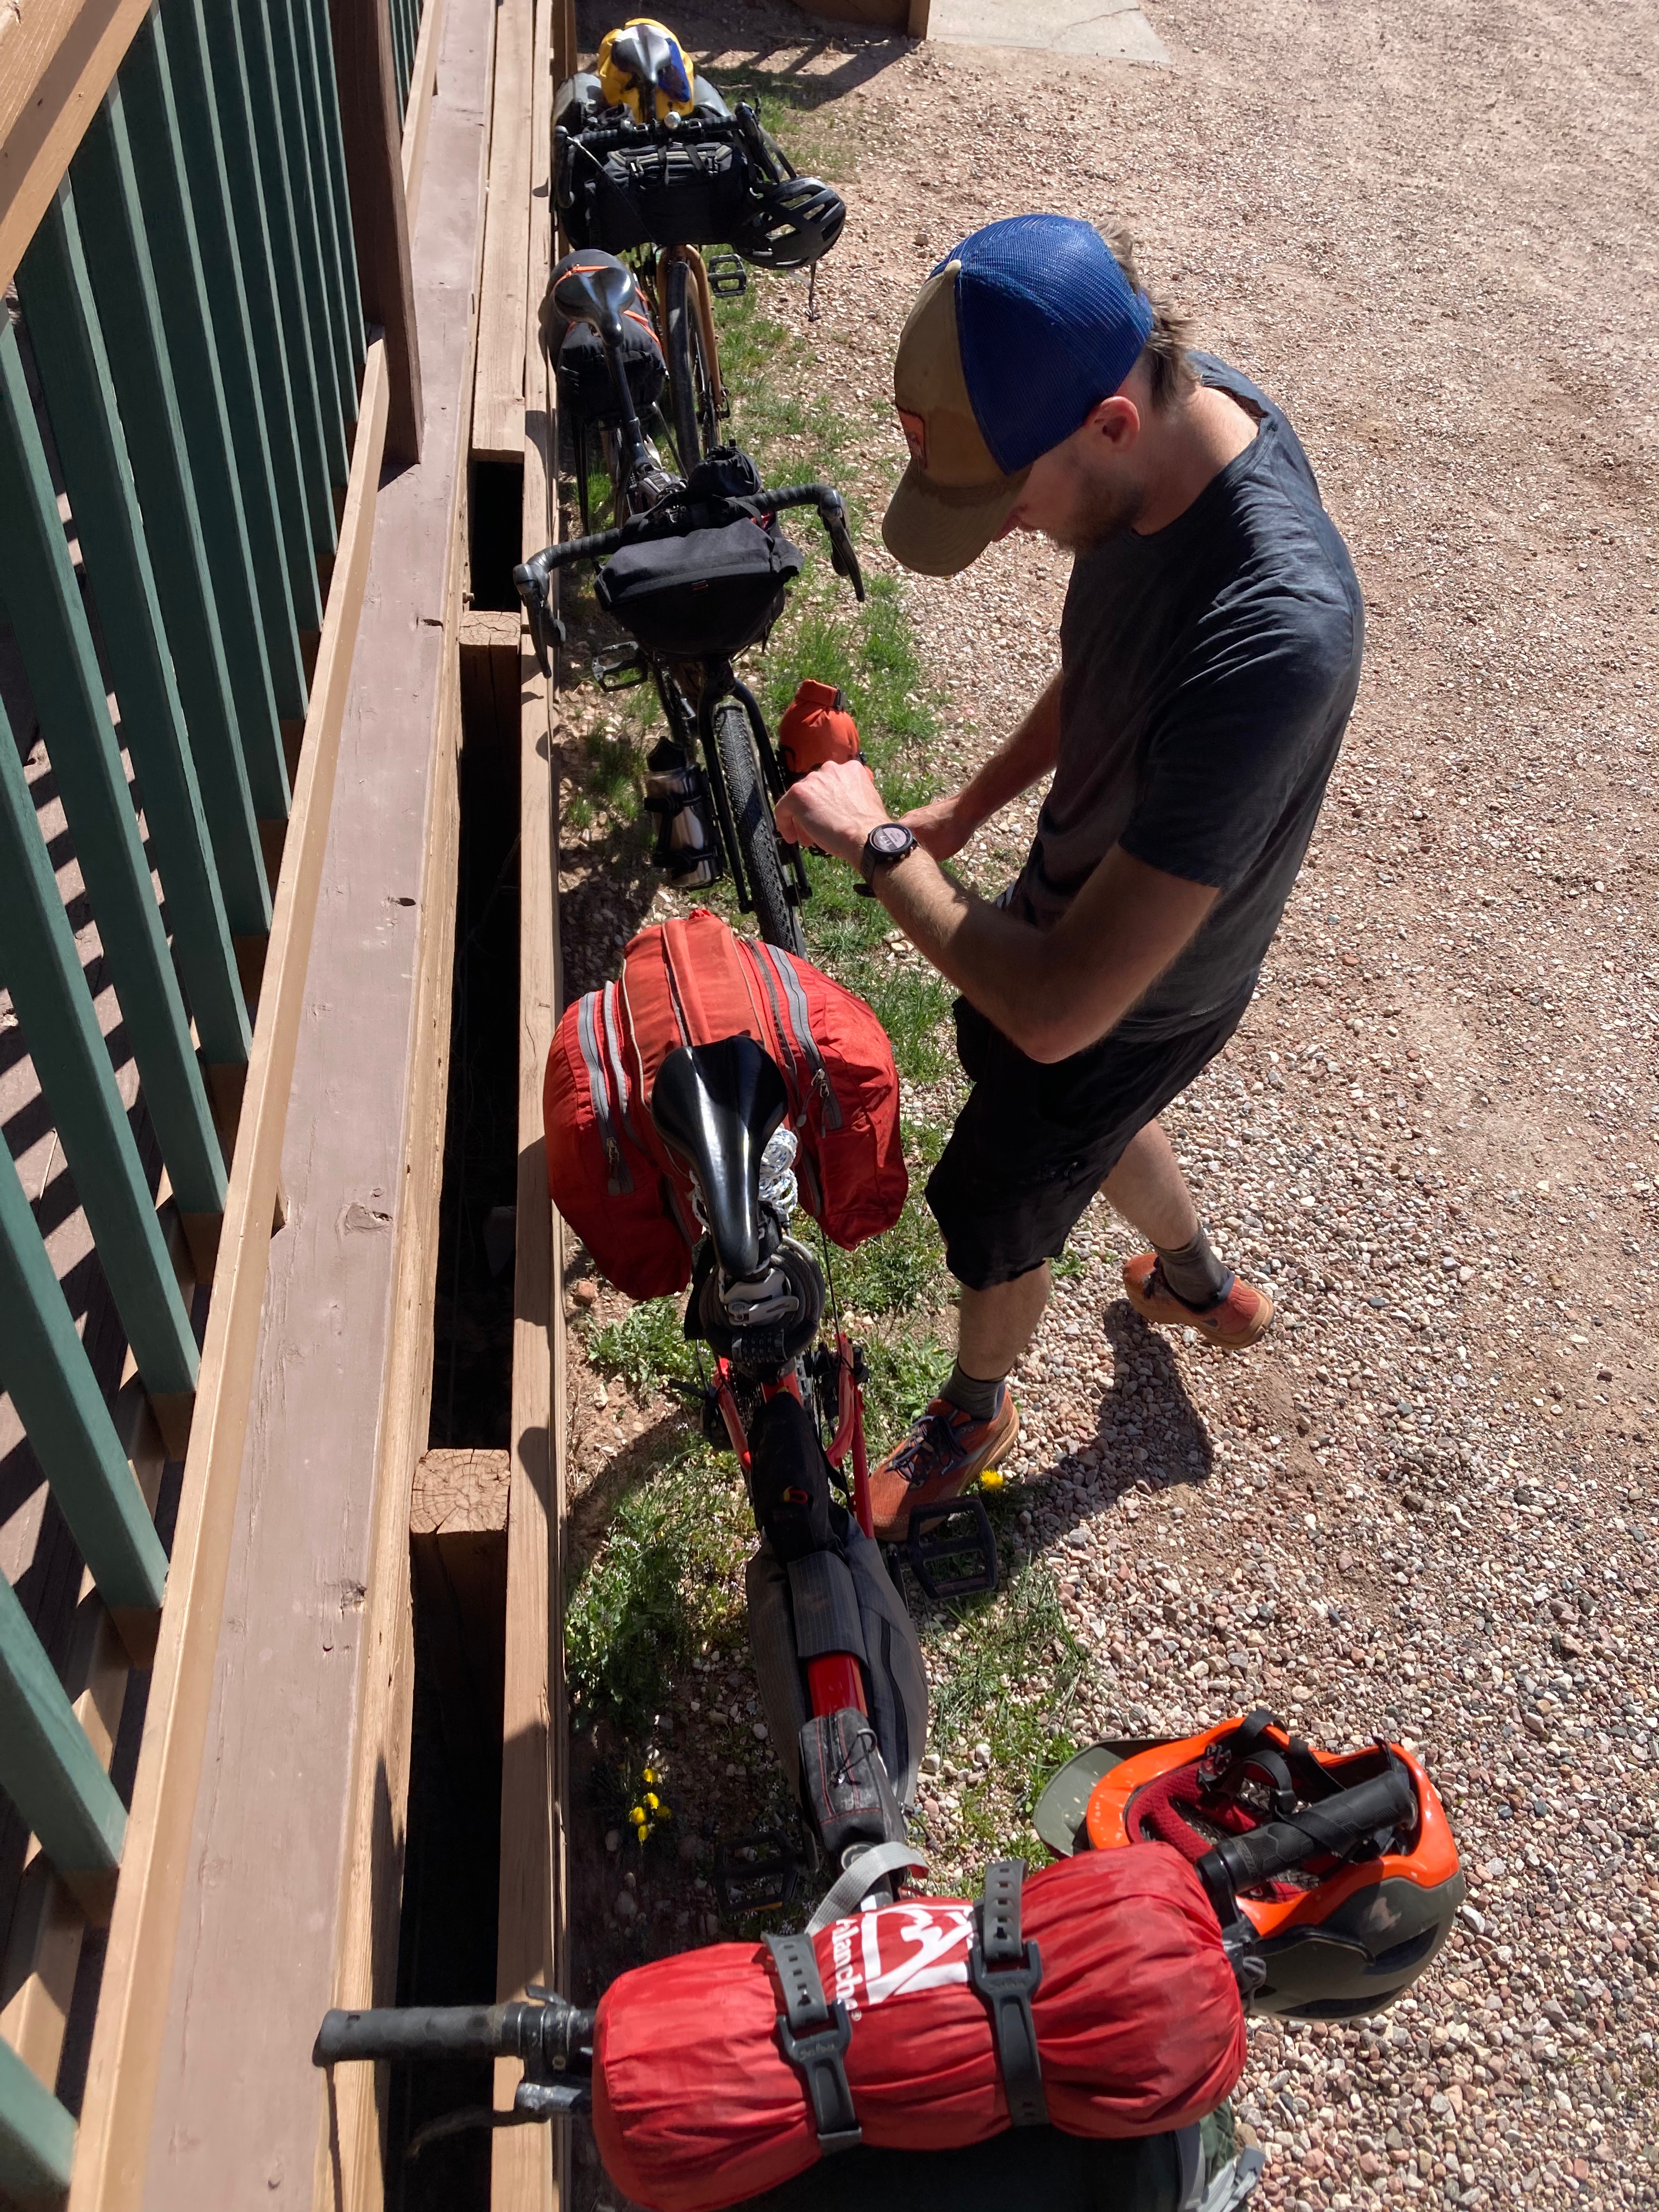
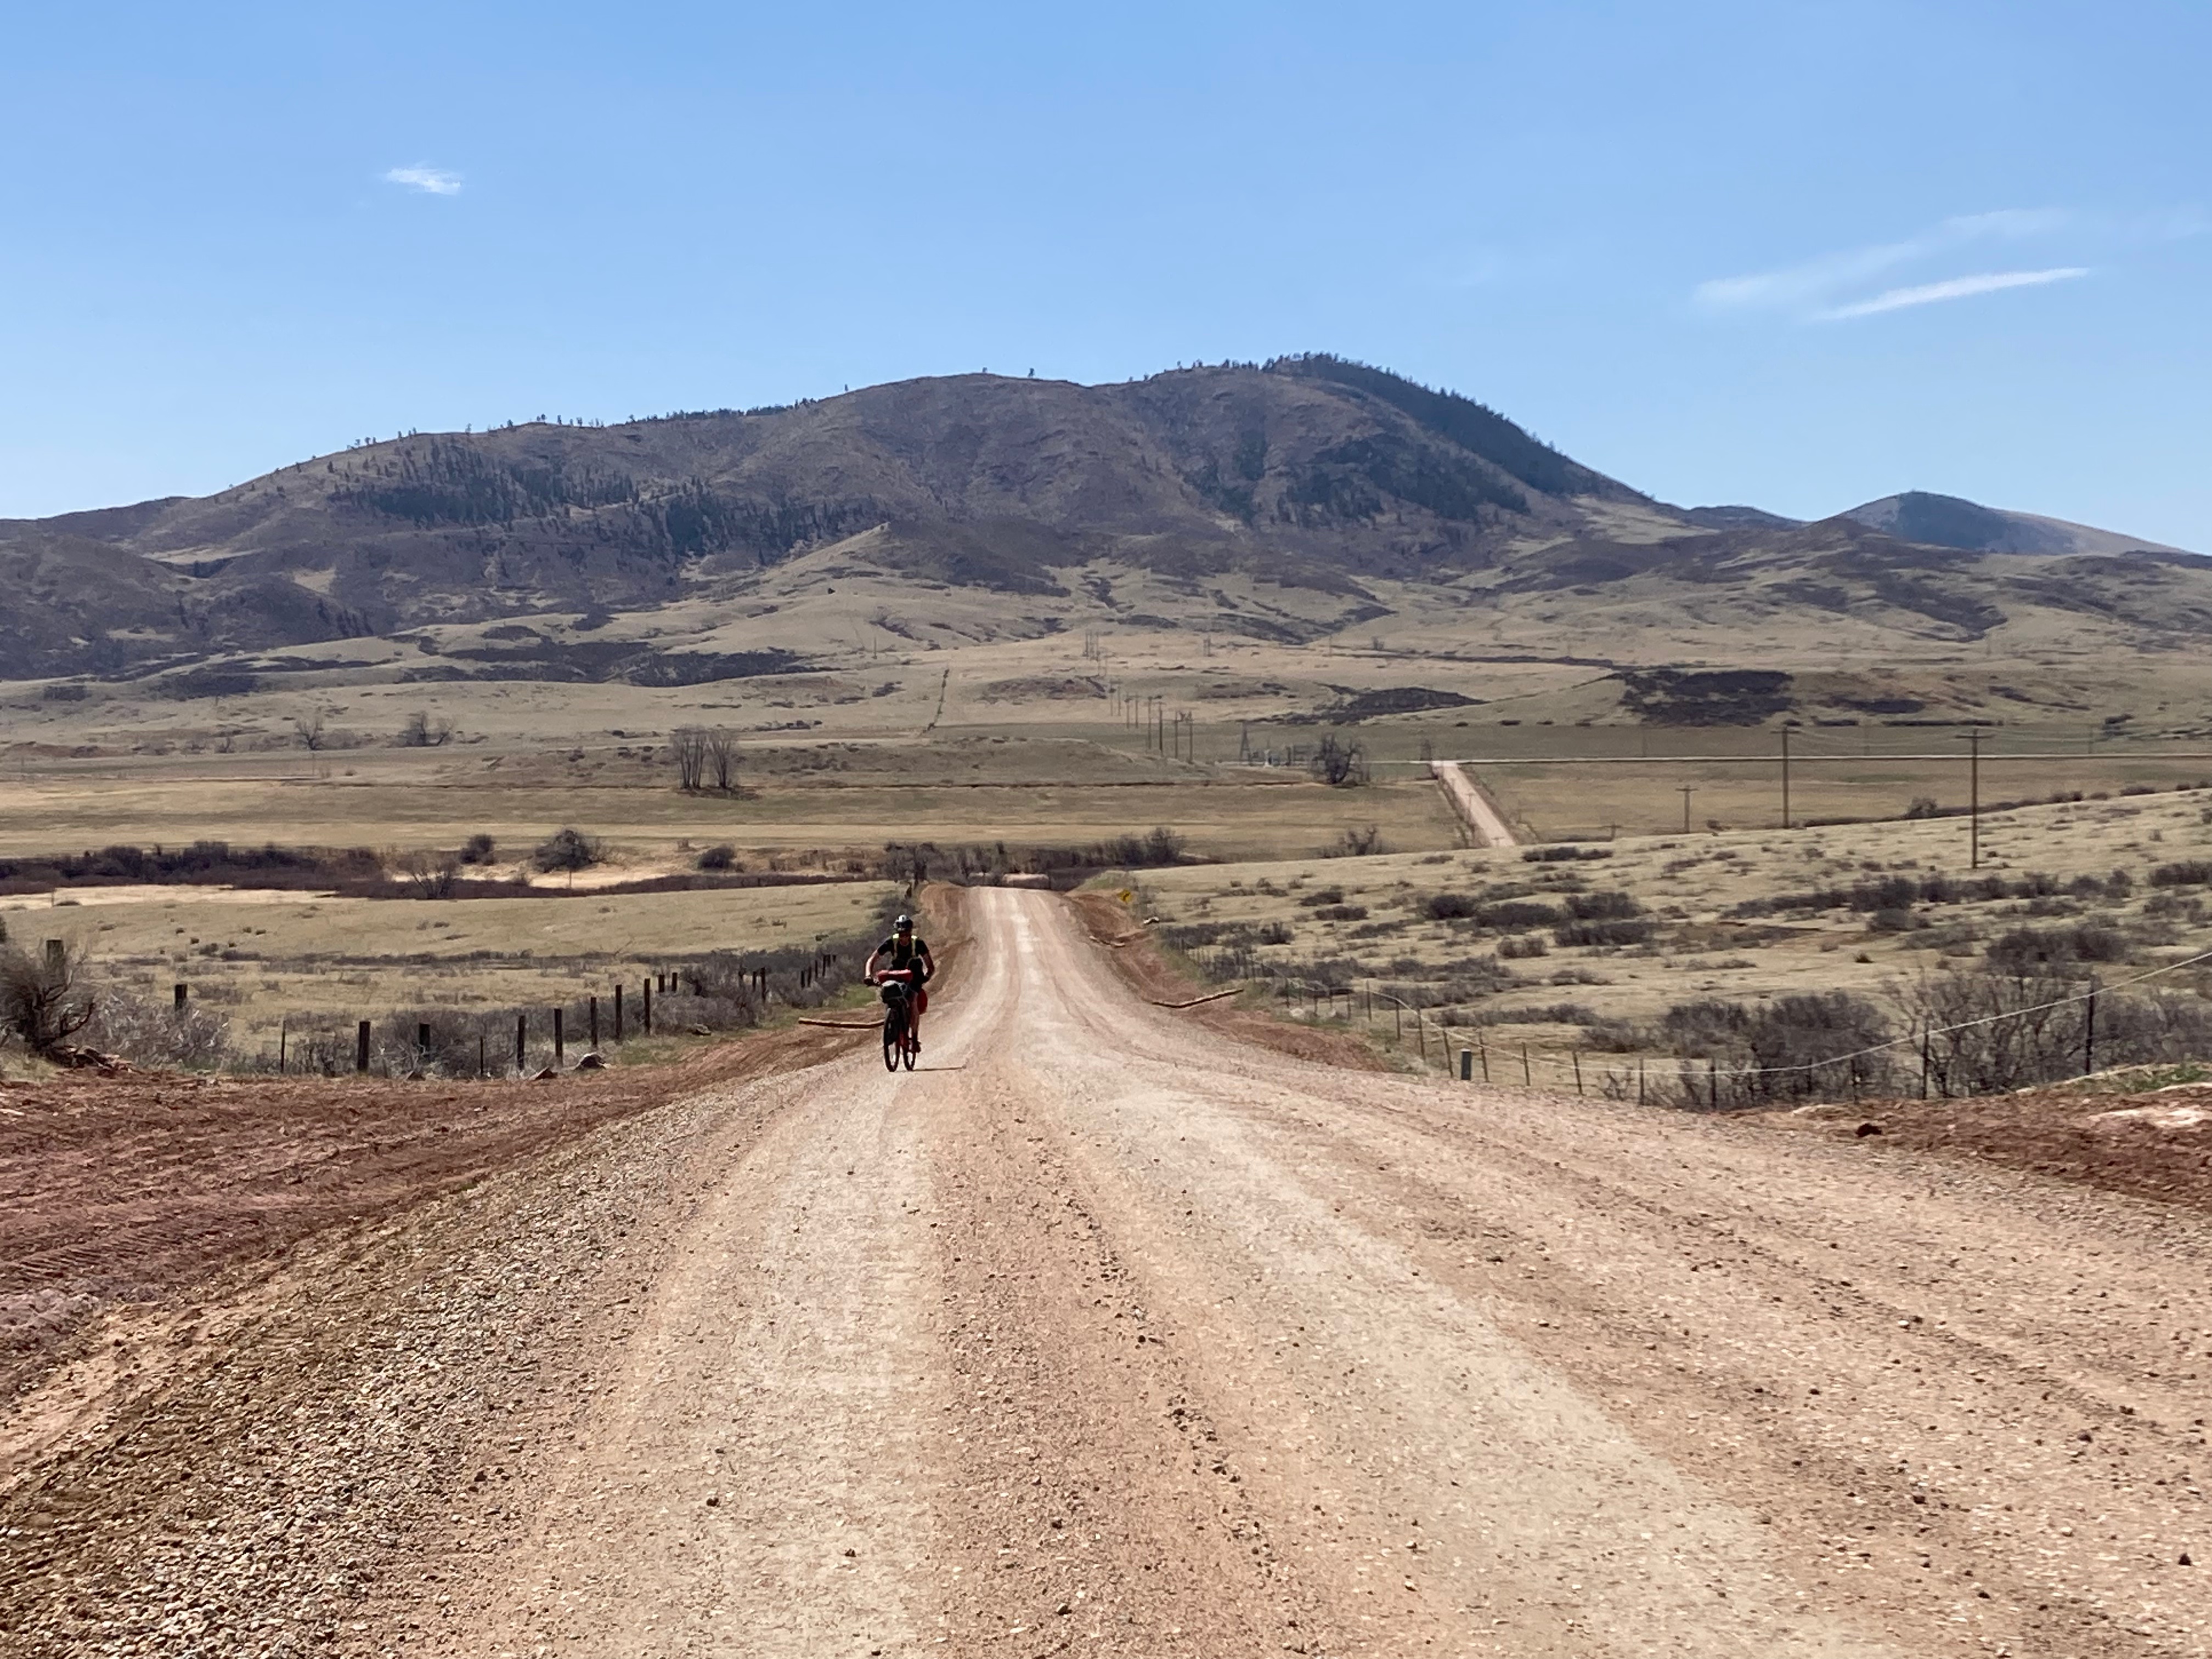
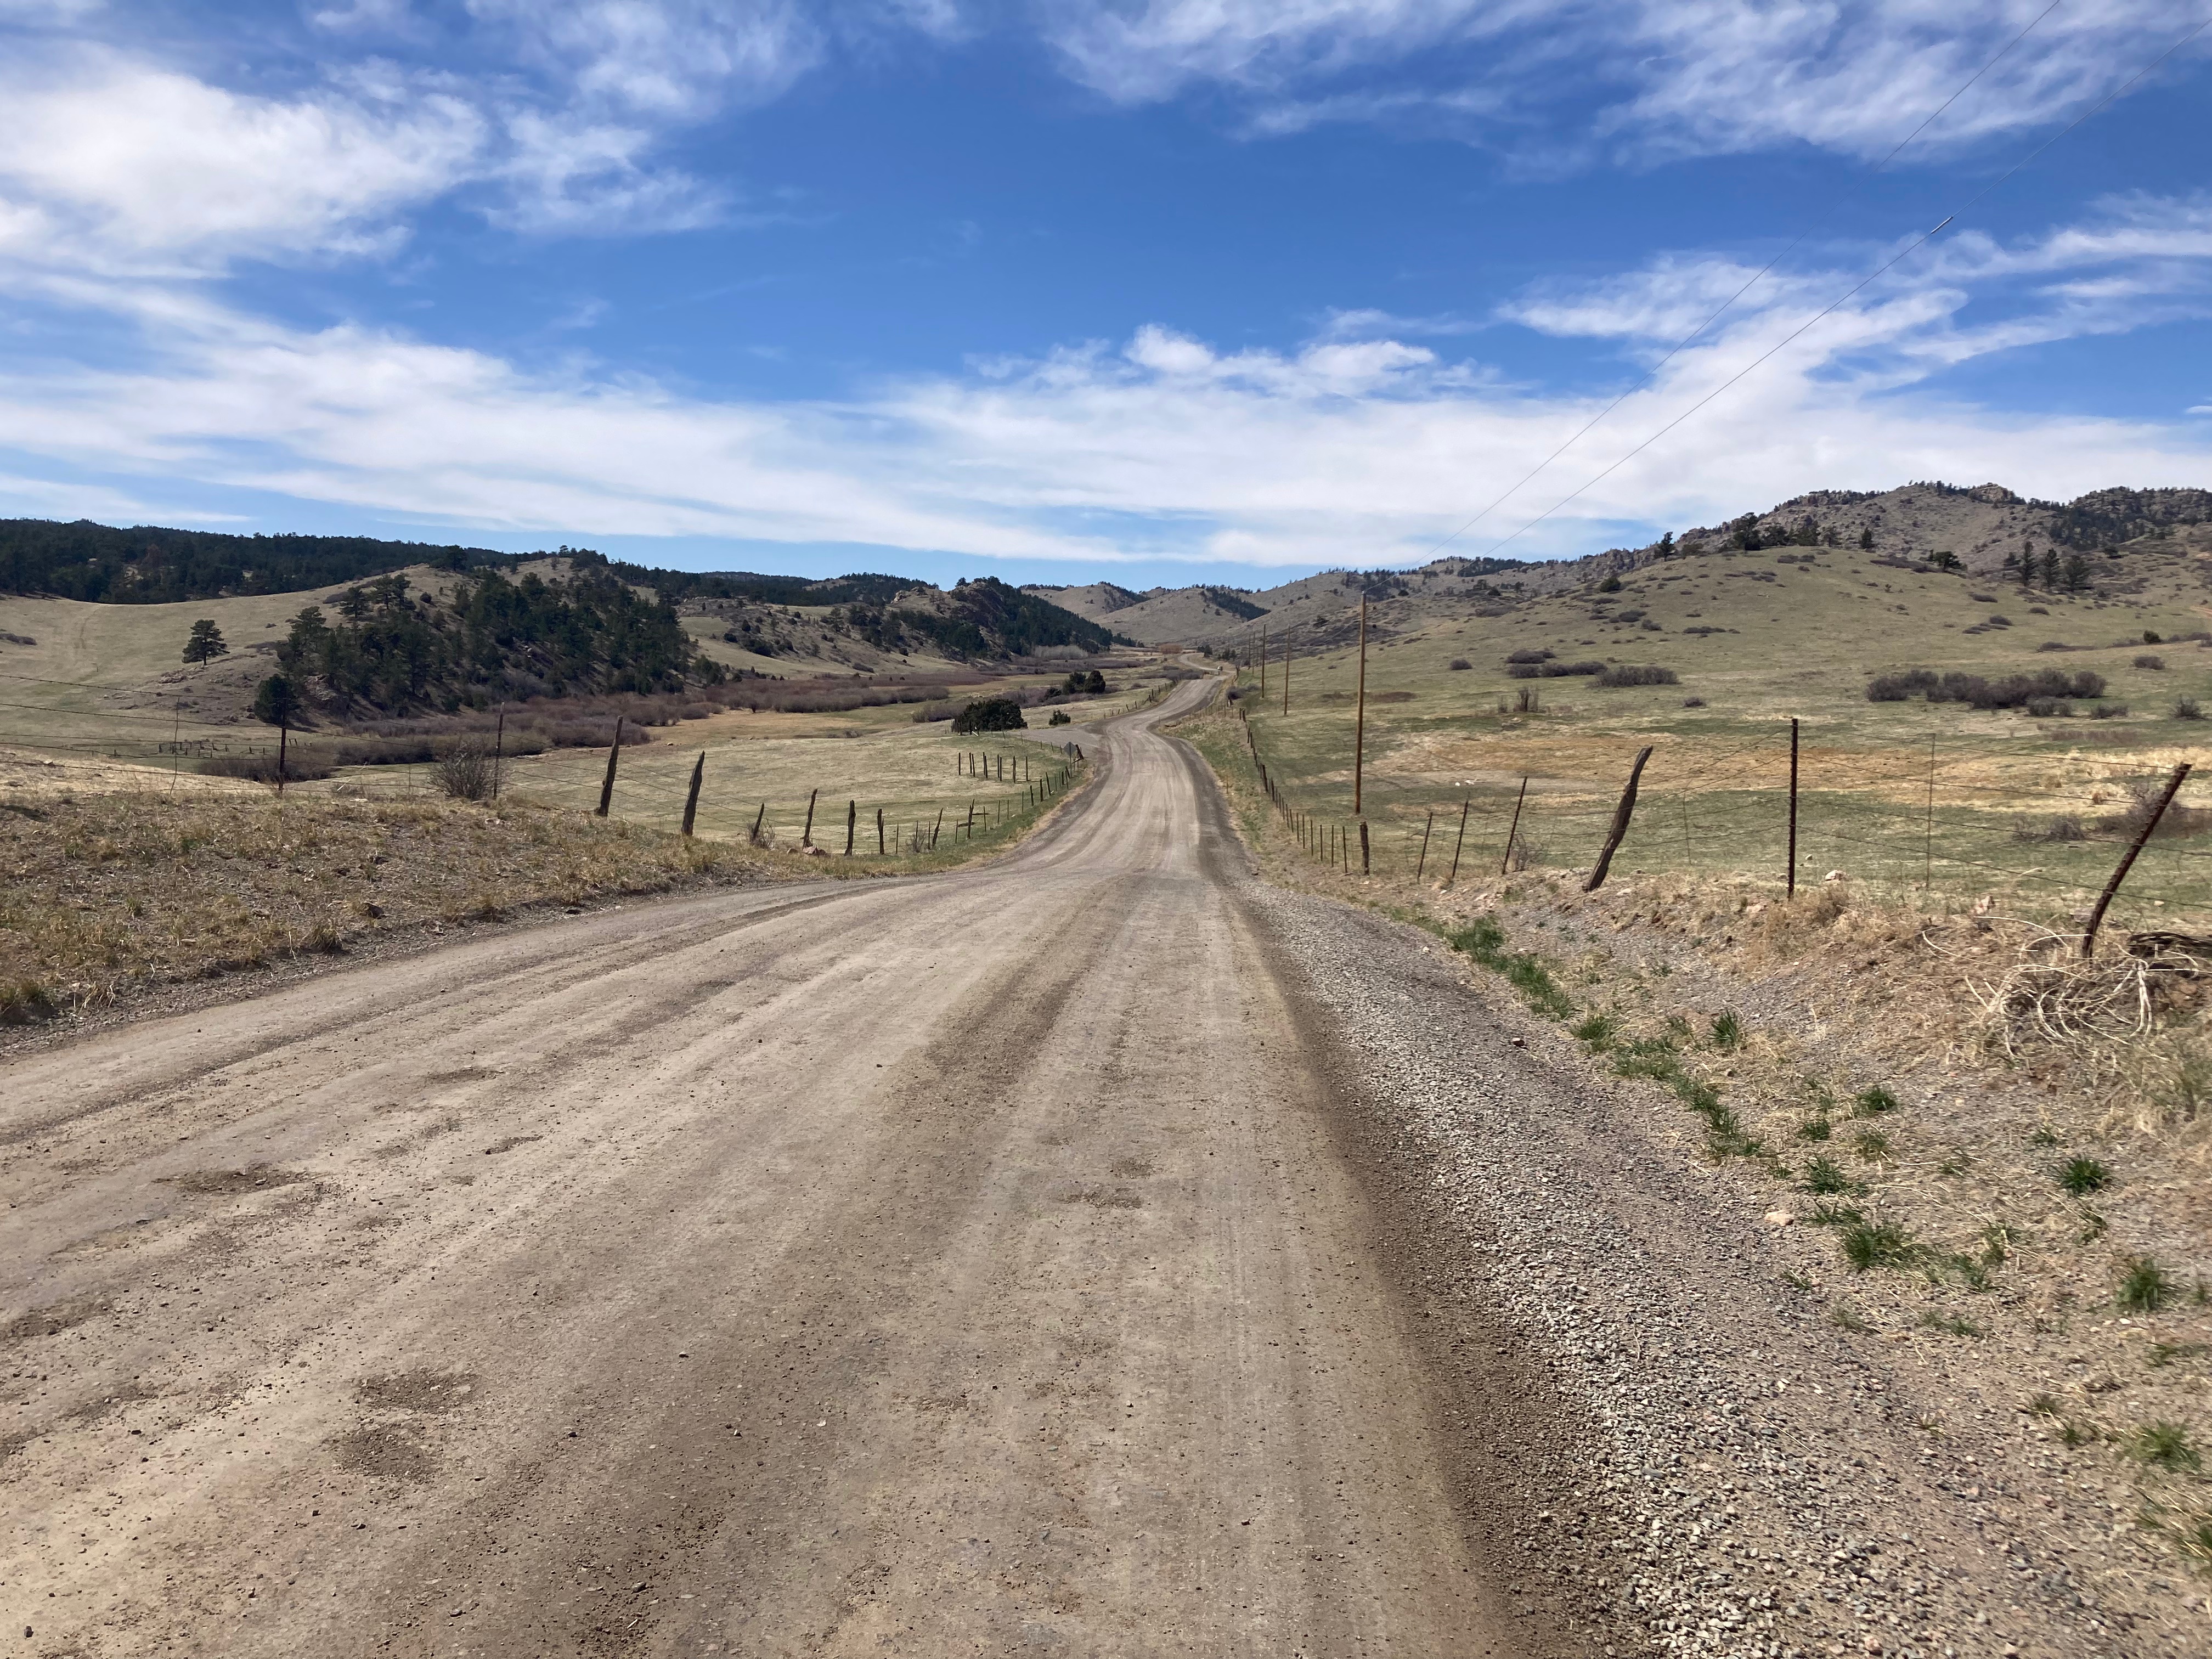
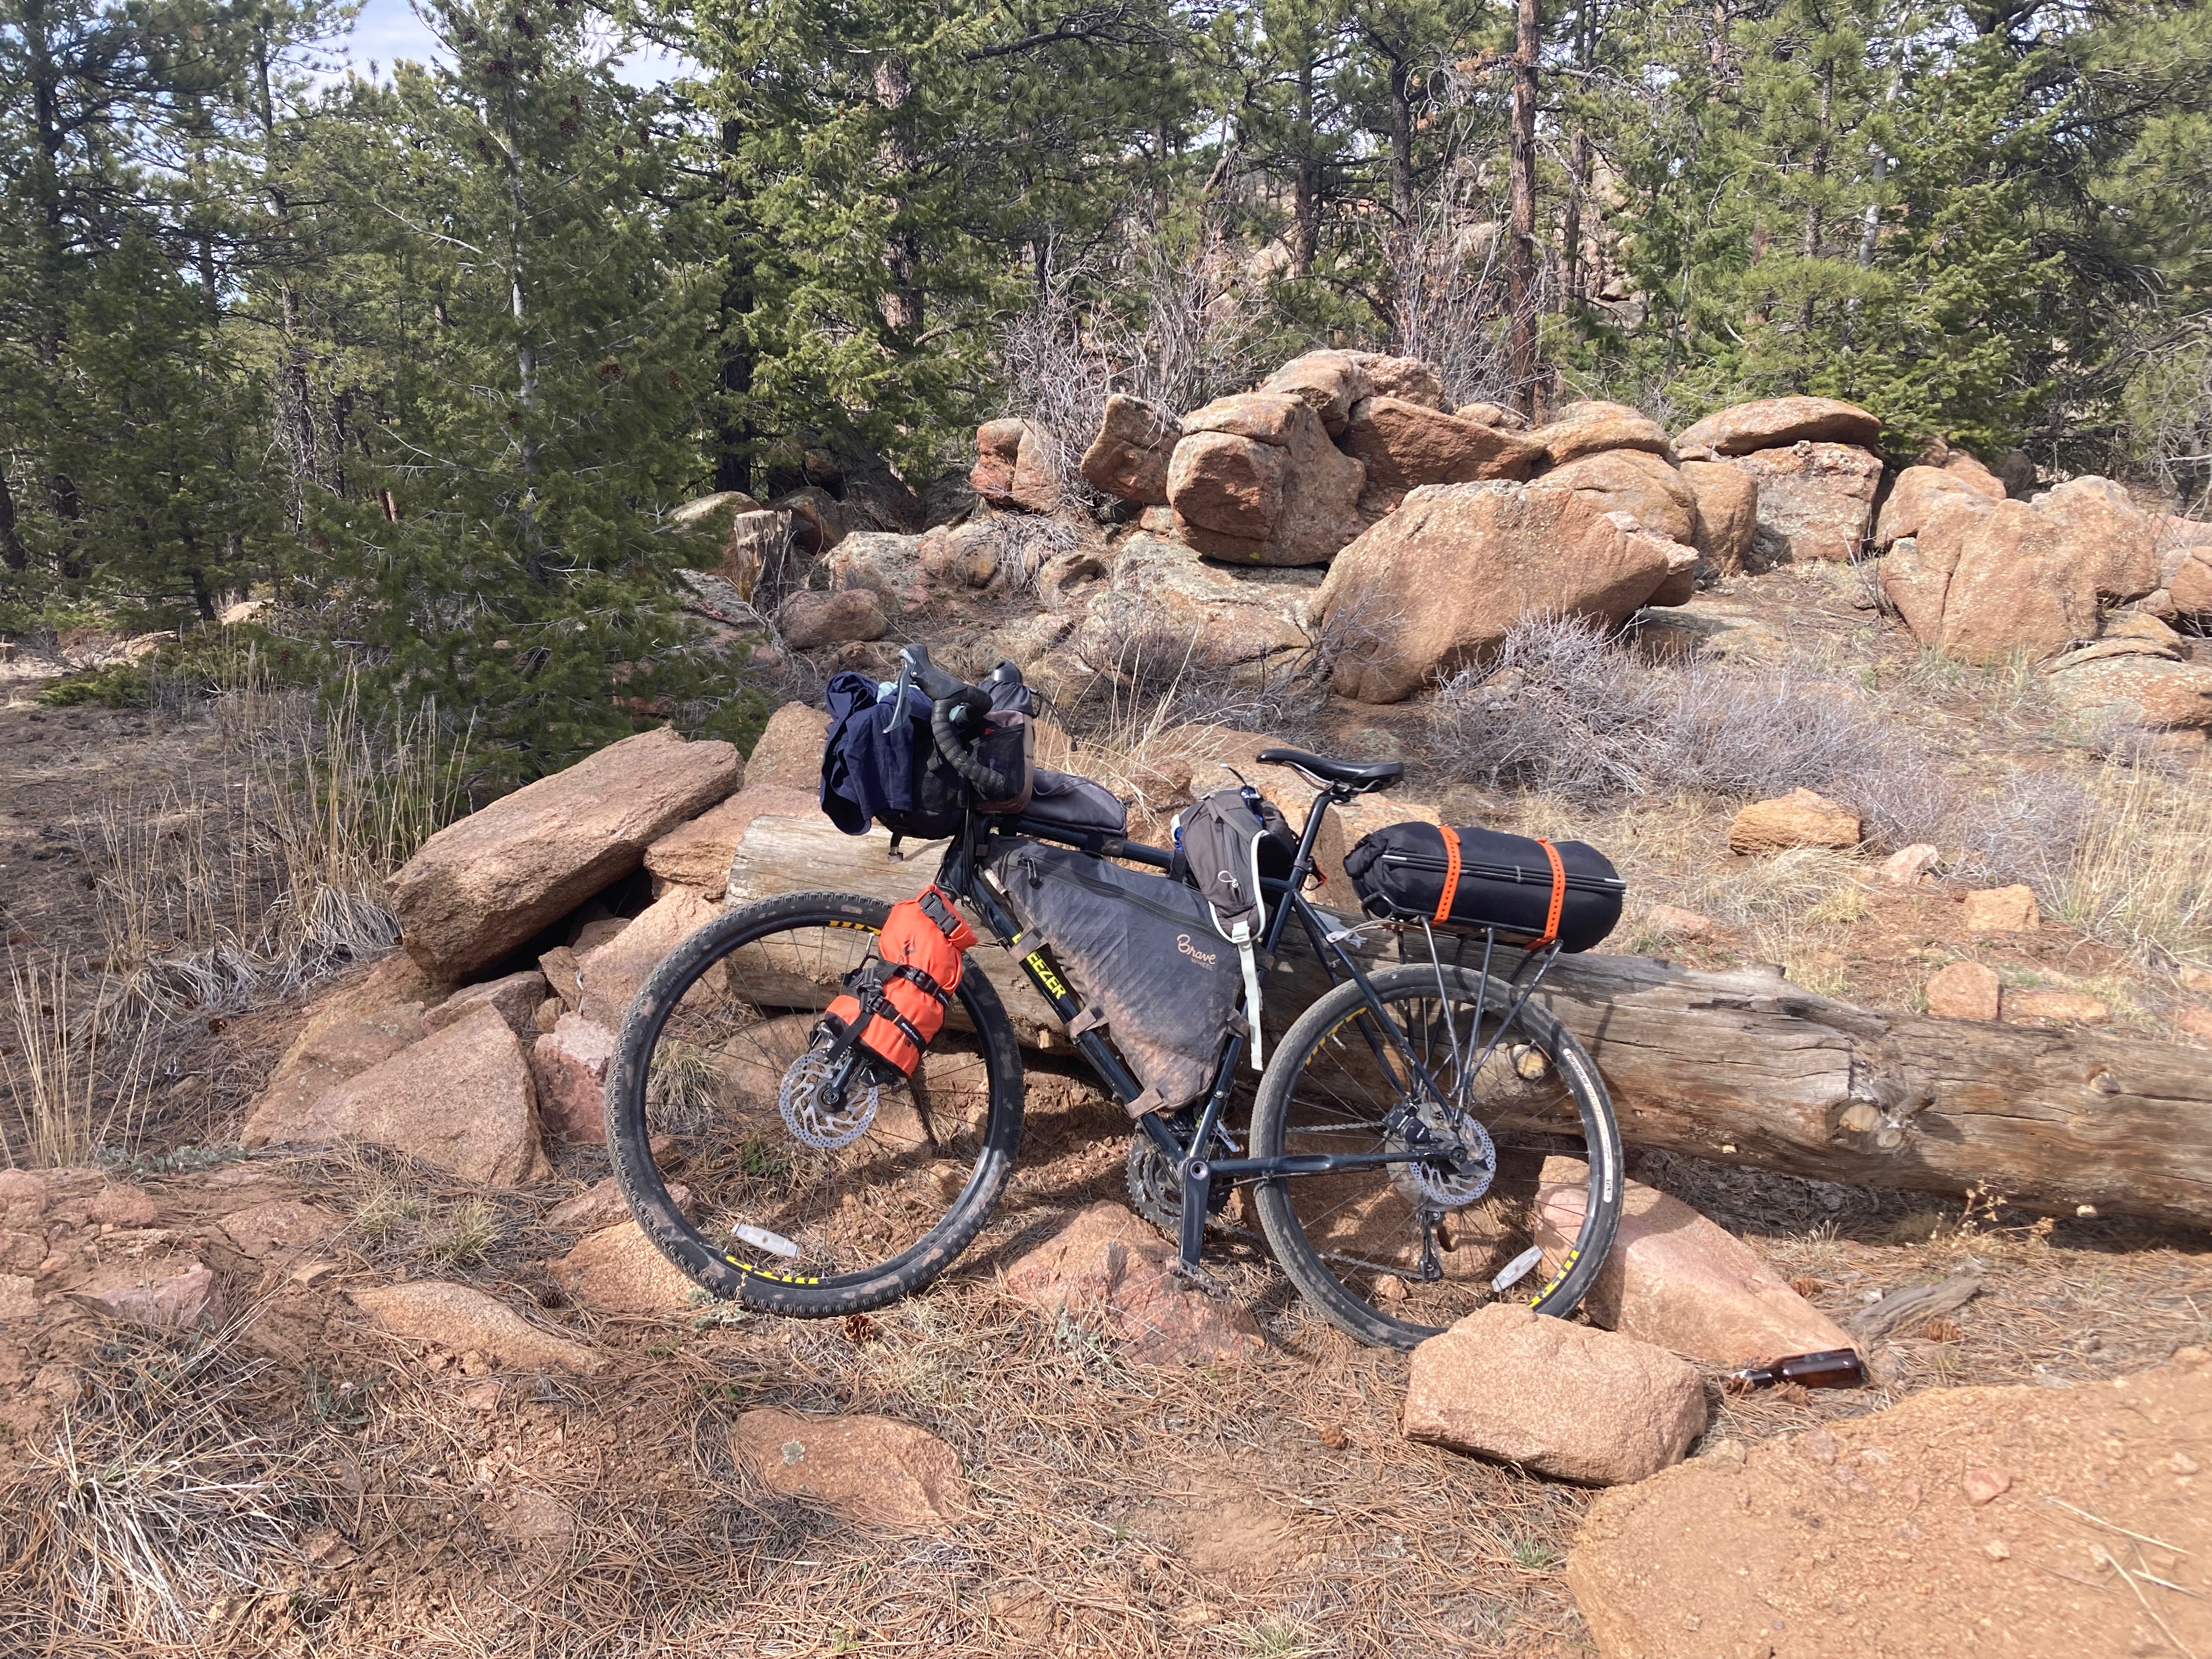
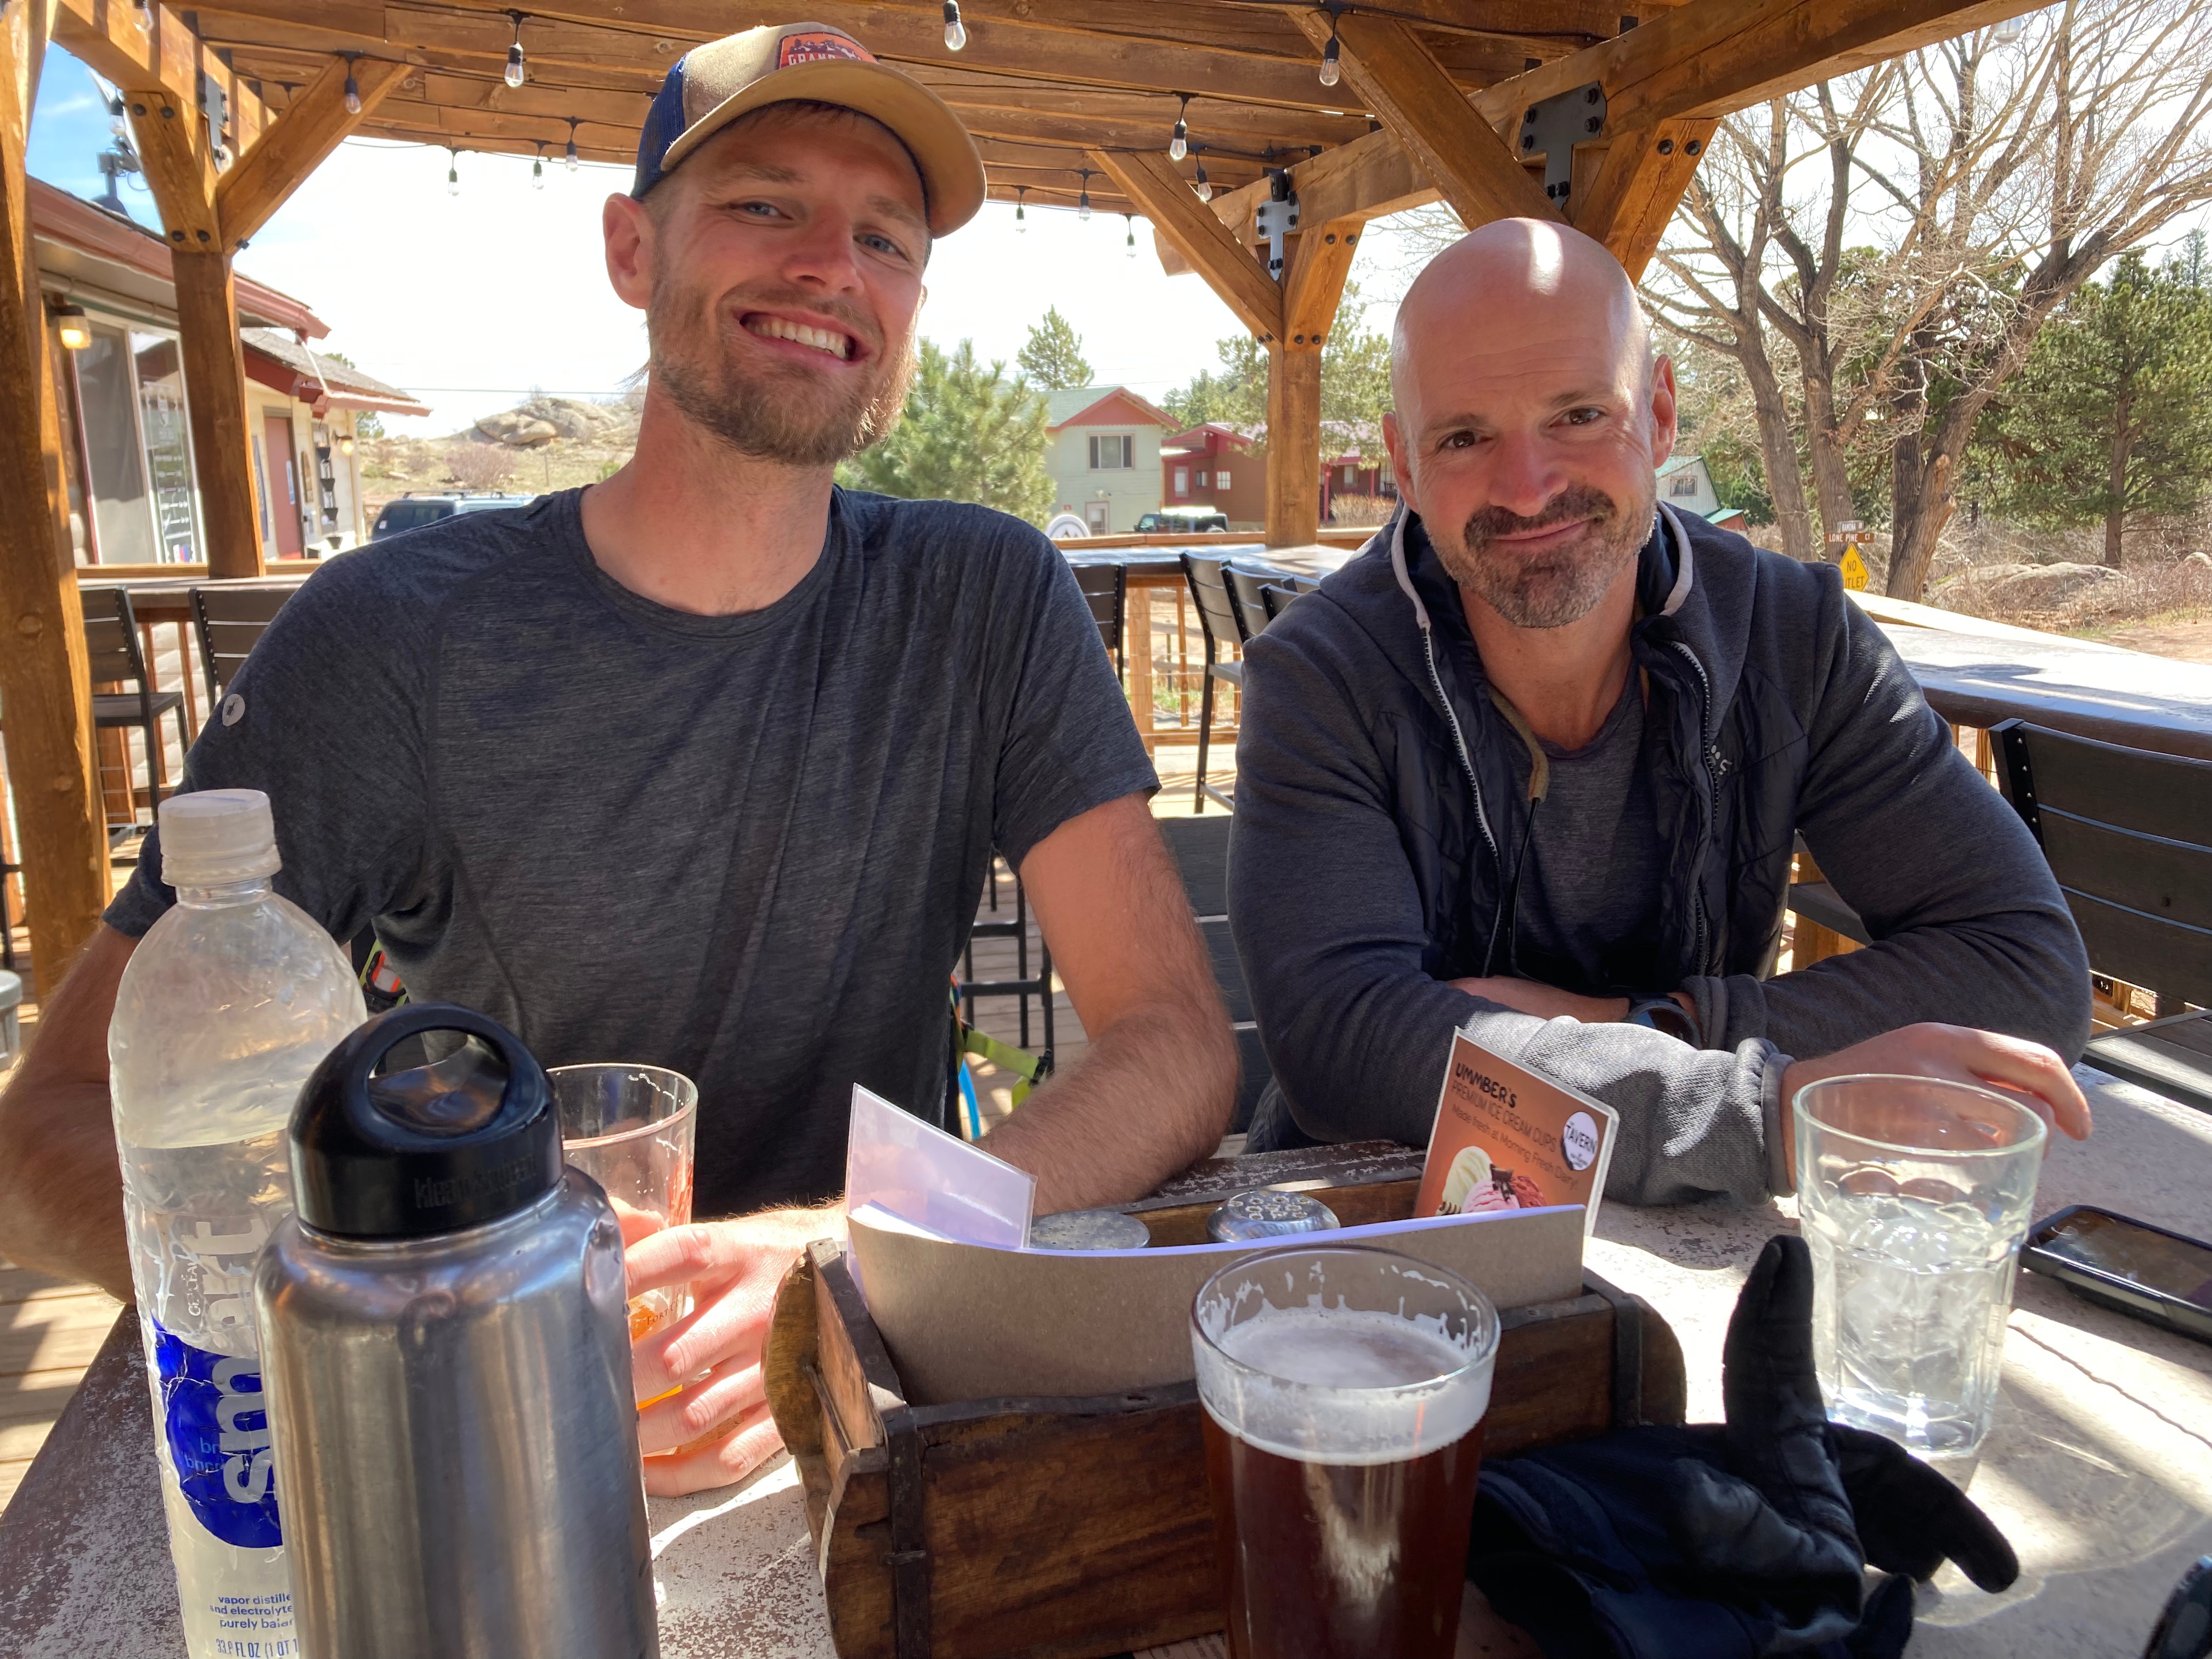
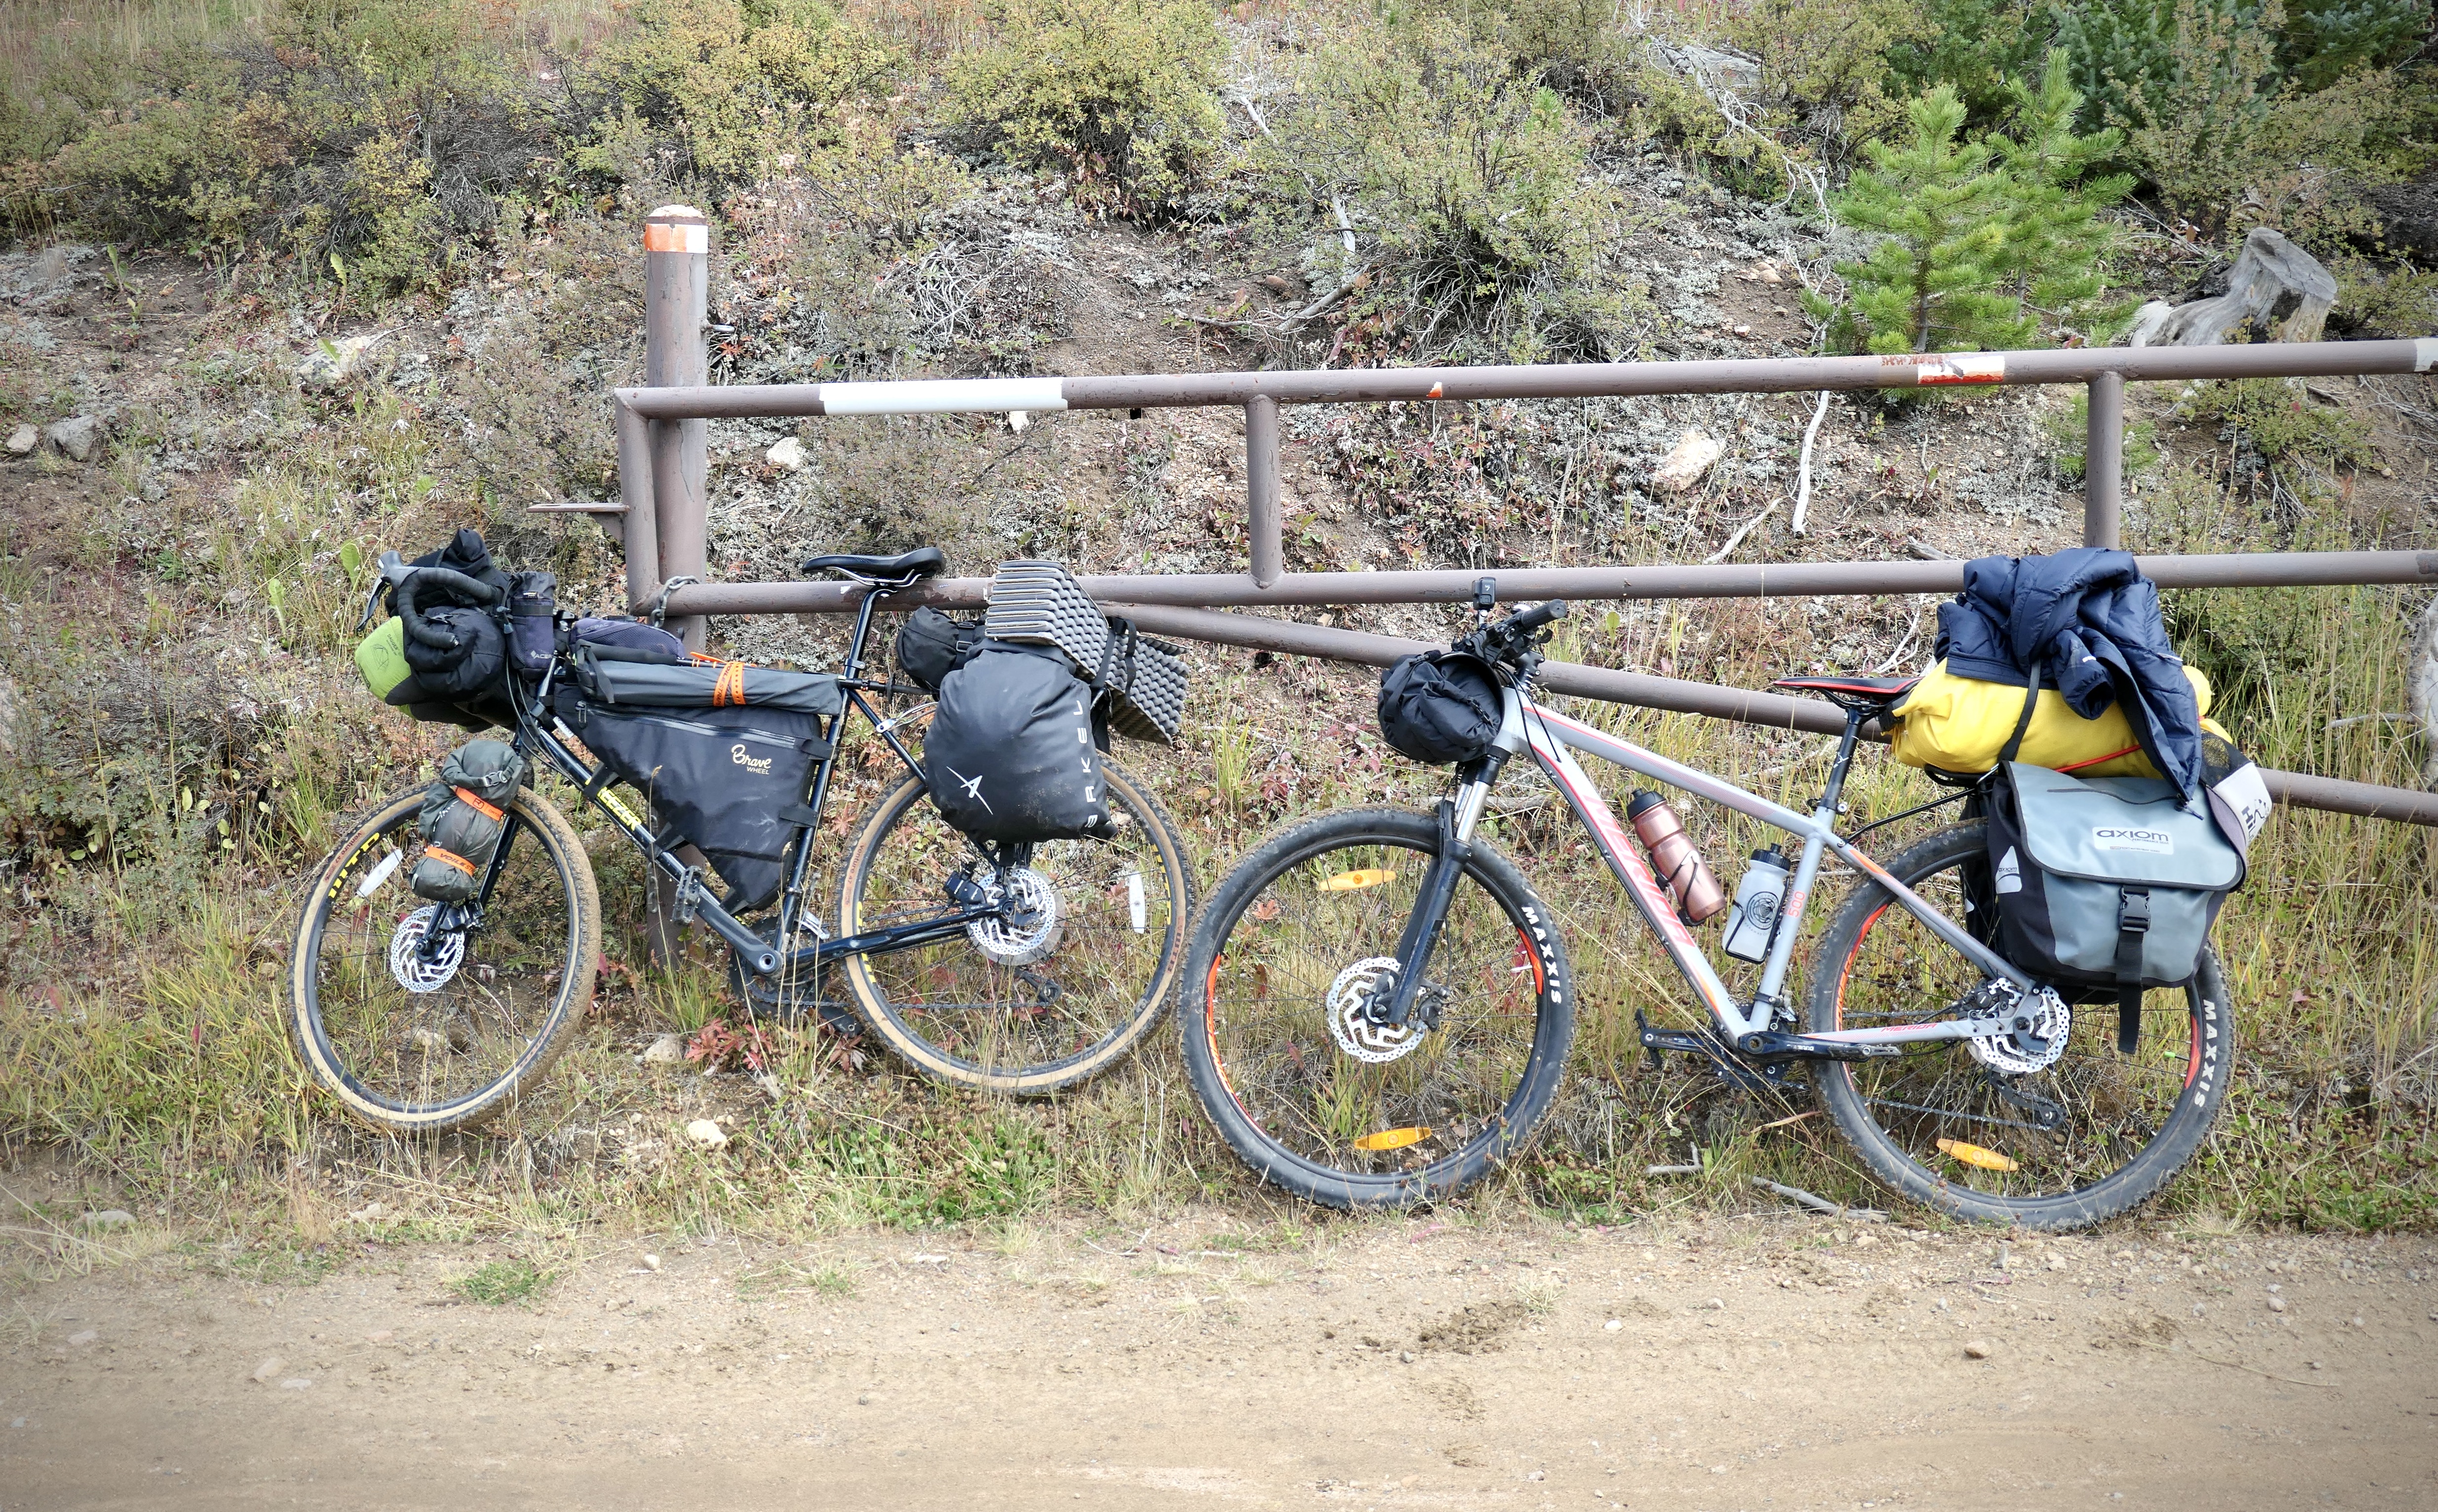
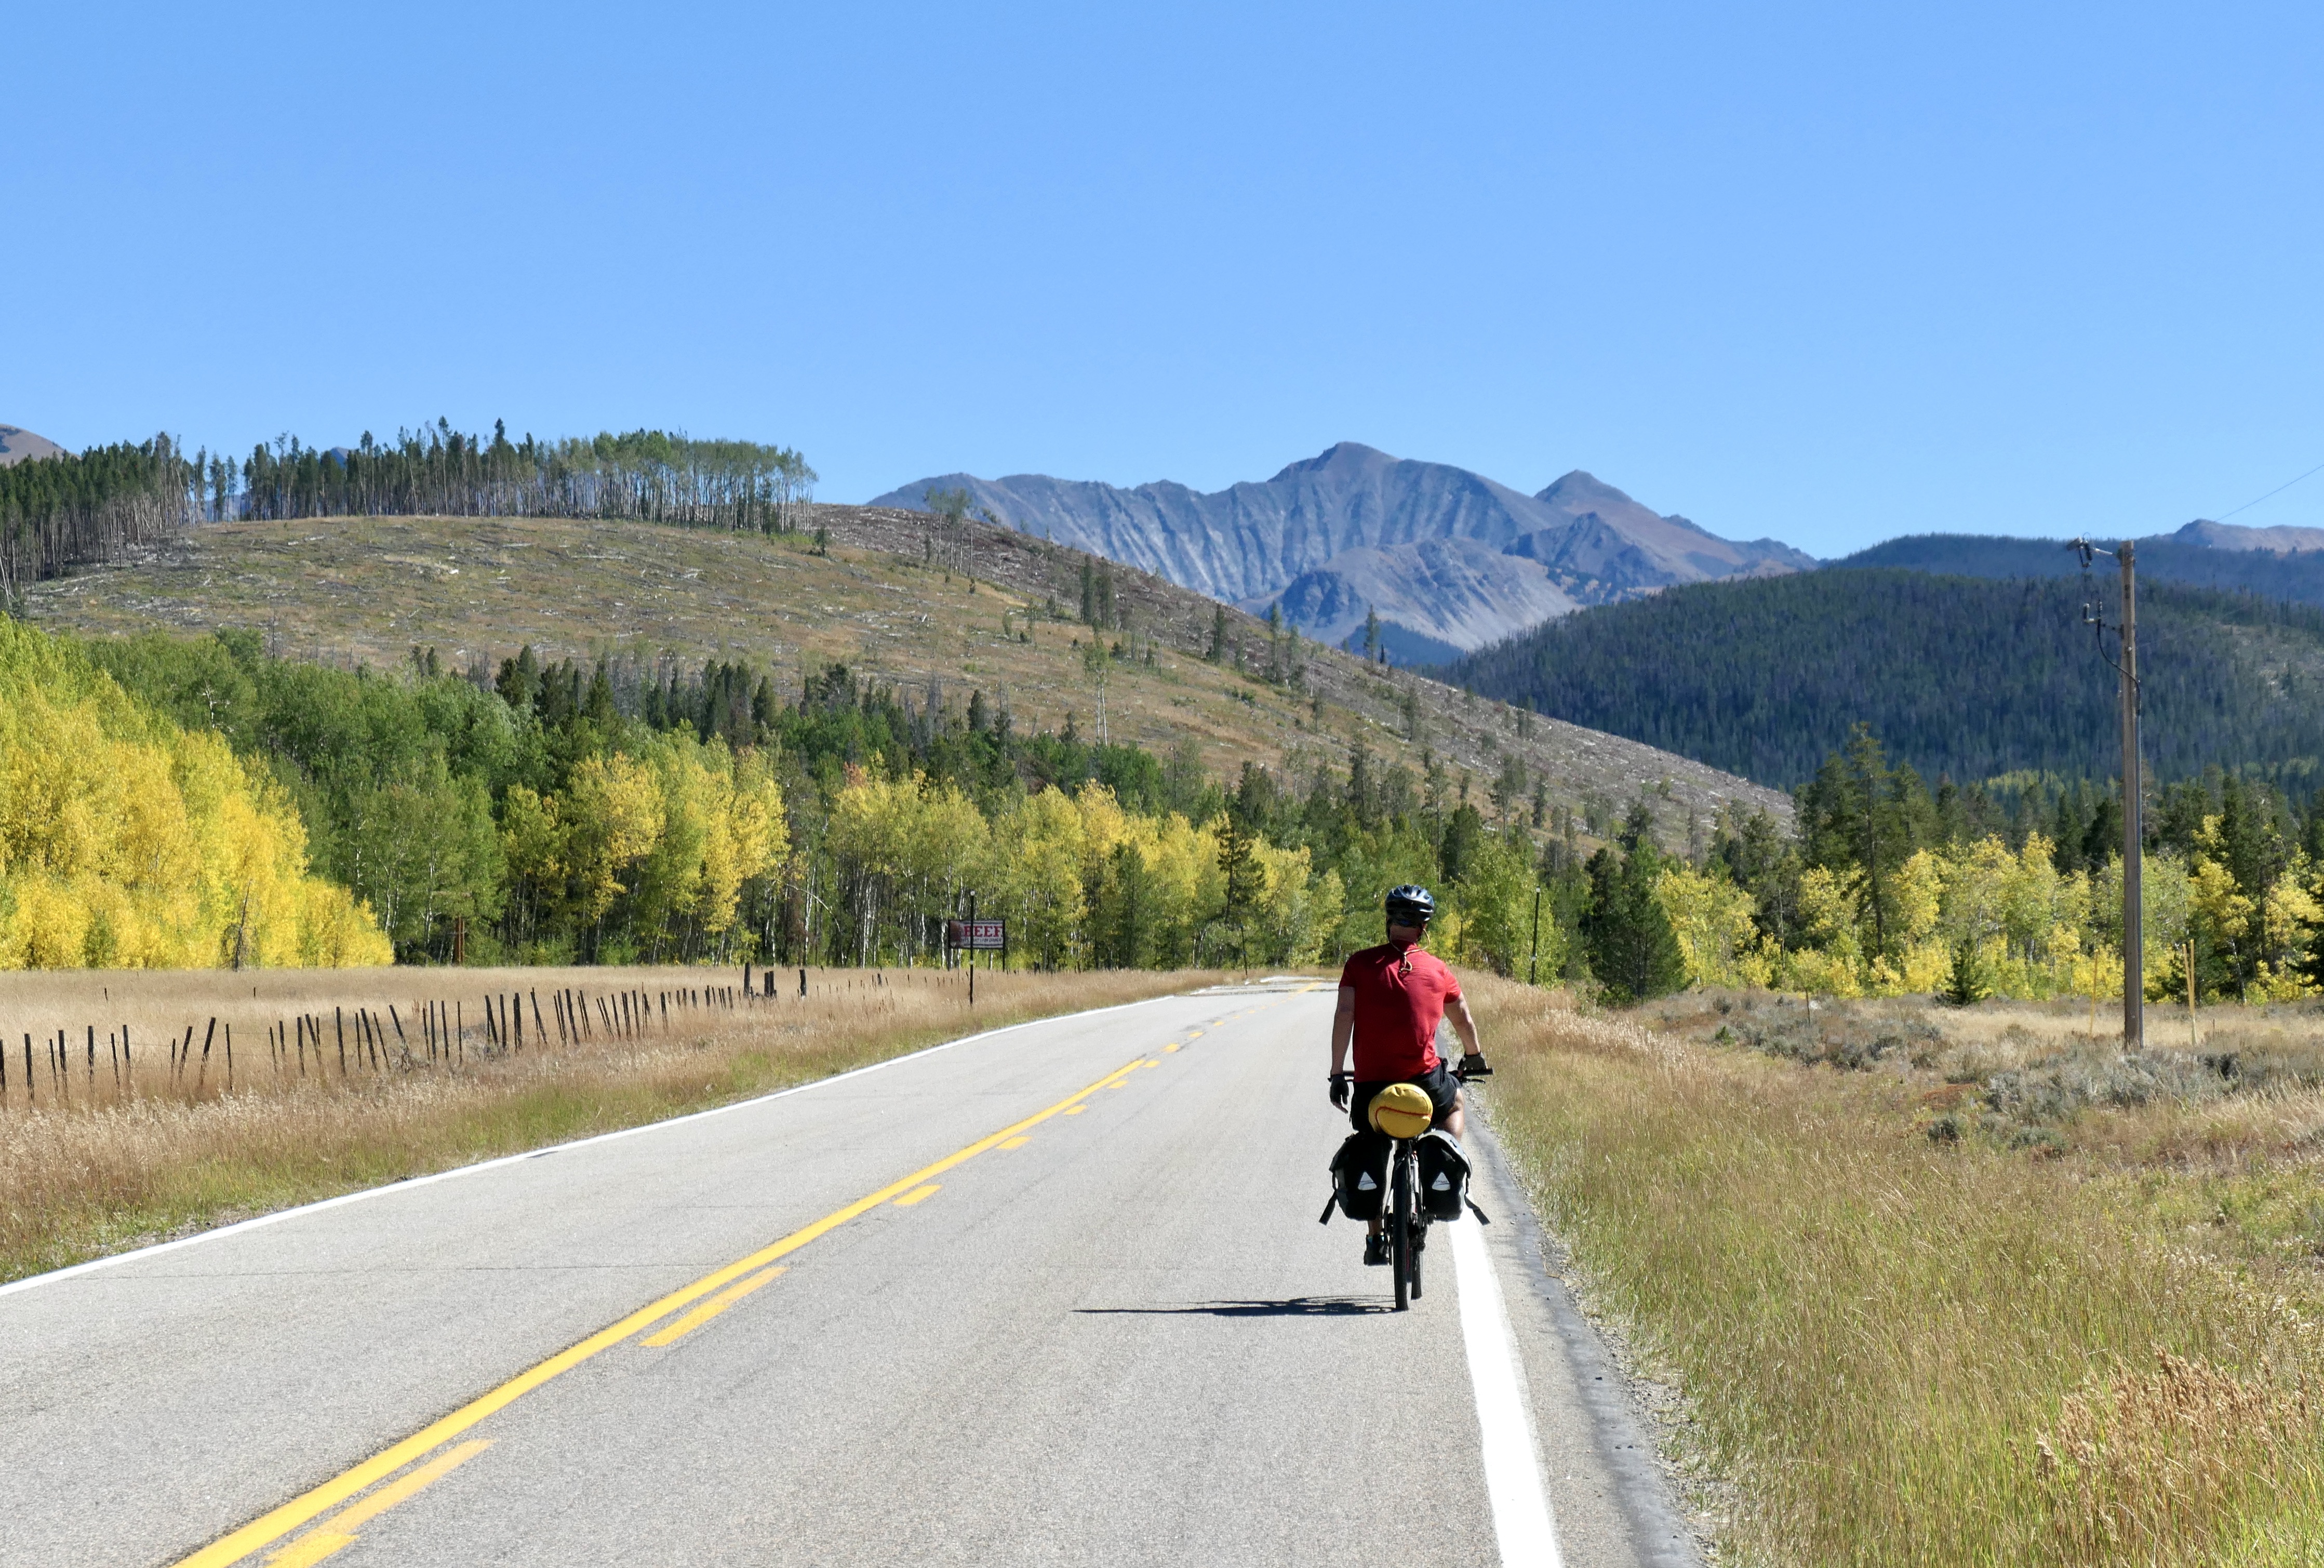
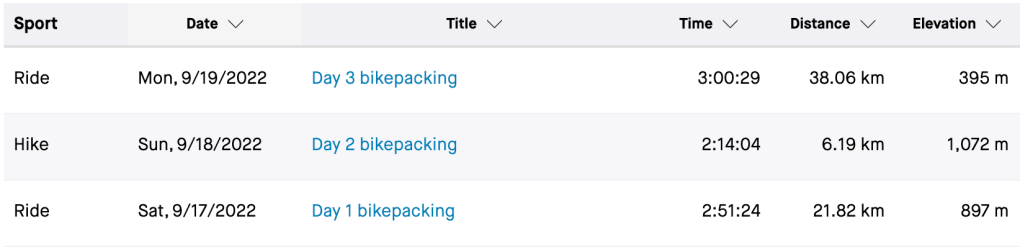
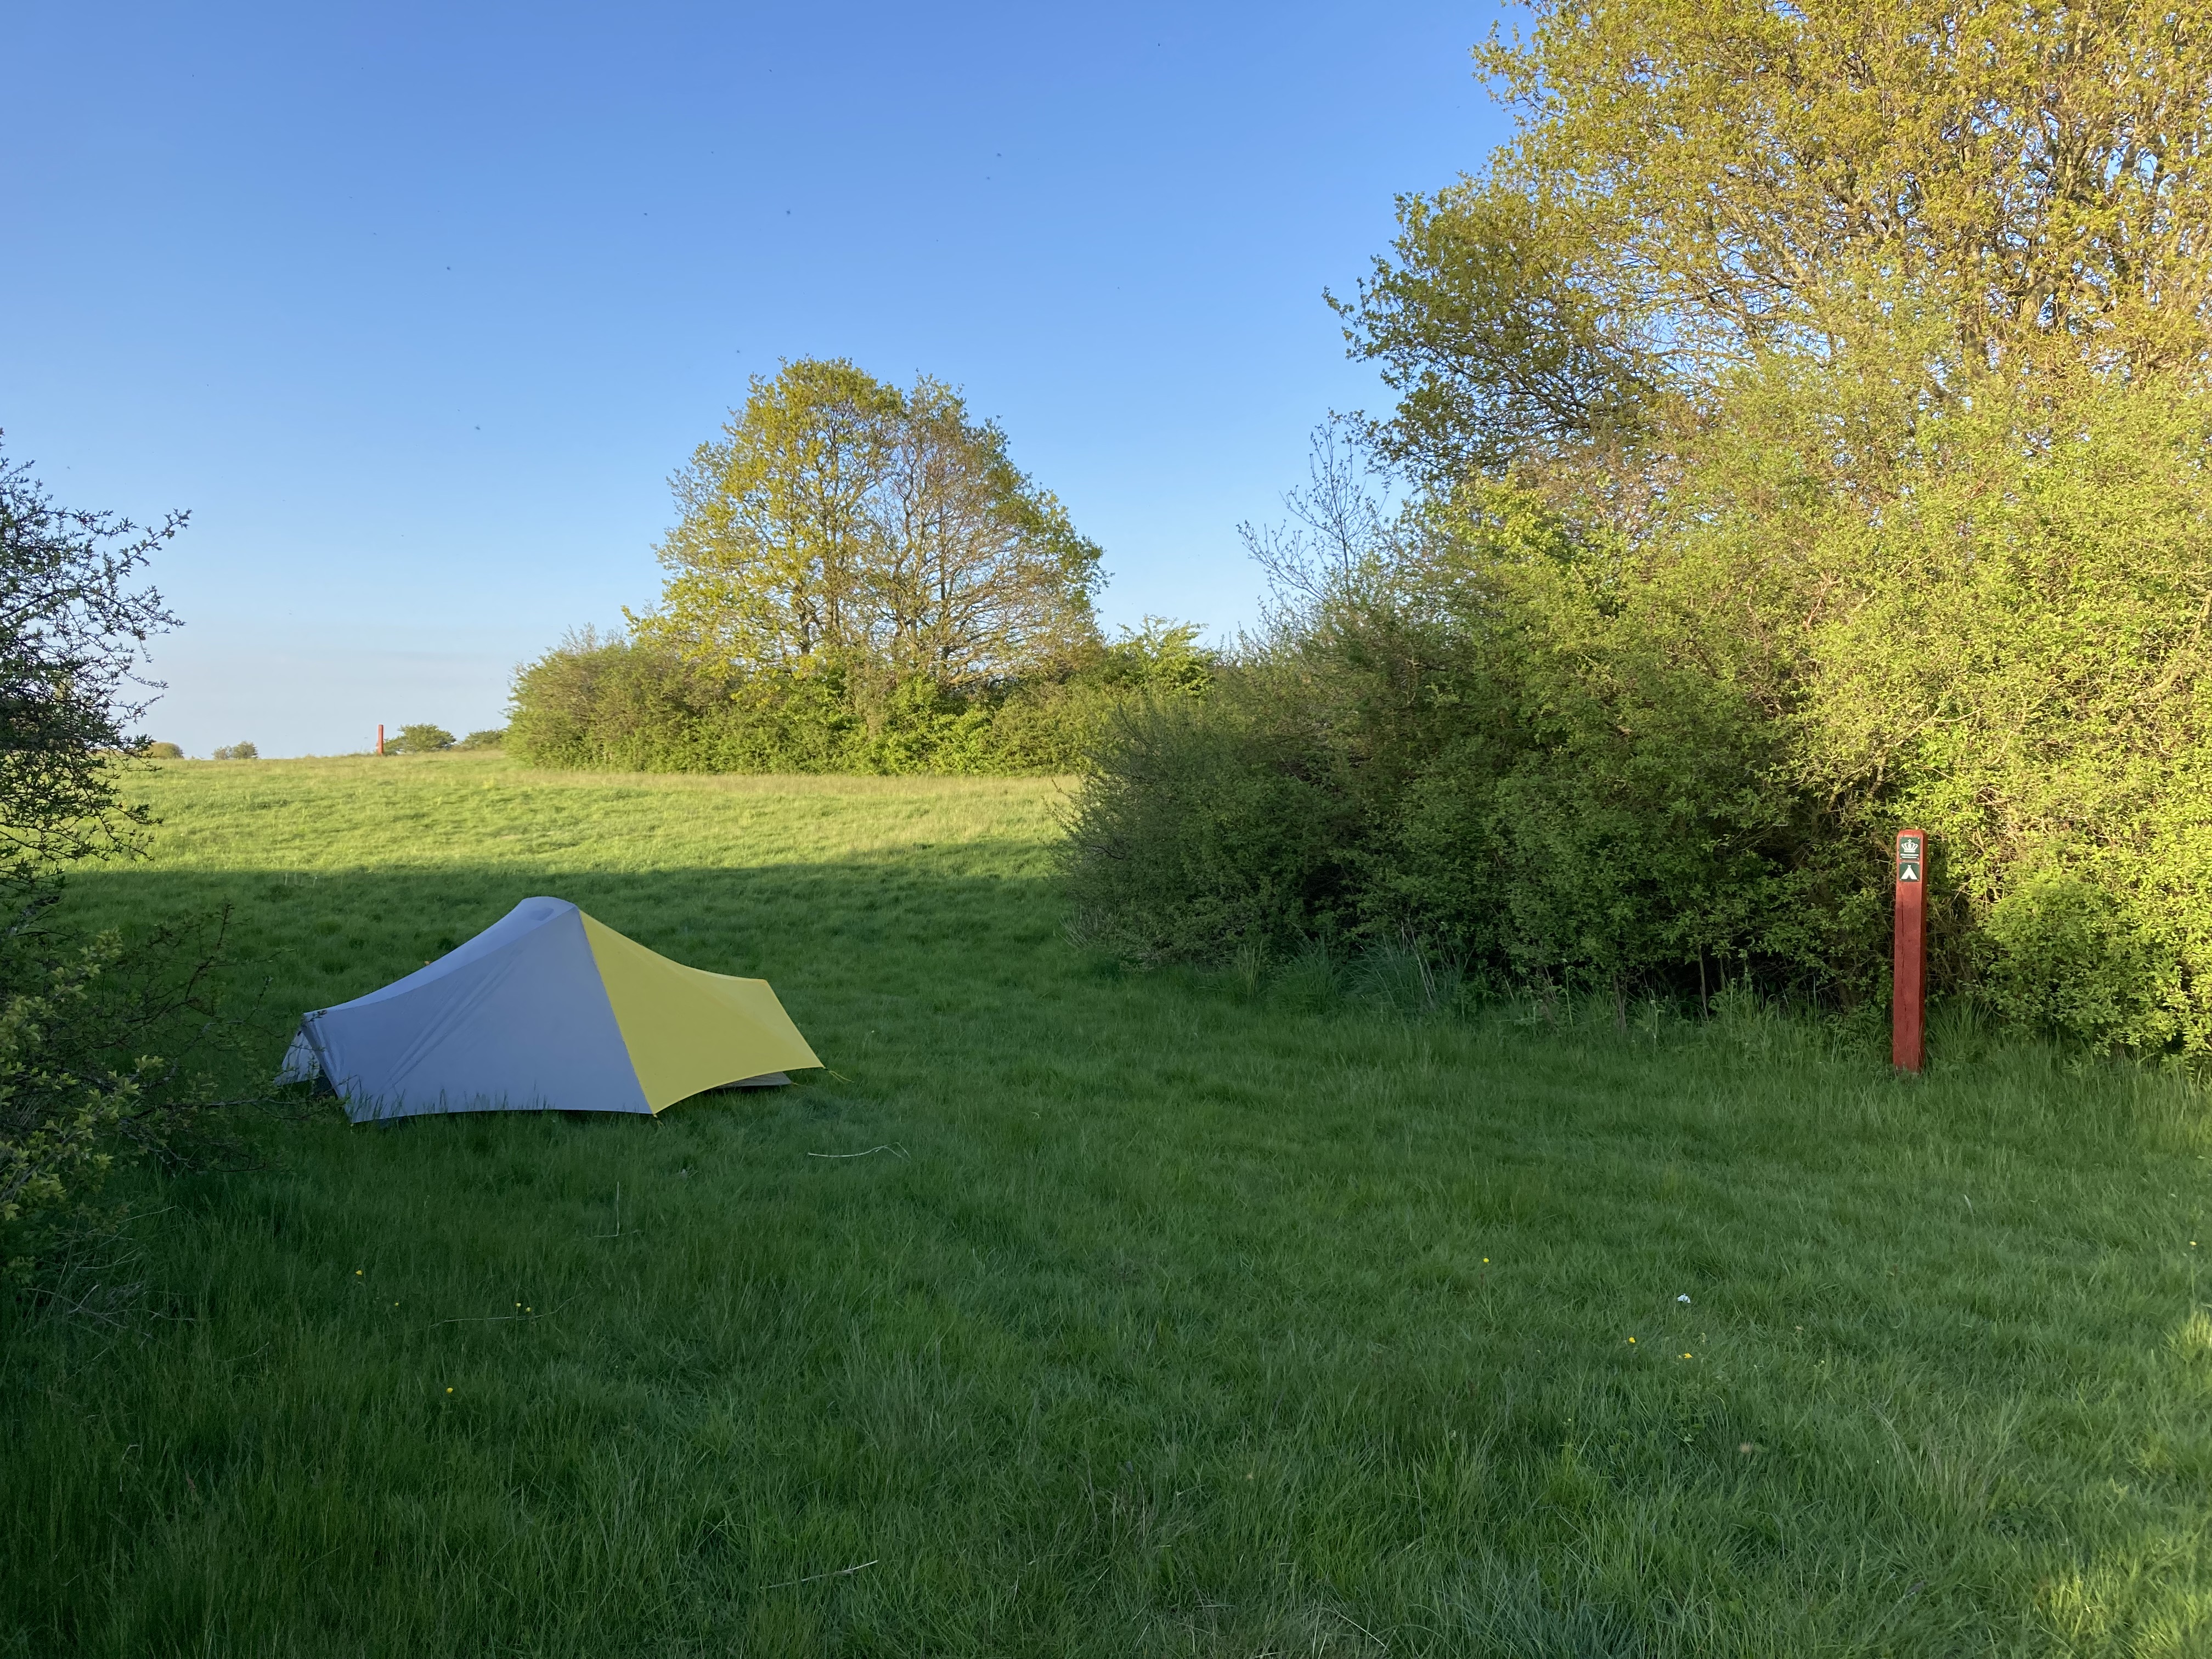
Bikepacking Red Feather, 3 days
Fun 3 day ride with my good buddies Cam and Josh. We could ride it straight out of our home town which is always fun. The route is a simplified version of the Red Feather Rambler described on bikepacking.com. We rode it in mid April which was totally fine since we didn’t have a lot of snowfall last year. However, that is something to be aware of.
On day 1 we rode to lost lake from Fort Collins which is a beautiful spot to camp. If you are planning to stay at campgrounds on day 2 make sure to check if they are open. Most of them open in May. On day 2 we cheated and made a stop at the tavern in Red Feather, highly recommended!
Below is a screenshot and here are the Strava links: Day 1, Day 2, and Day 3.
Not too many photos from this trip since i just had my phone.
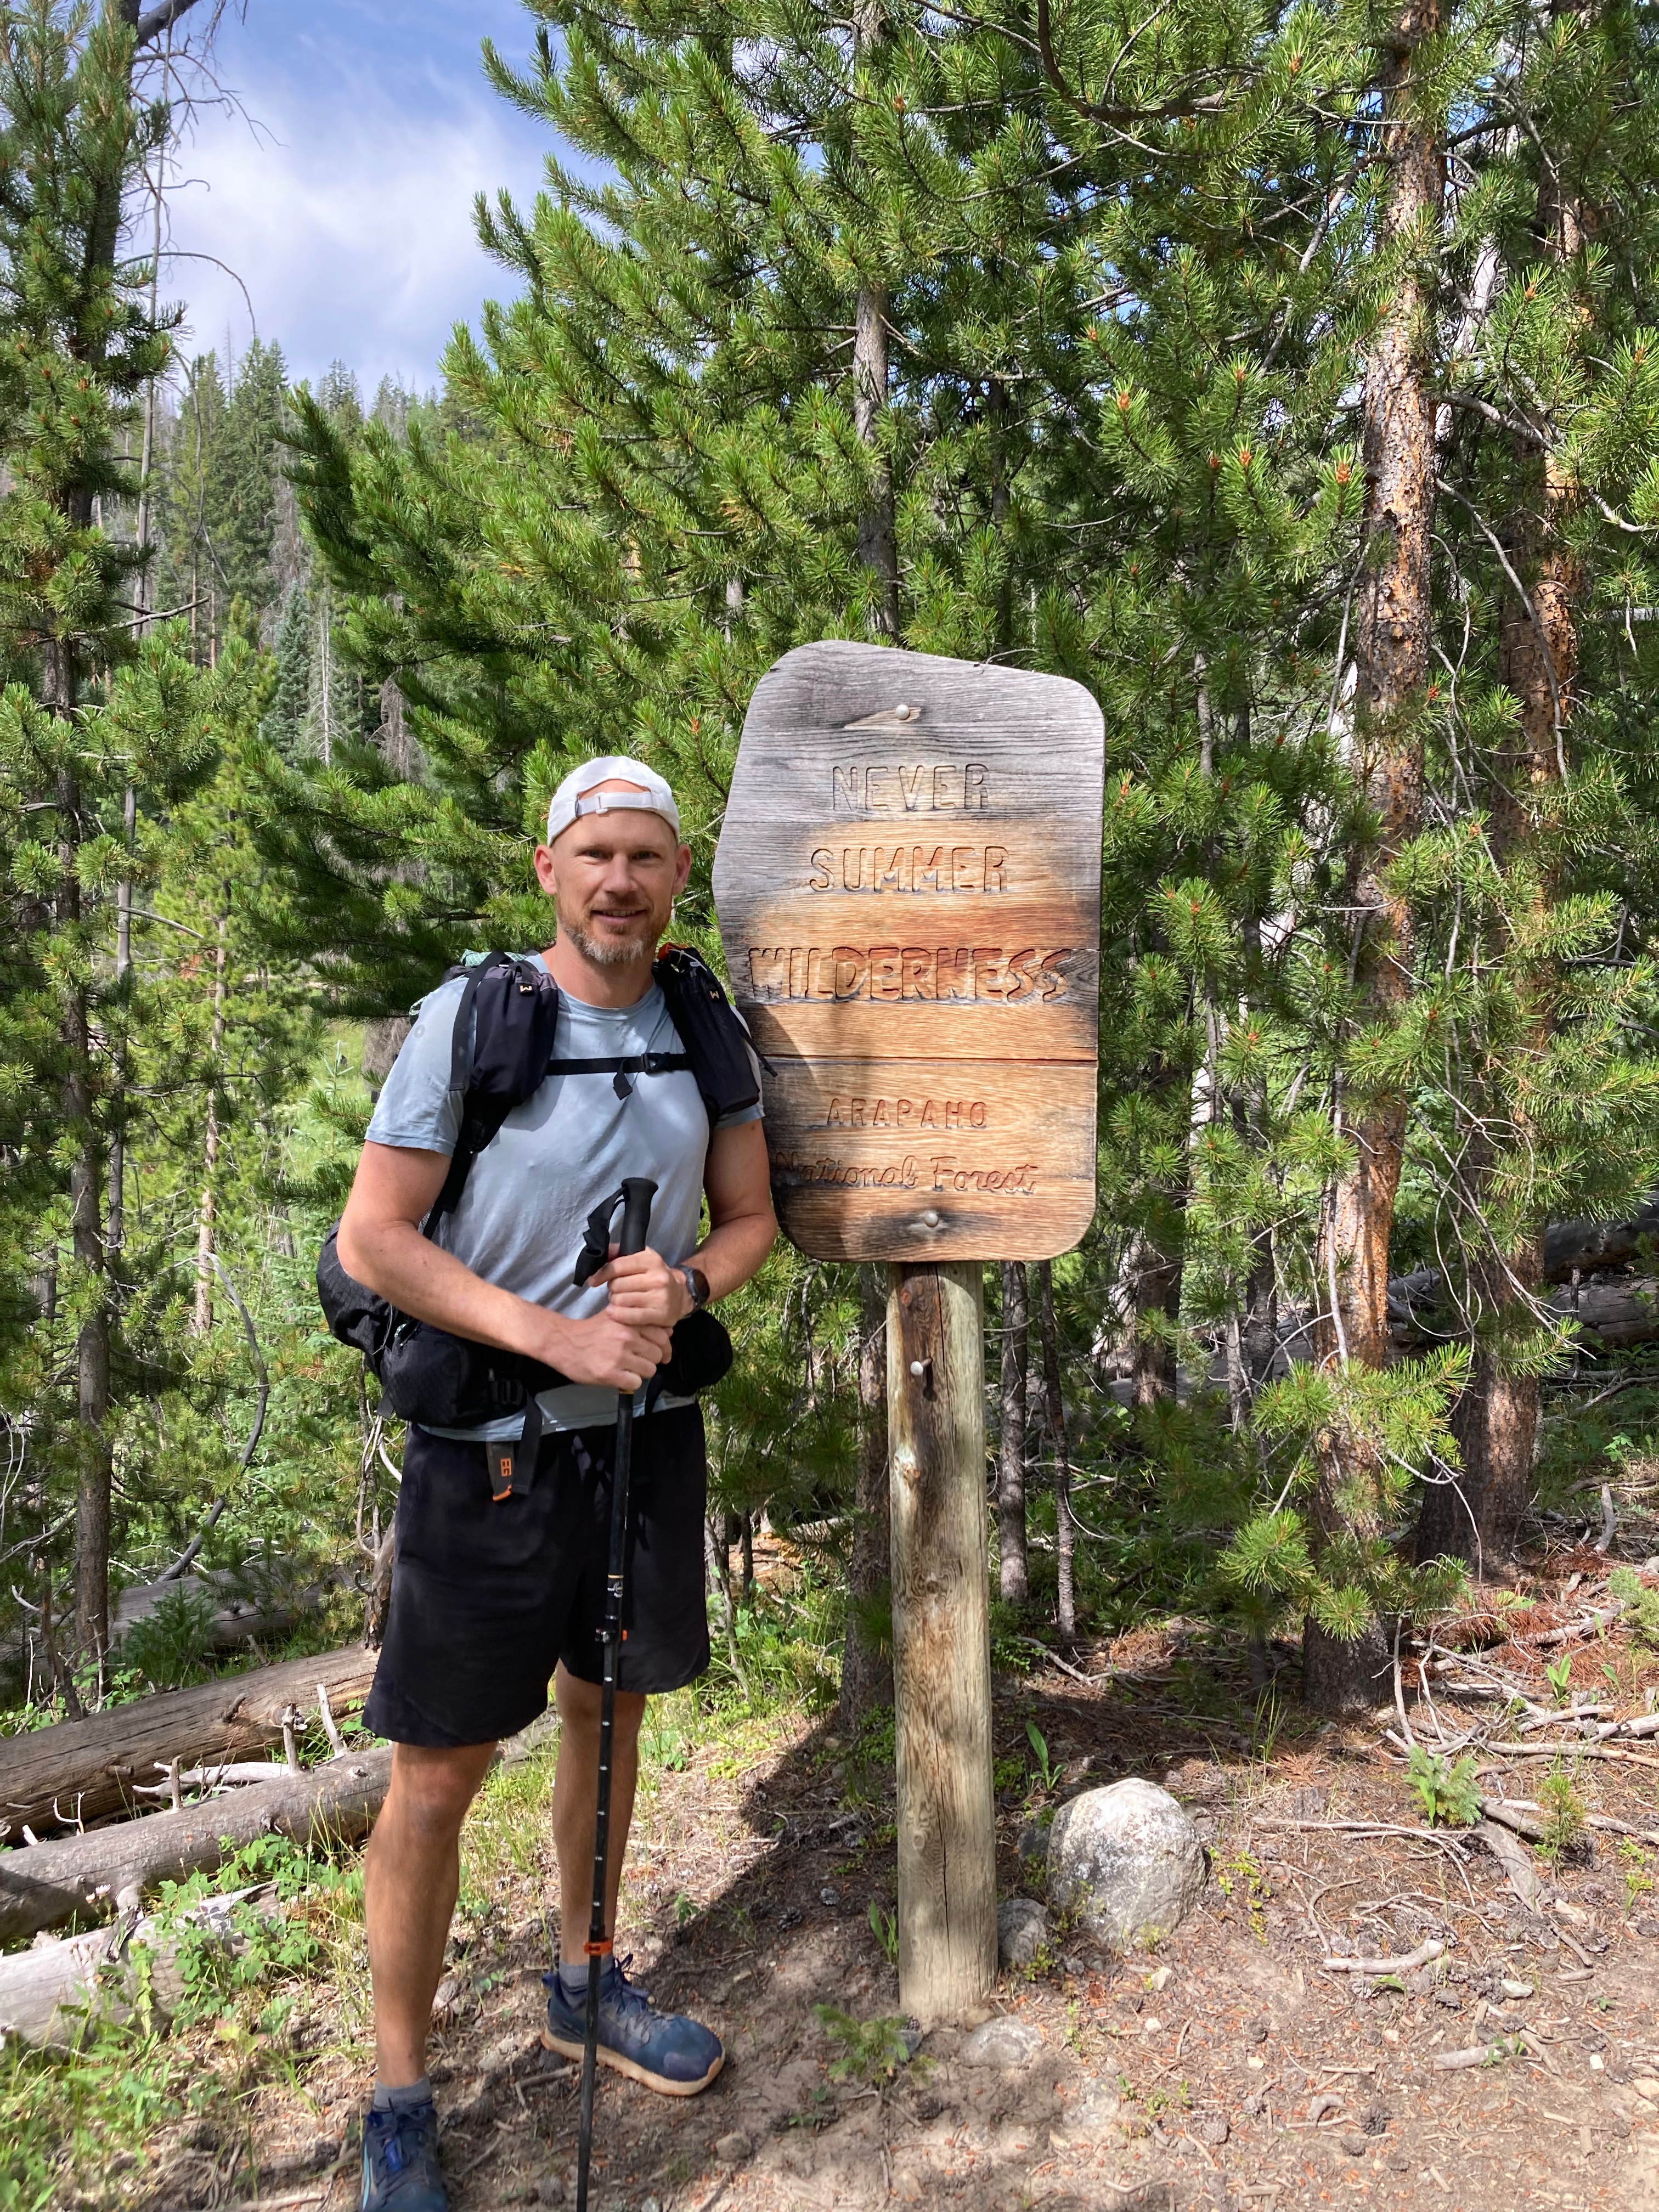
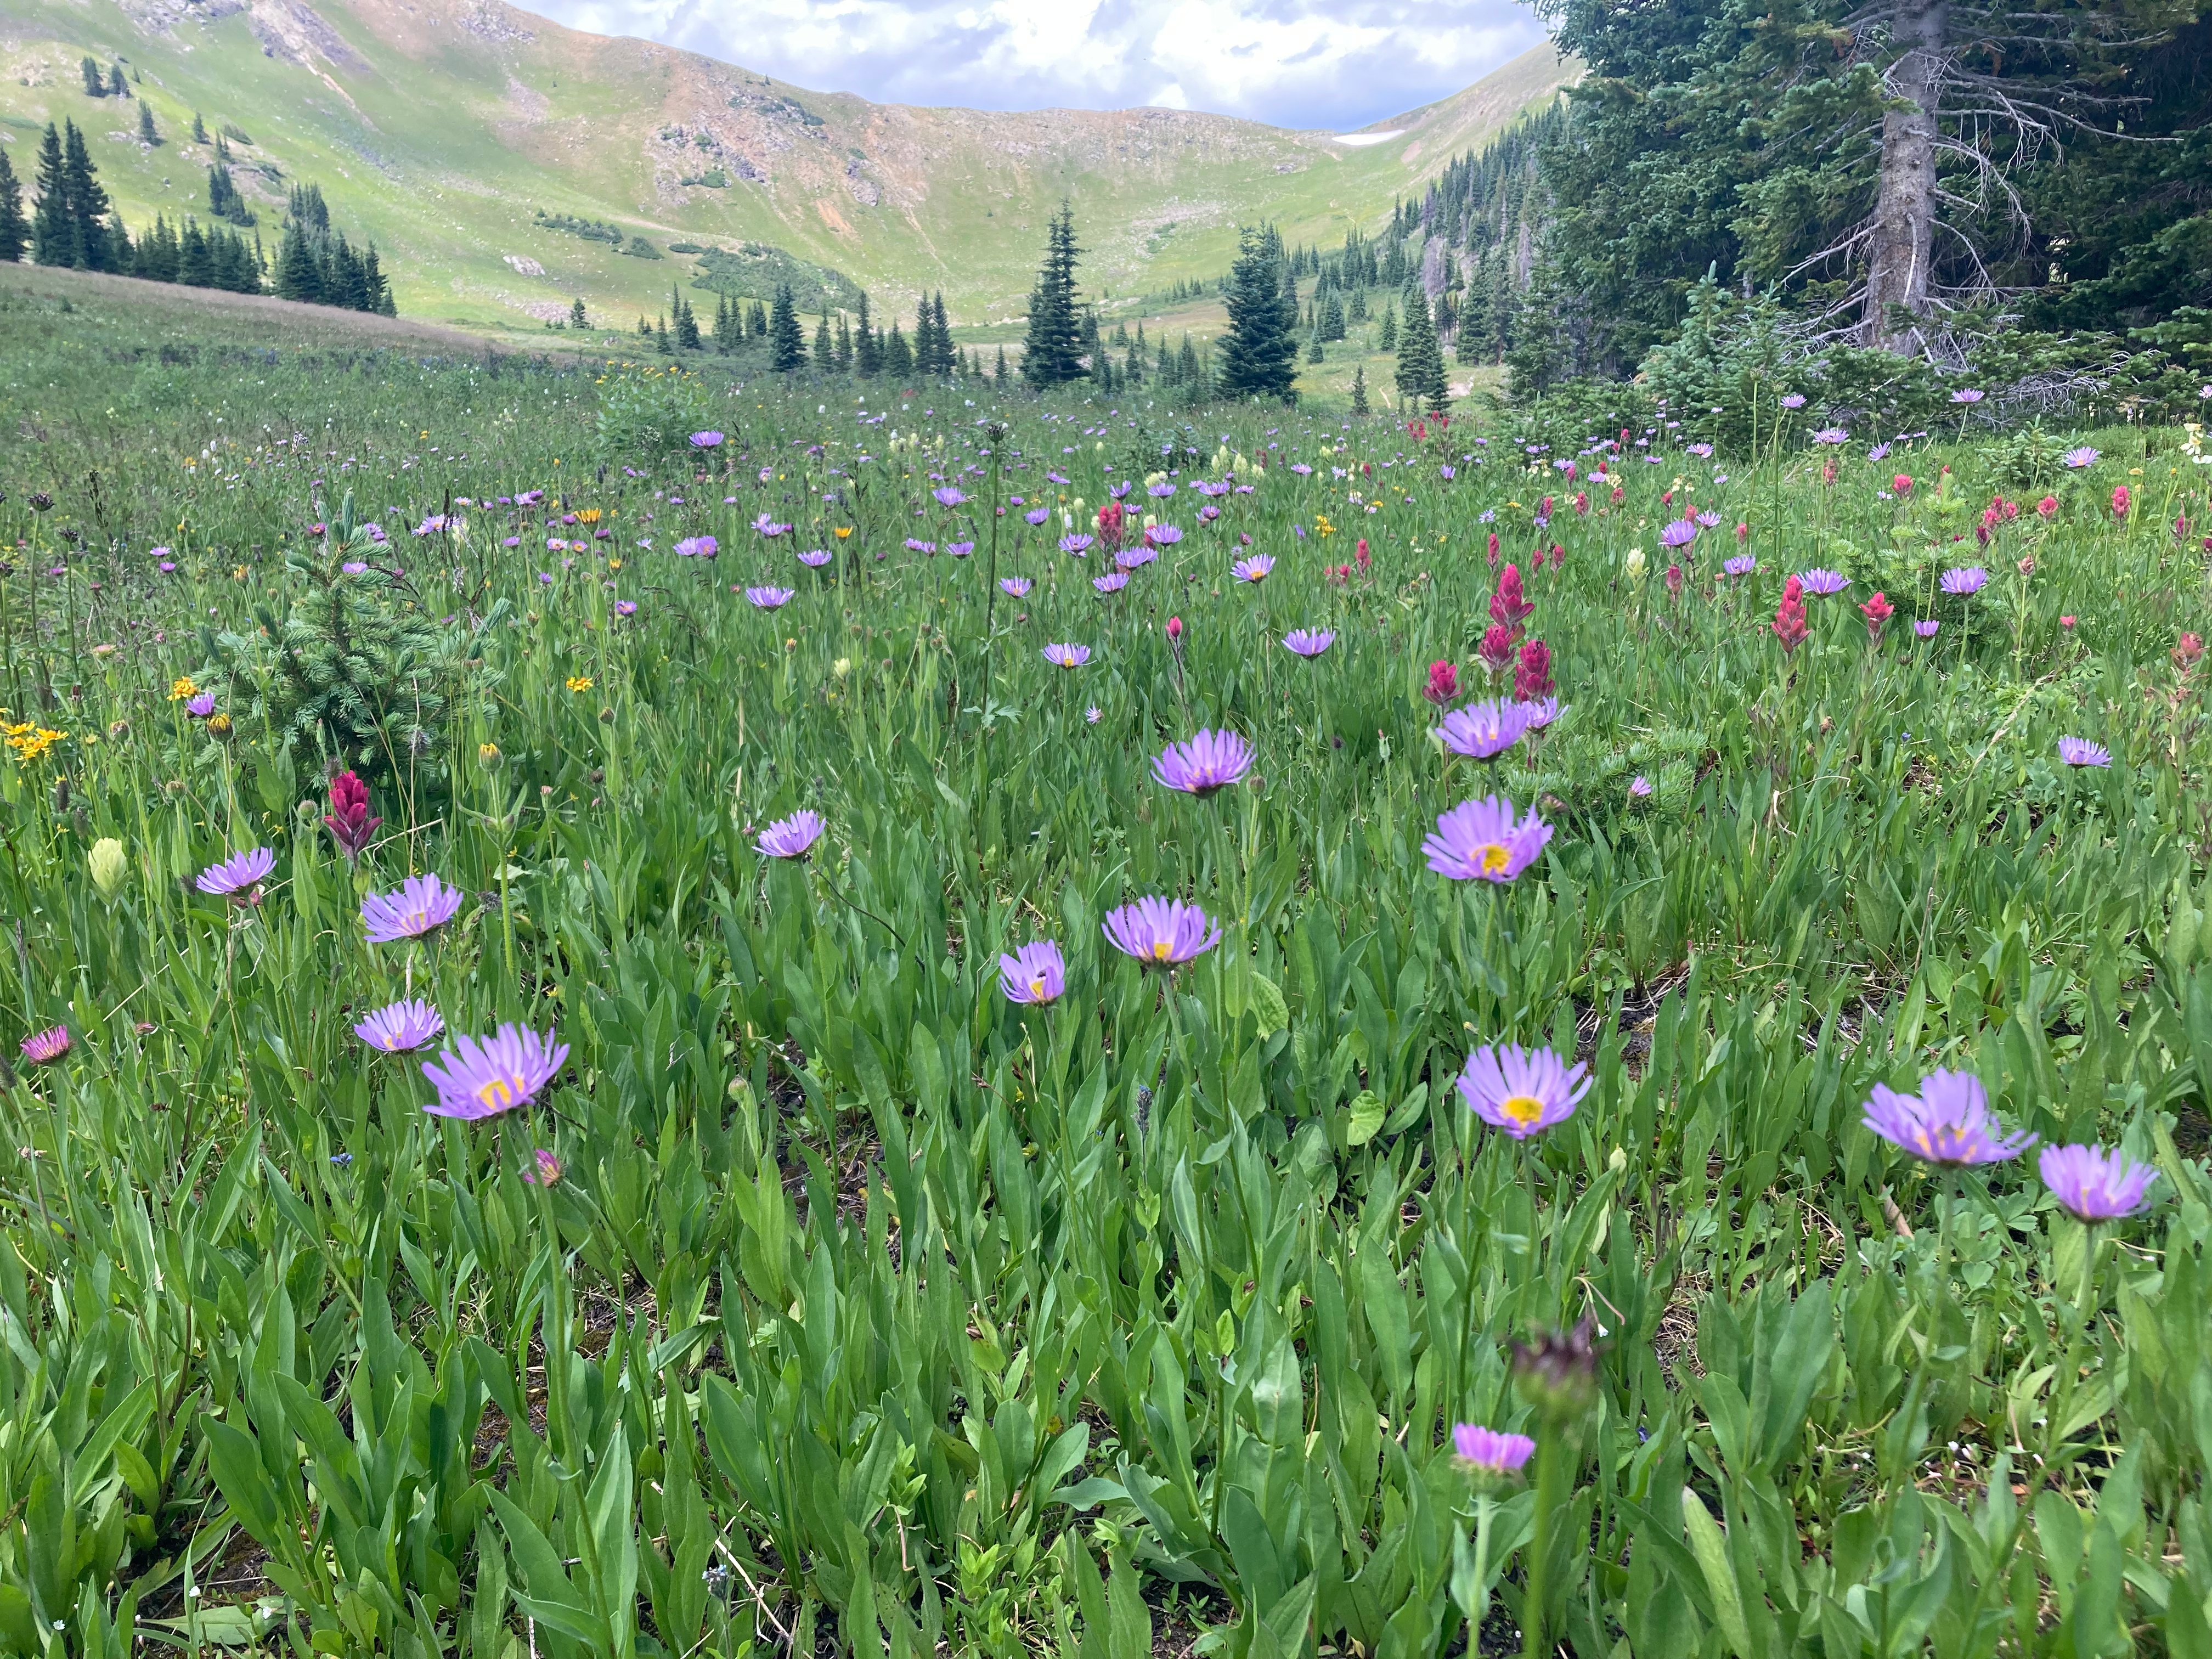
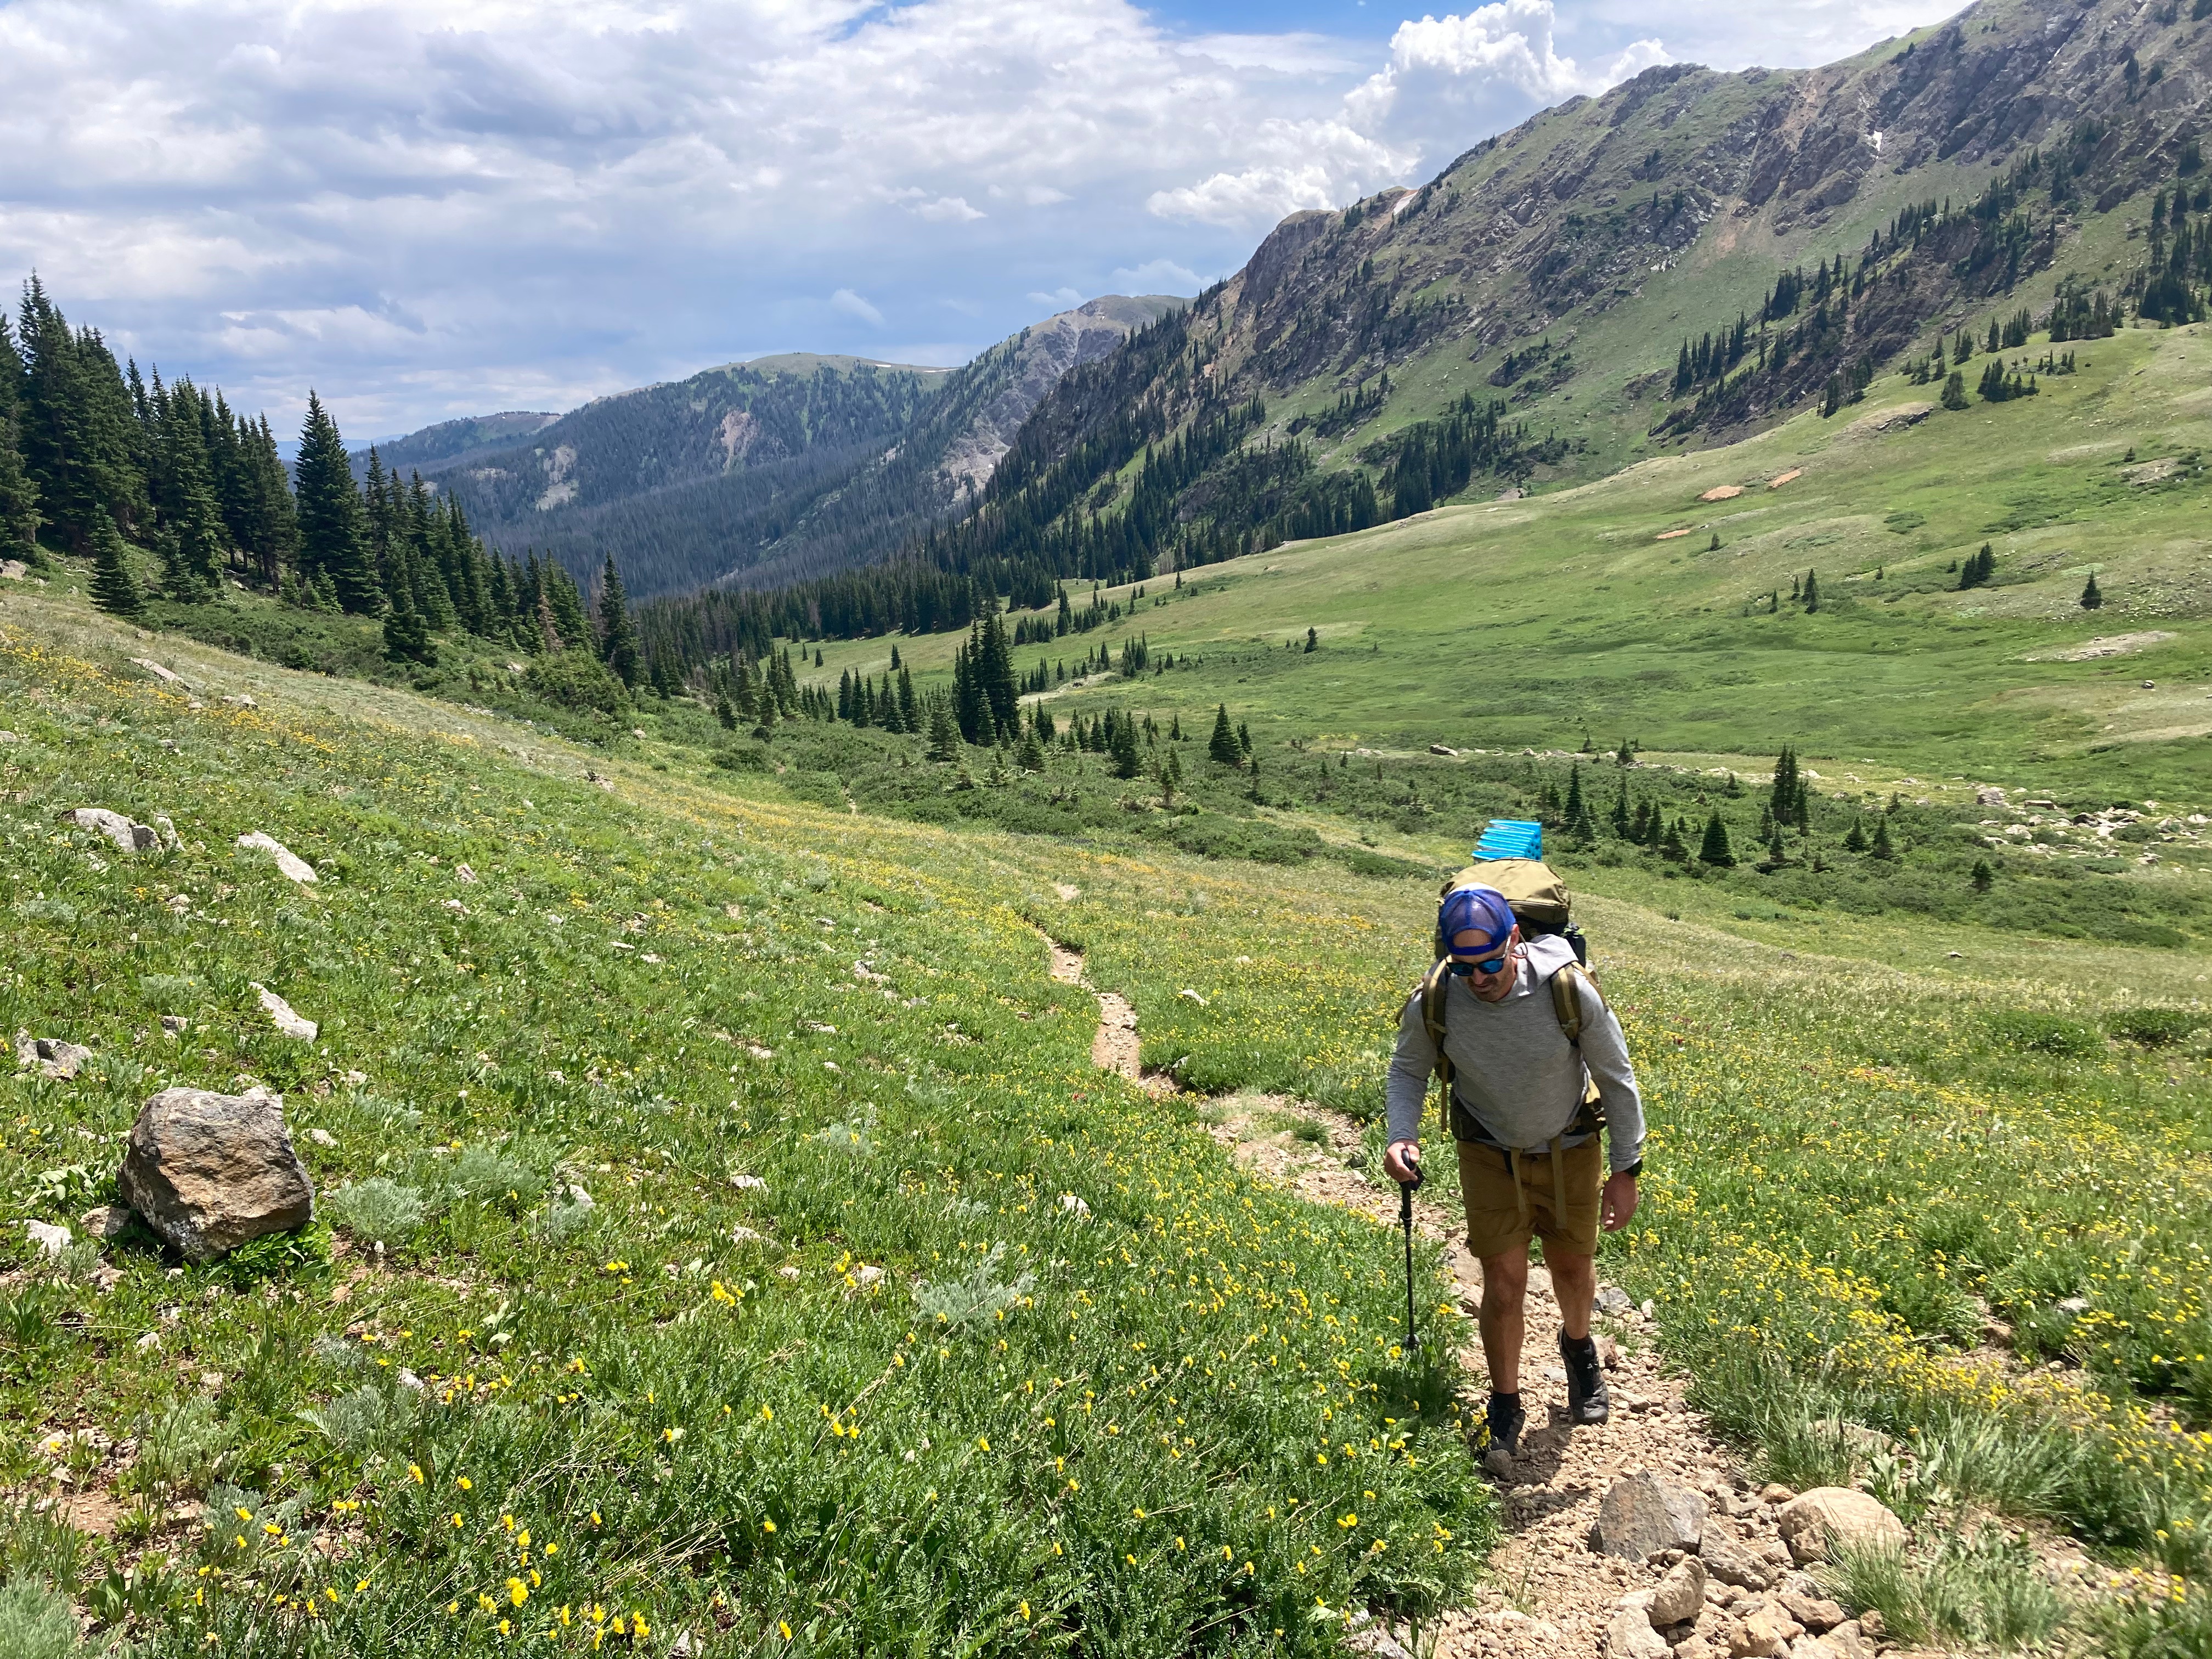
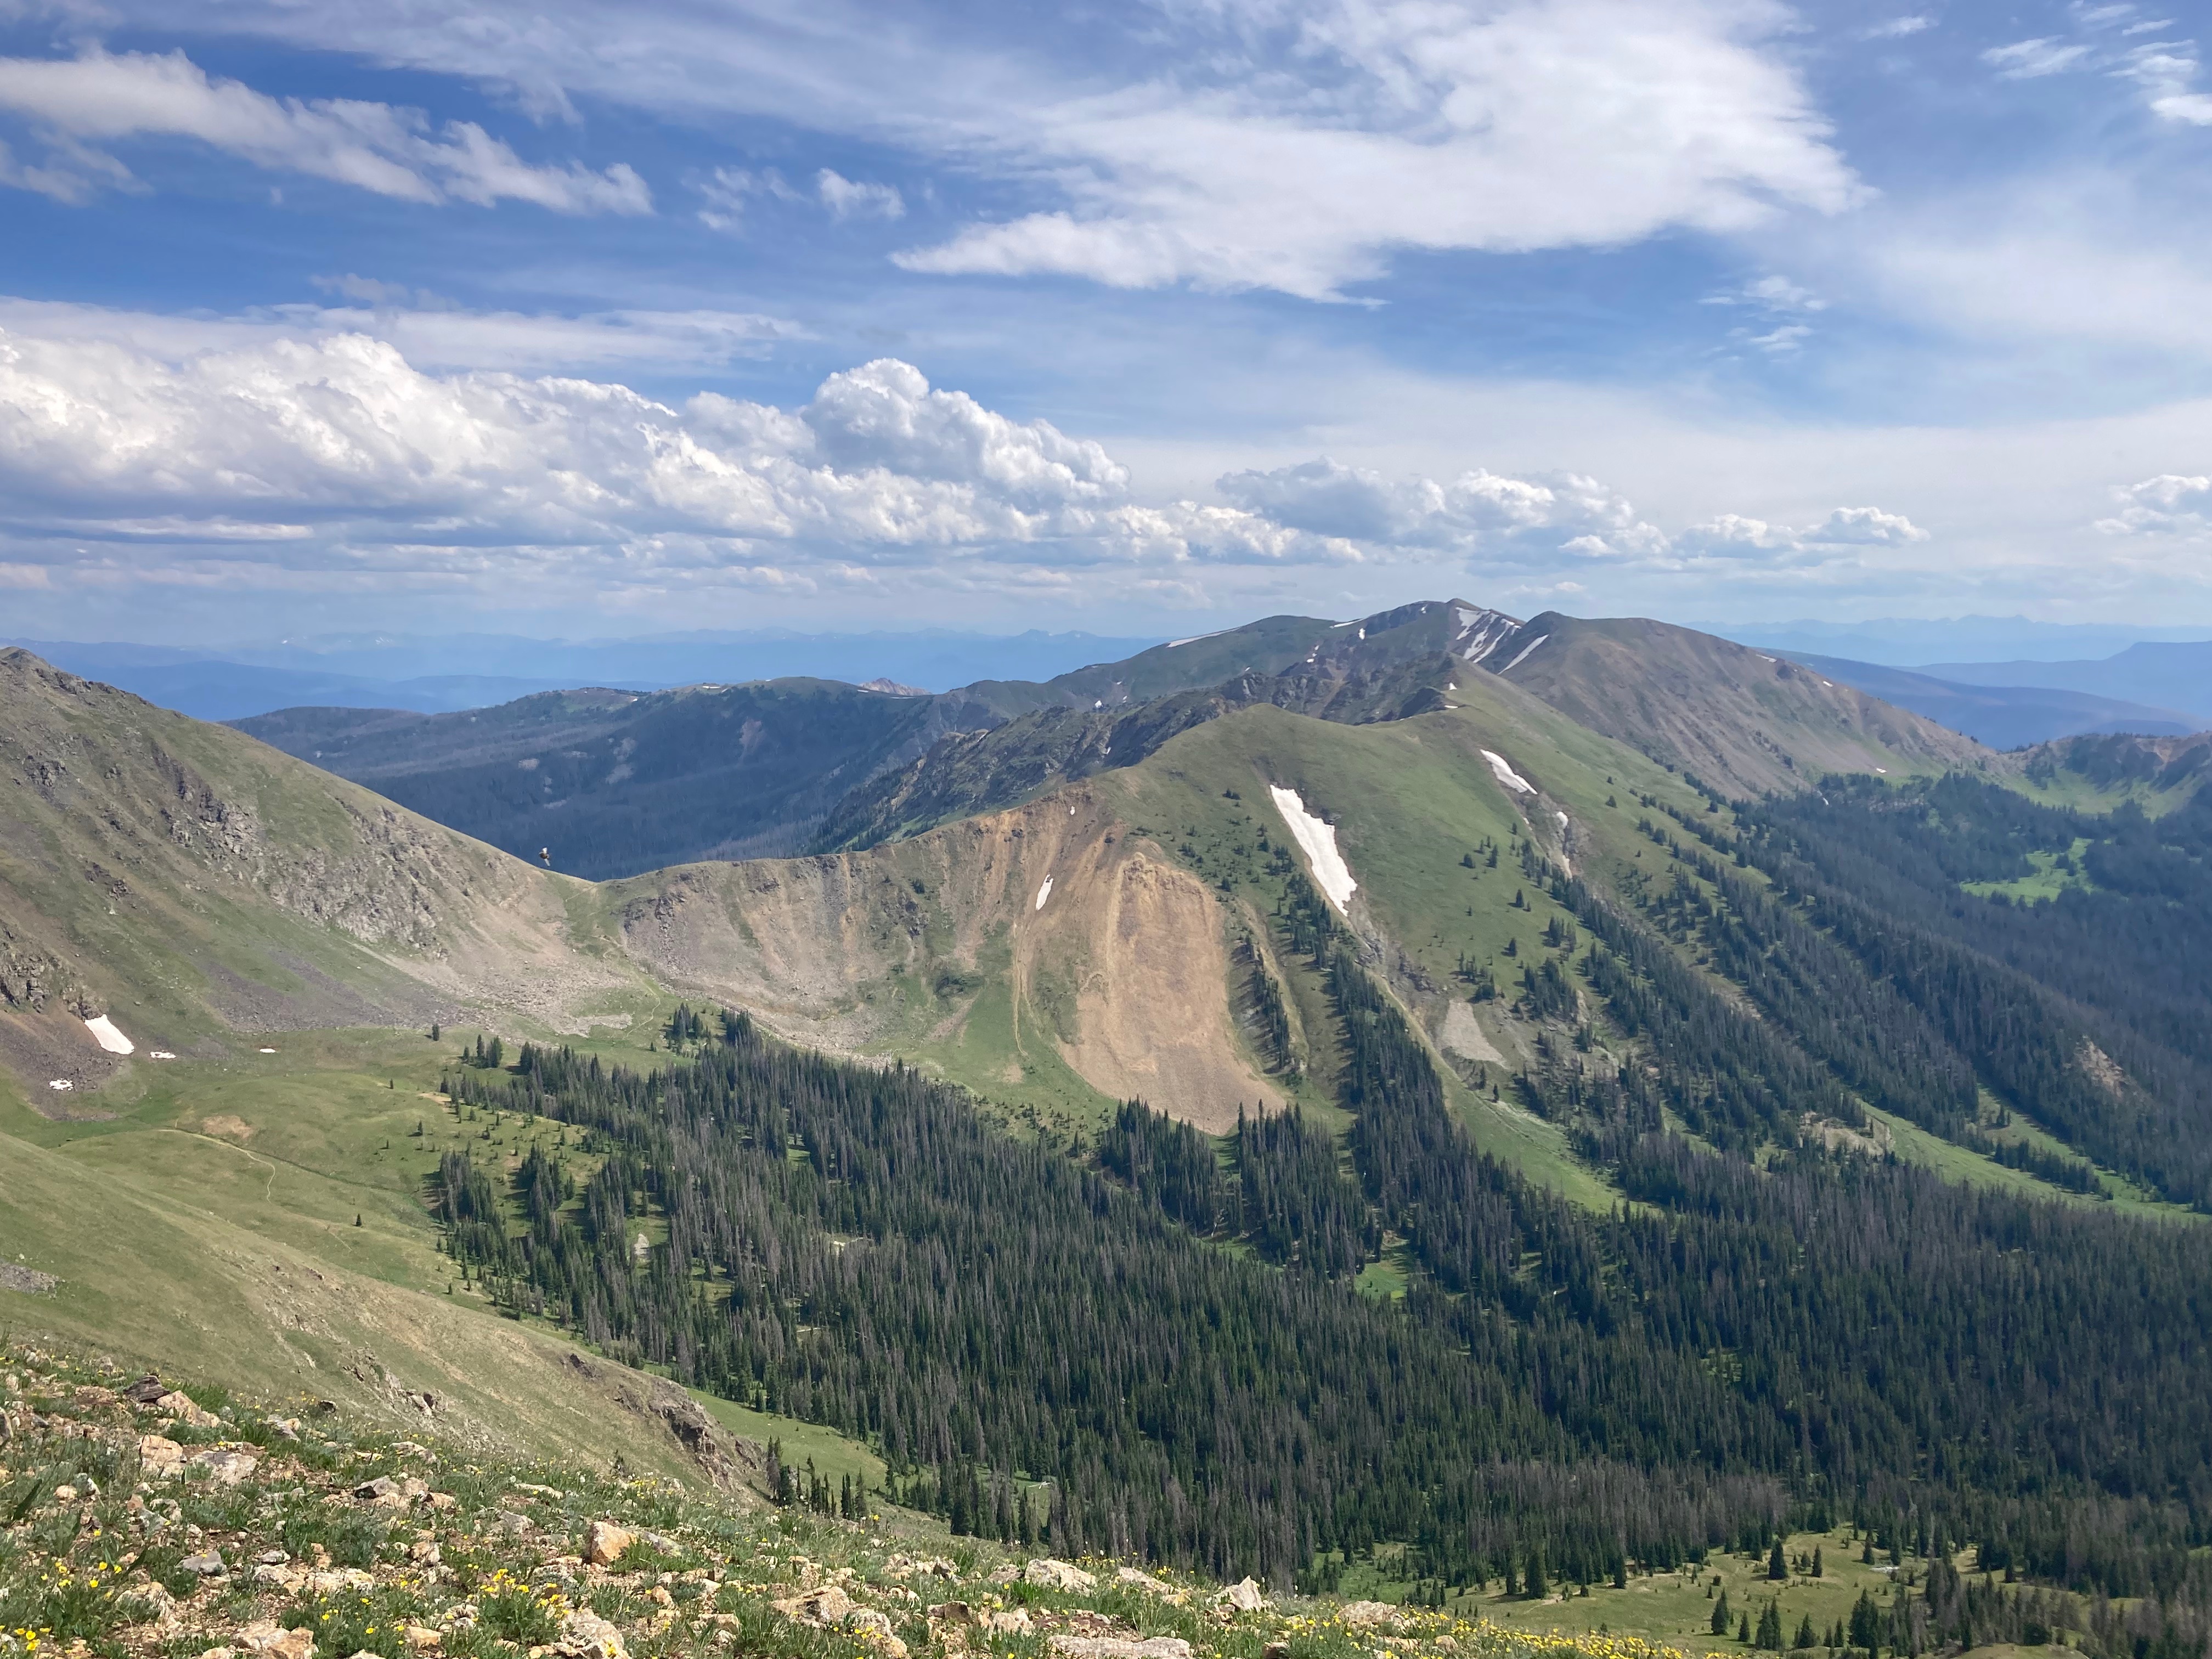
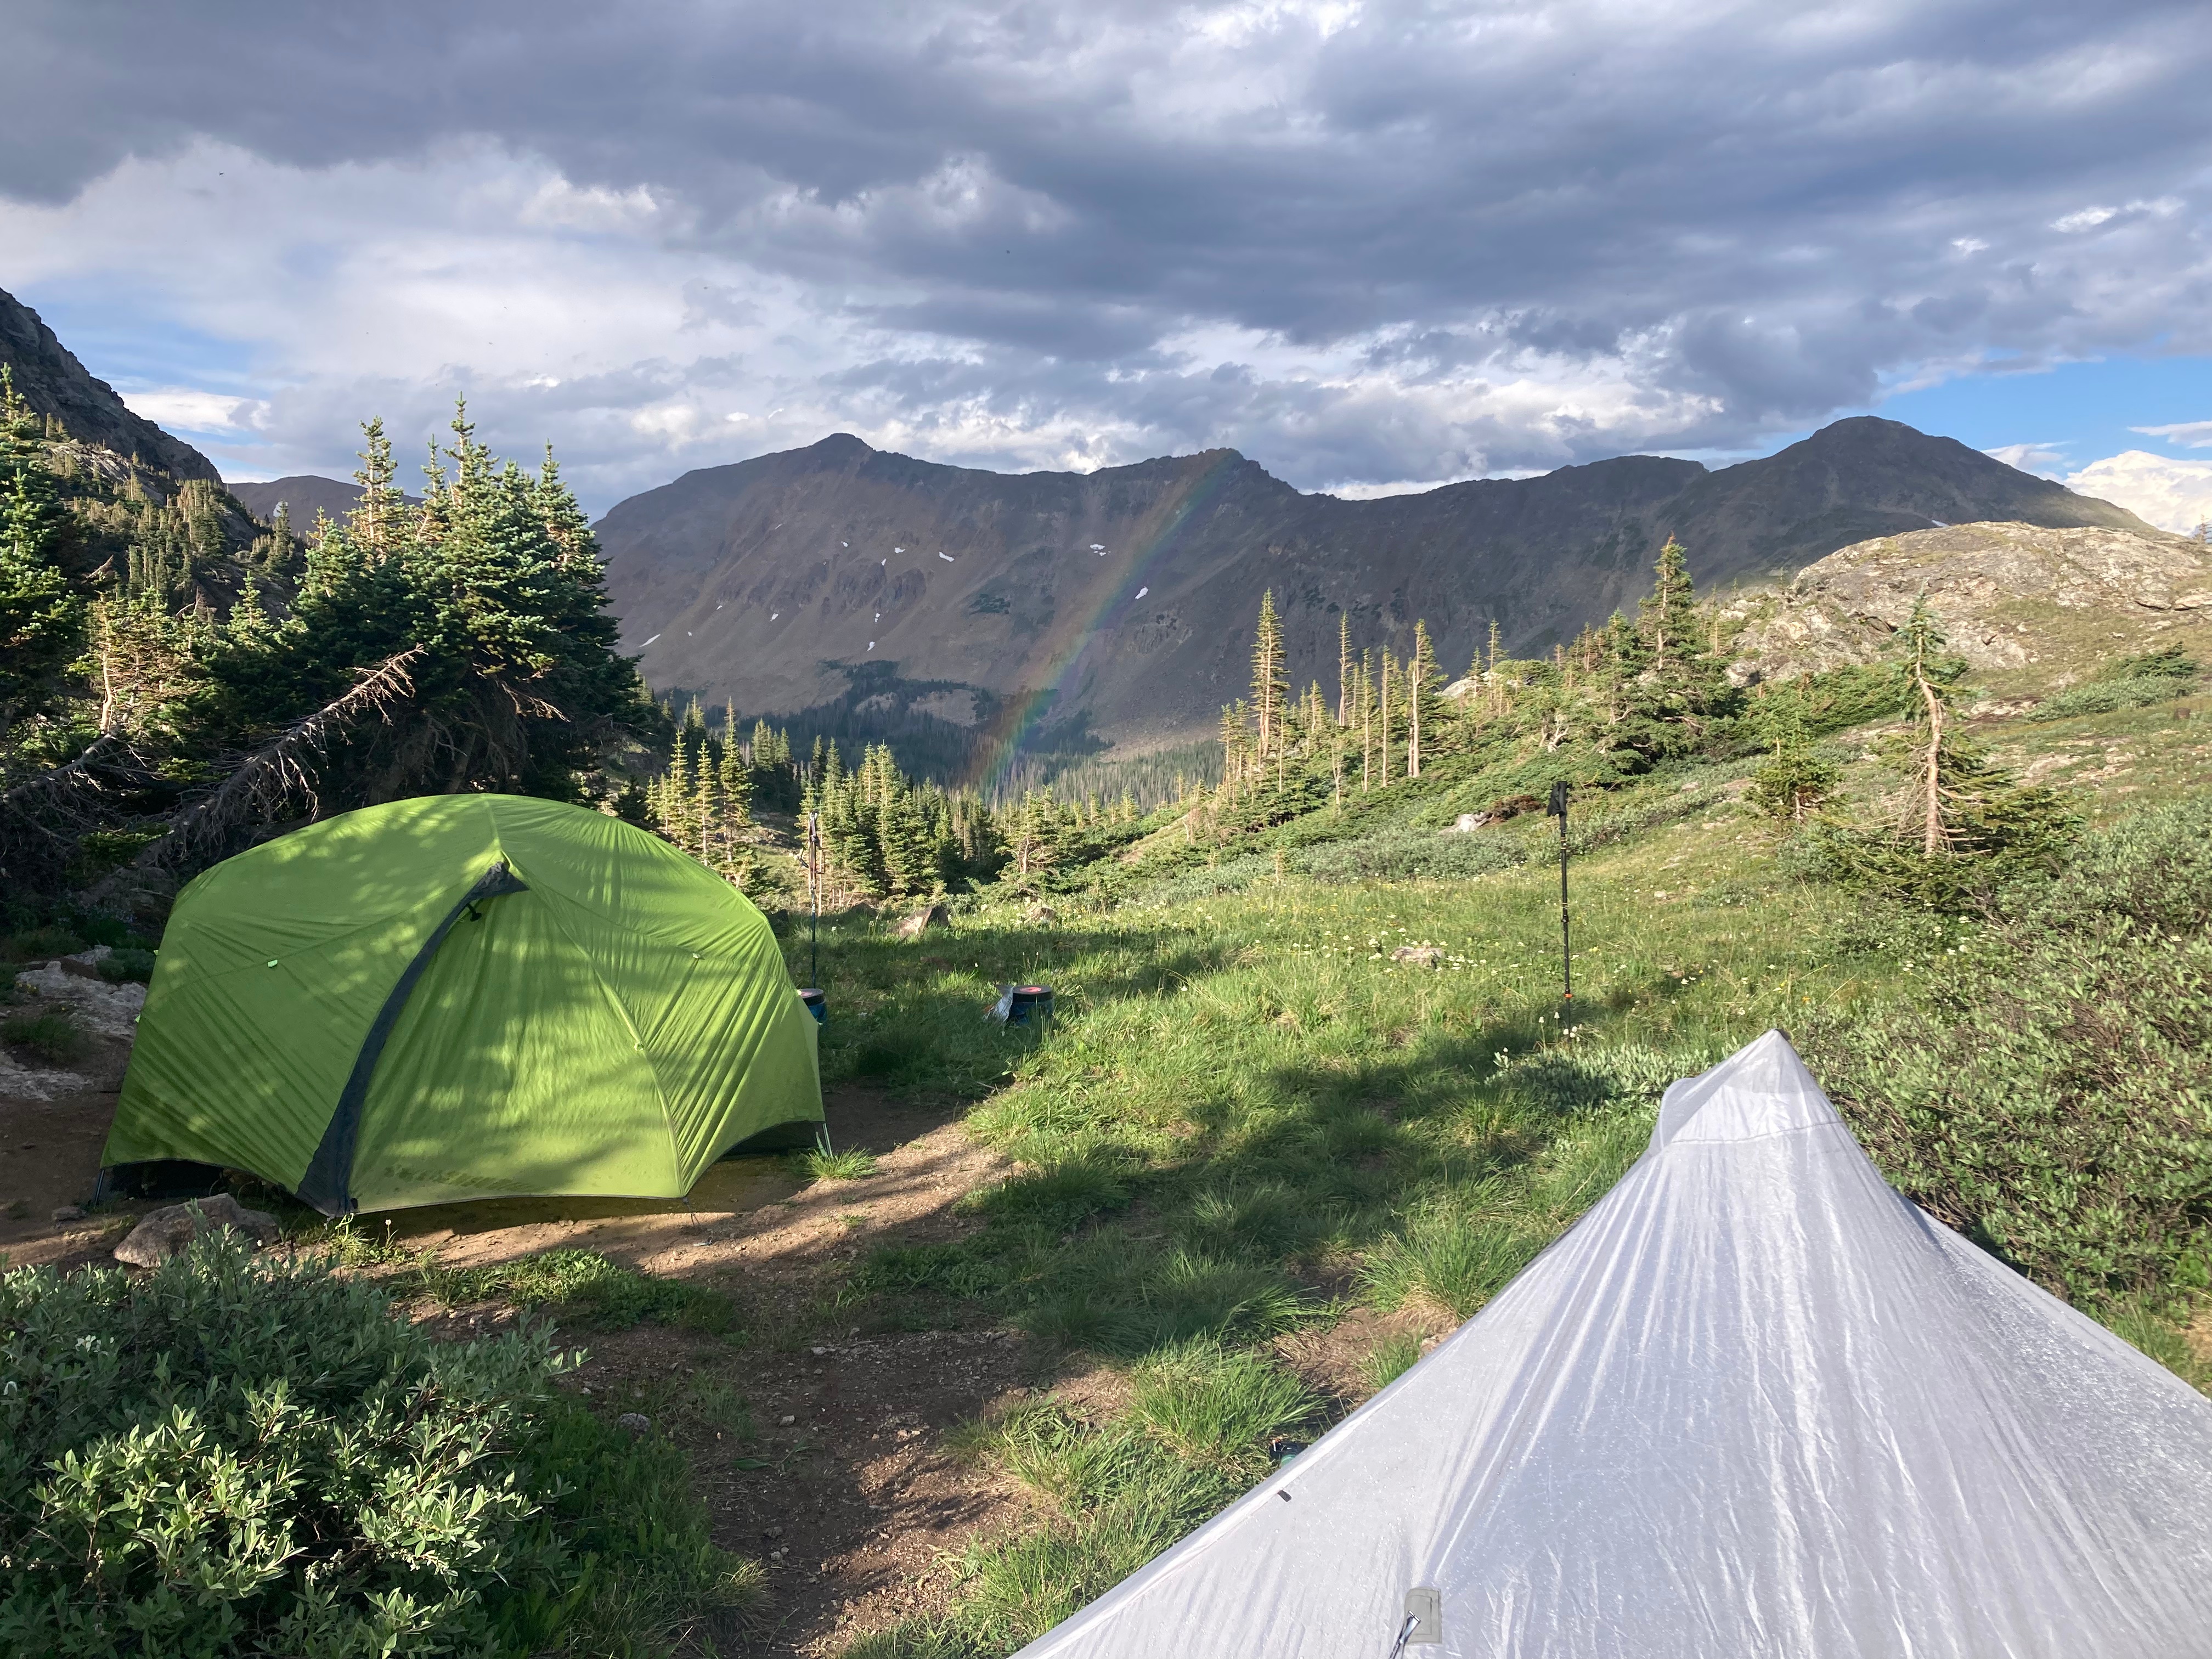
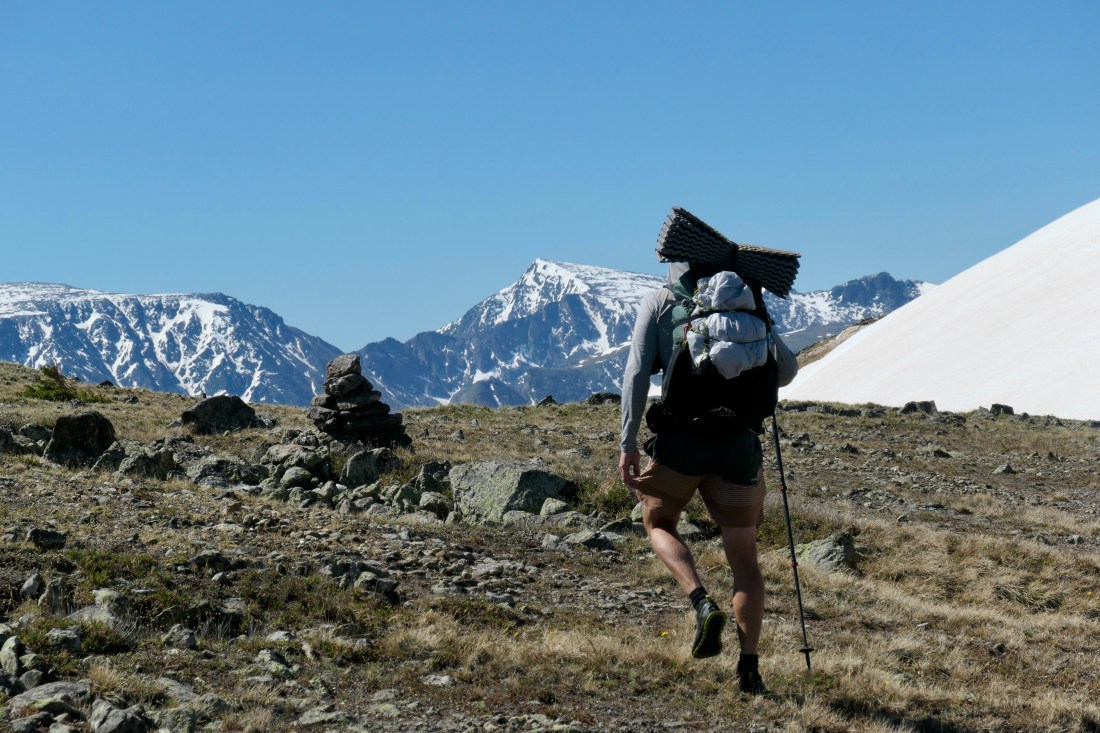
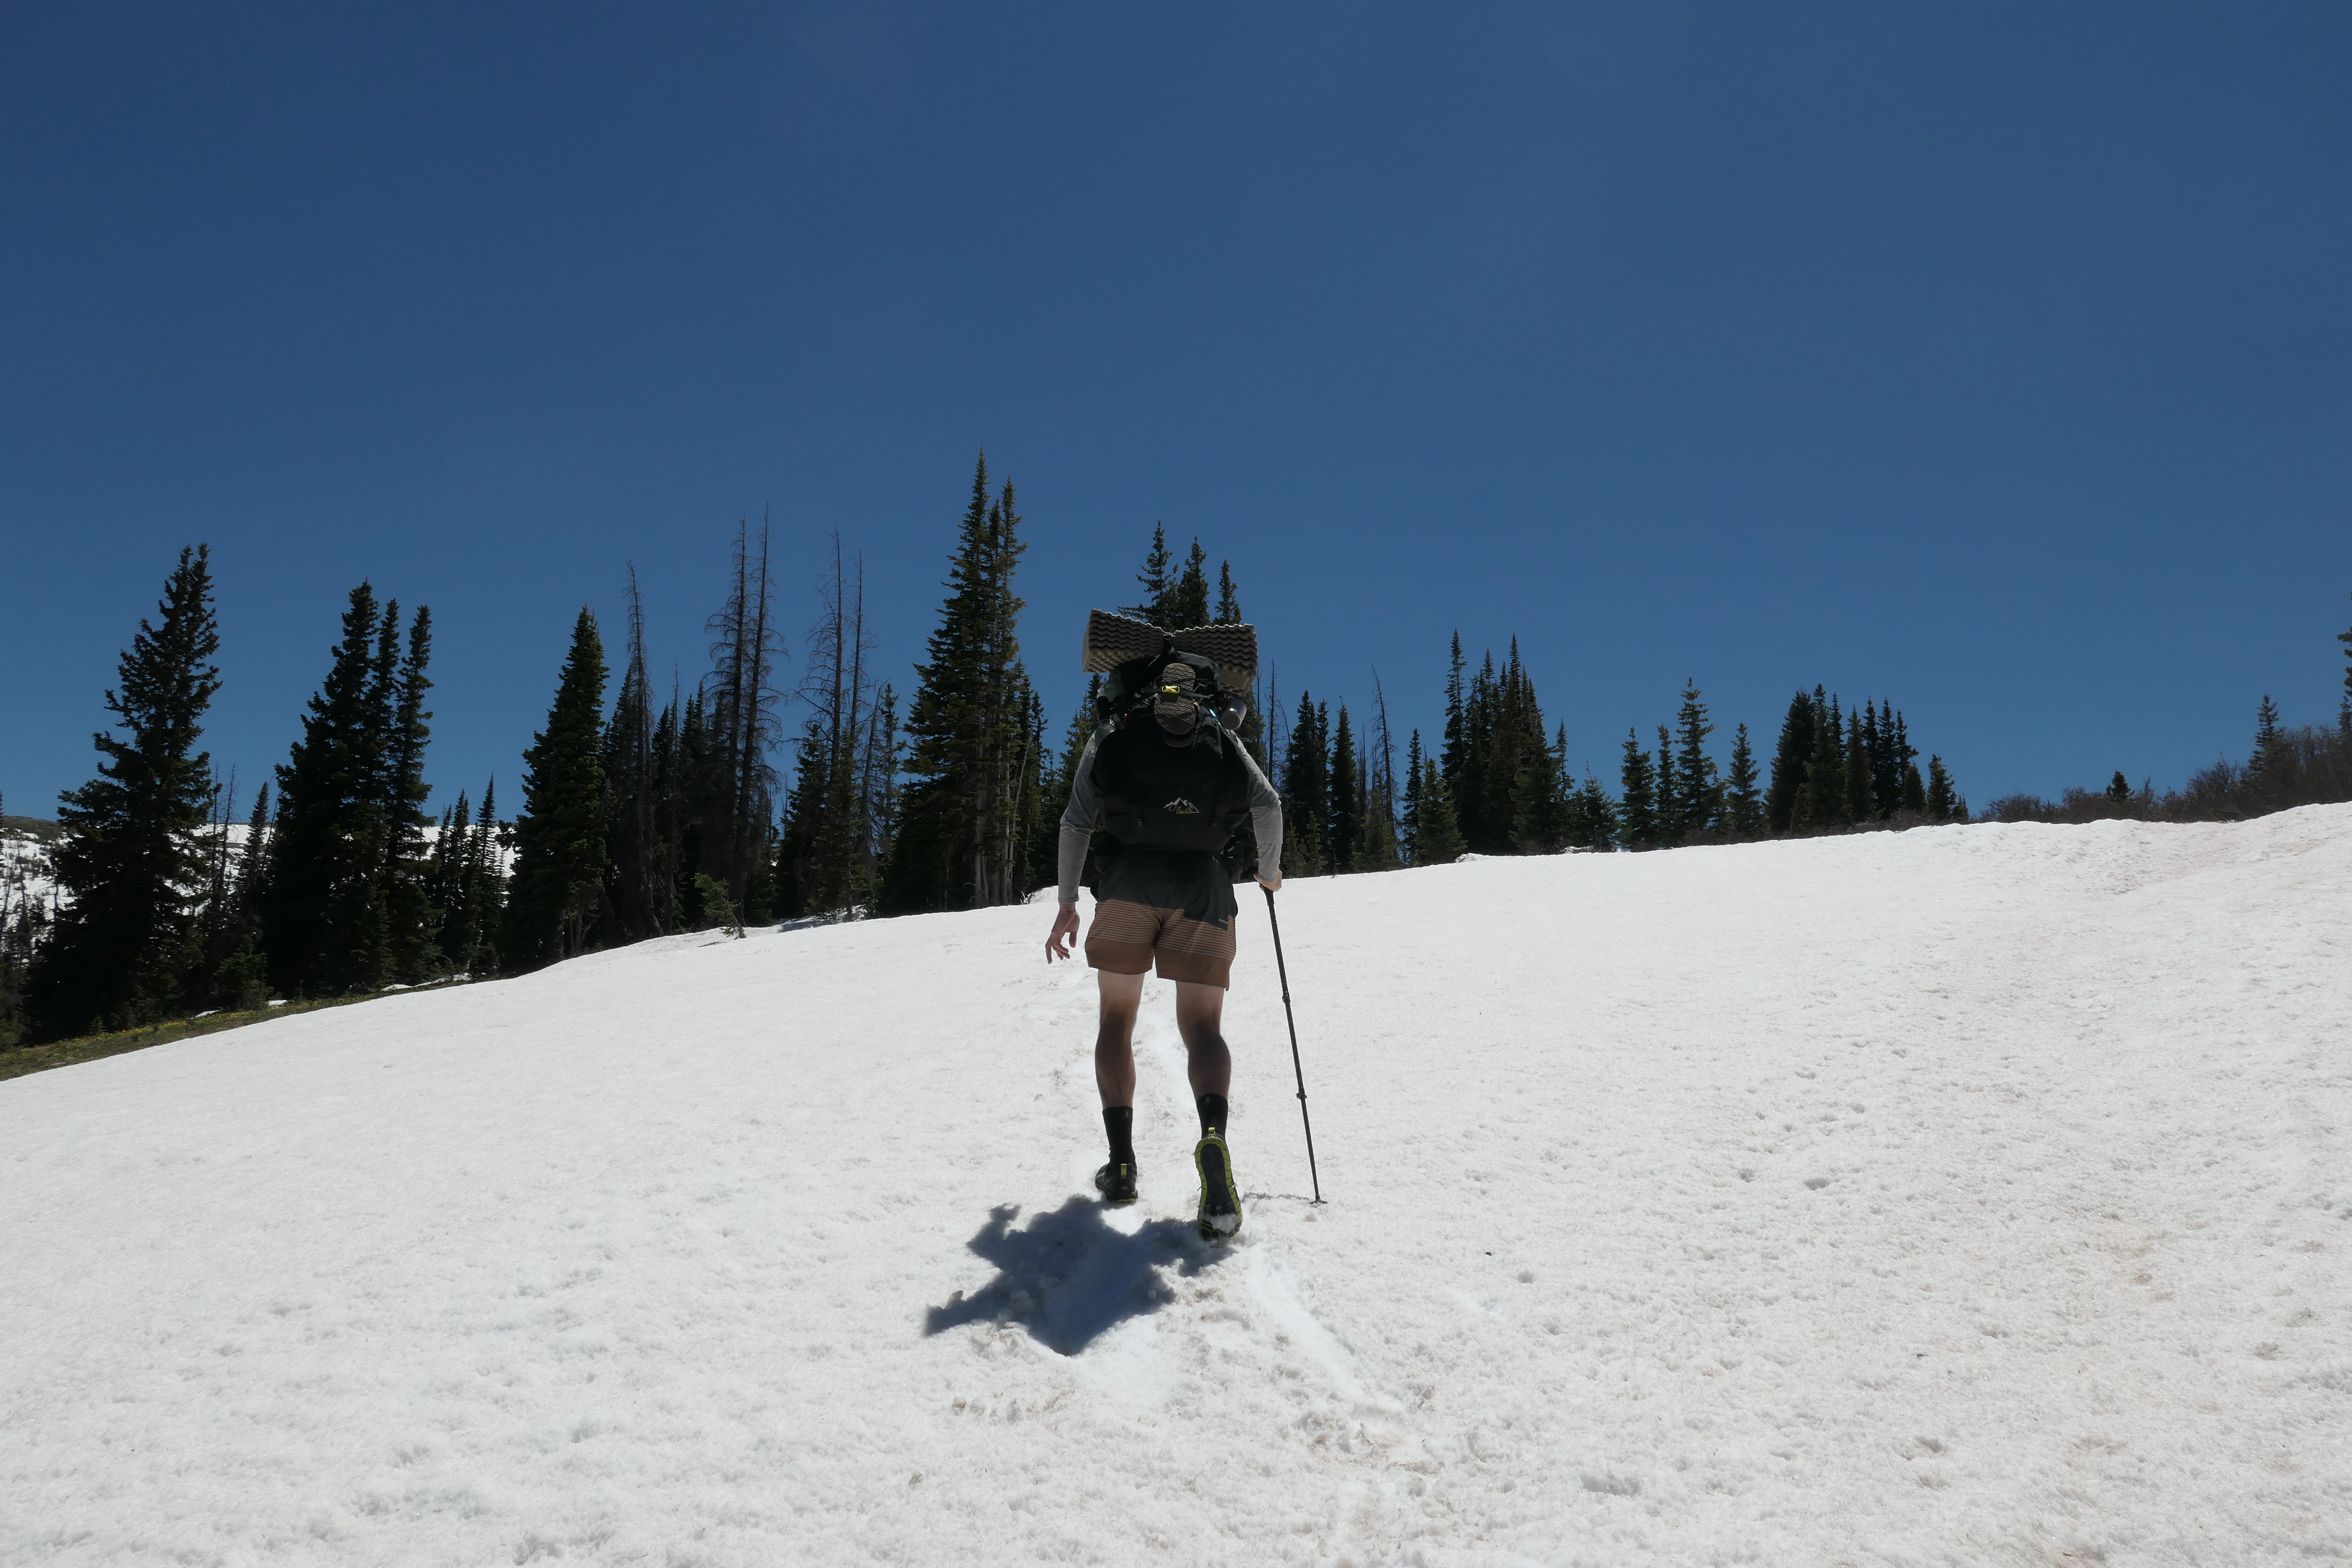
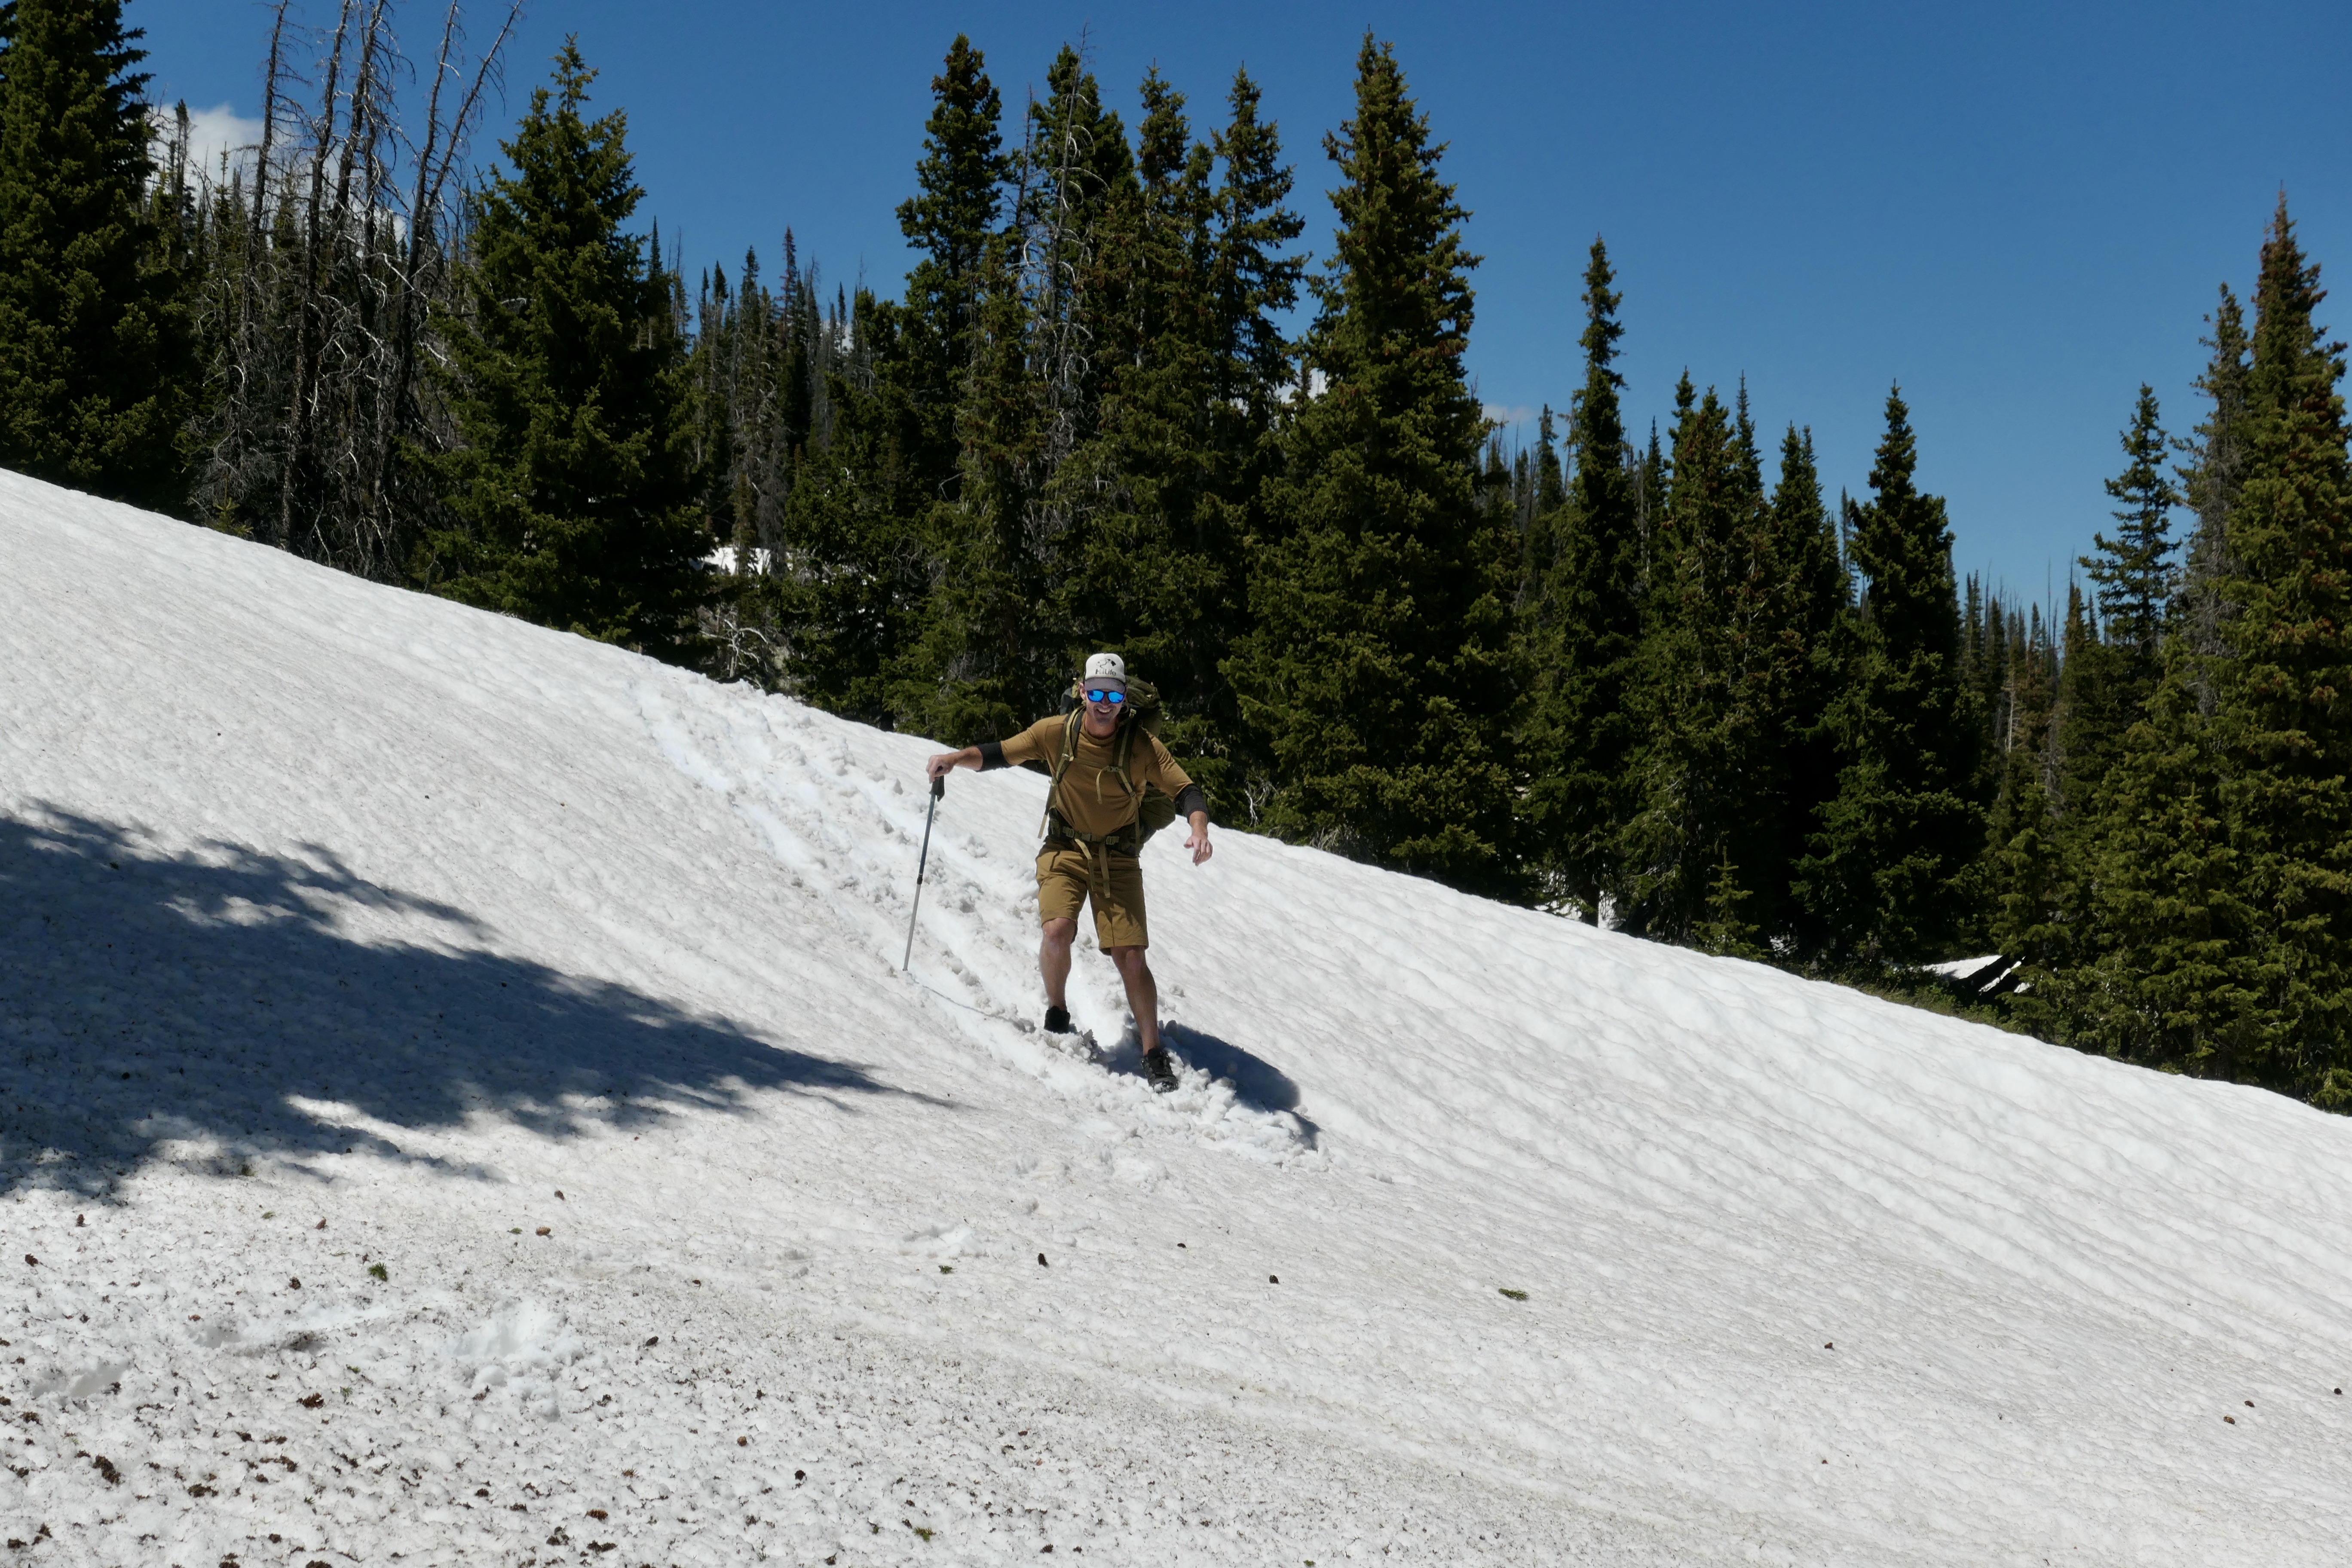
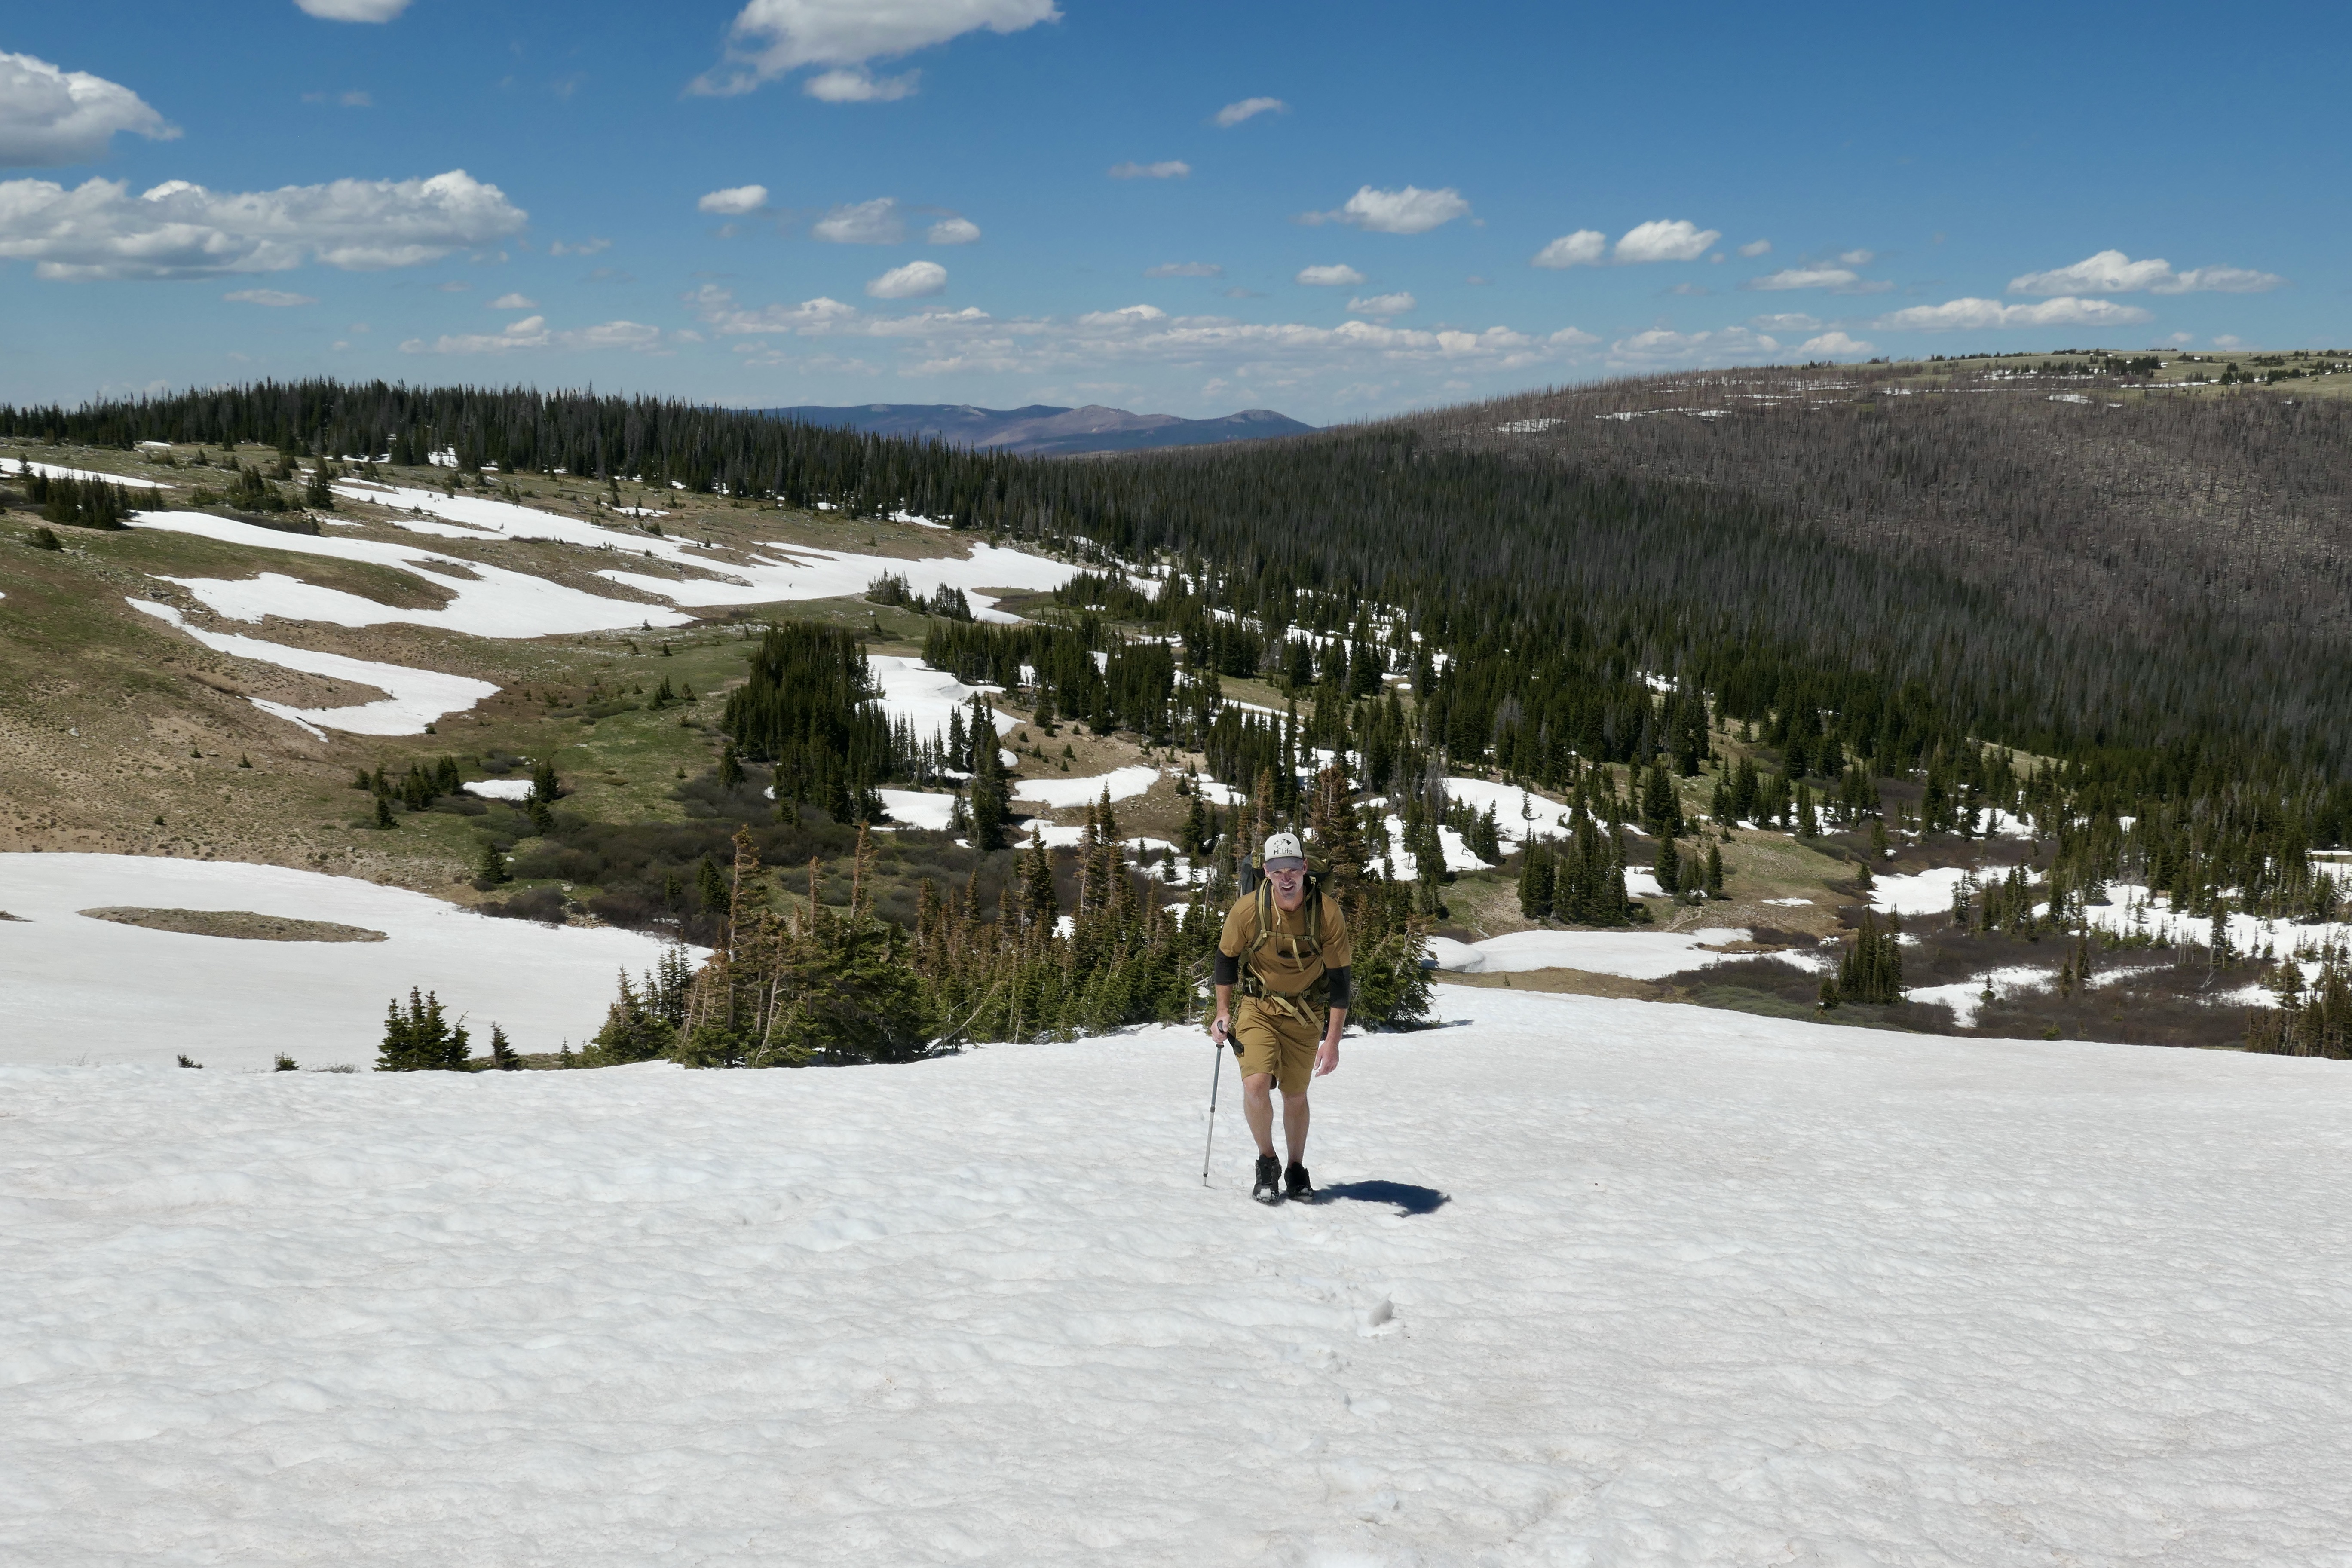
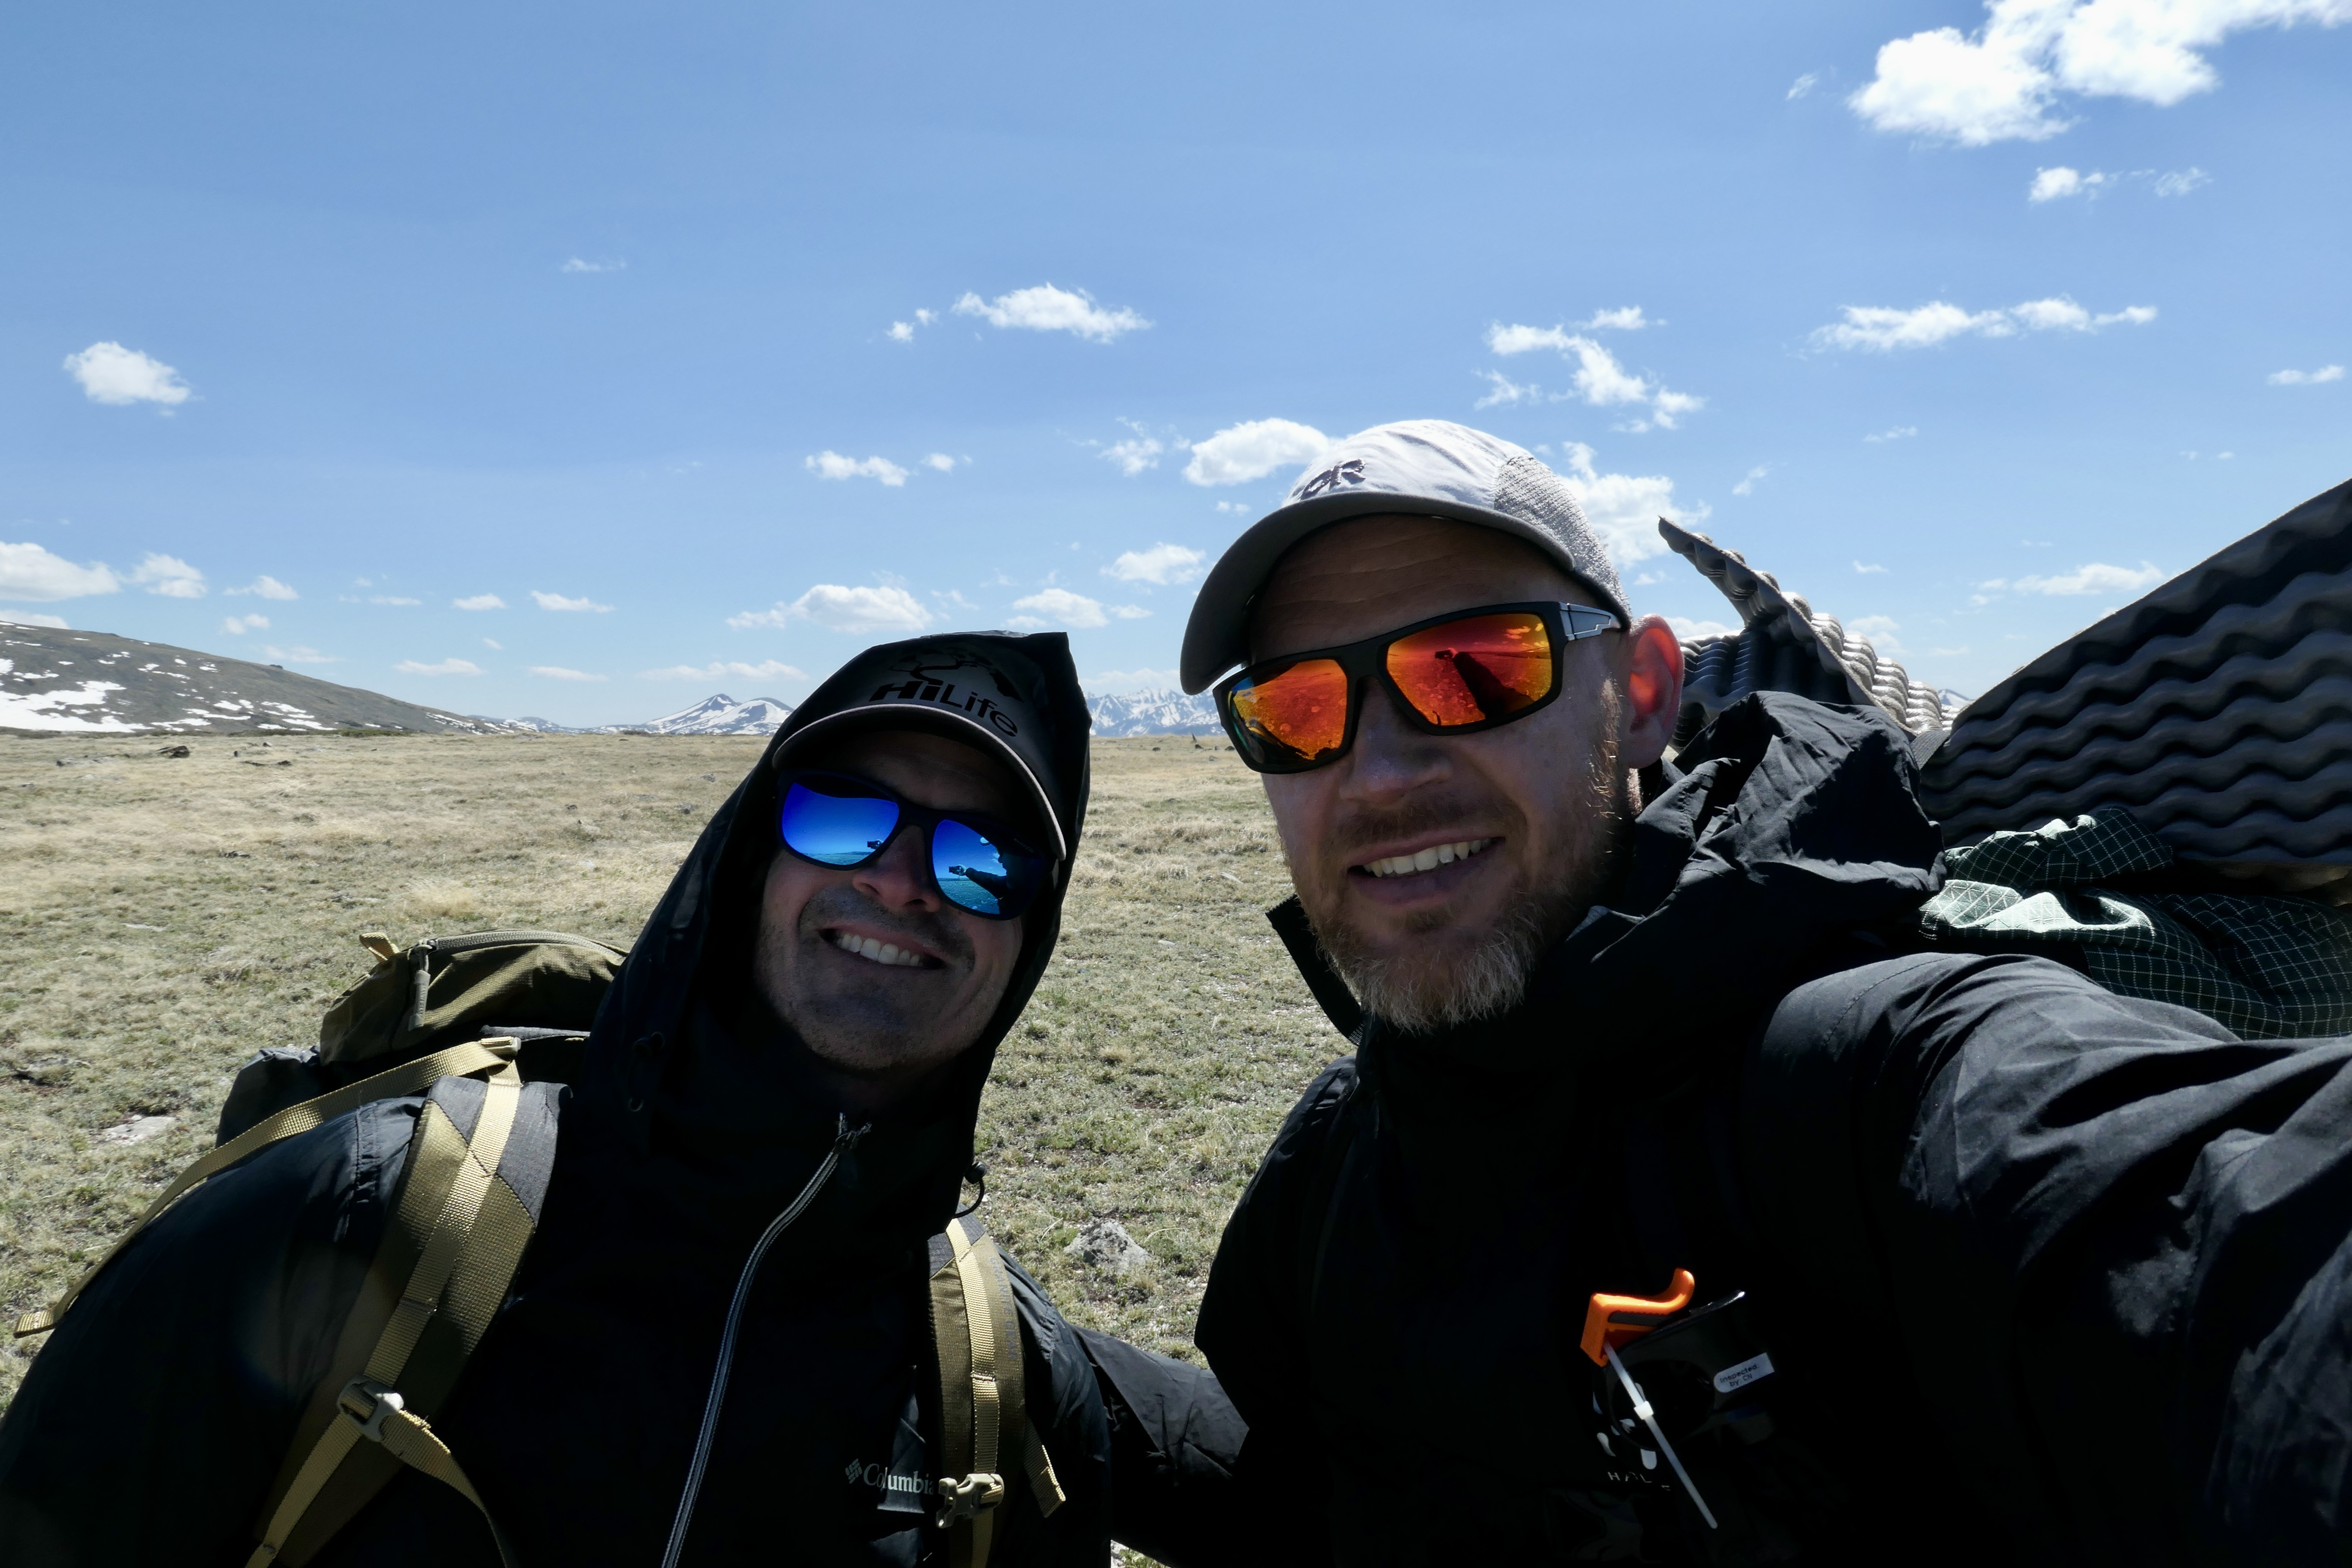
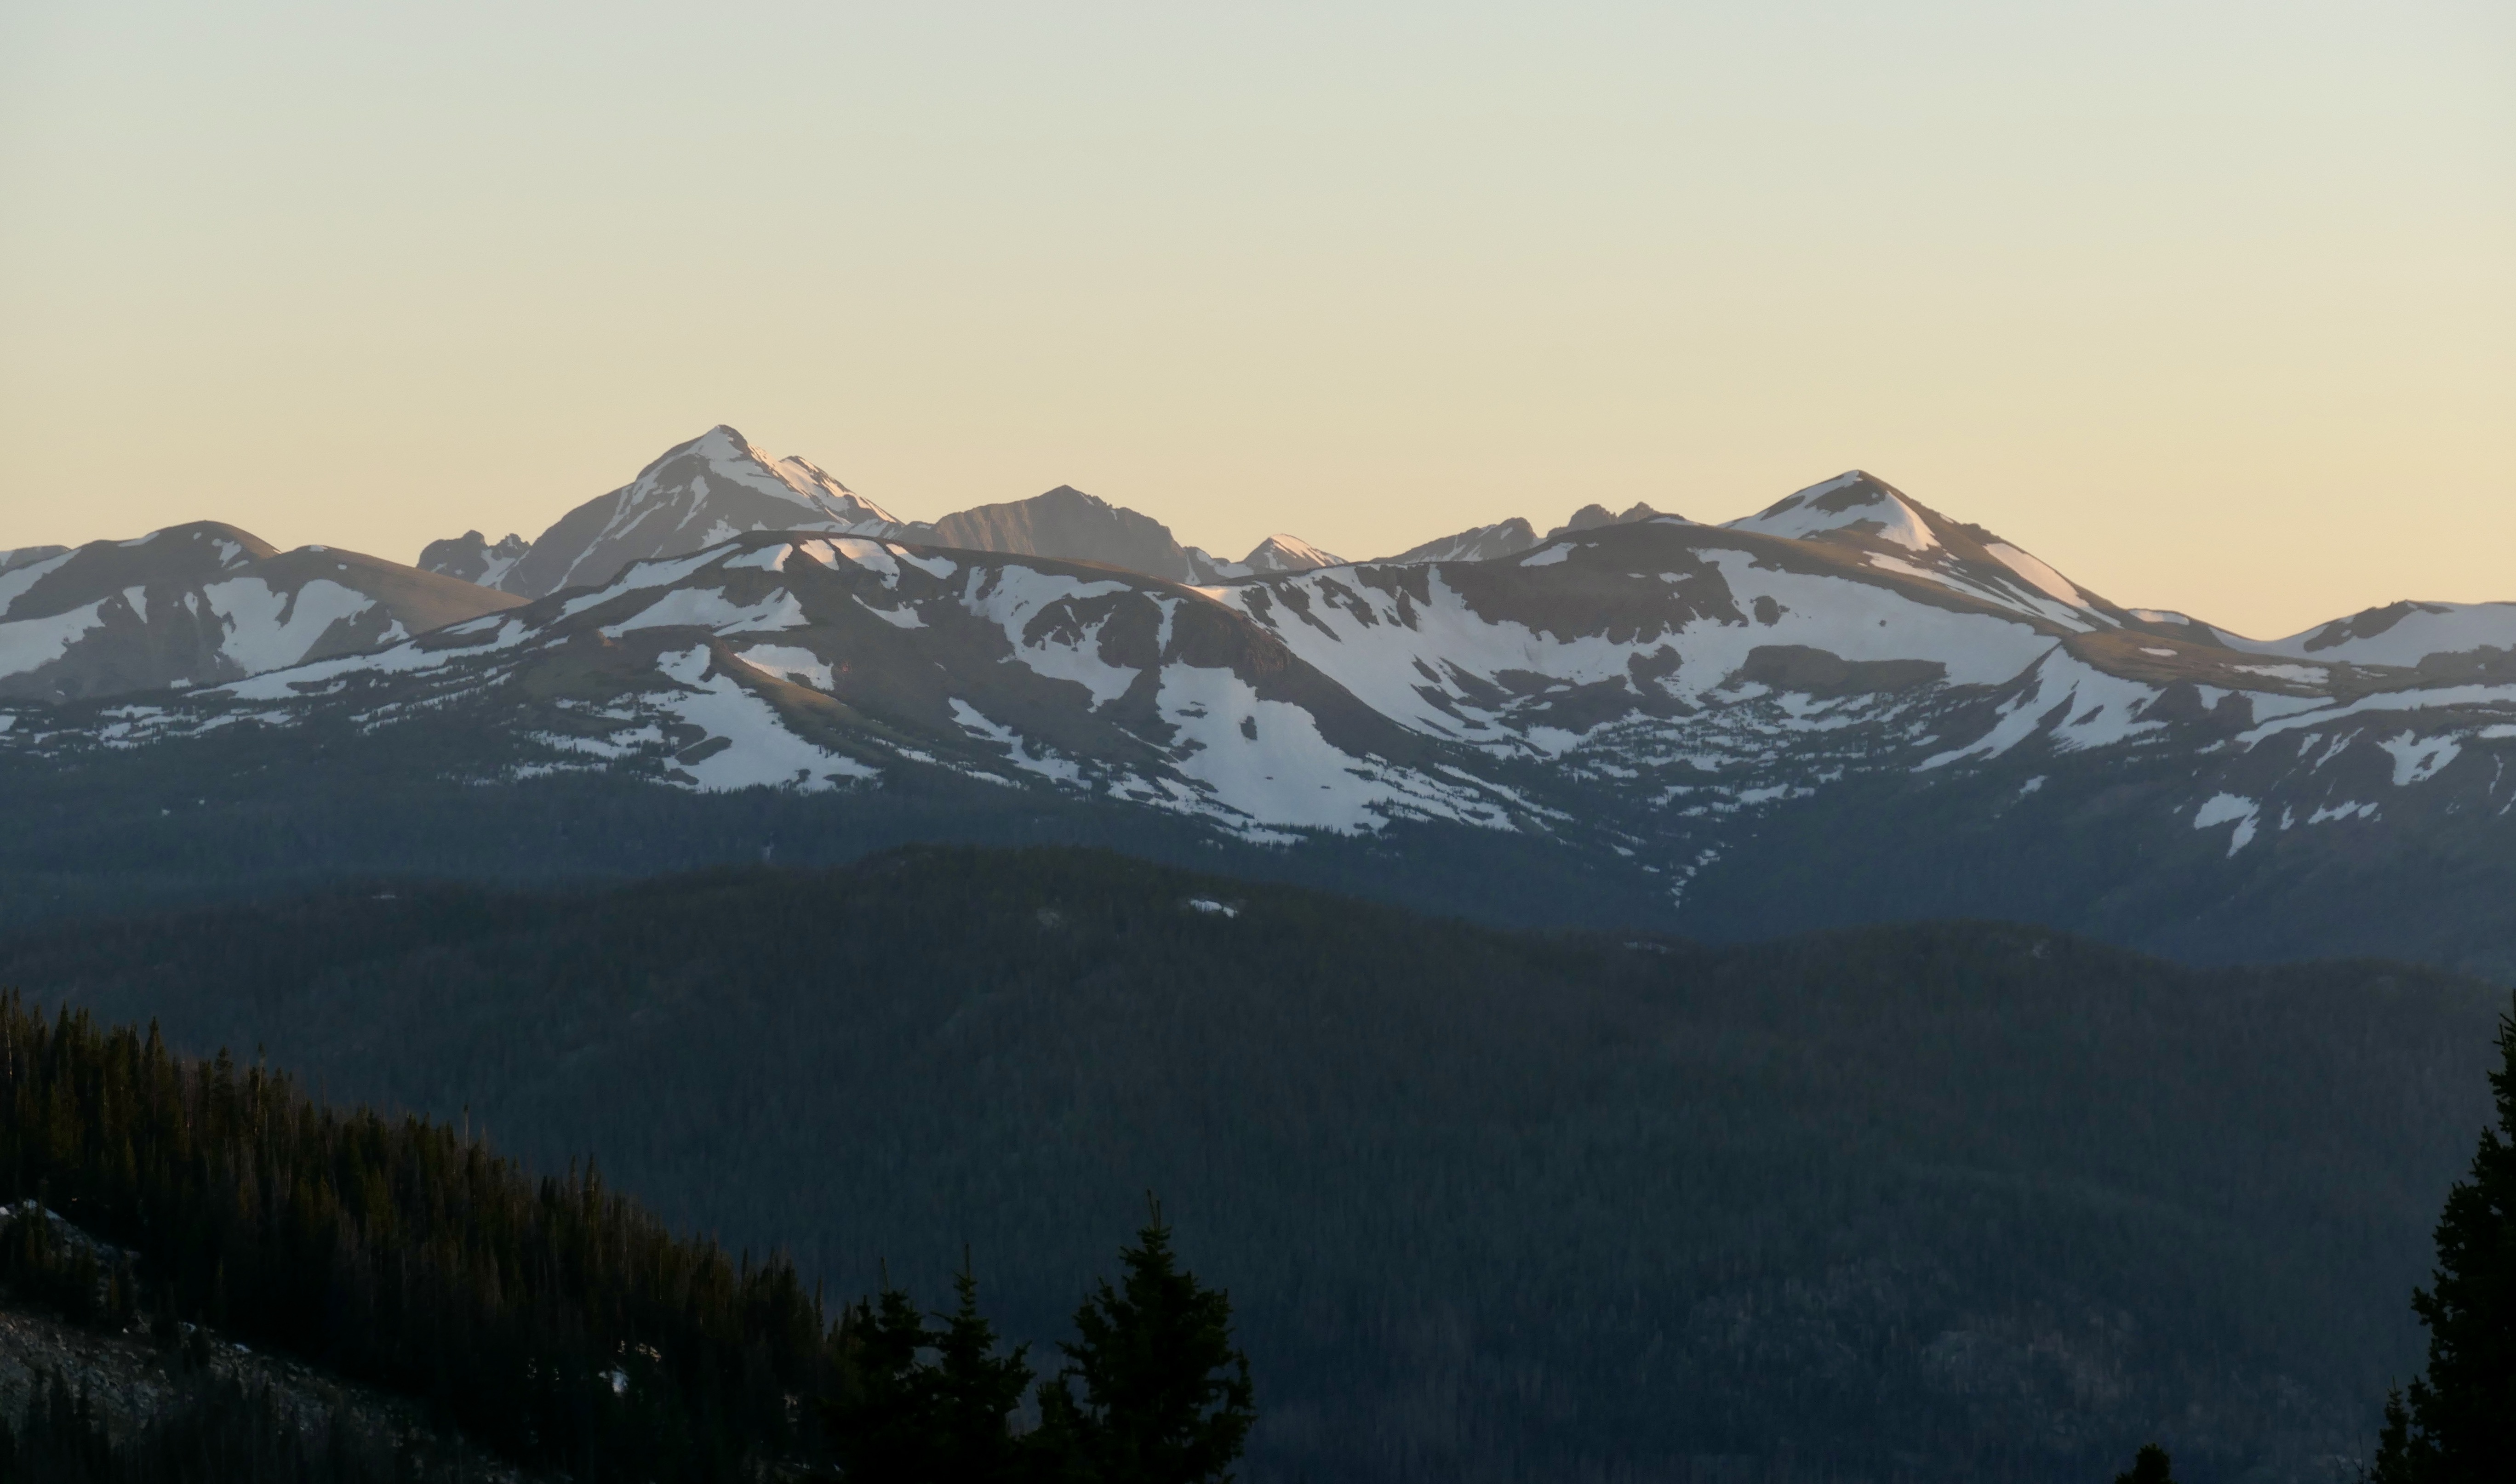
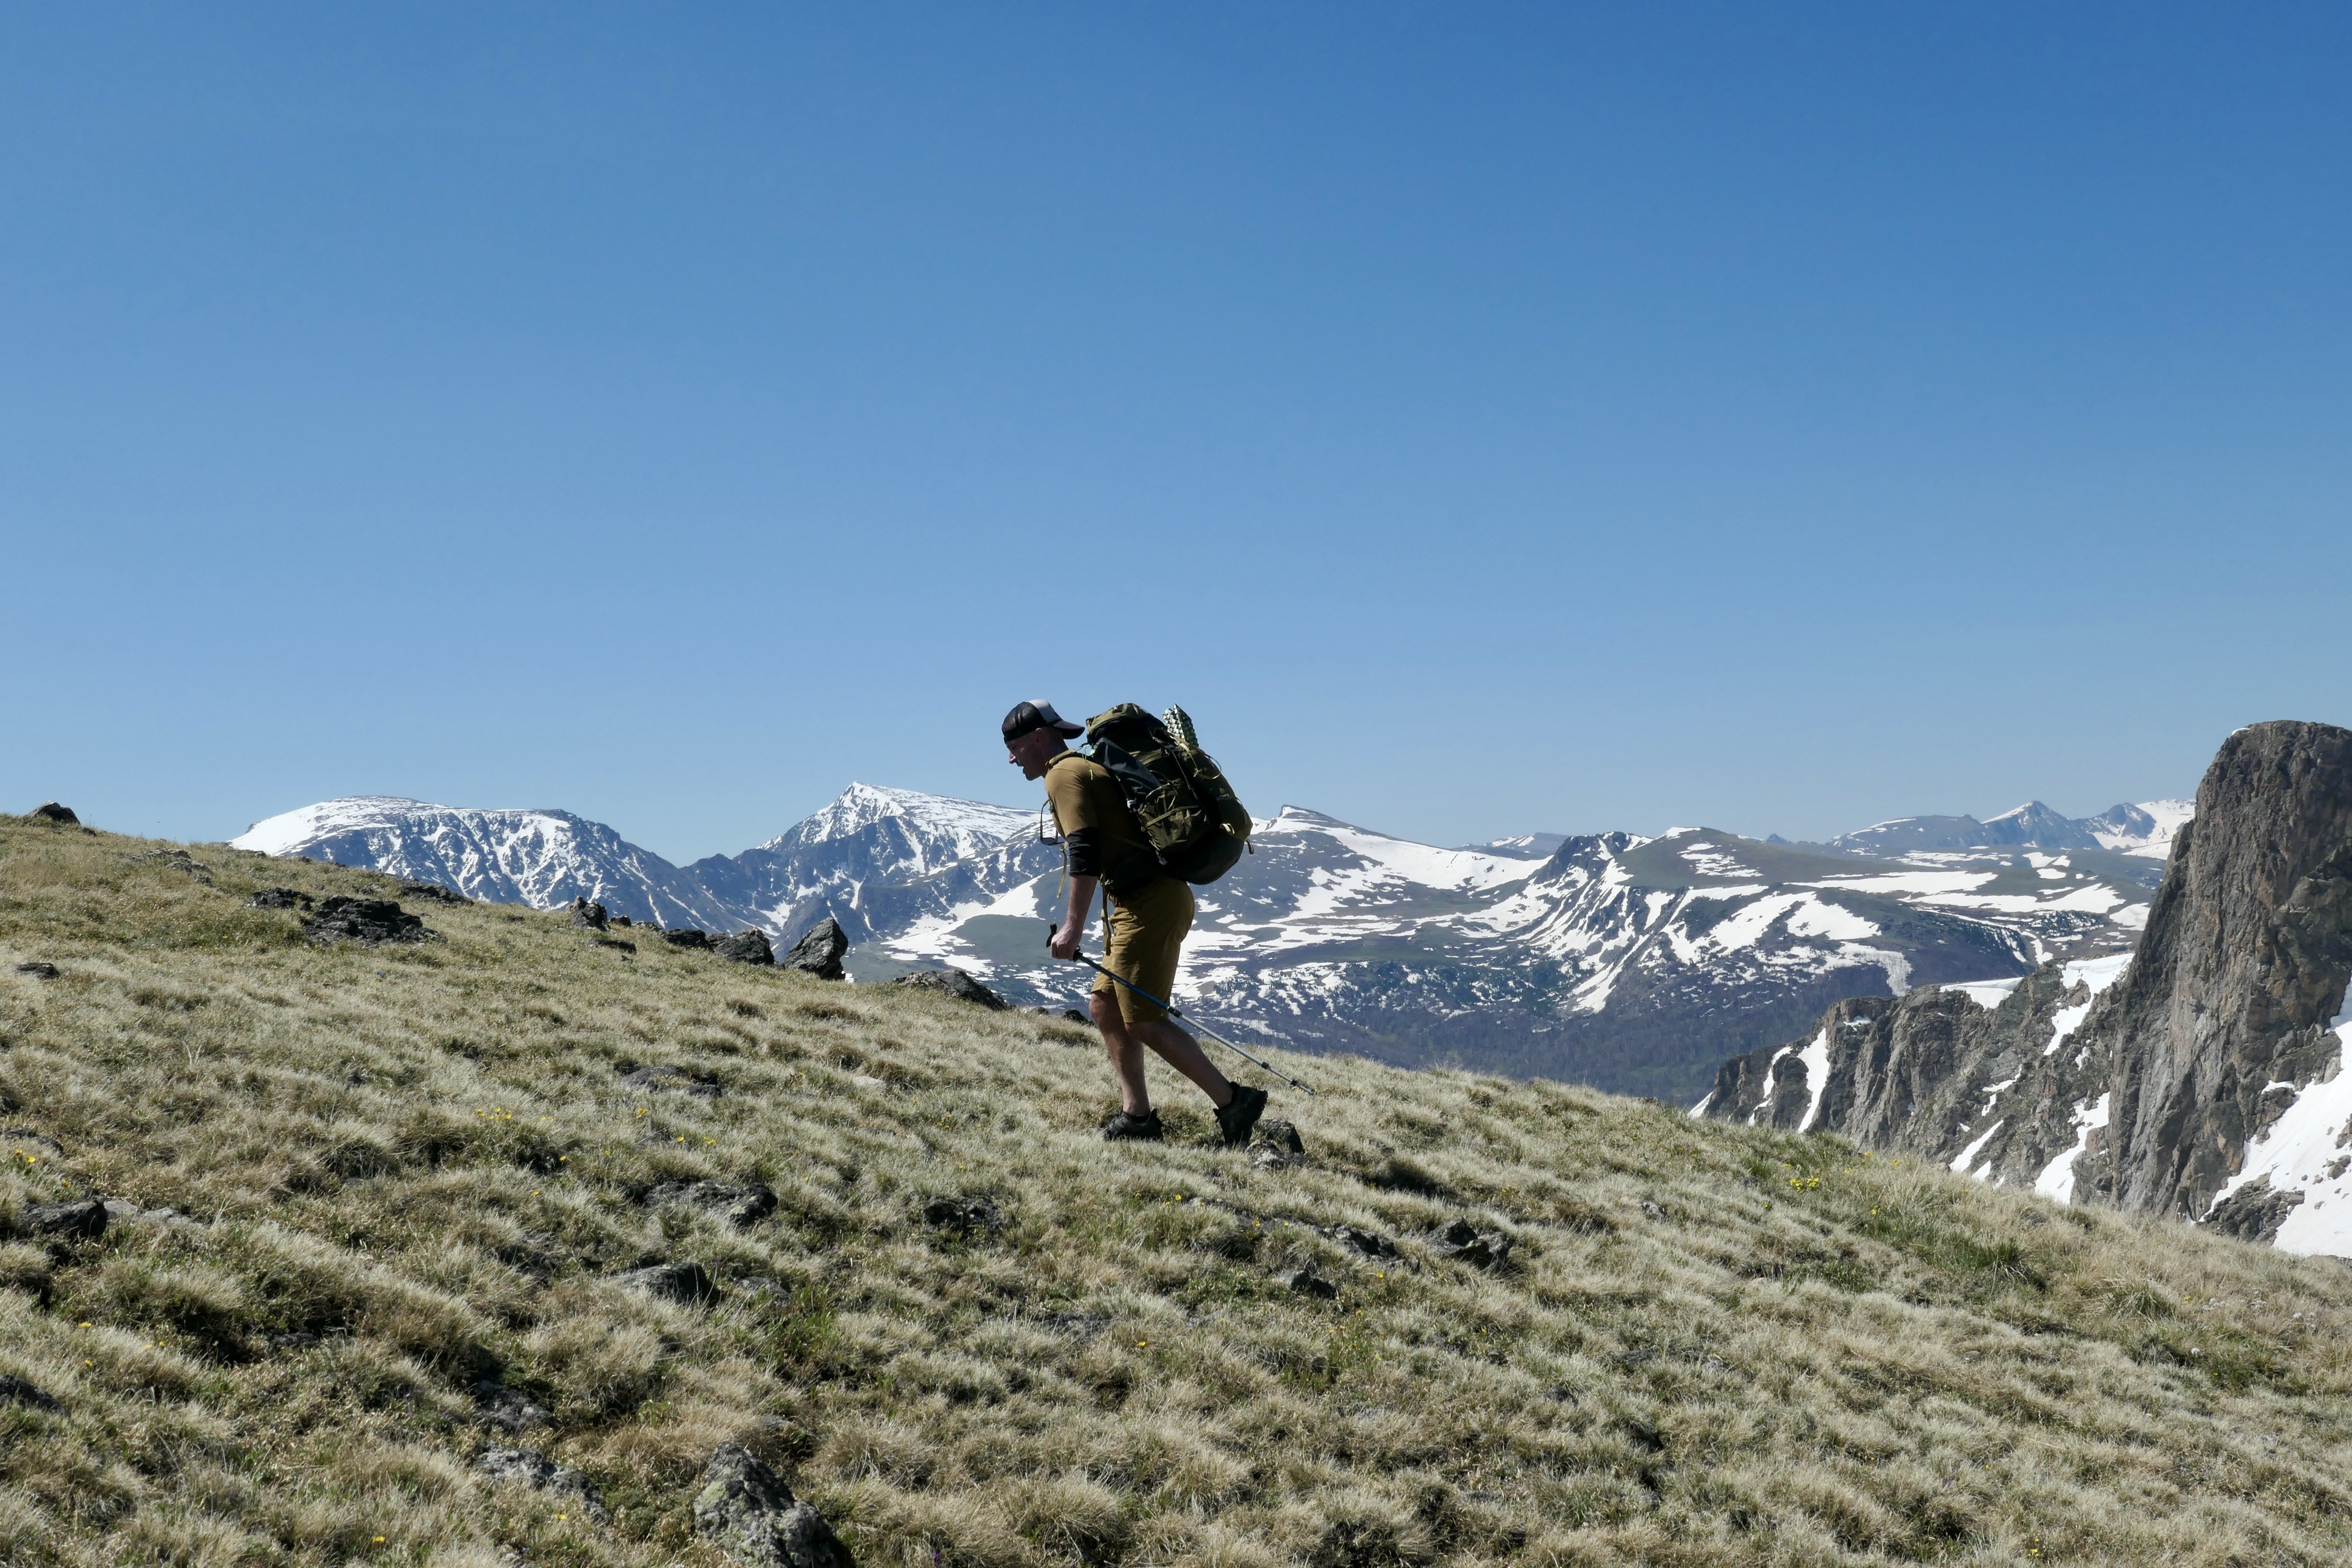
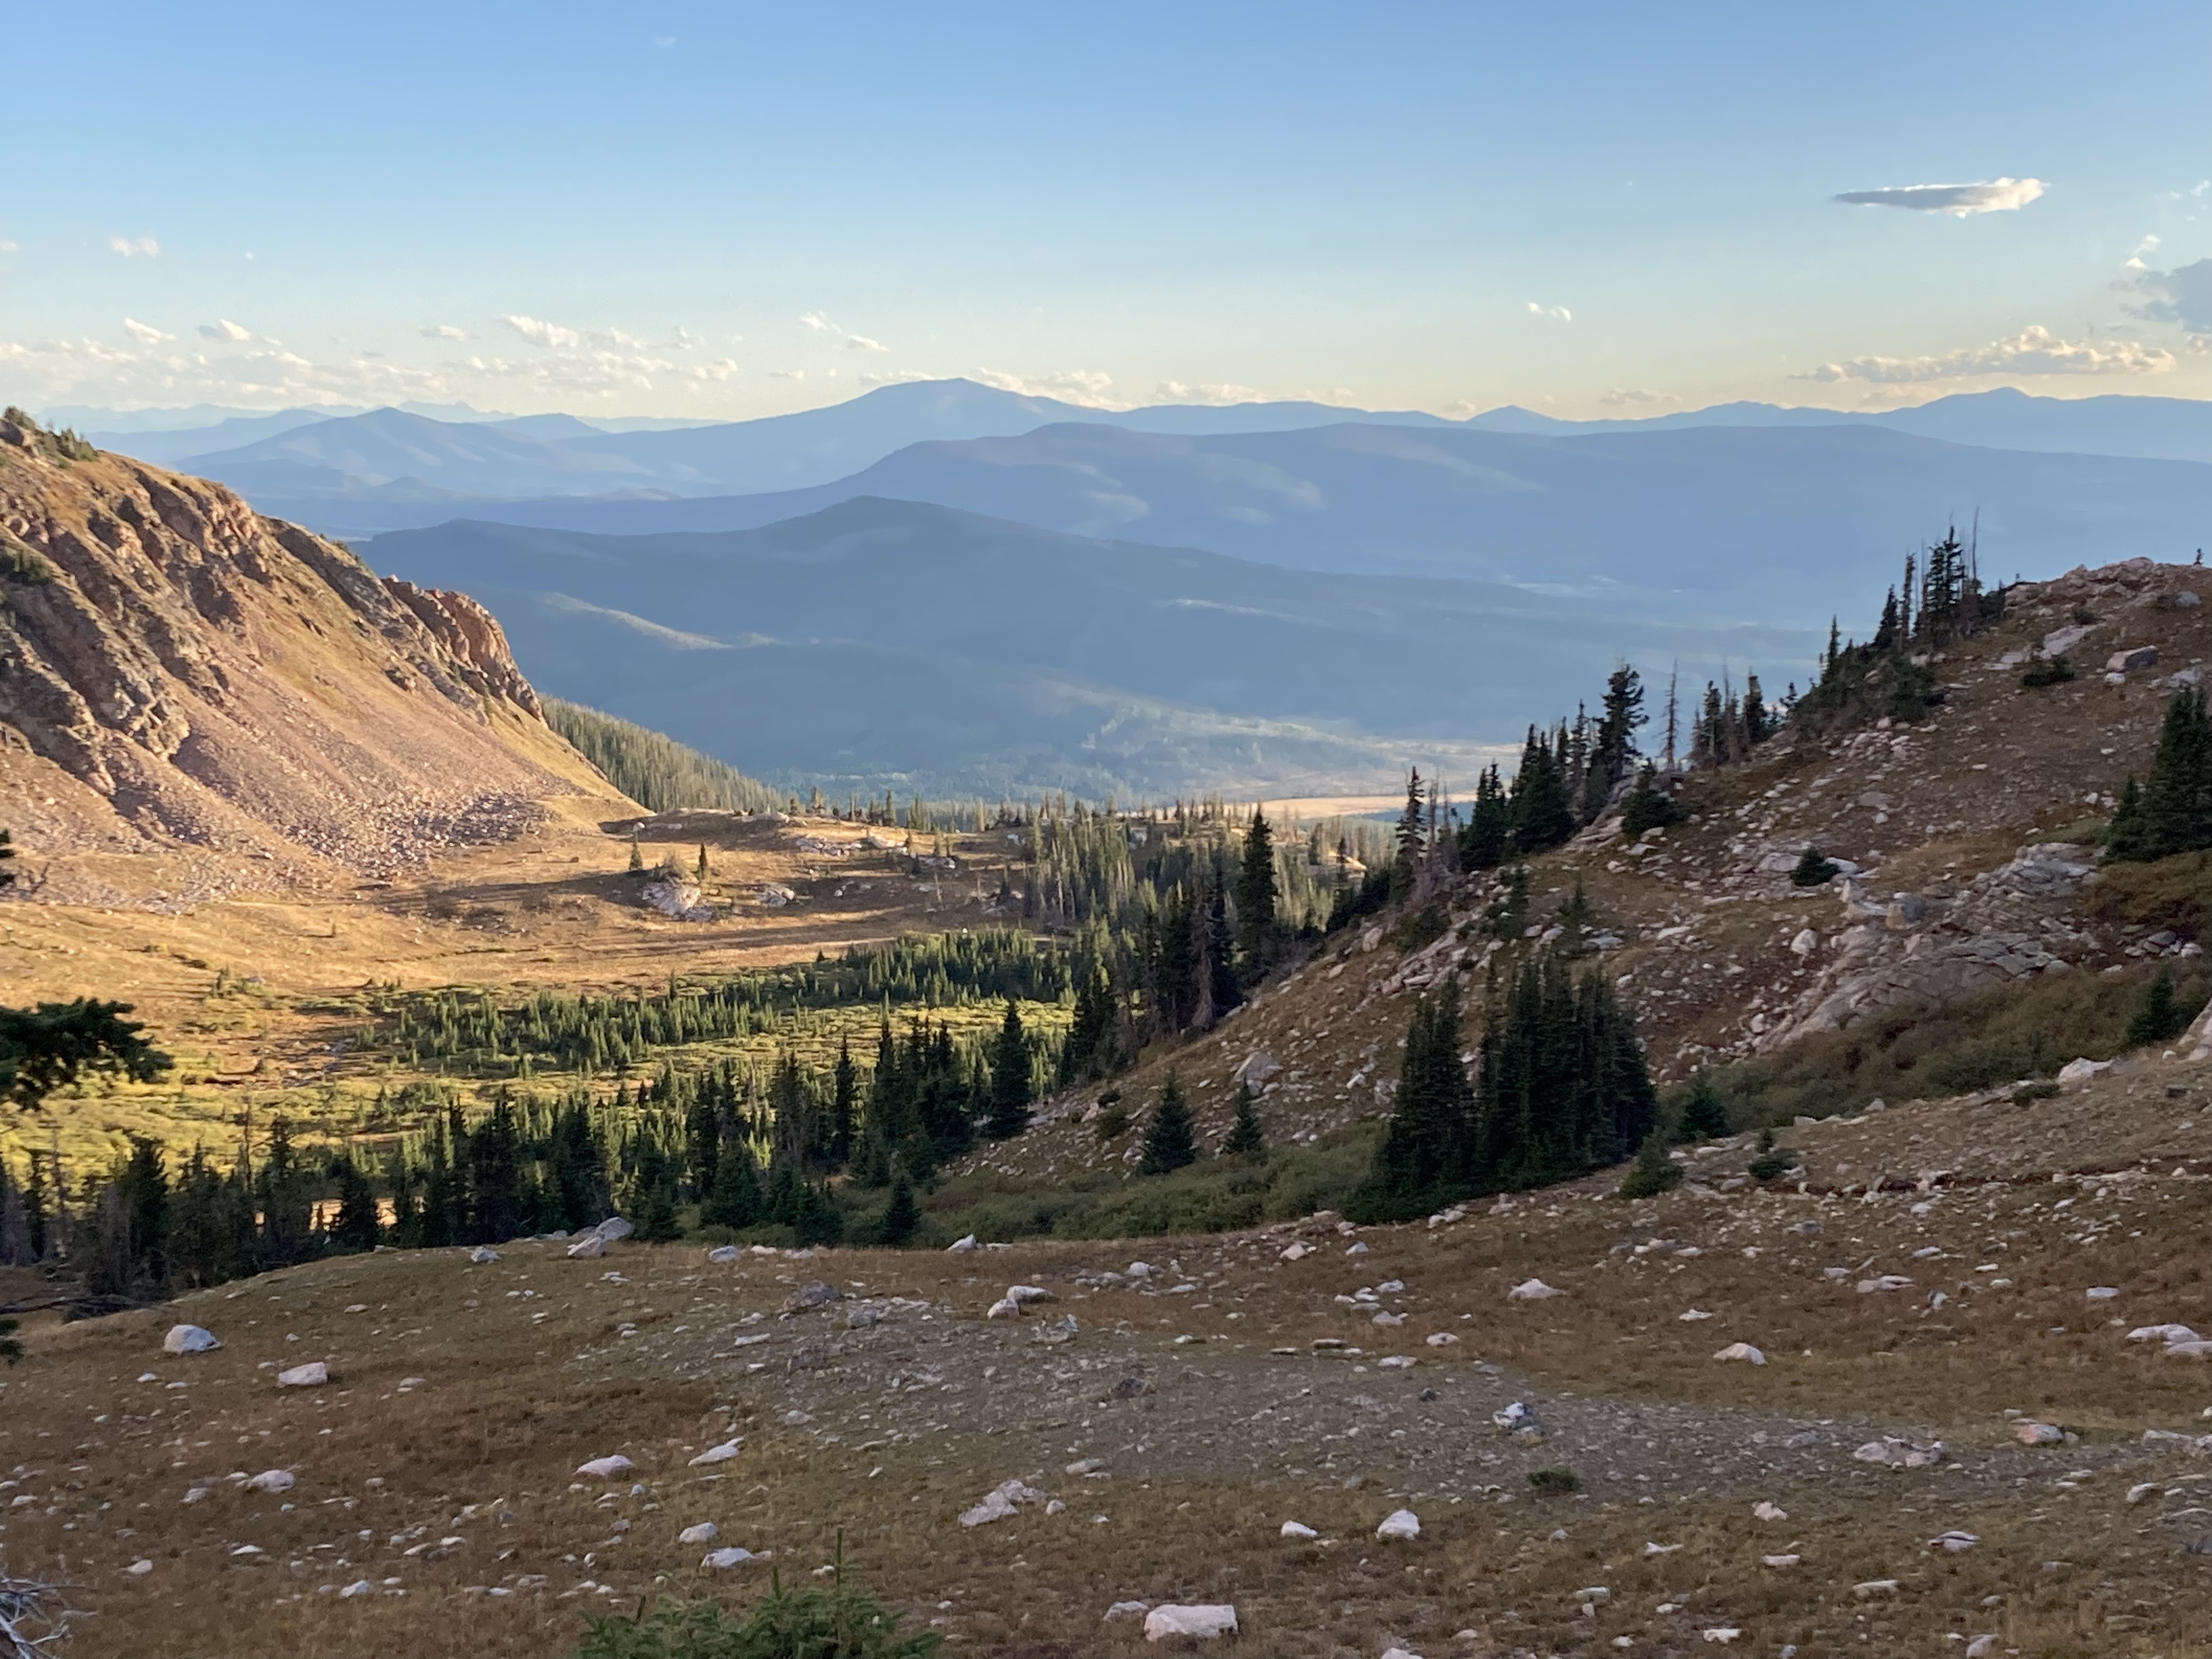
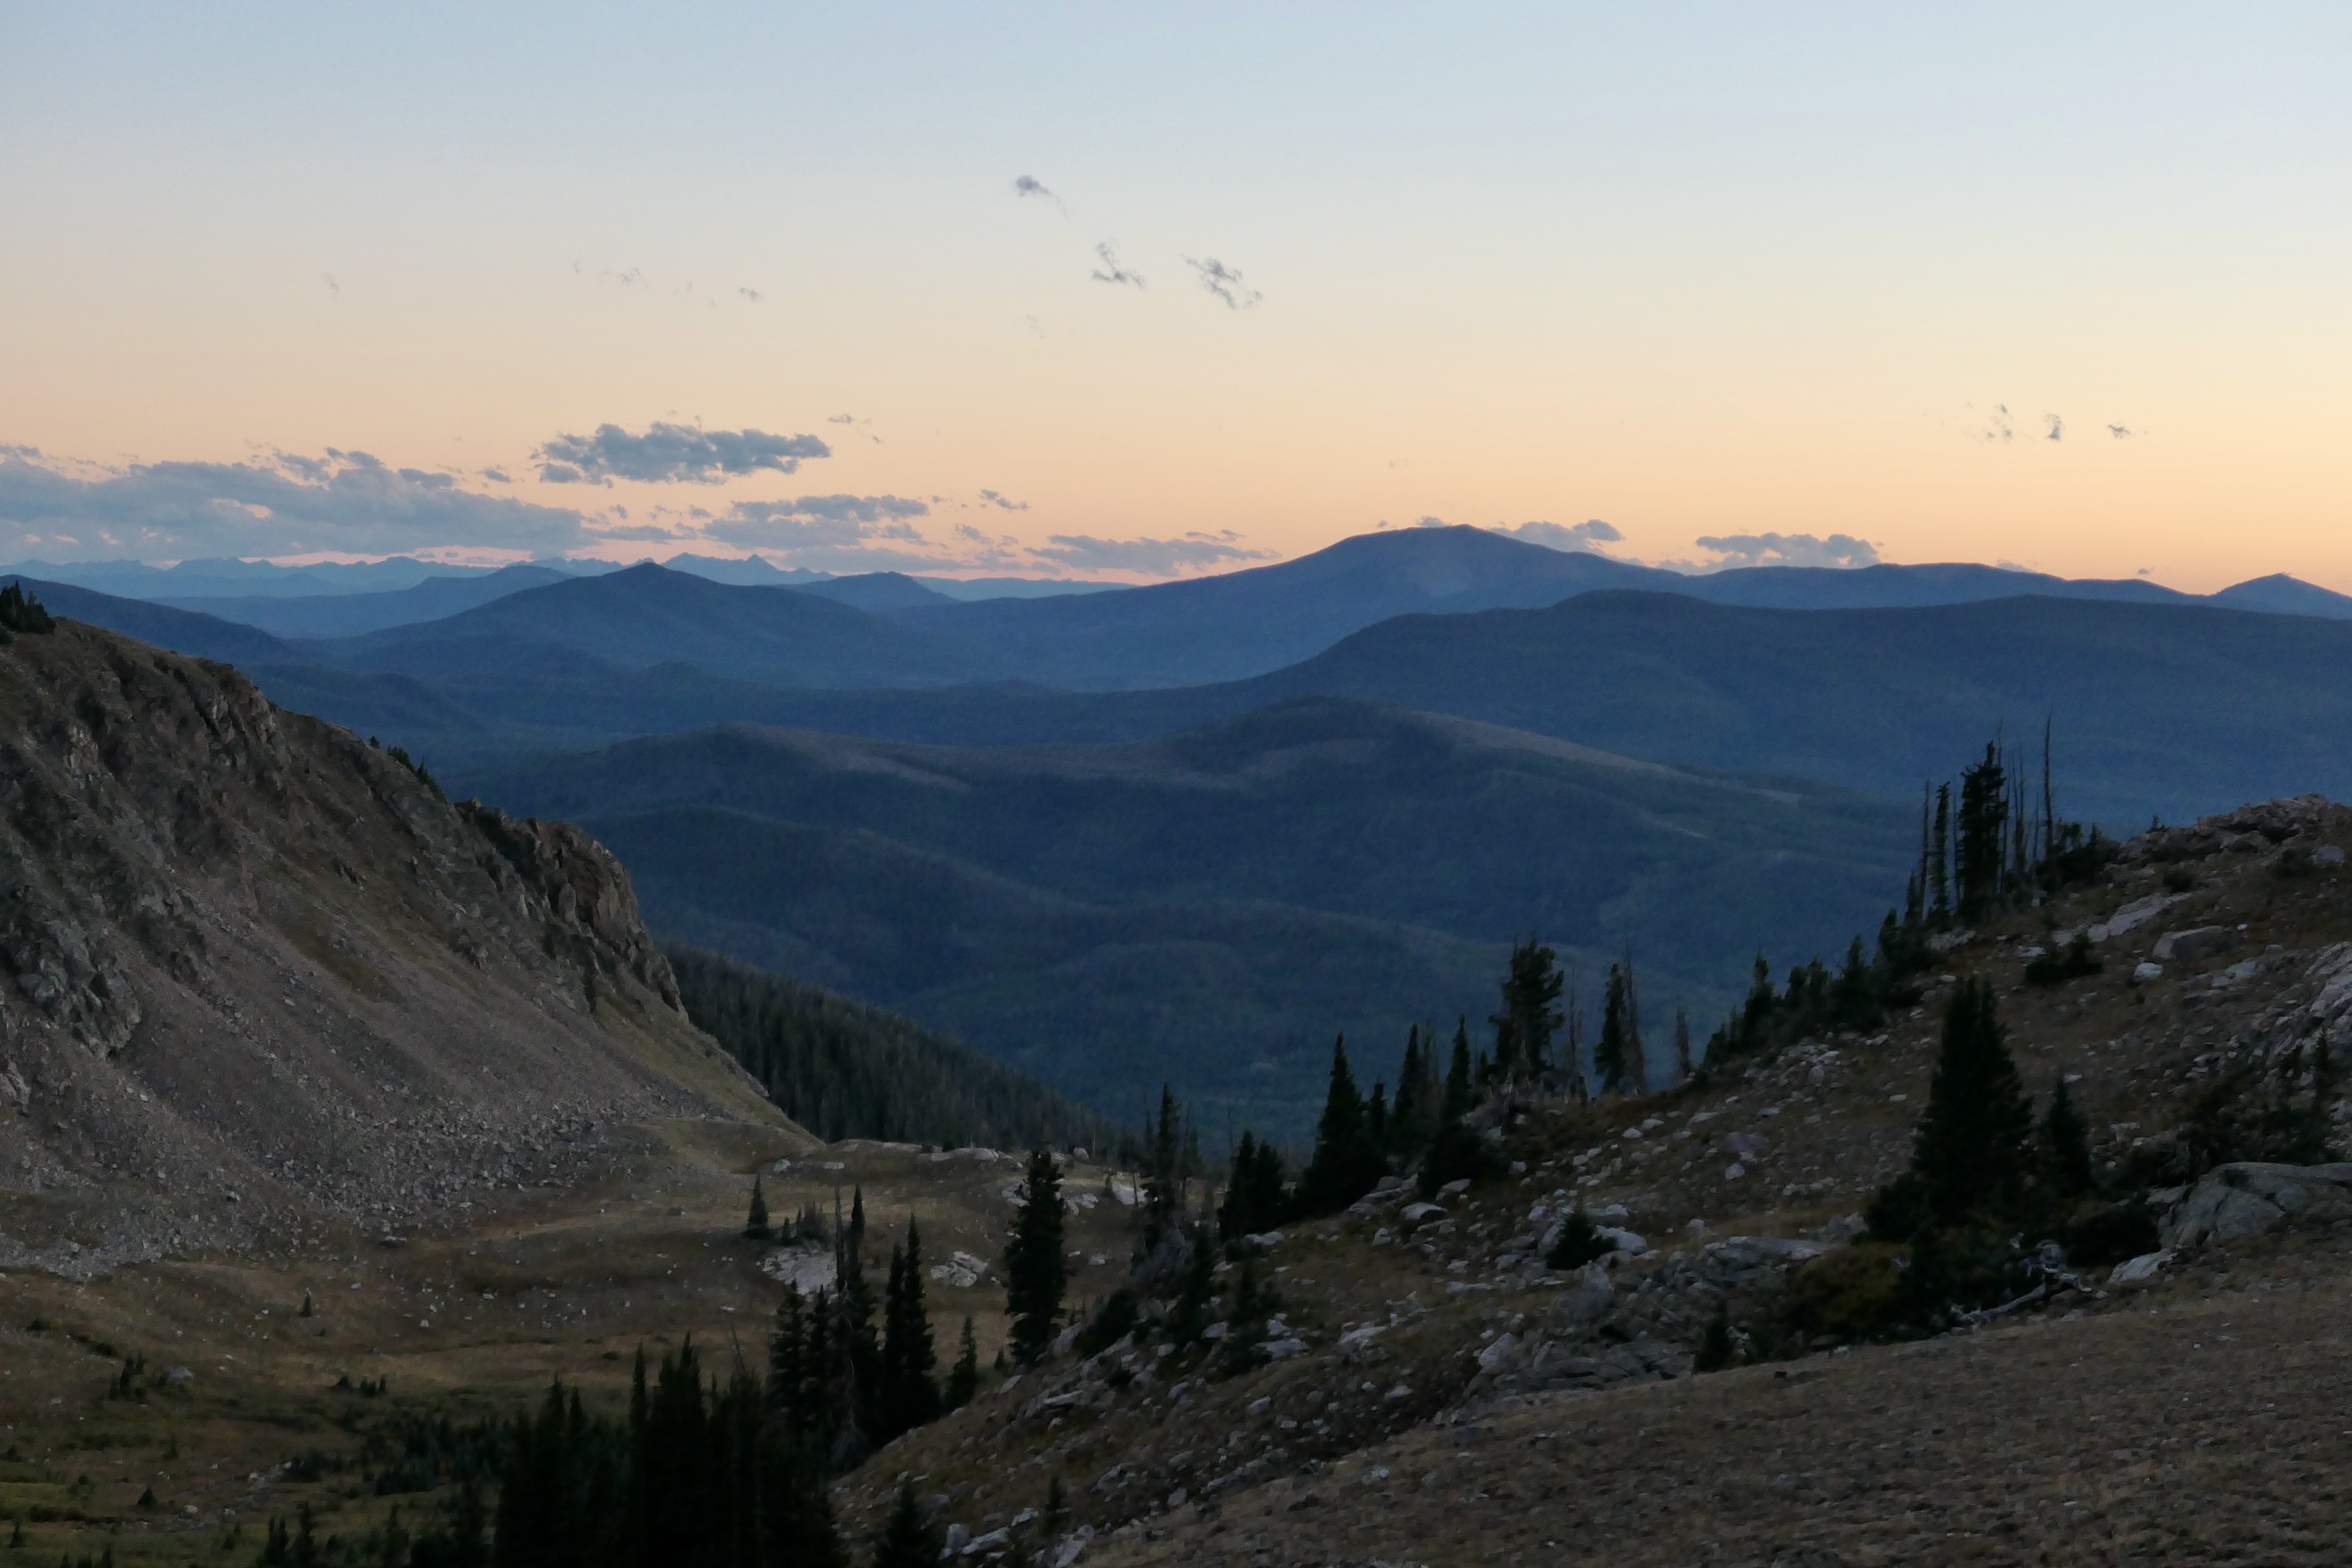
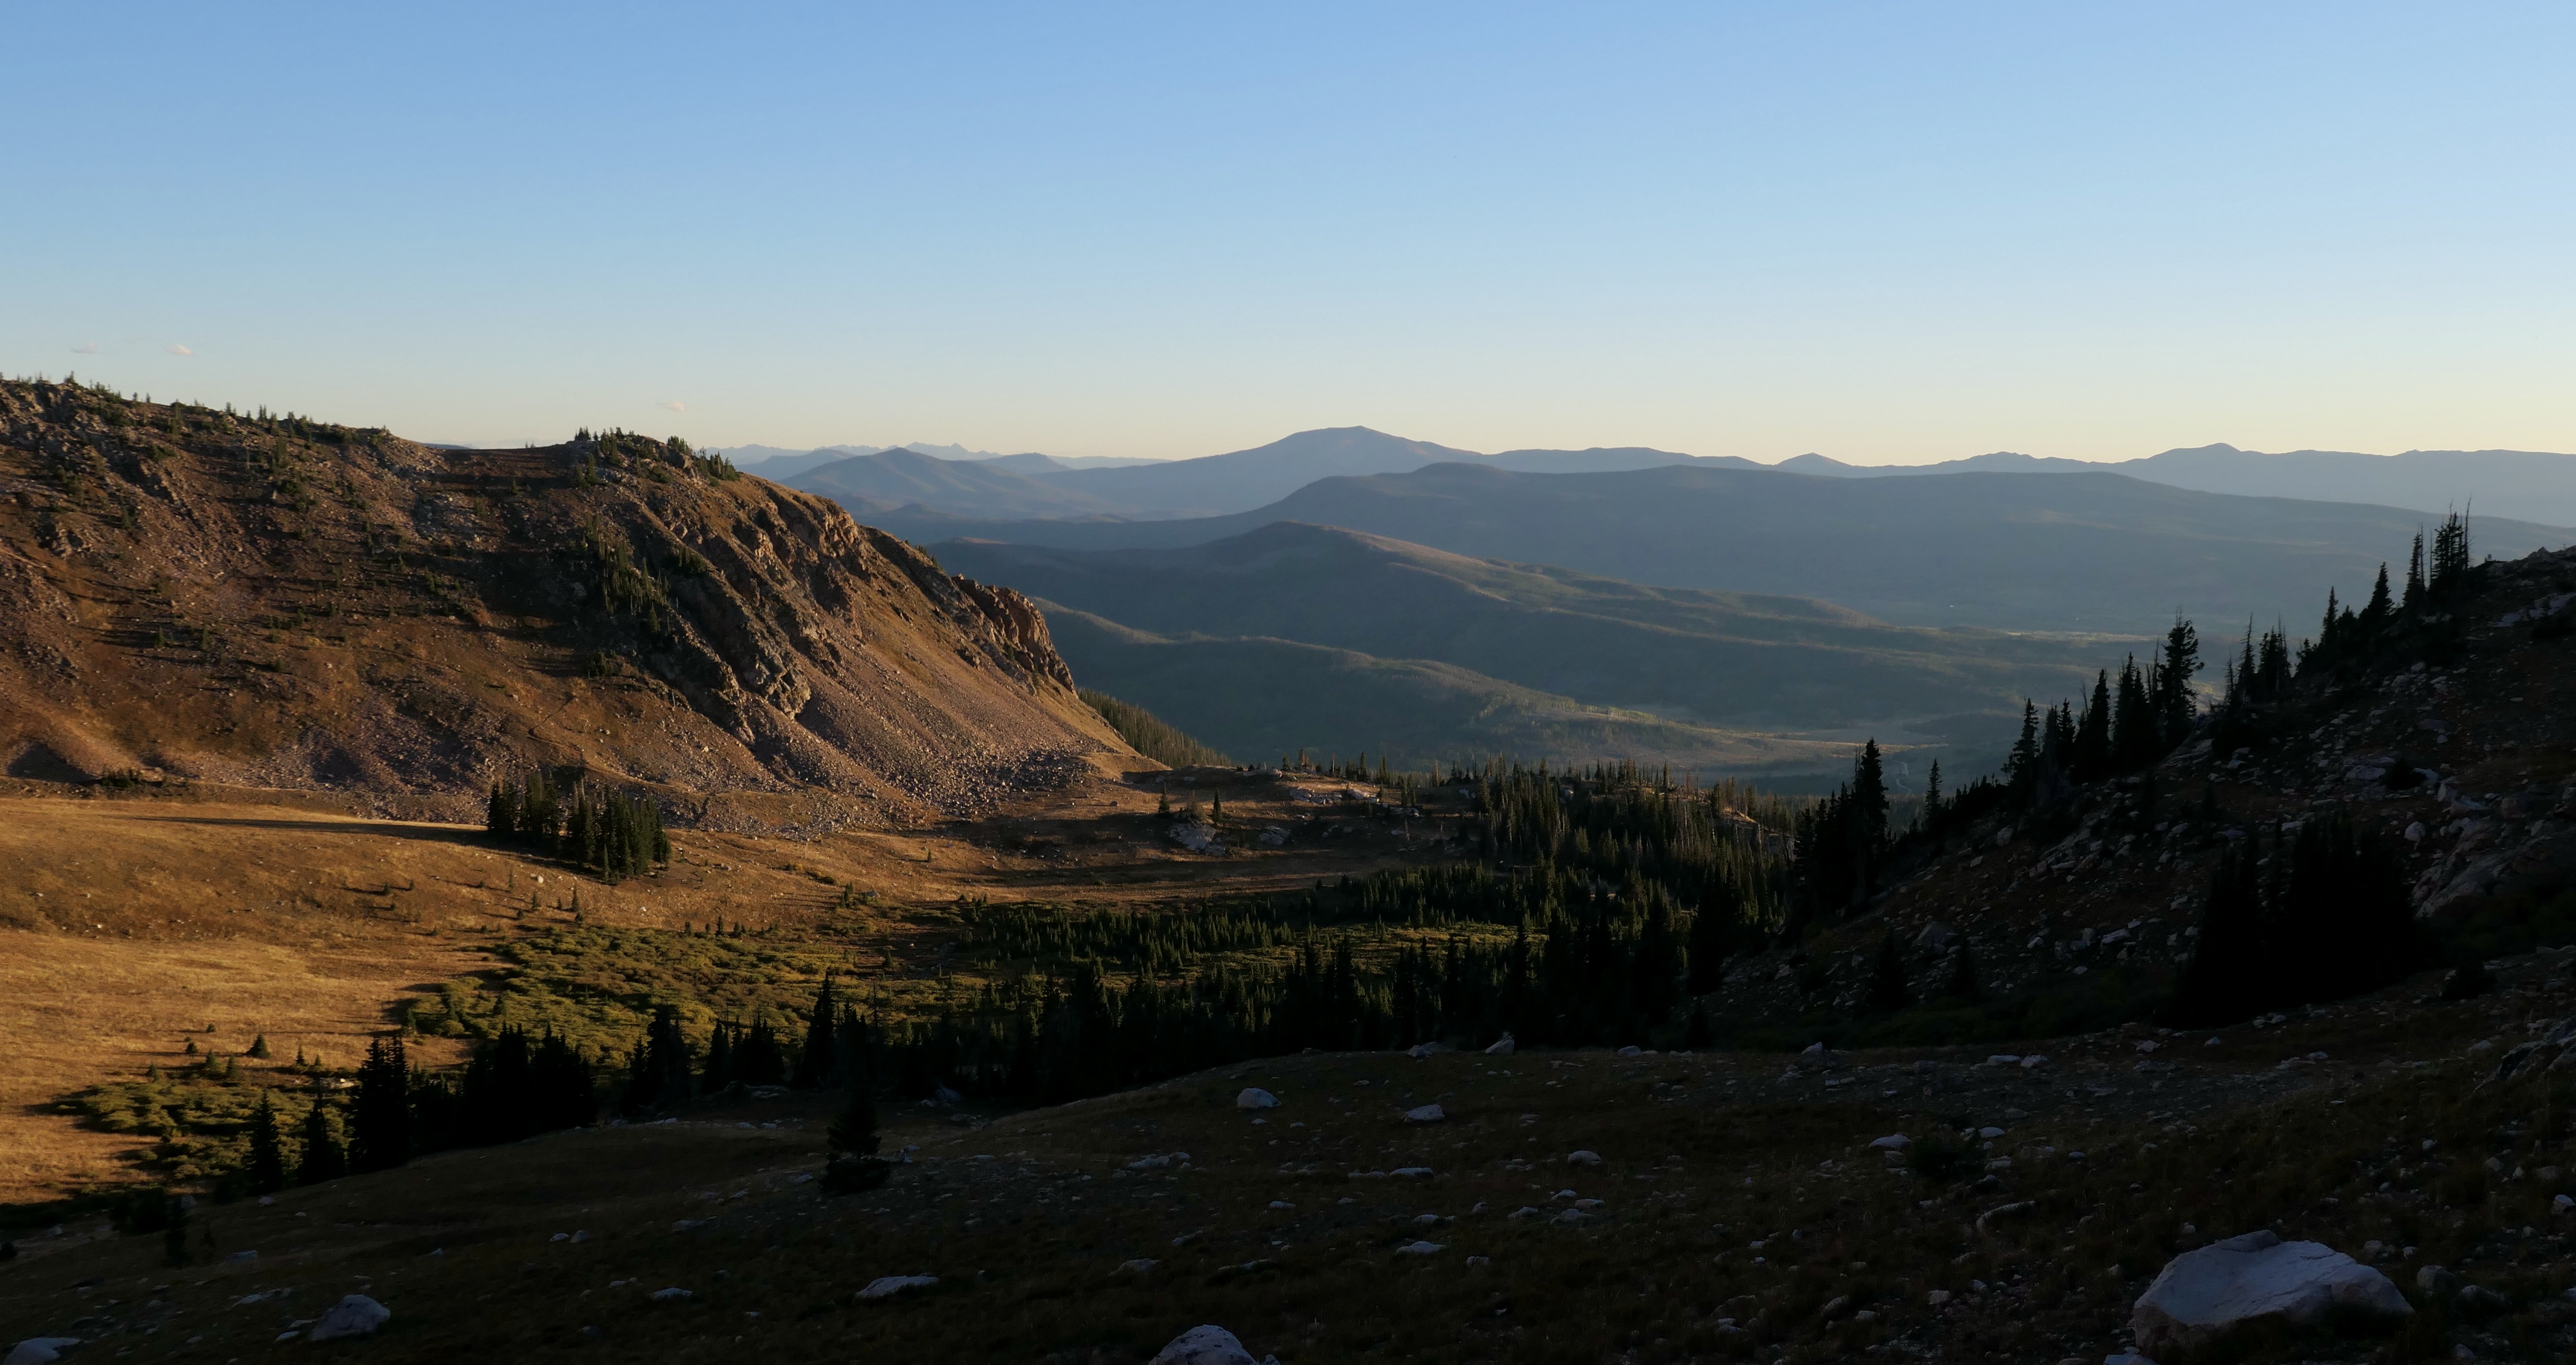
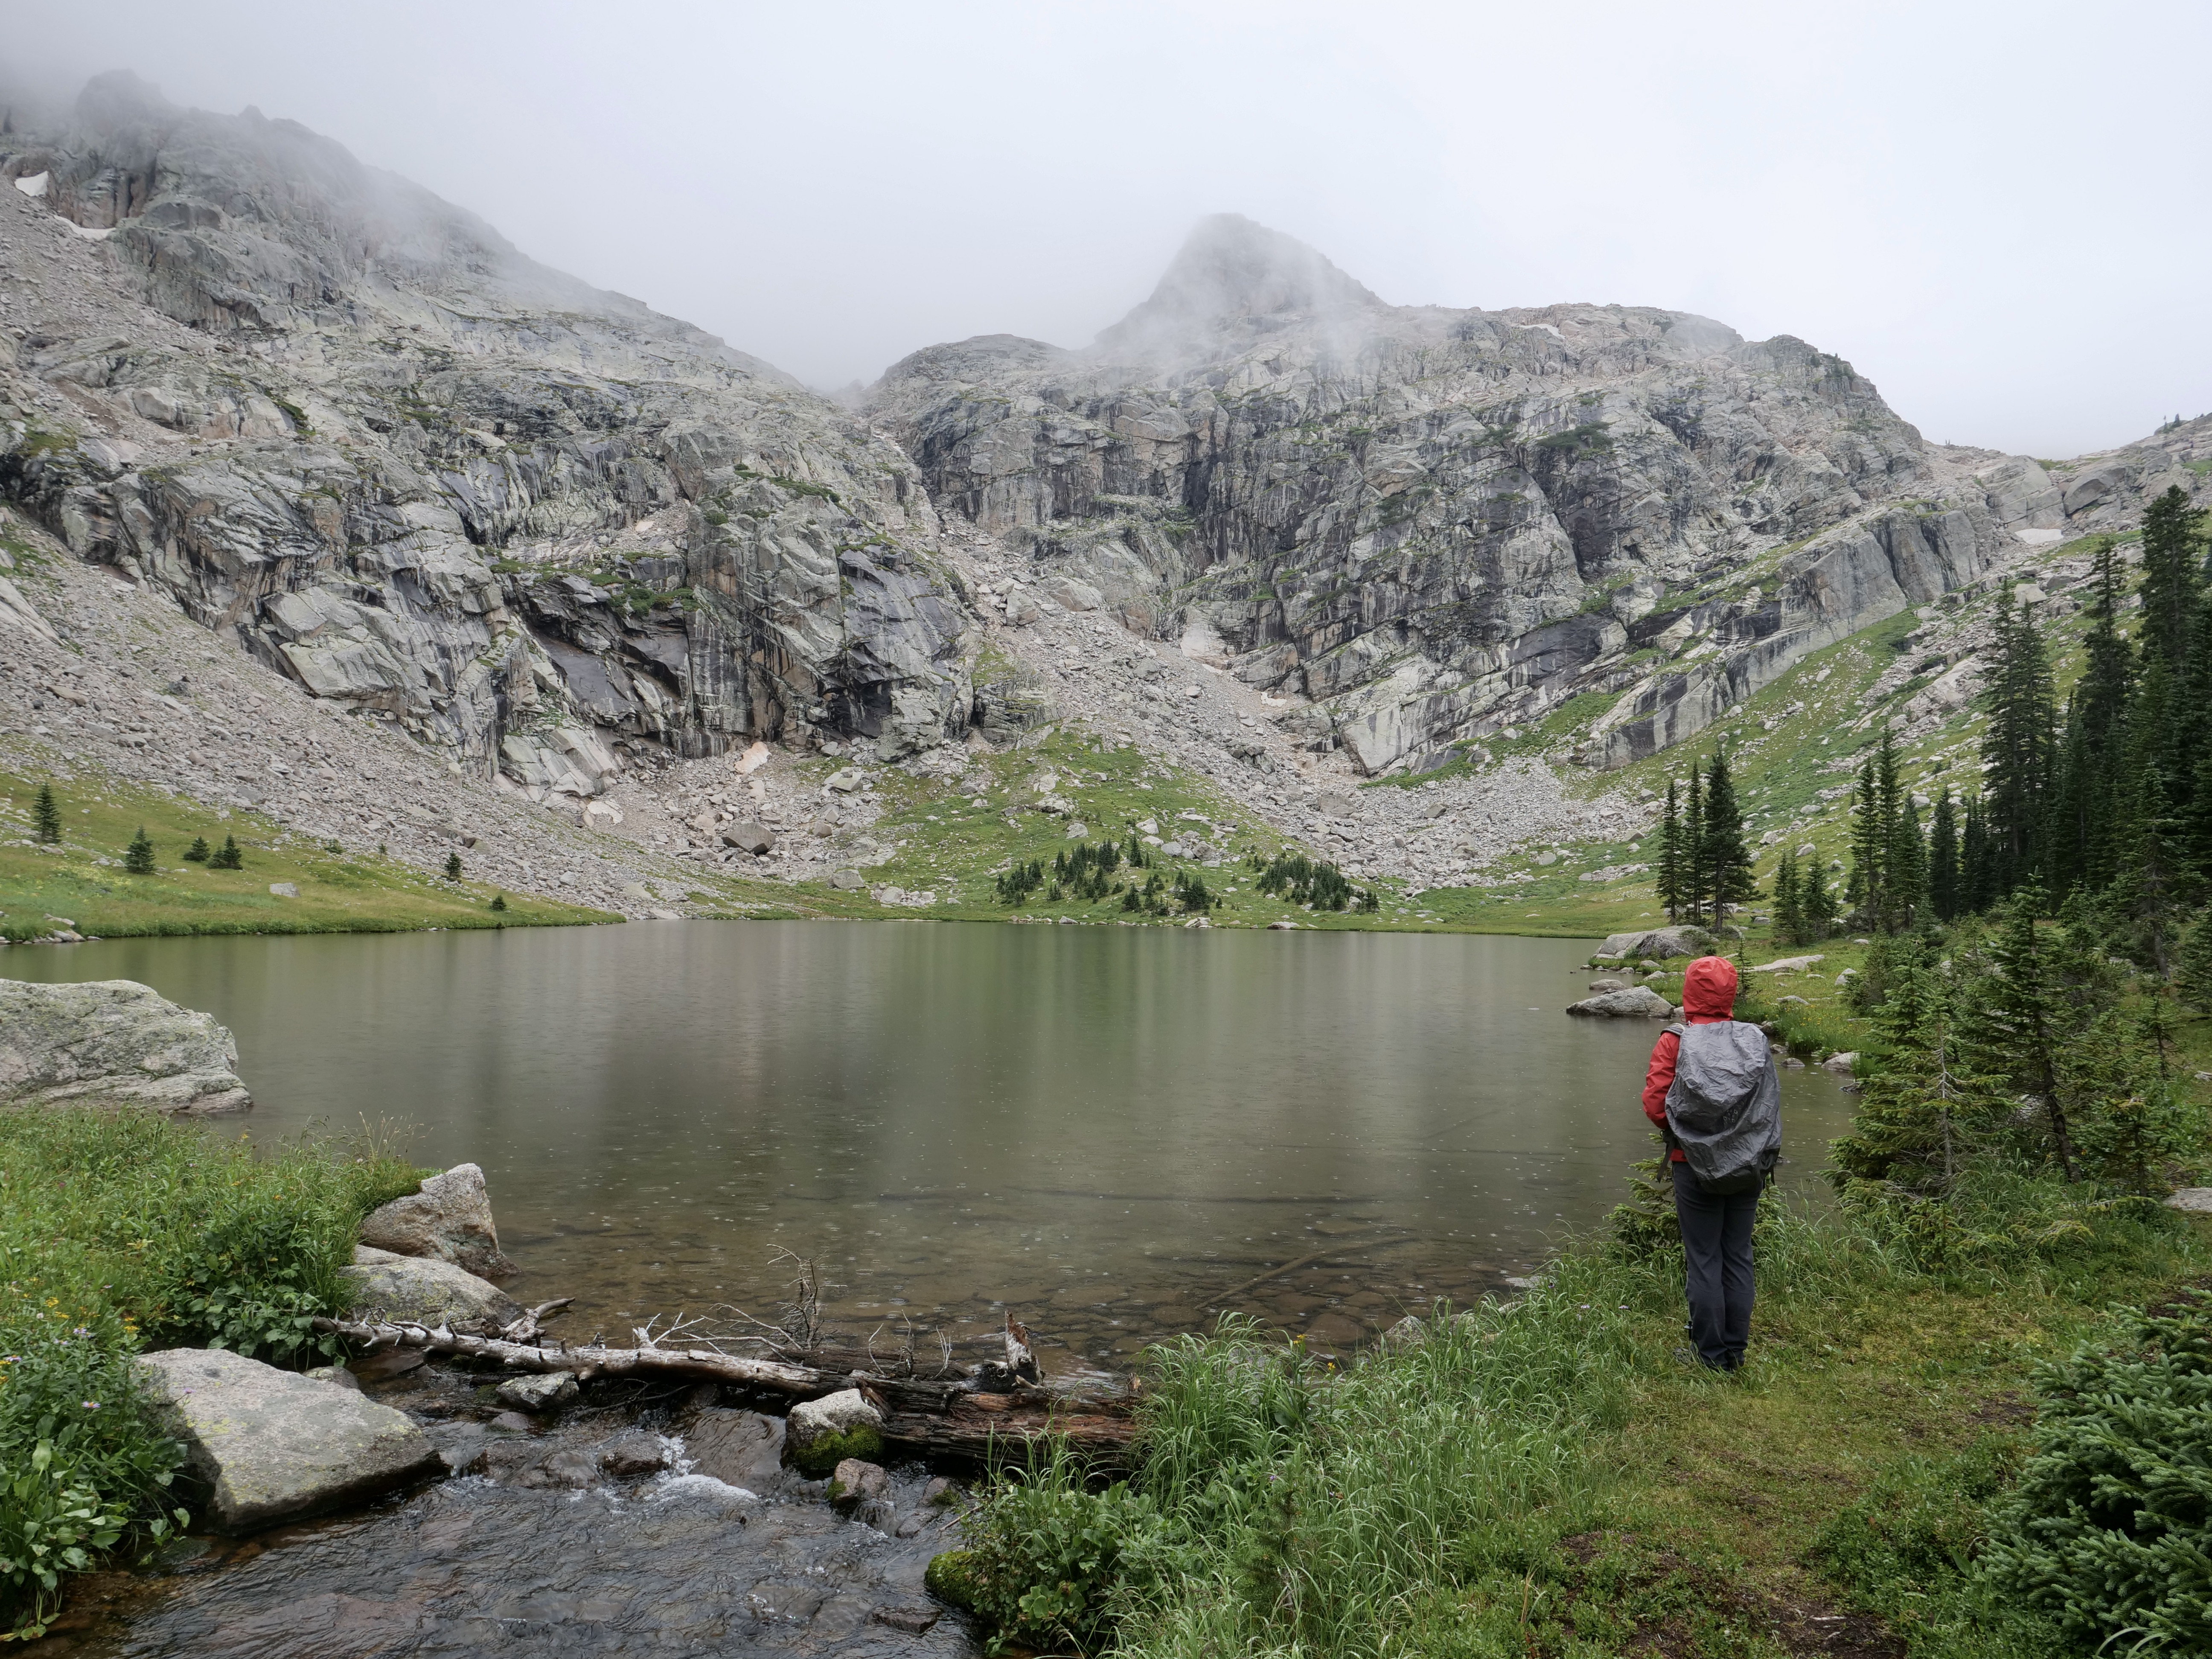
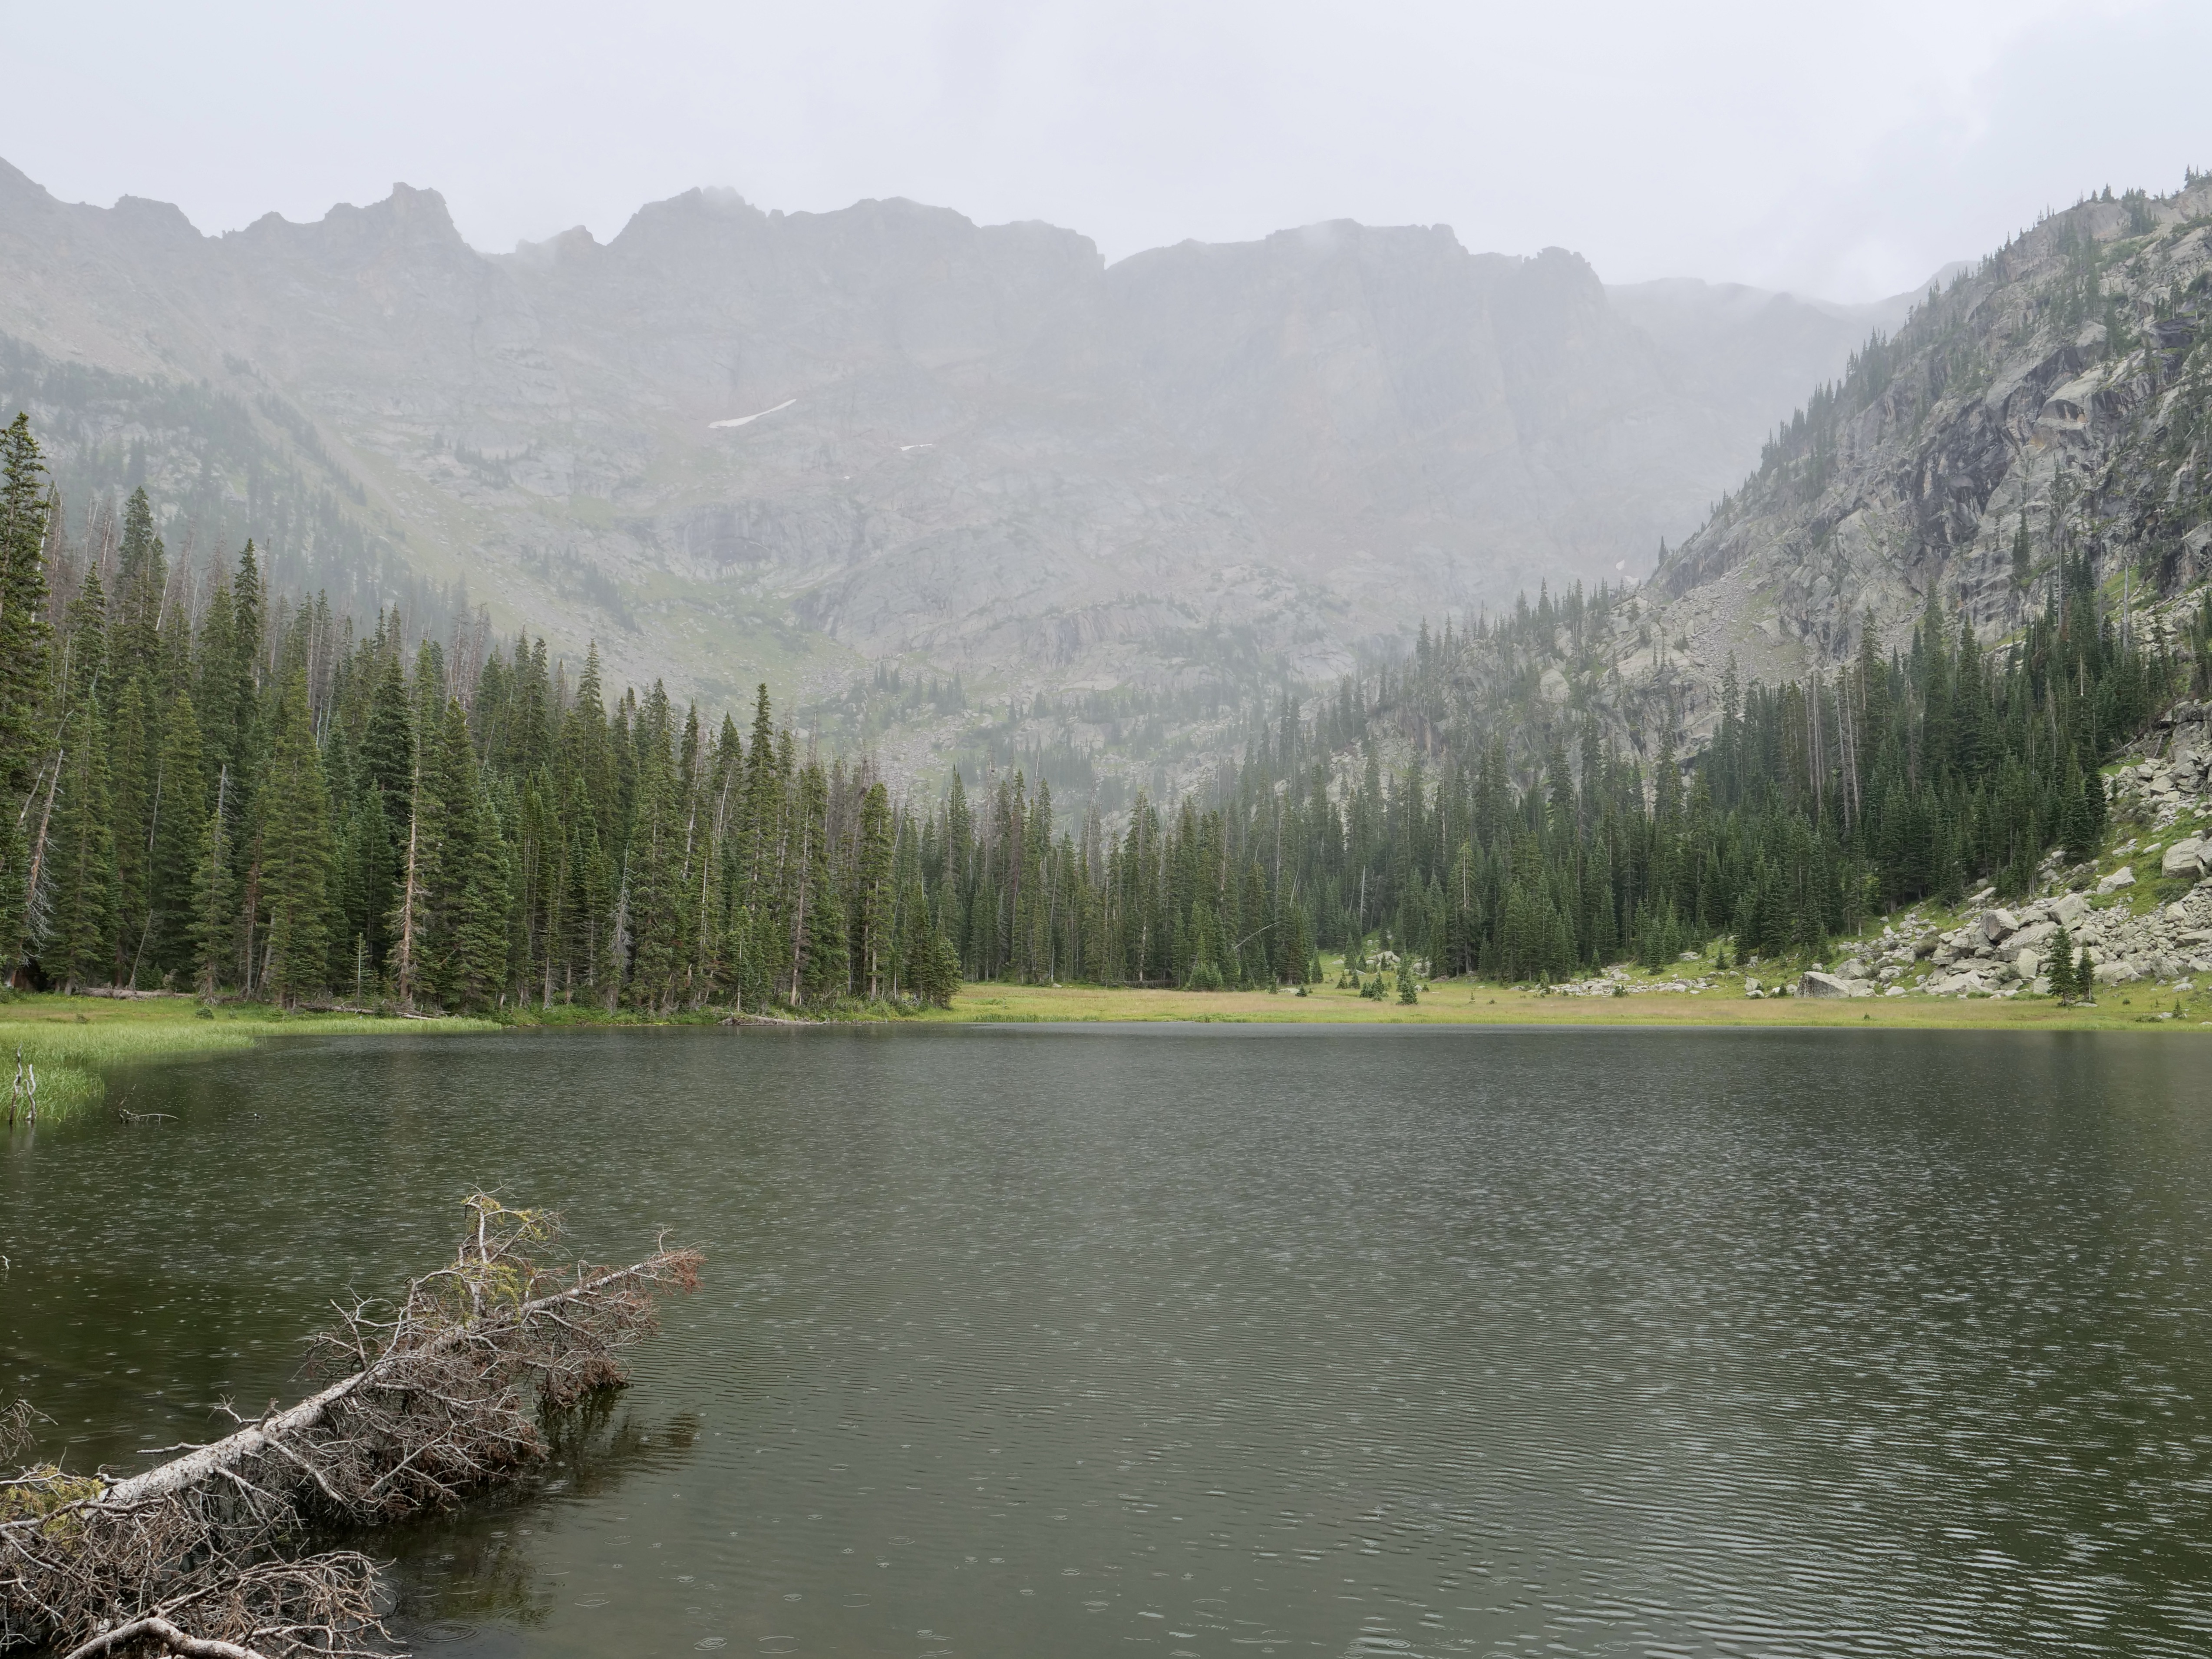
The Never Summer Wilderness, backpacking overnighter
The Never Summer Wilderness borders Rocky Mountain National Park to the north west. The East side of those mountains are part of the national park. I went there for an overnighter with my buddy Josh (who’s famously known for previous posts). This place was always on my list of places to go, and it didn’t disappoint.
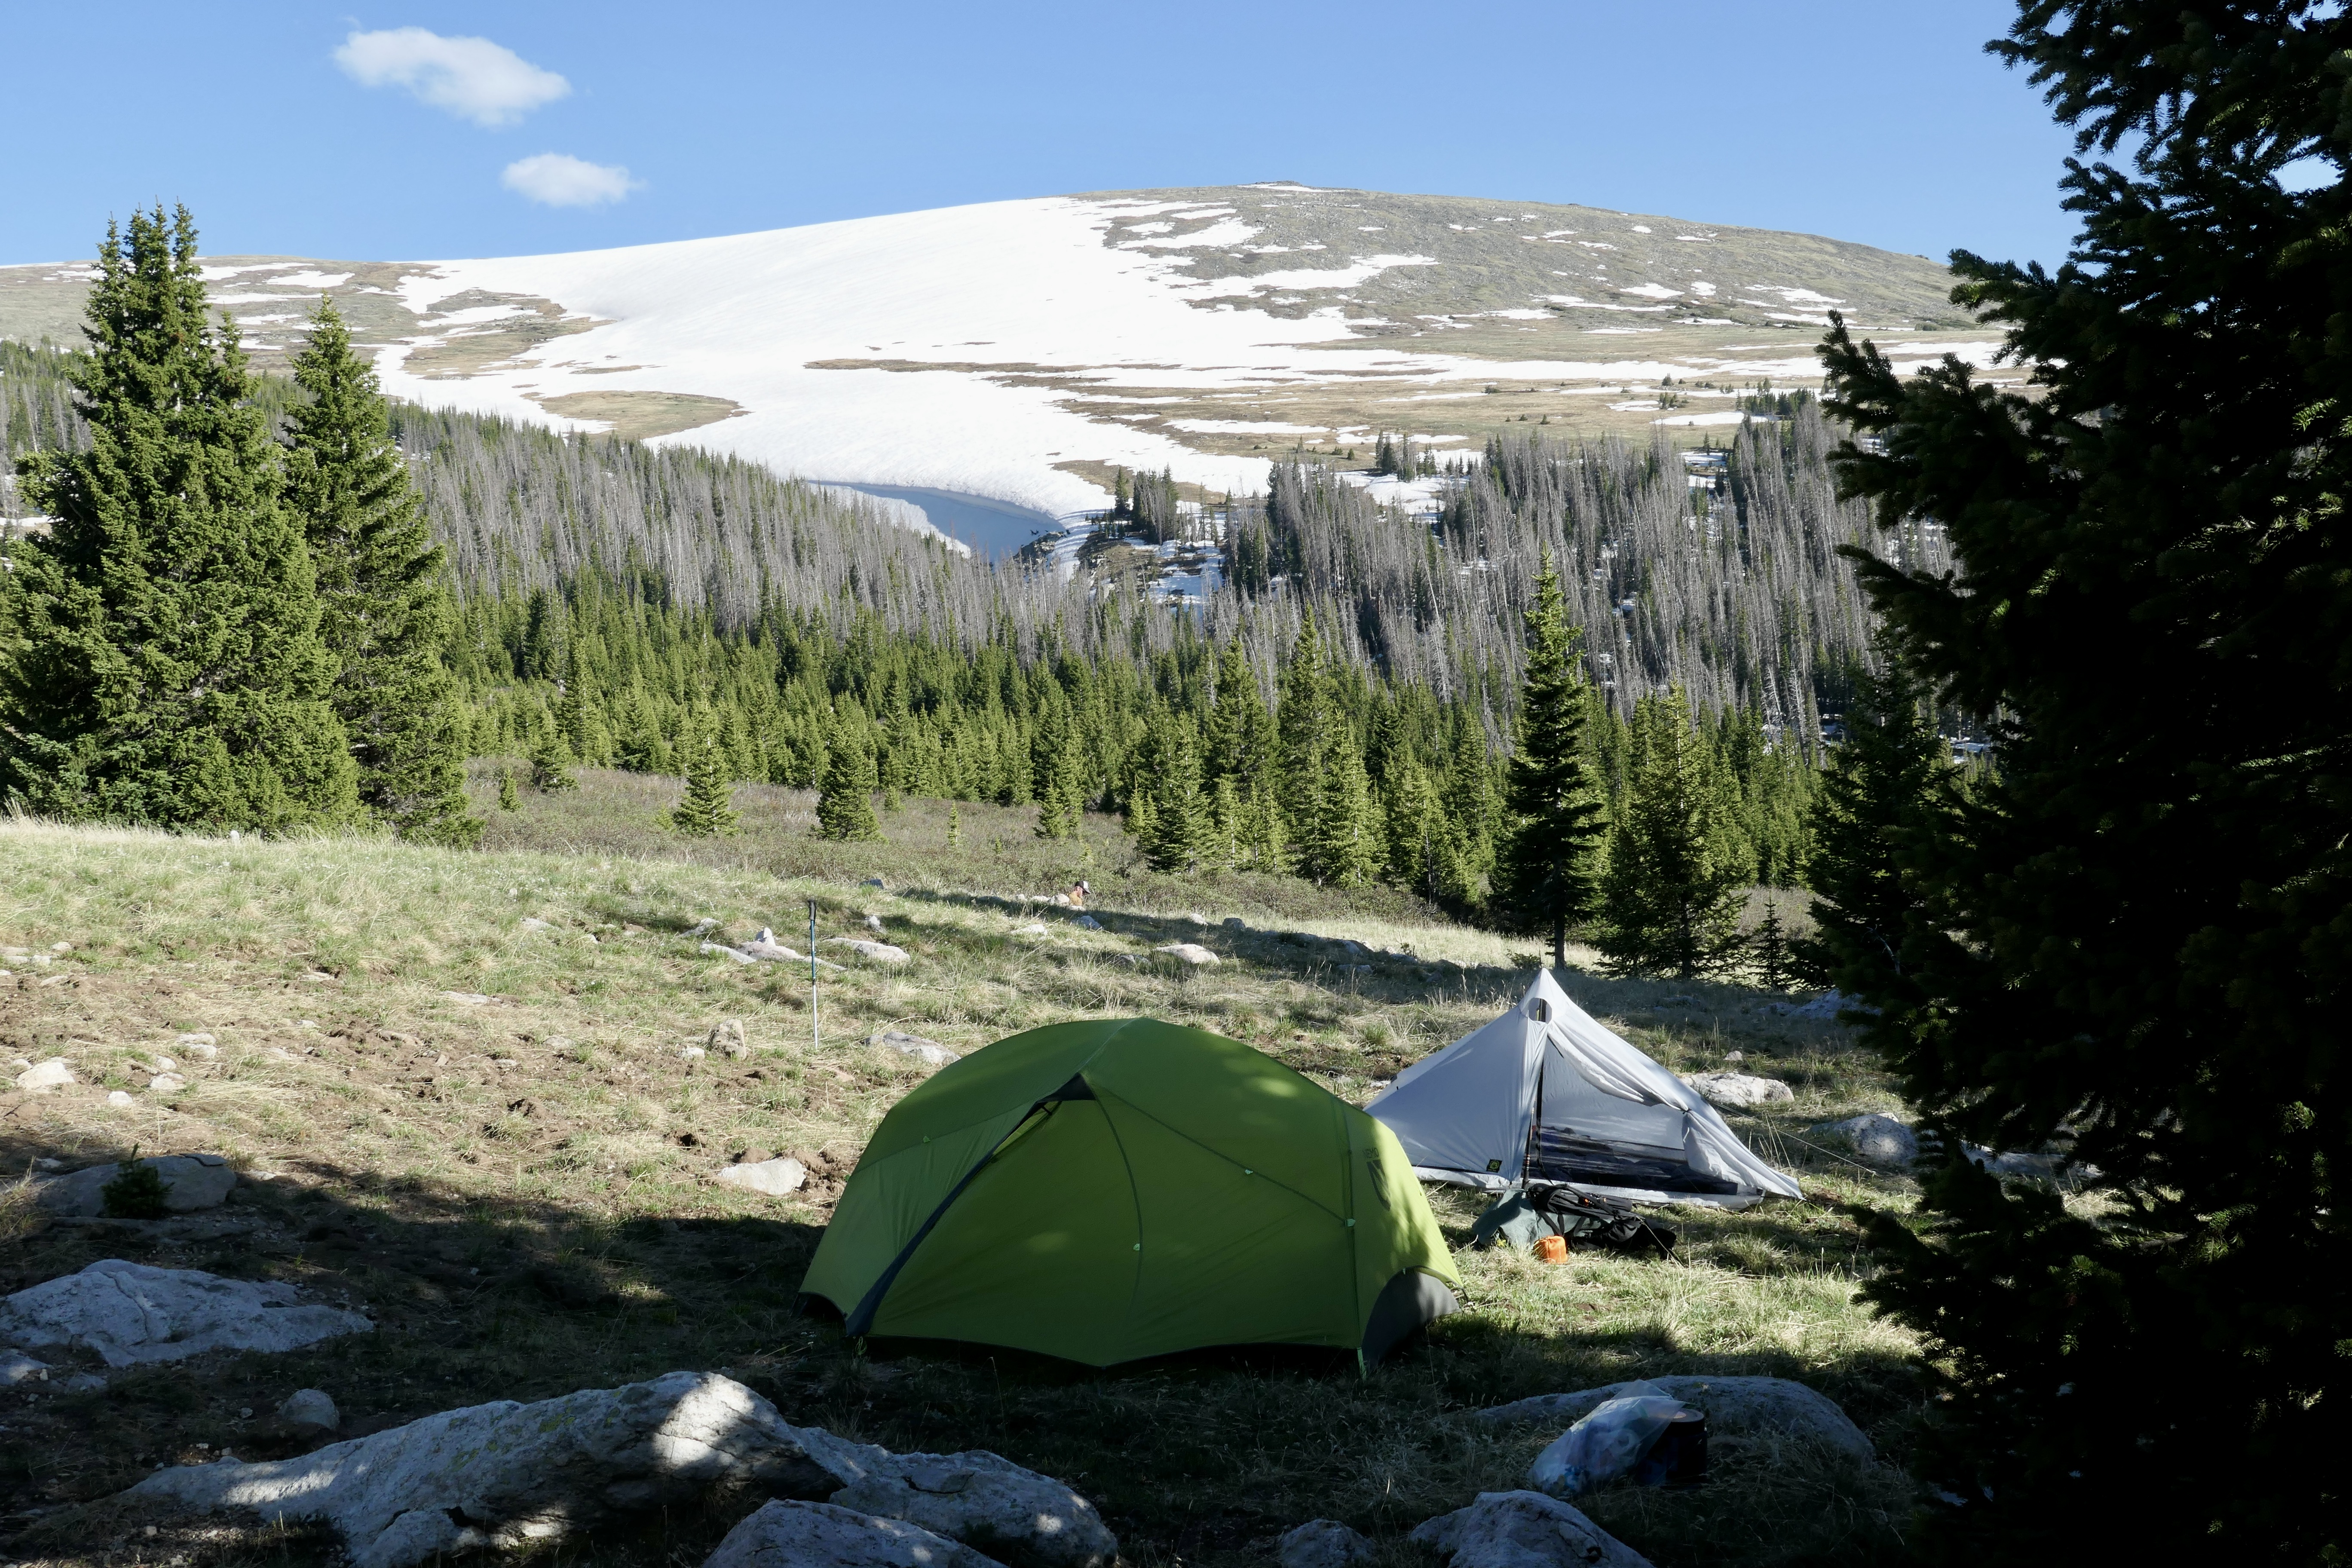
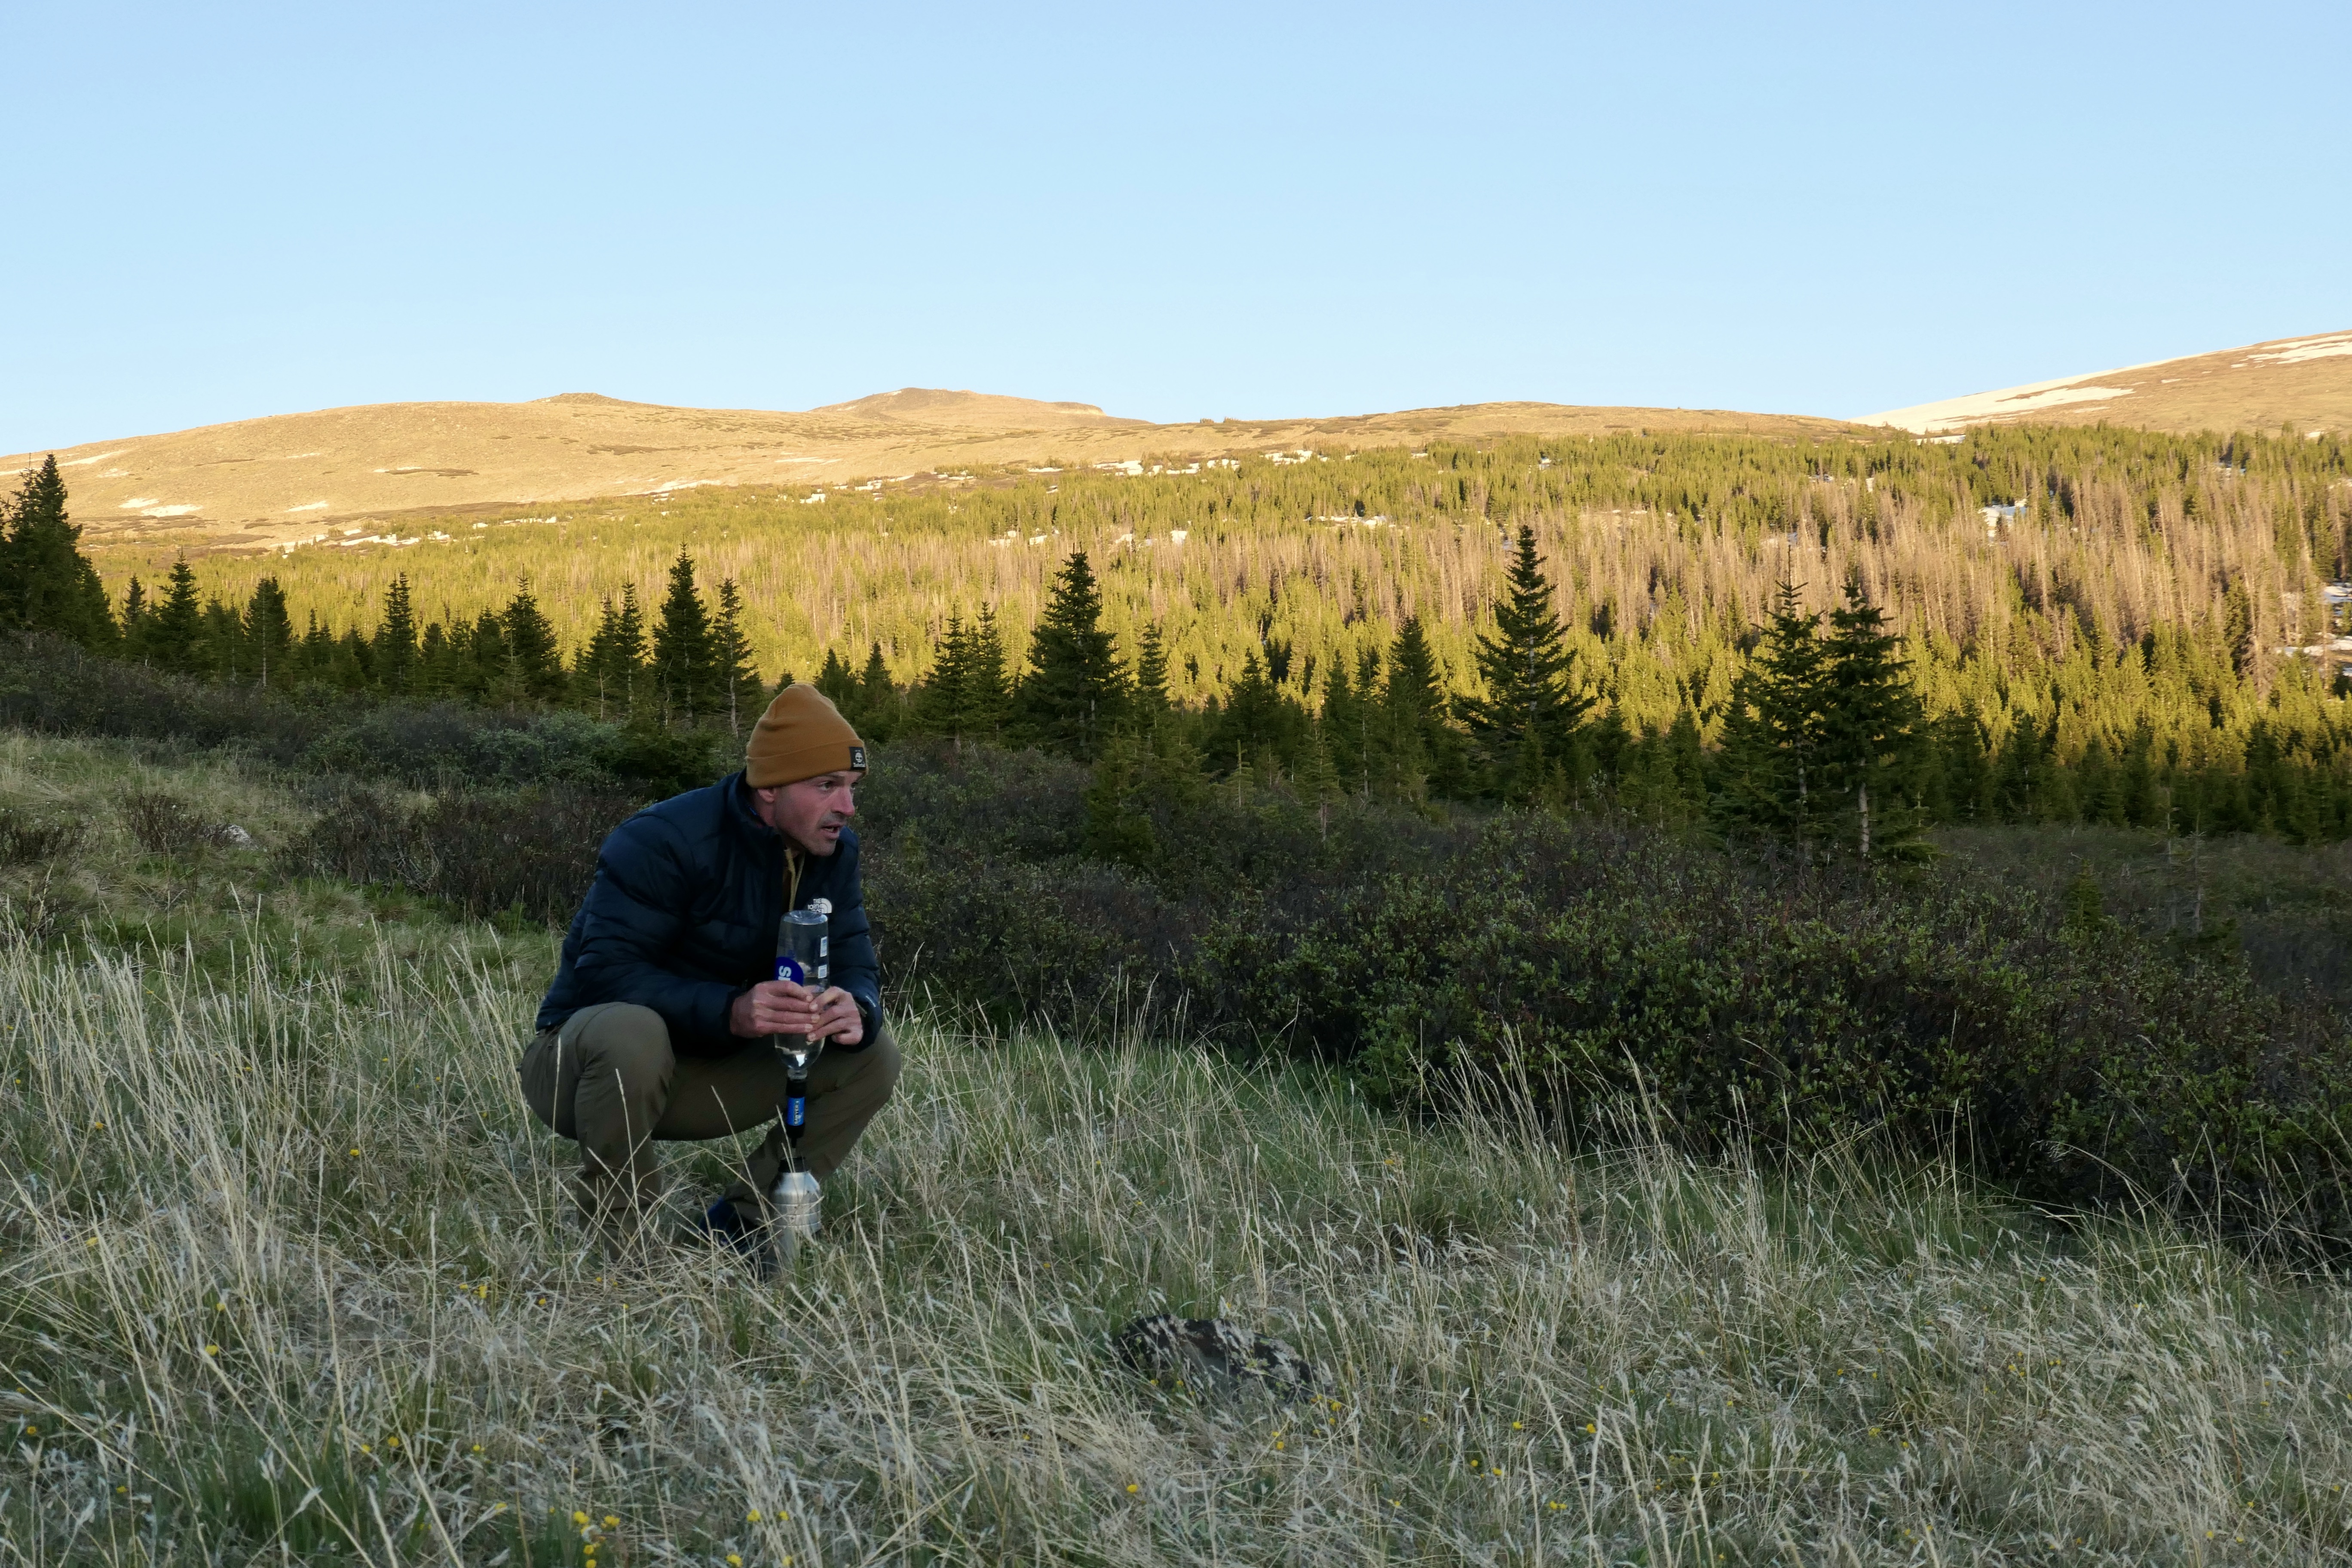
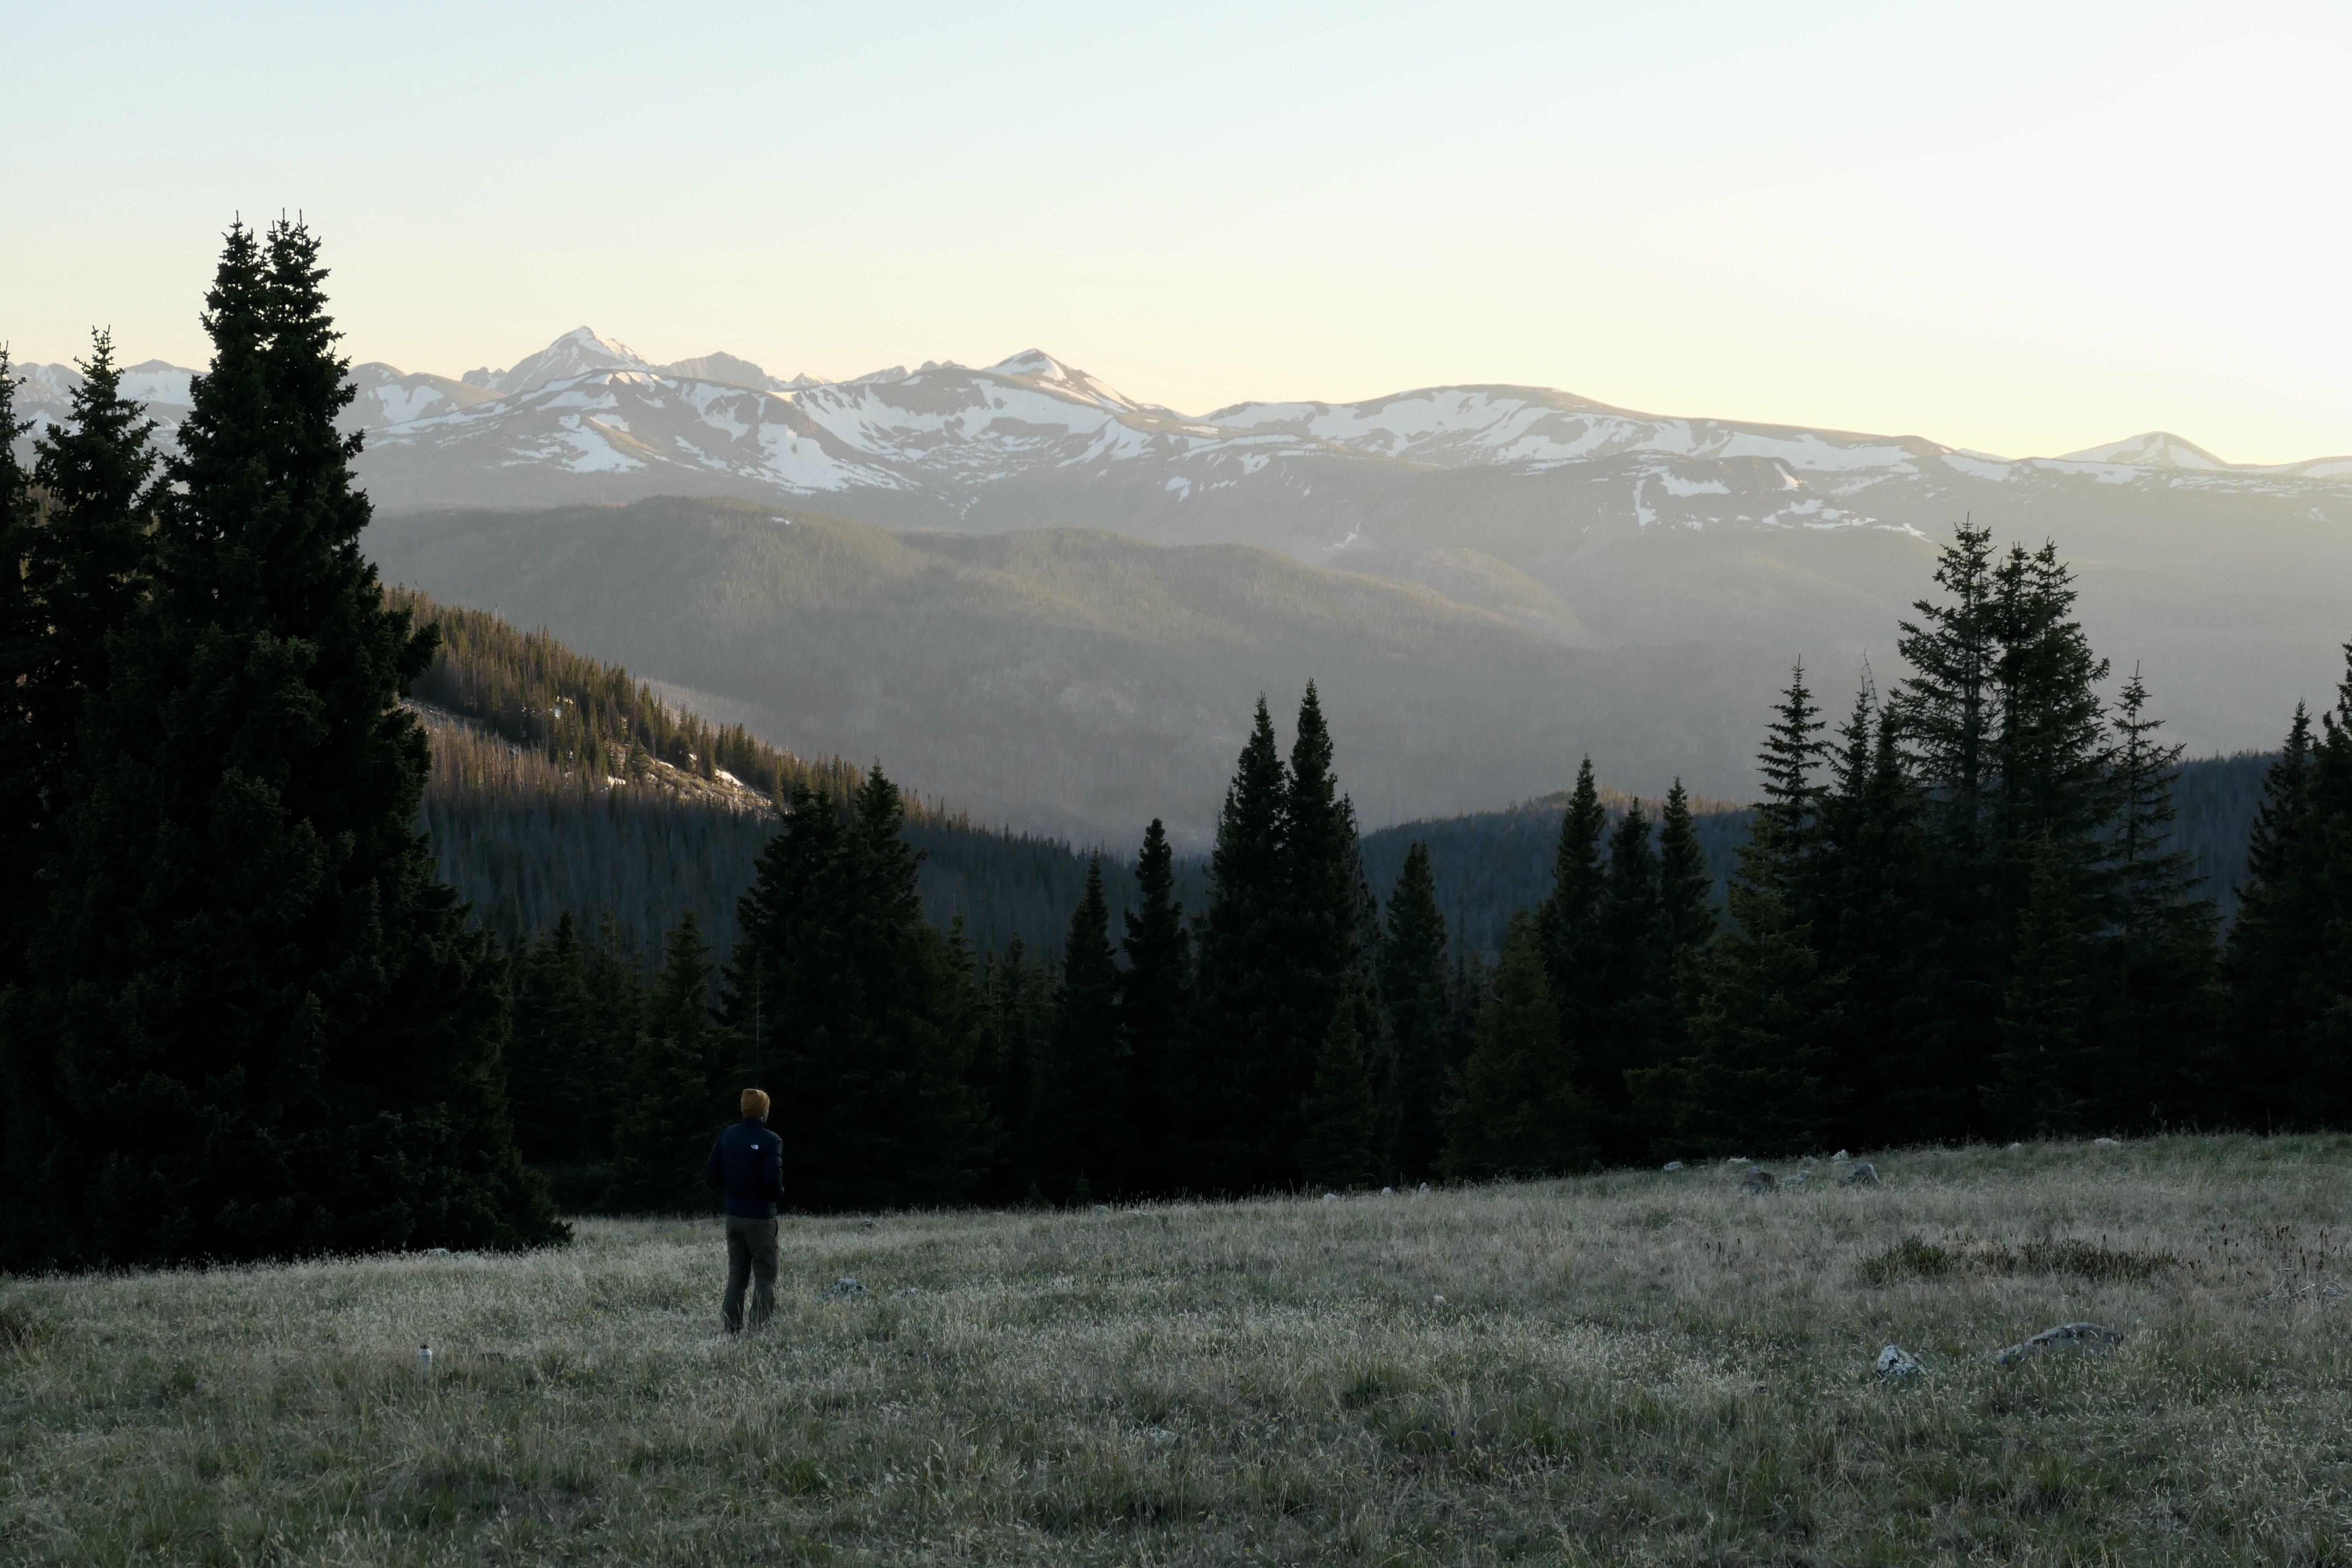
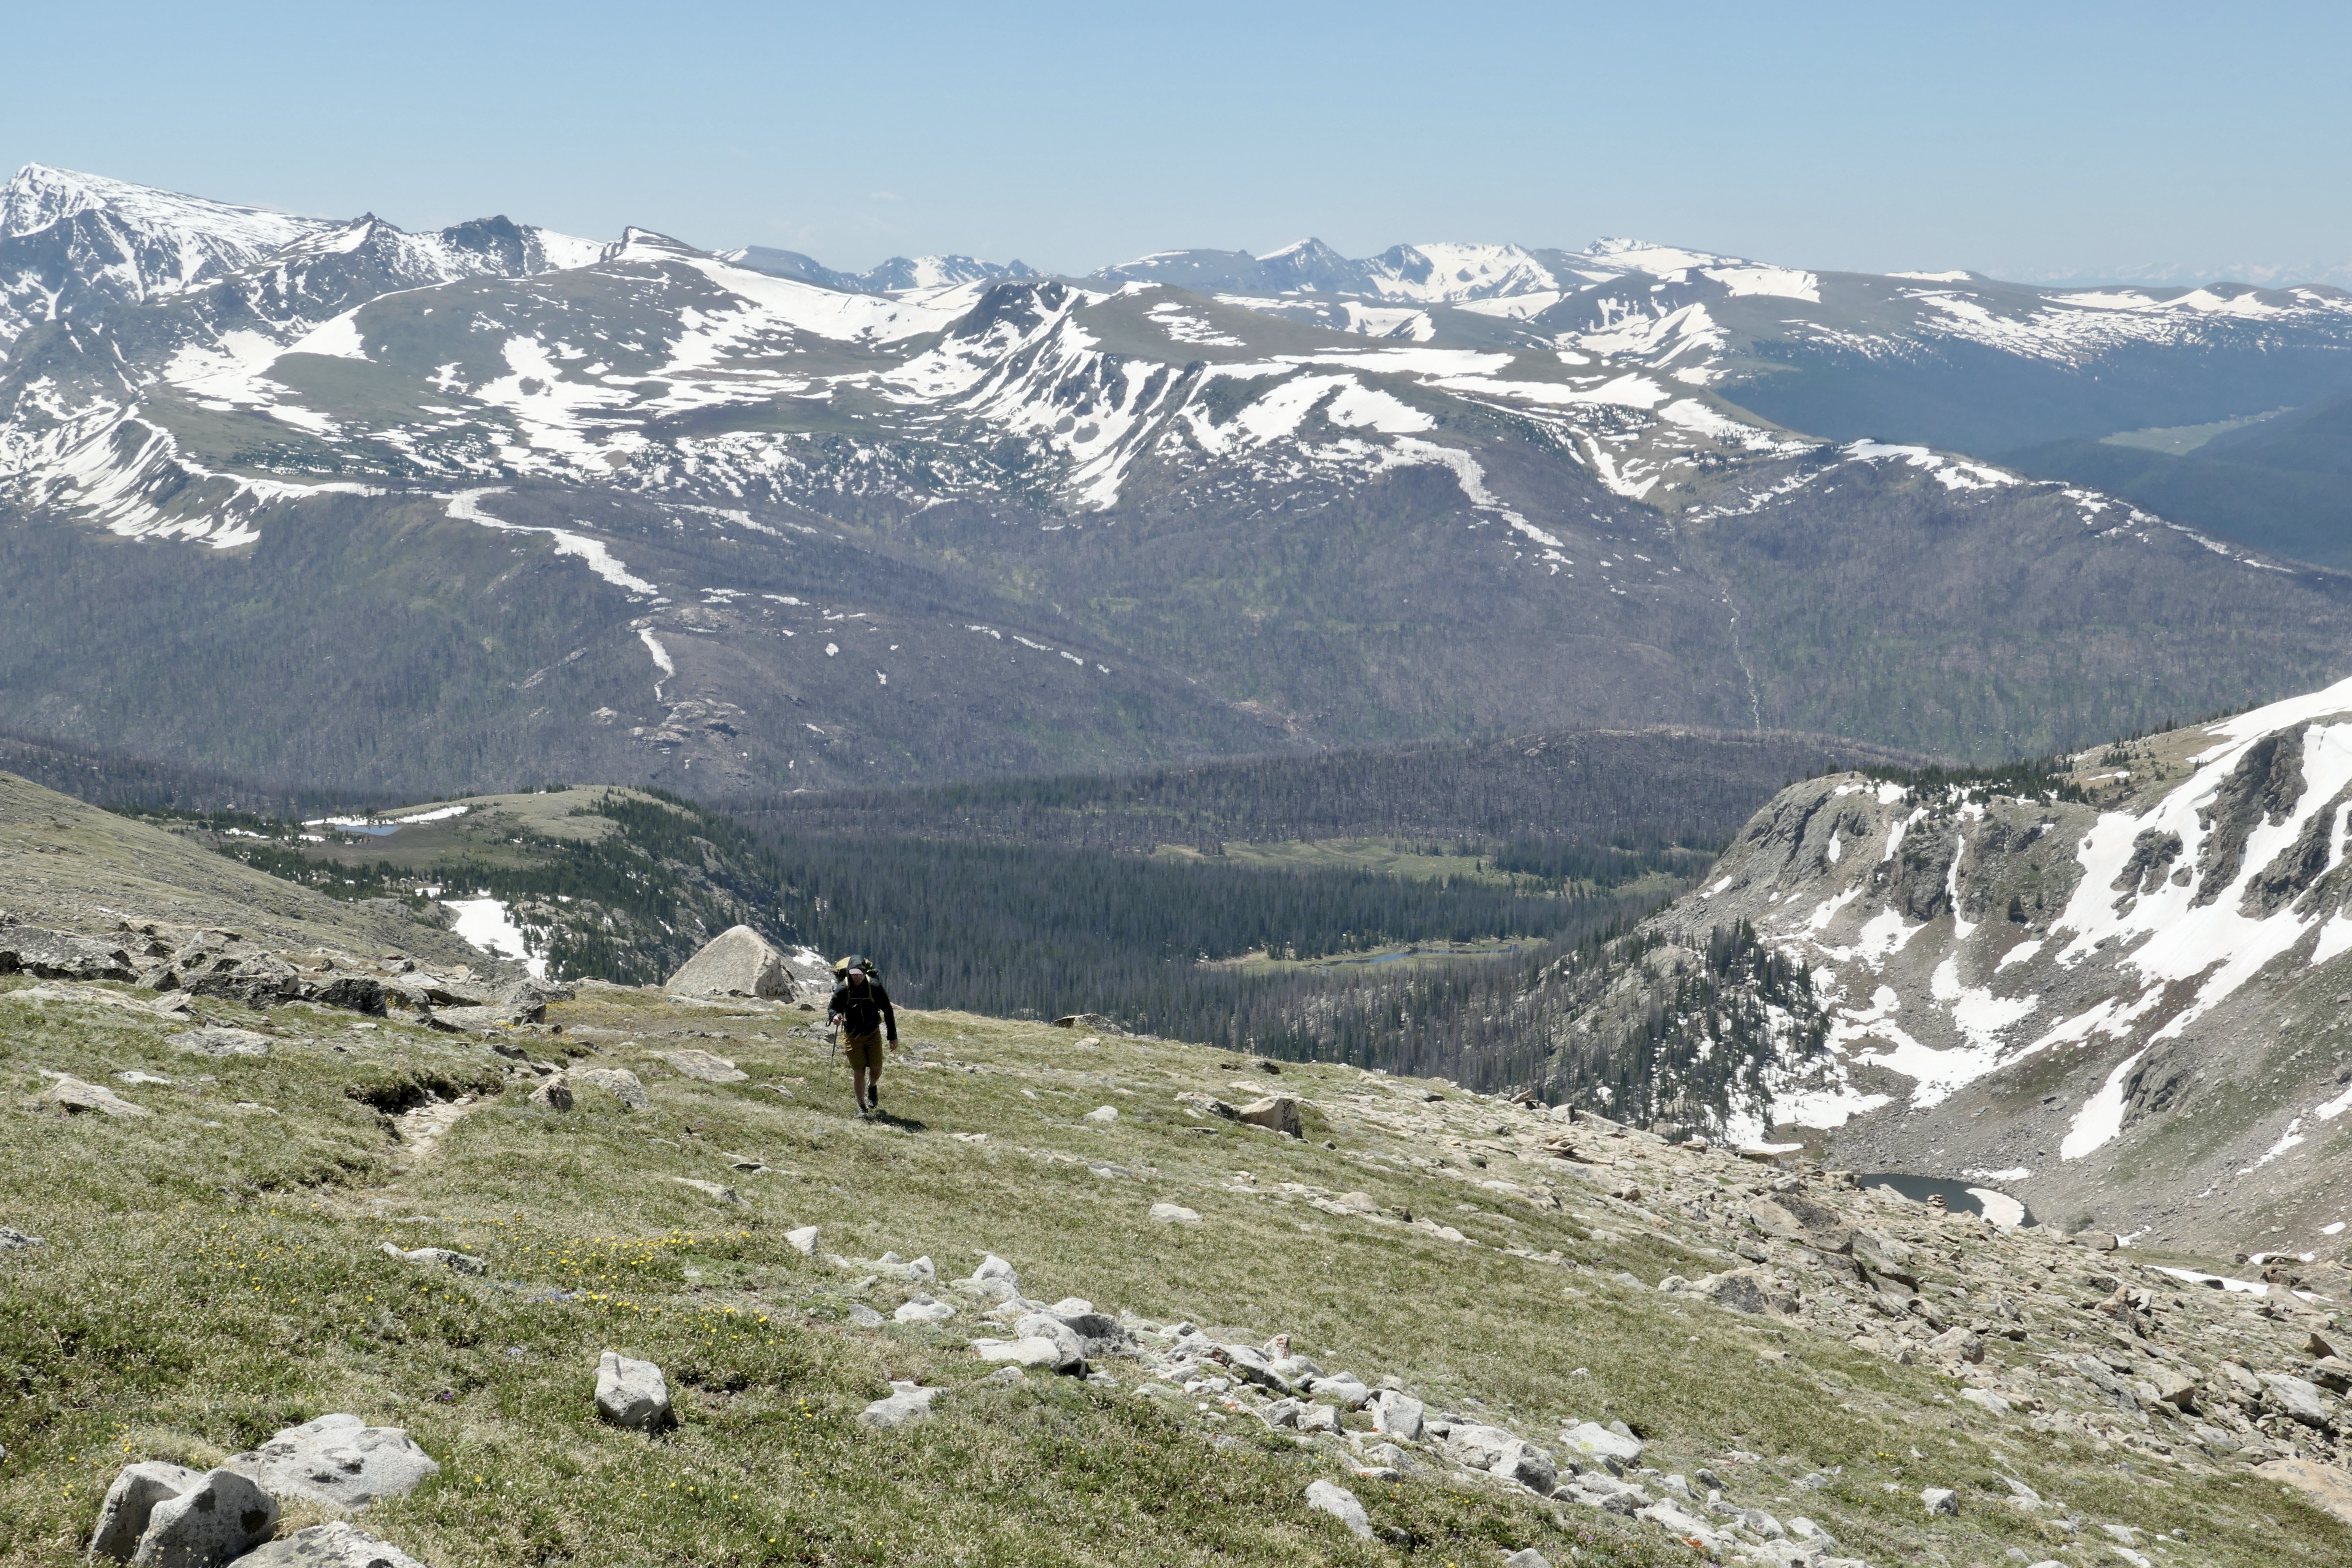
We started day 1 on the Bowen trail and hiked clockwise up to Bowen Pass. This trail is also part of the CDT. From here it connects with the Never Summer trail and Parika Lake trail, and crosses over another pass before descending down to Parika Lake which was an absolute beautiful place to camp. That first day is pretty though since it has a bit of elevation, but also very beautiful. The second day following Baker trail back down is a breeze. Below is a screenshot of the stats and strava links for details here: Day 1, and Day 2.
I didn’t bring a camera on this trip, so all pics are taken with my (old) phone.
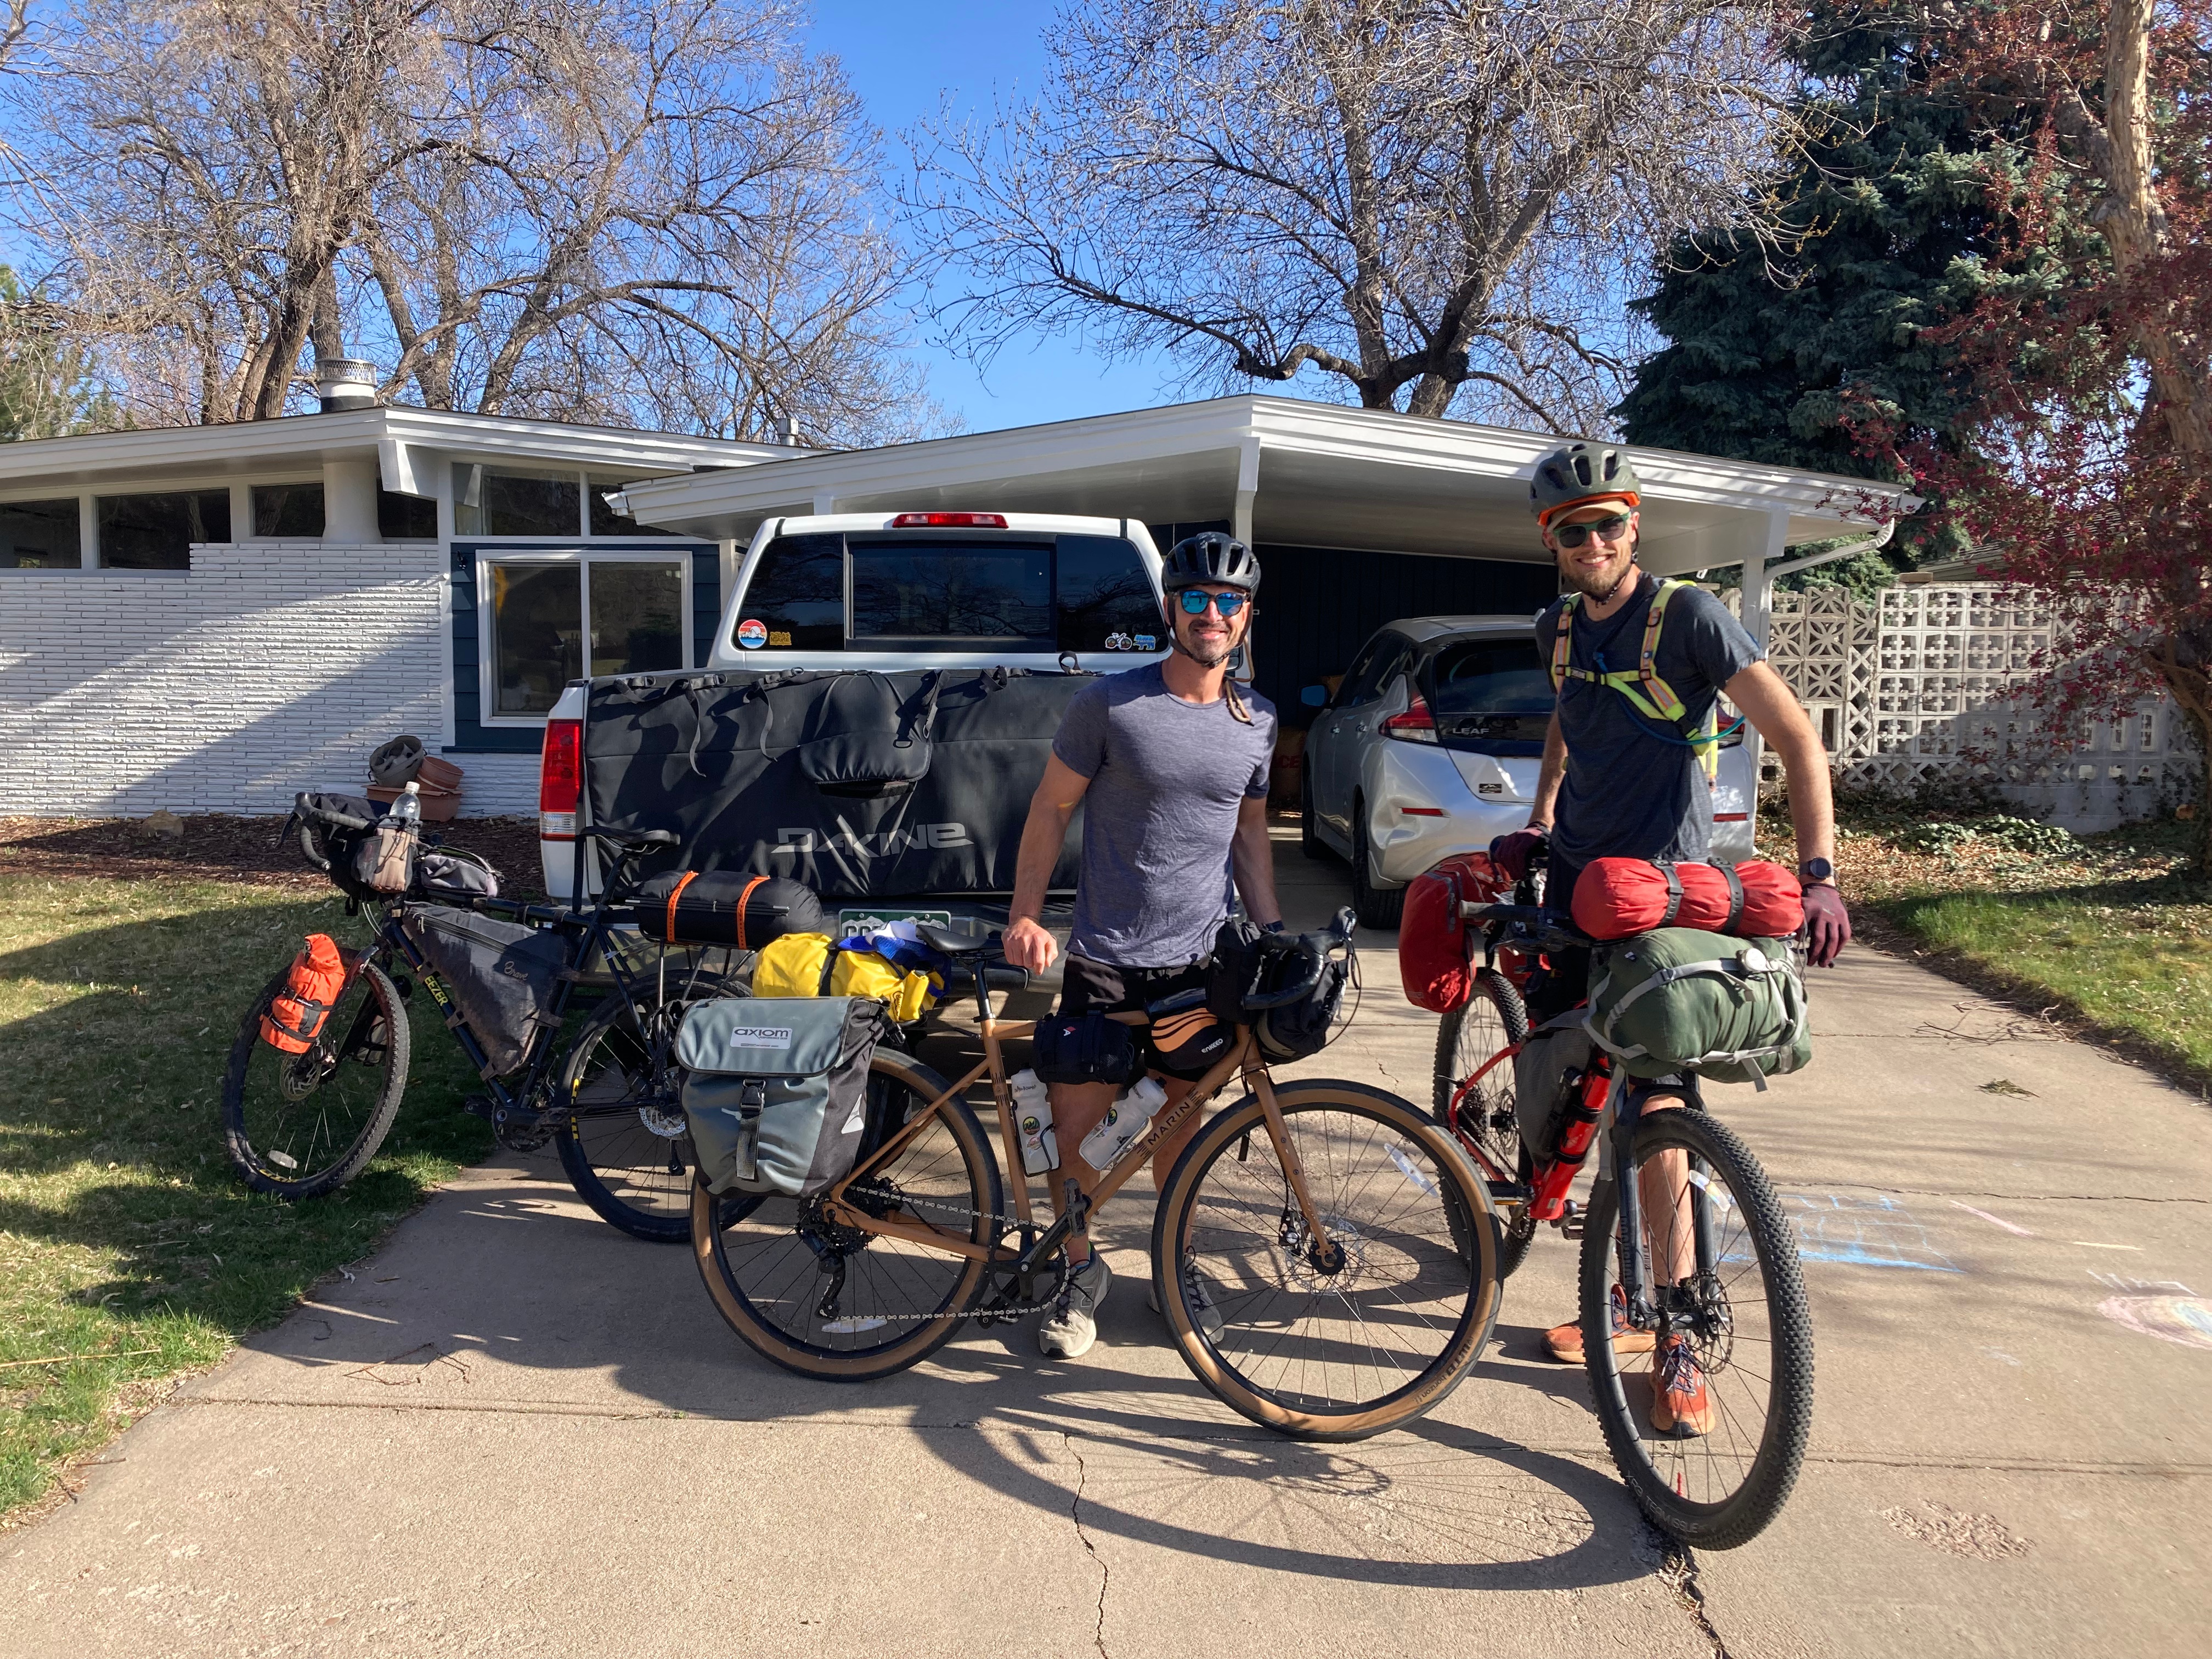
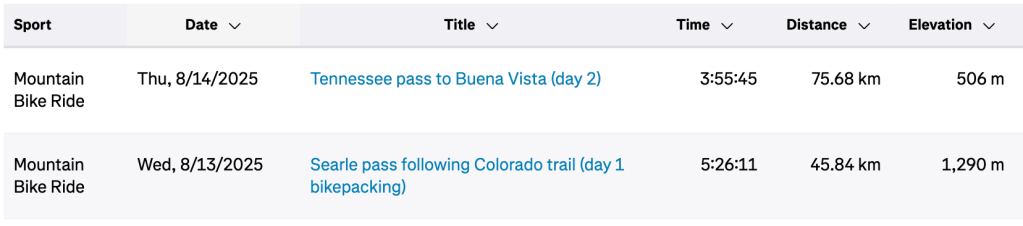
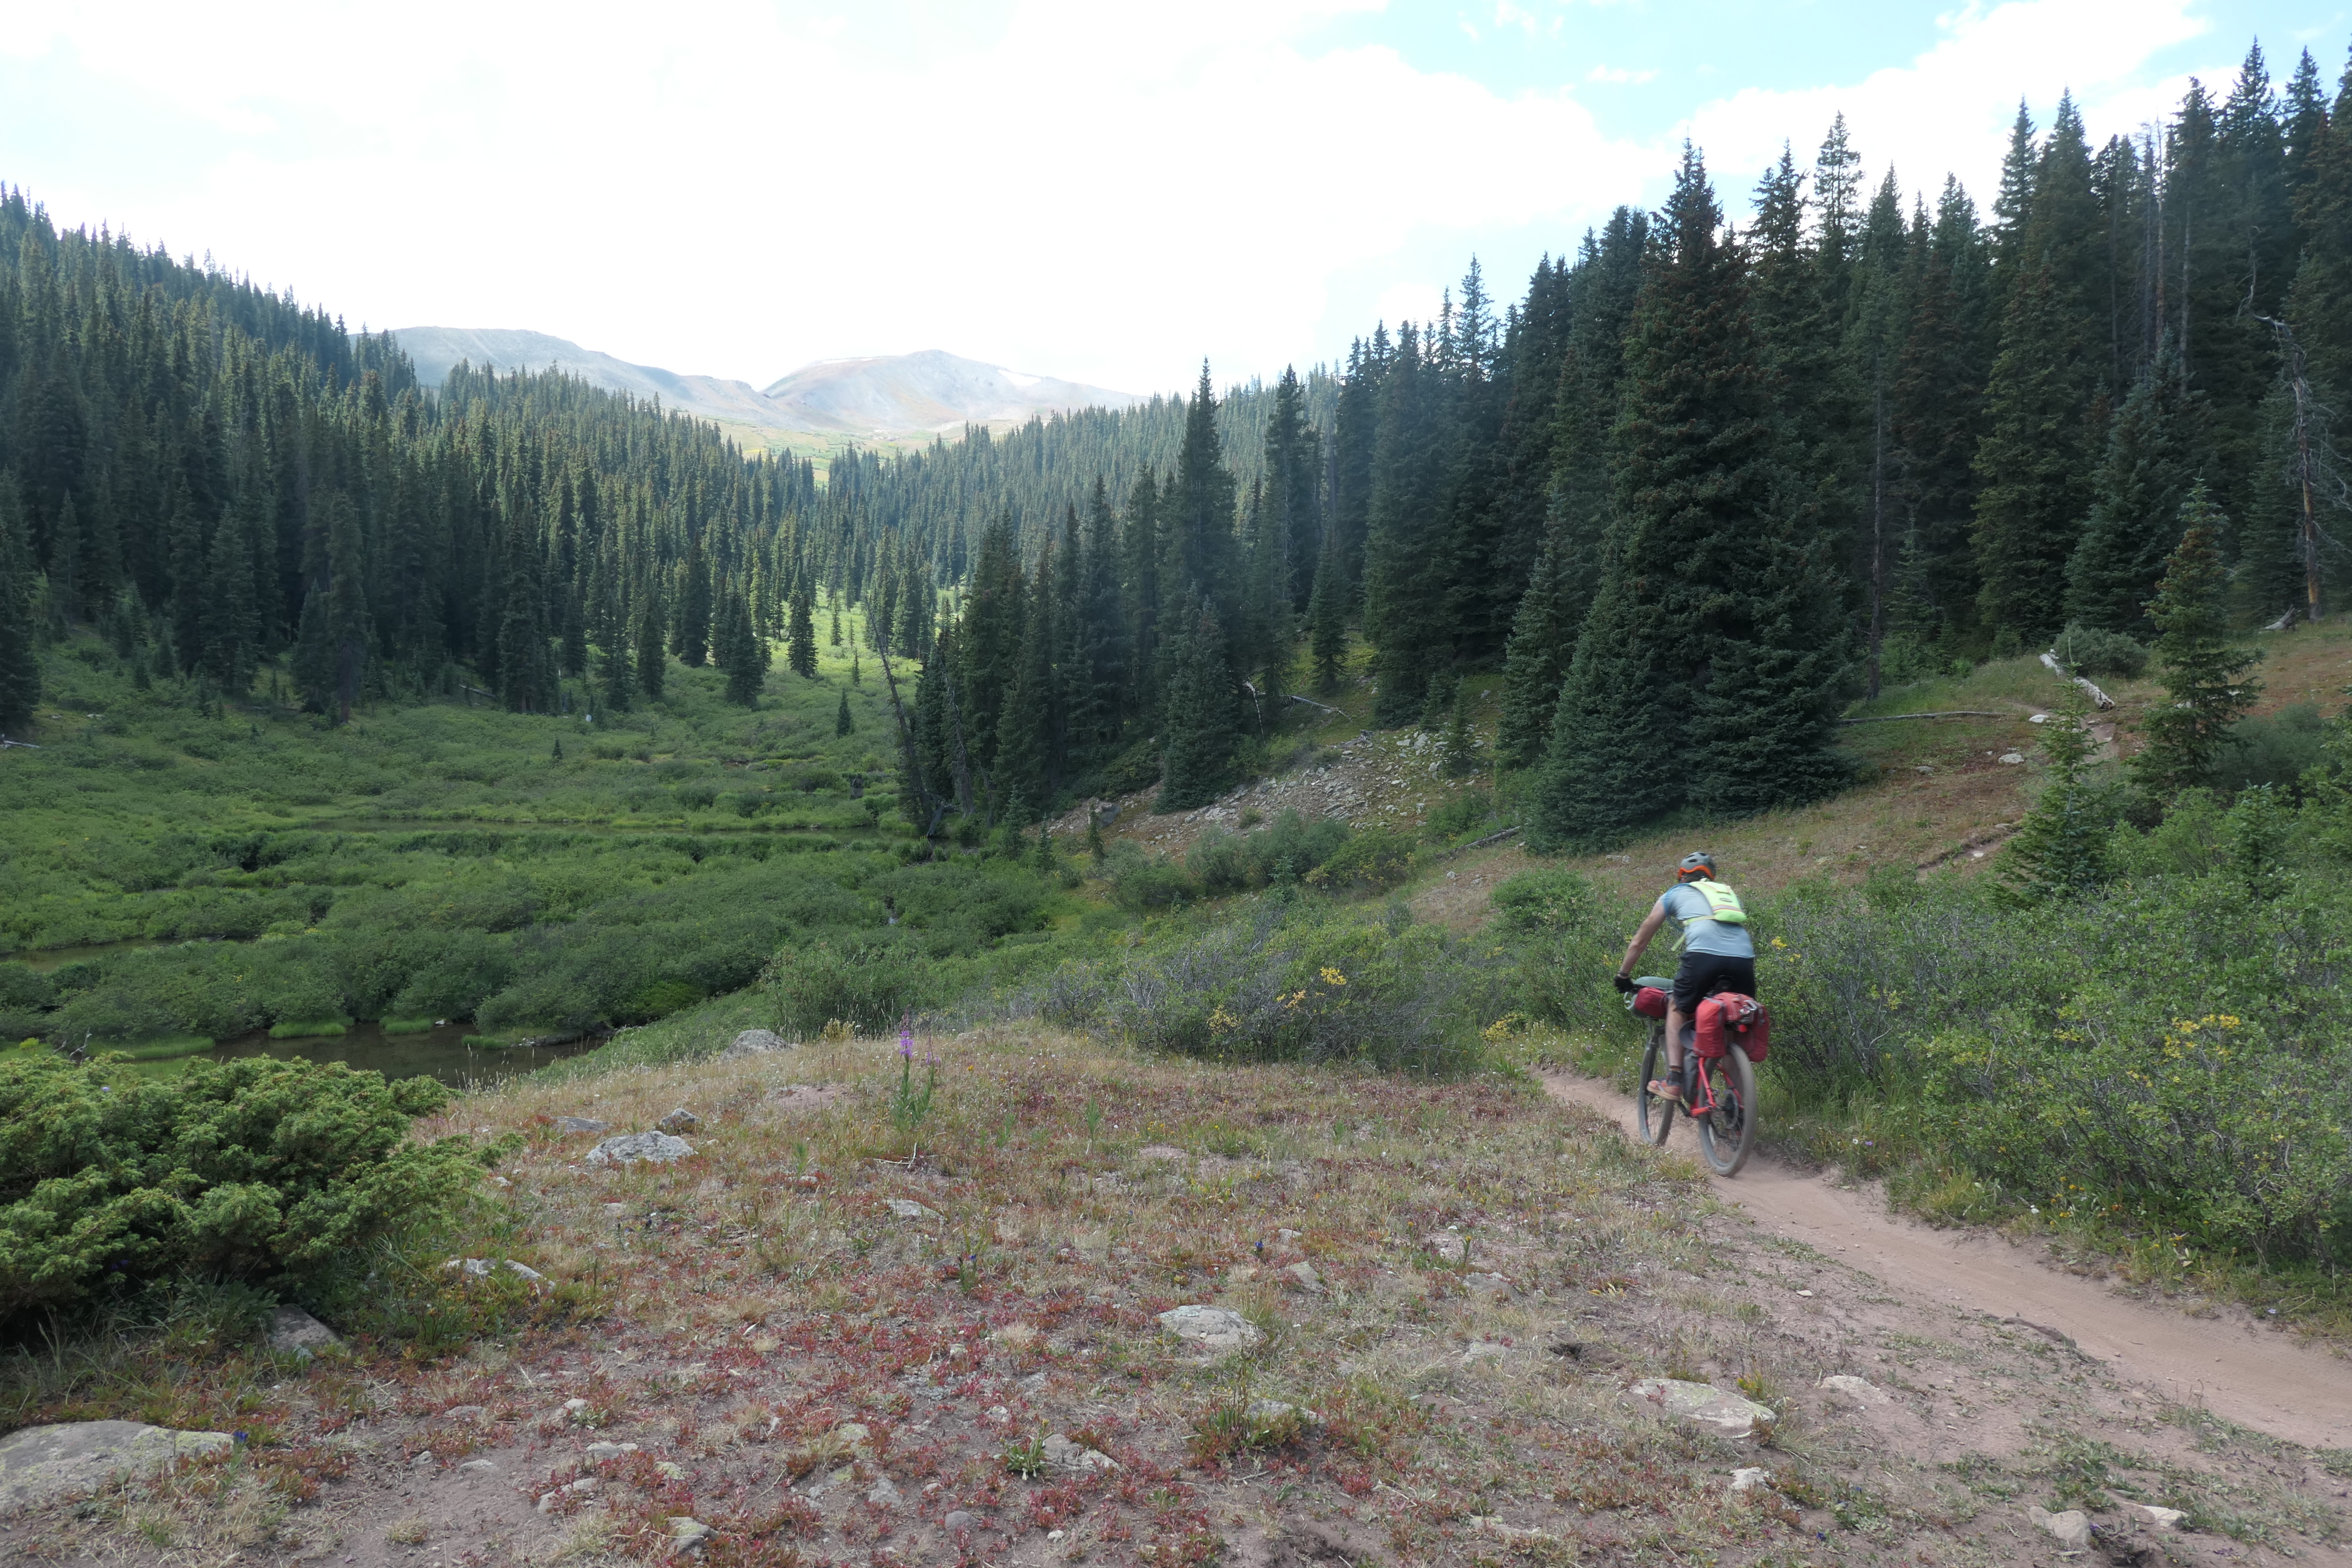
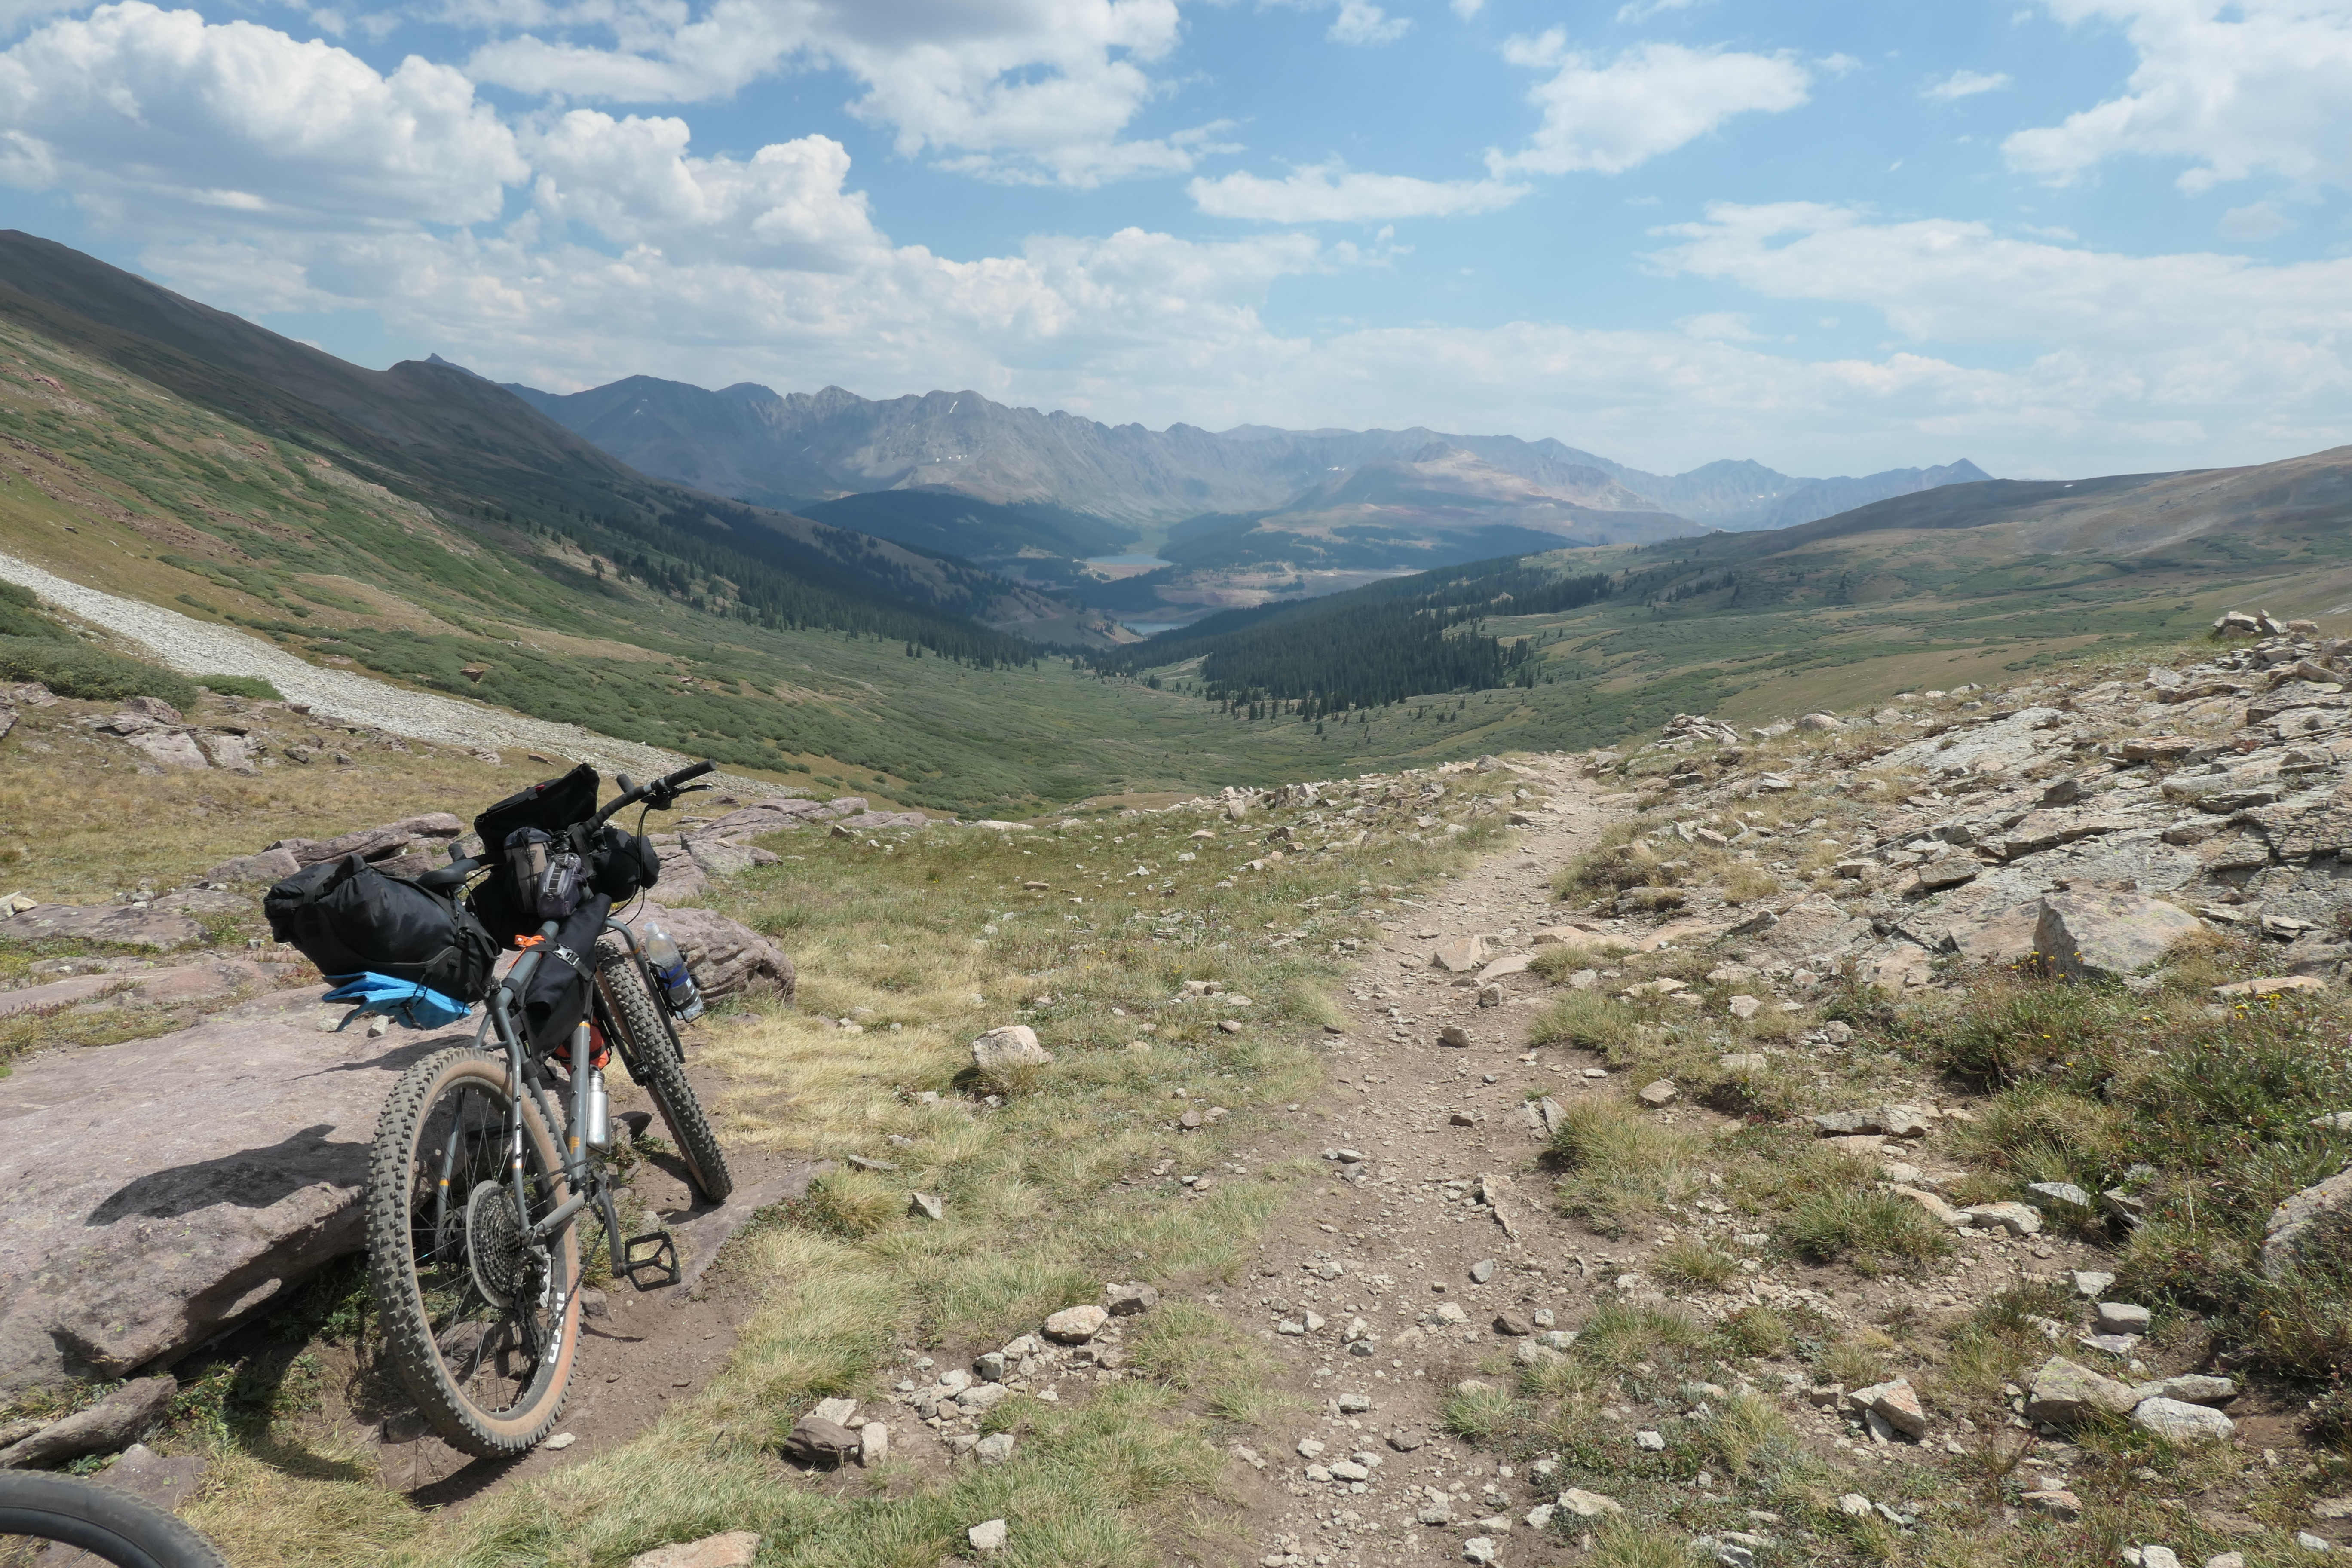
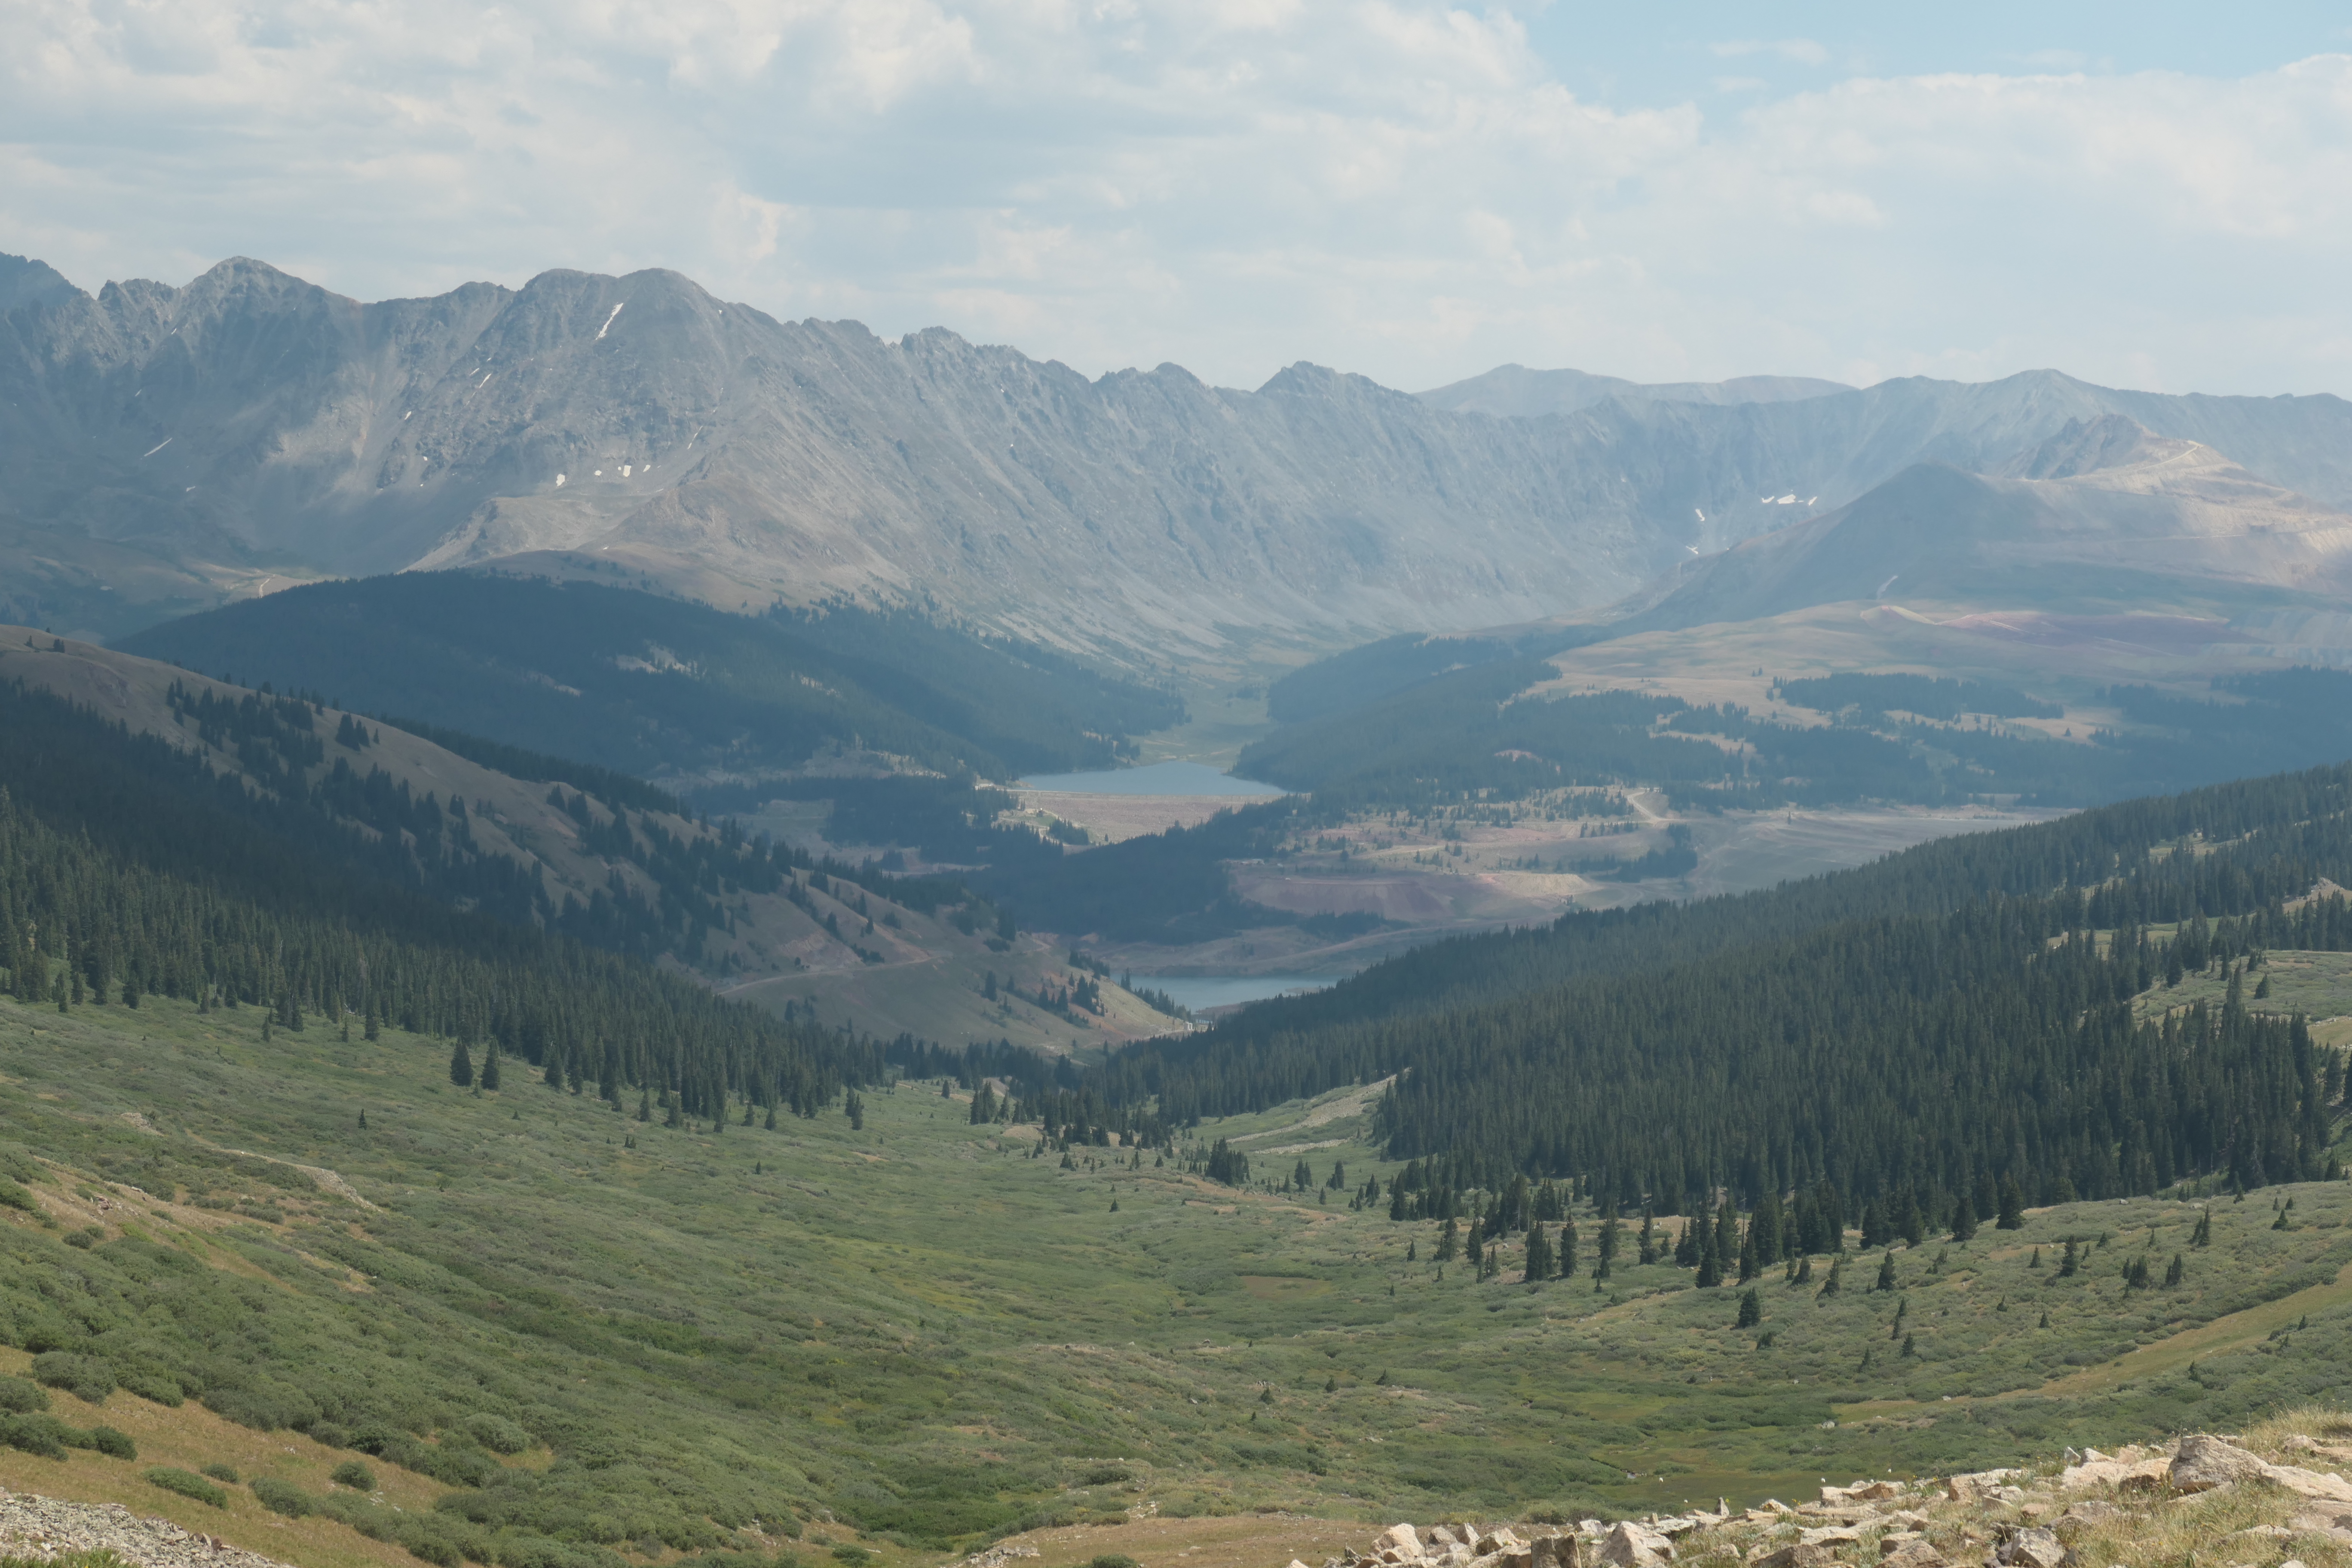
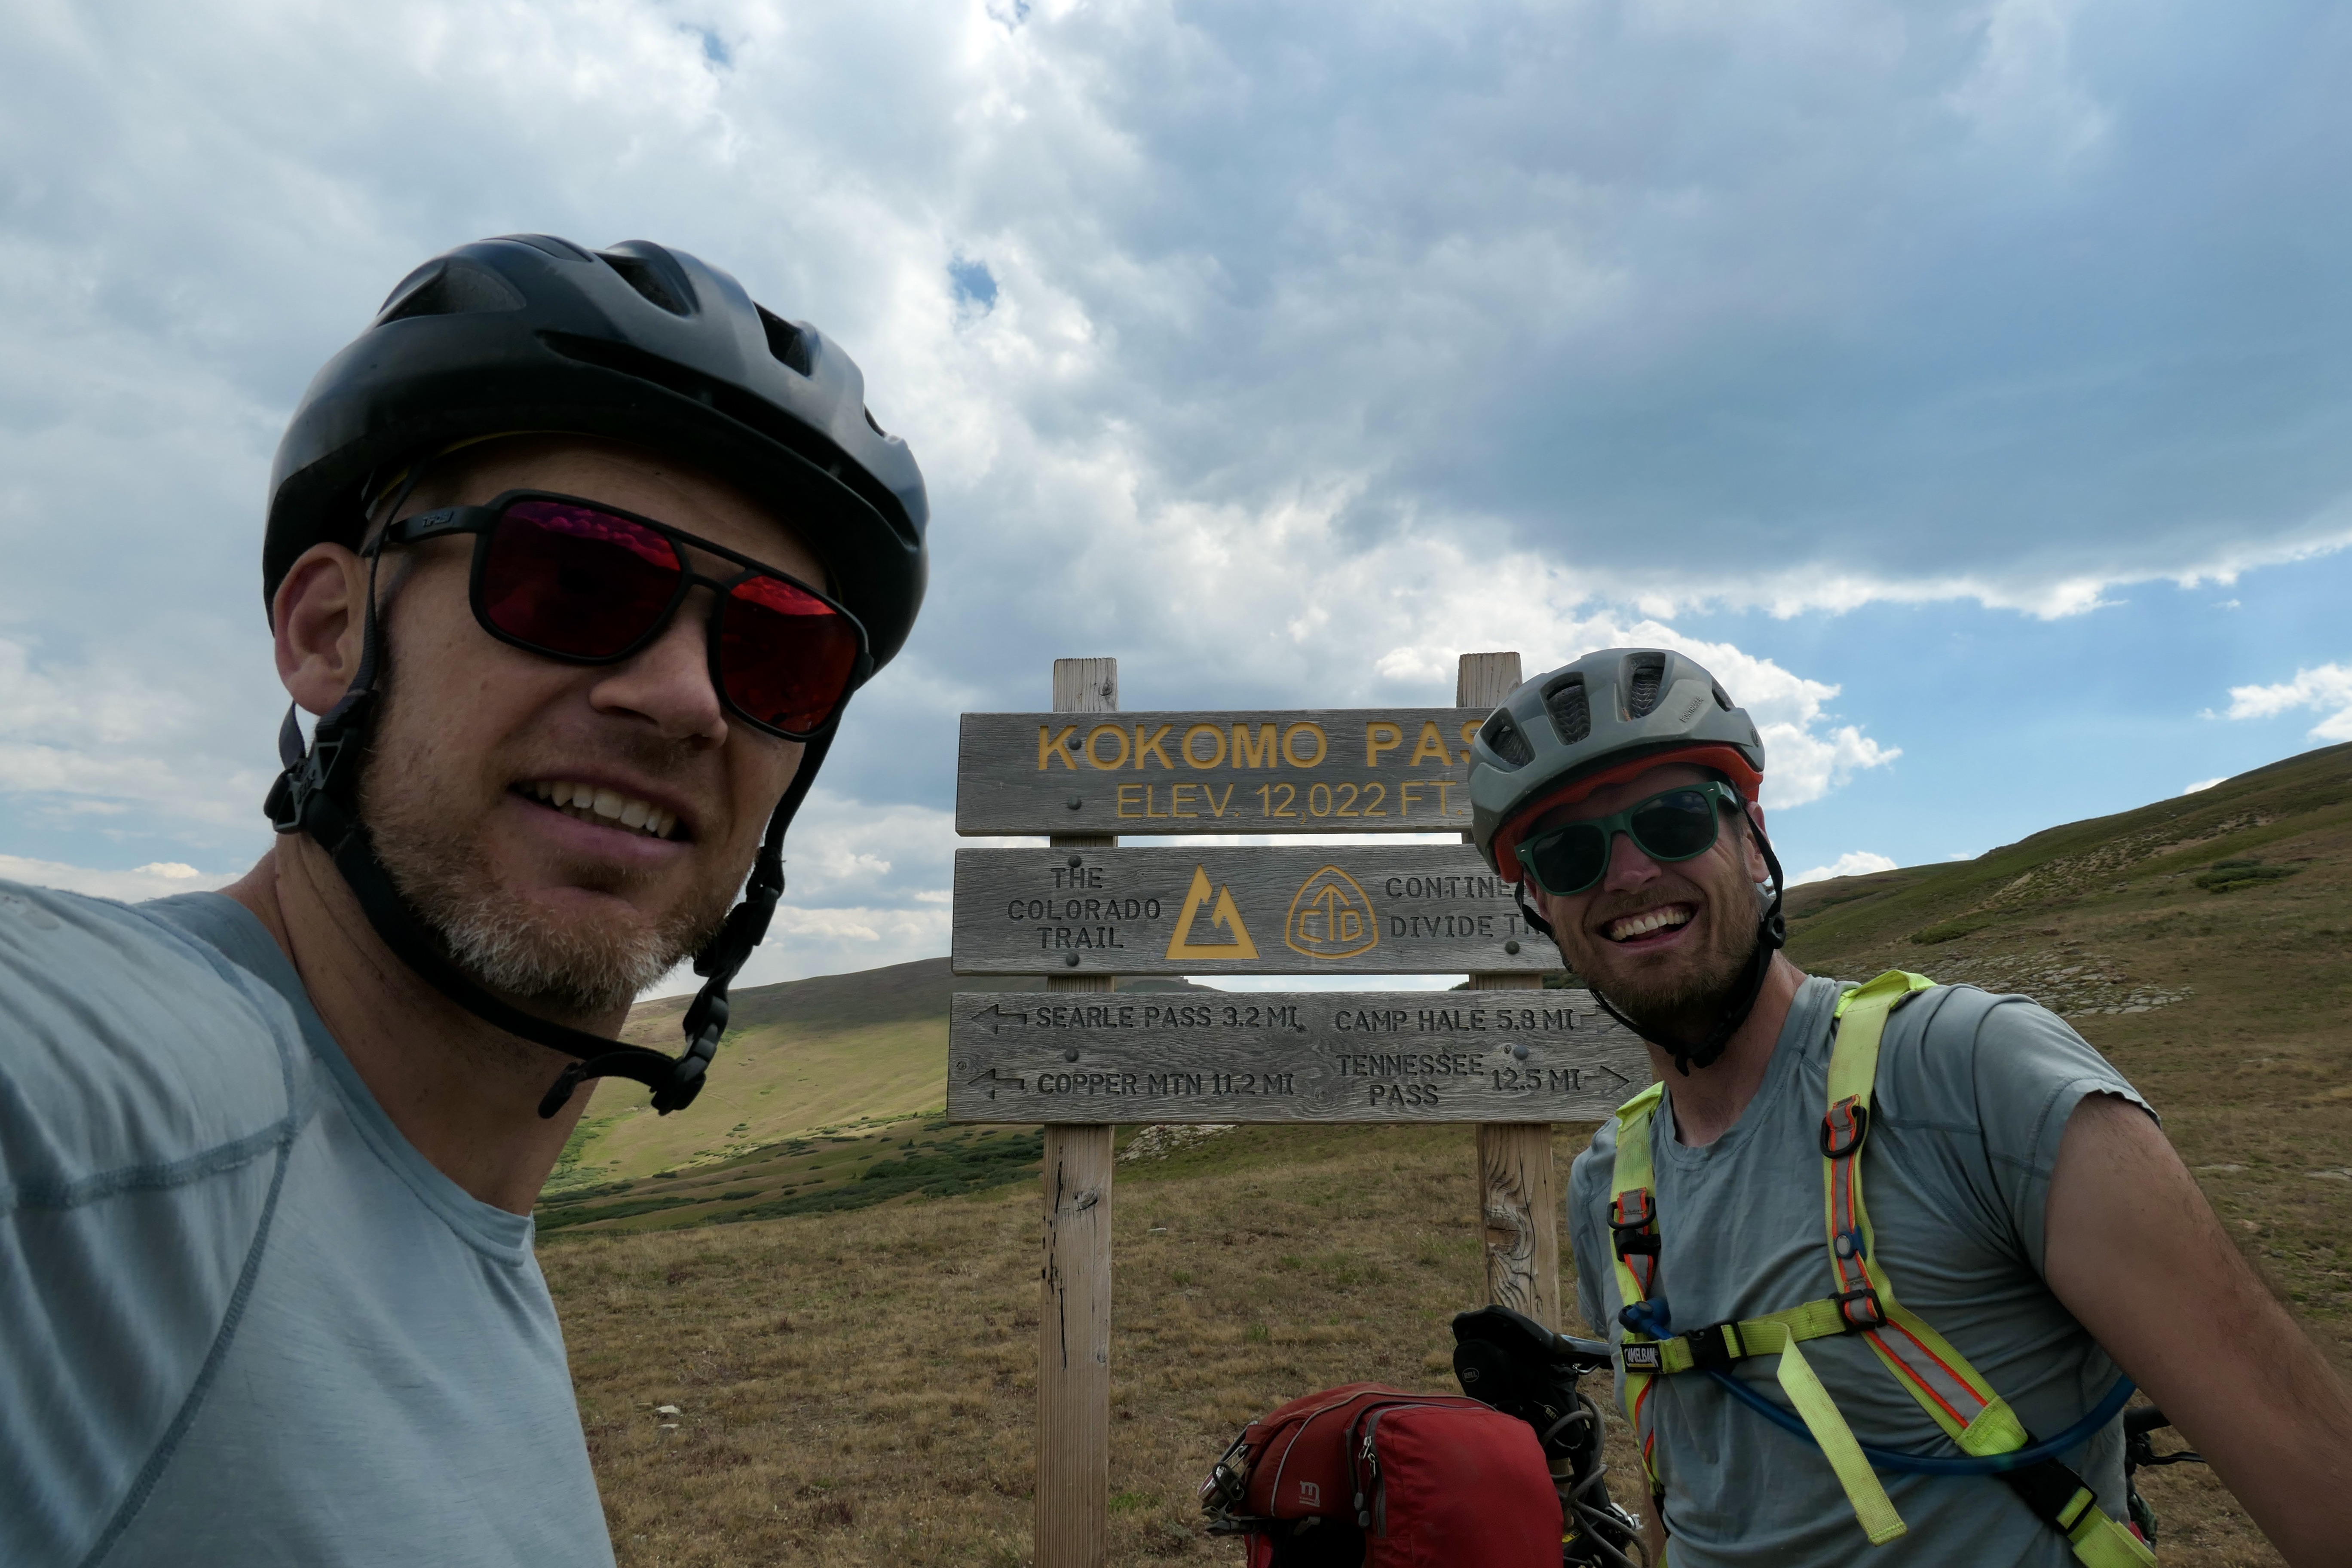
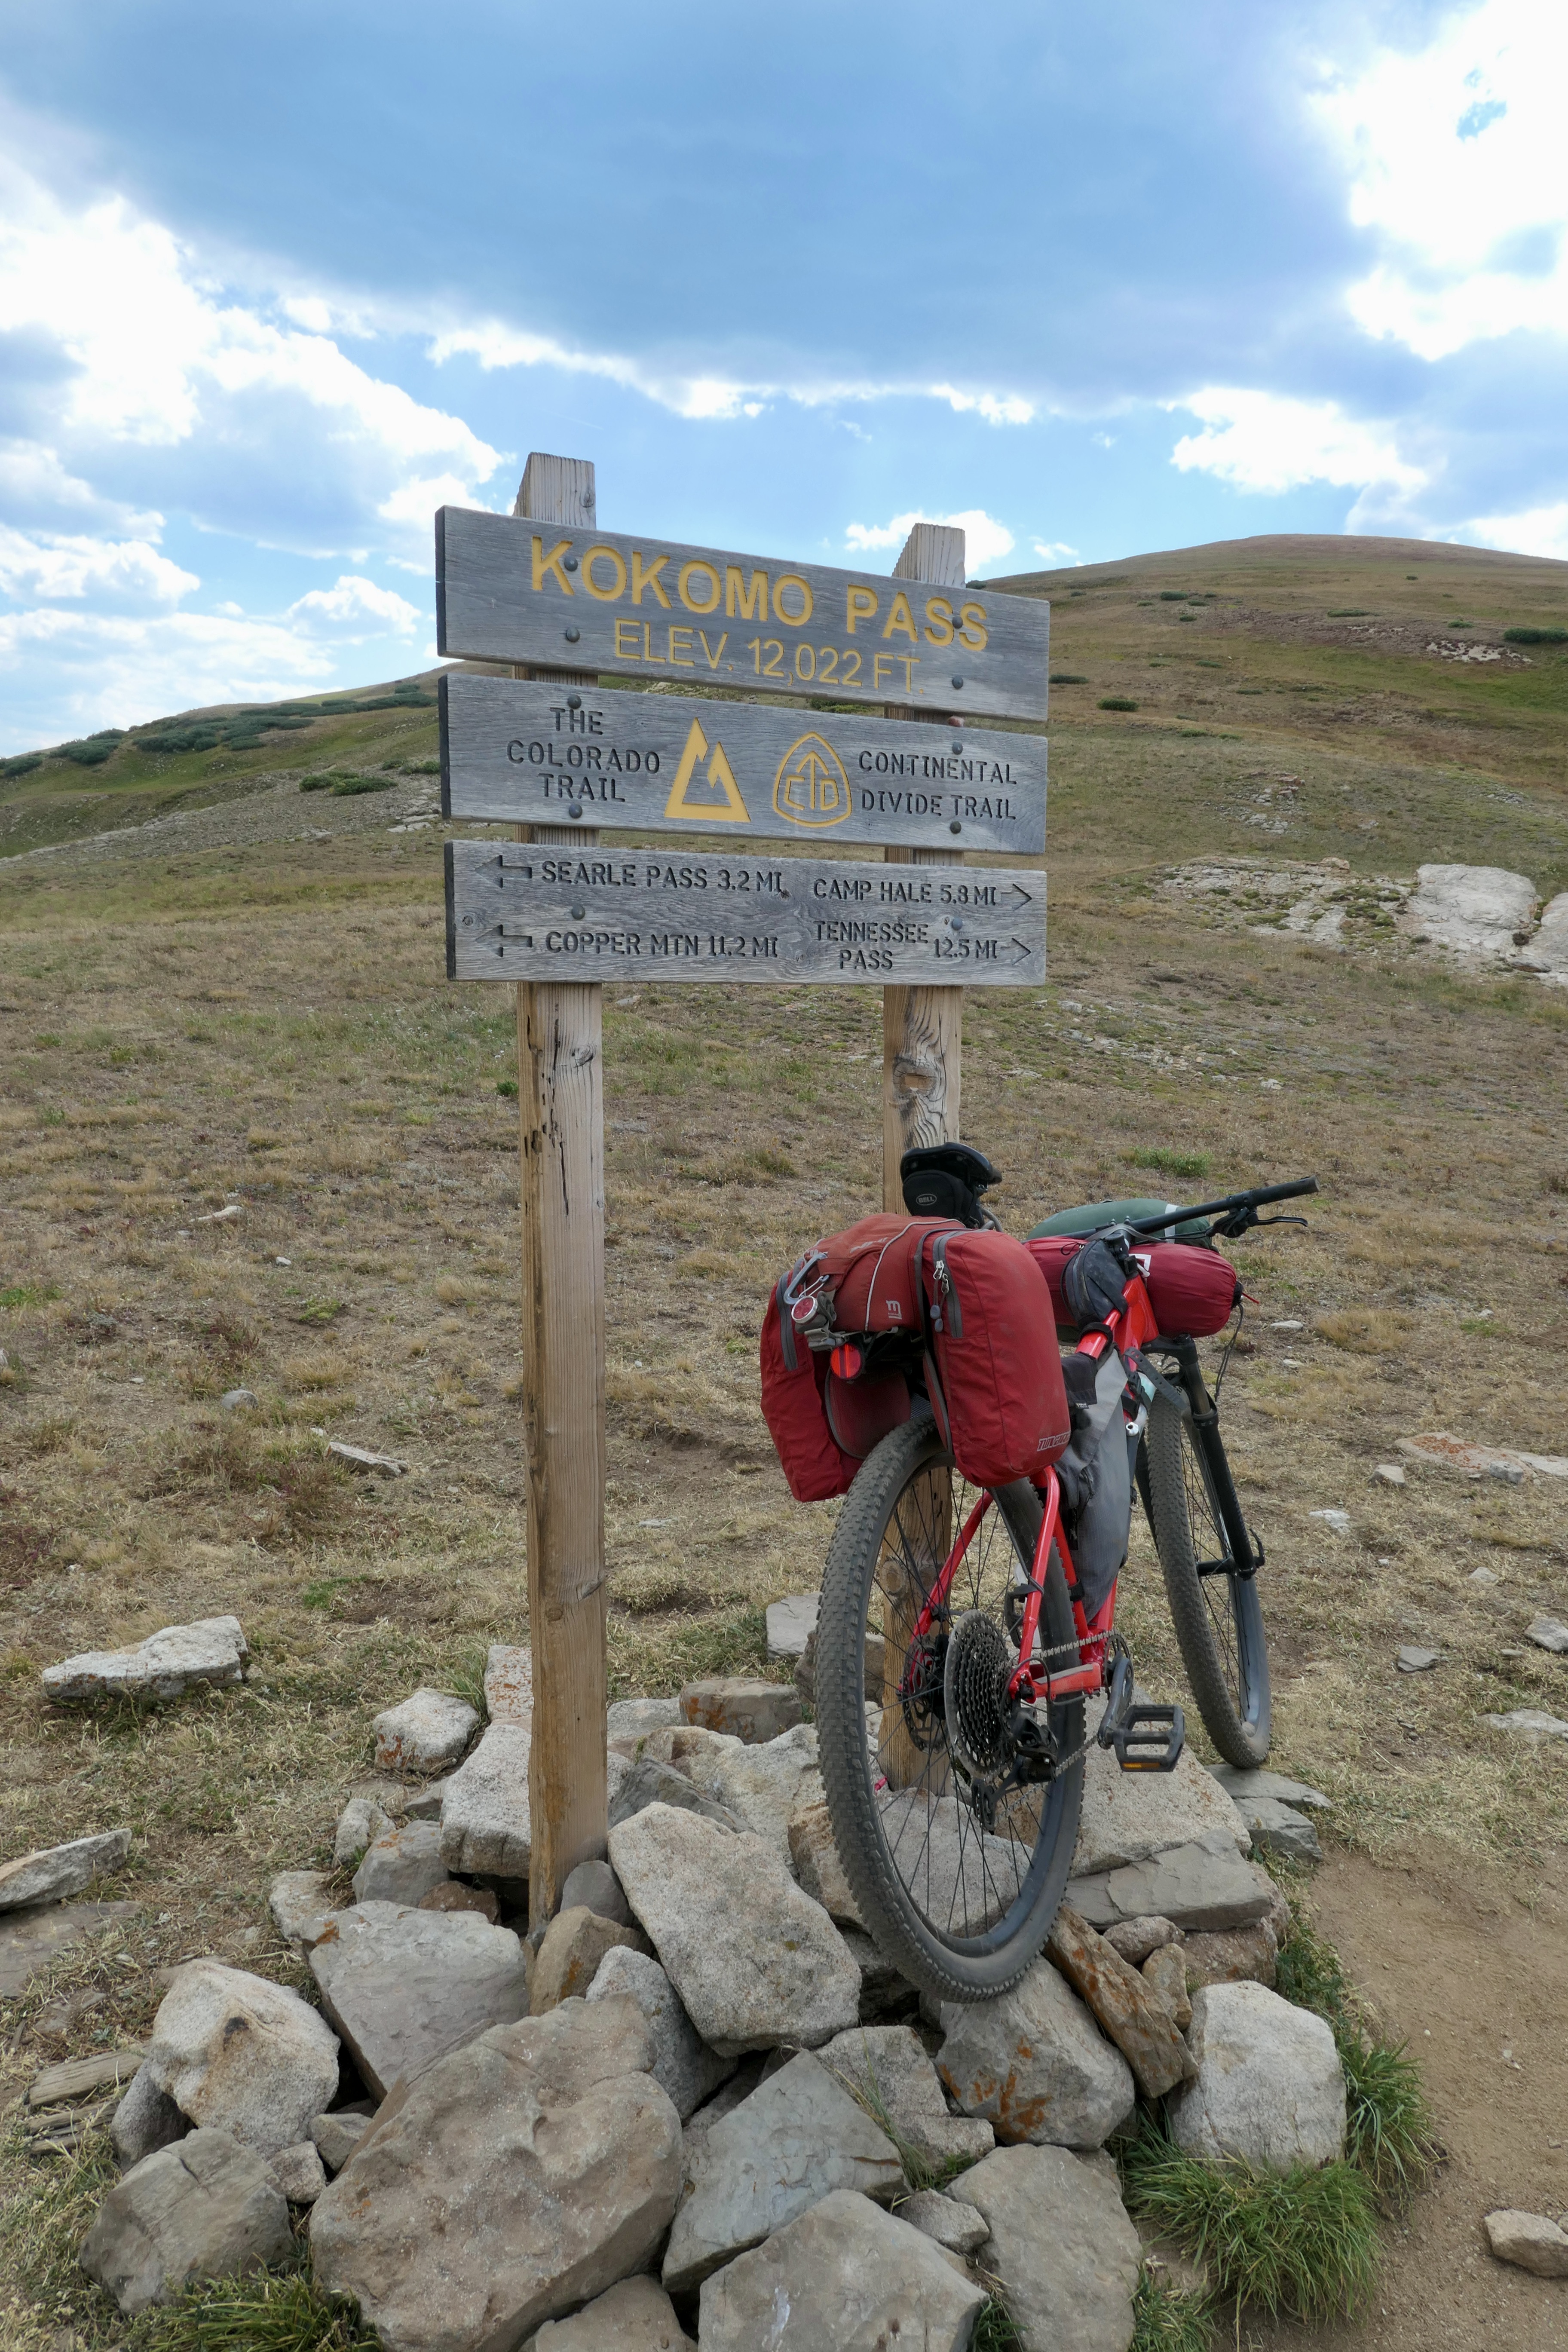
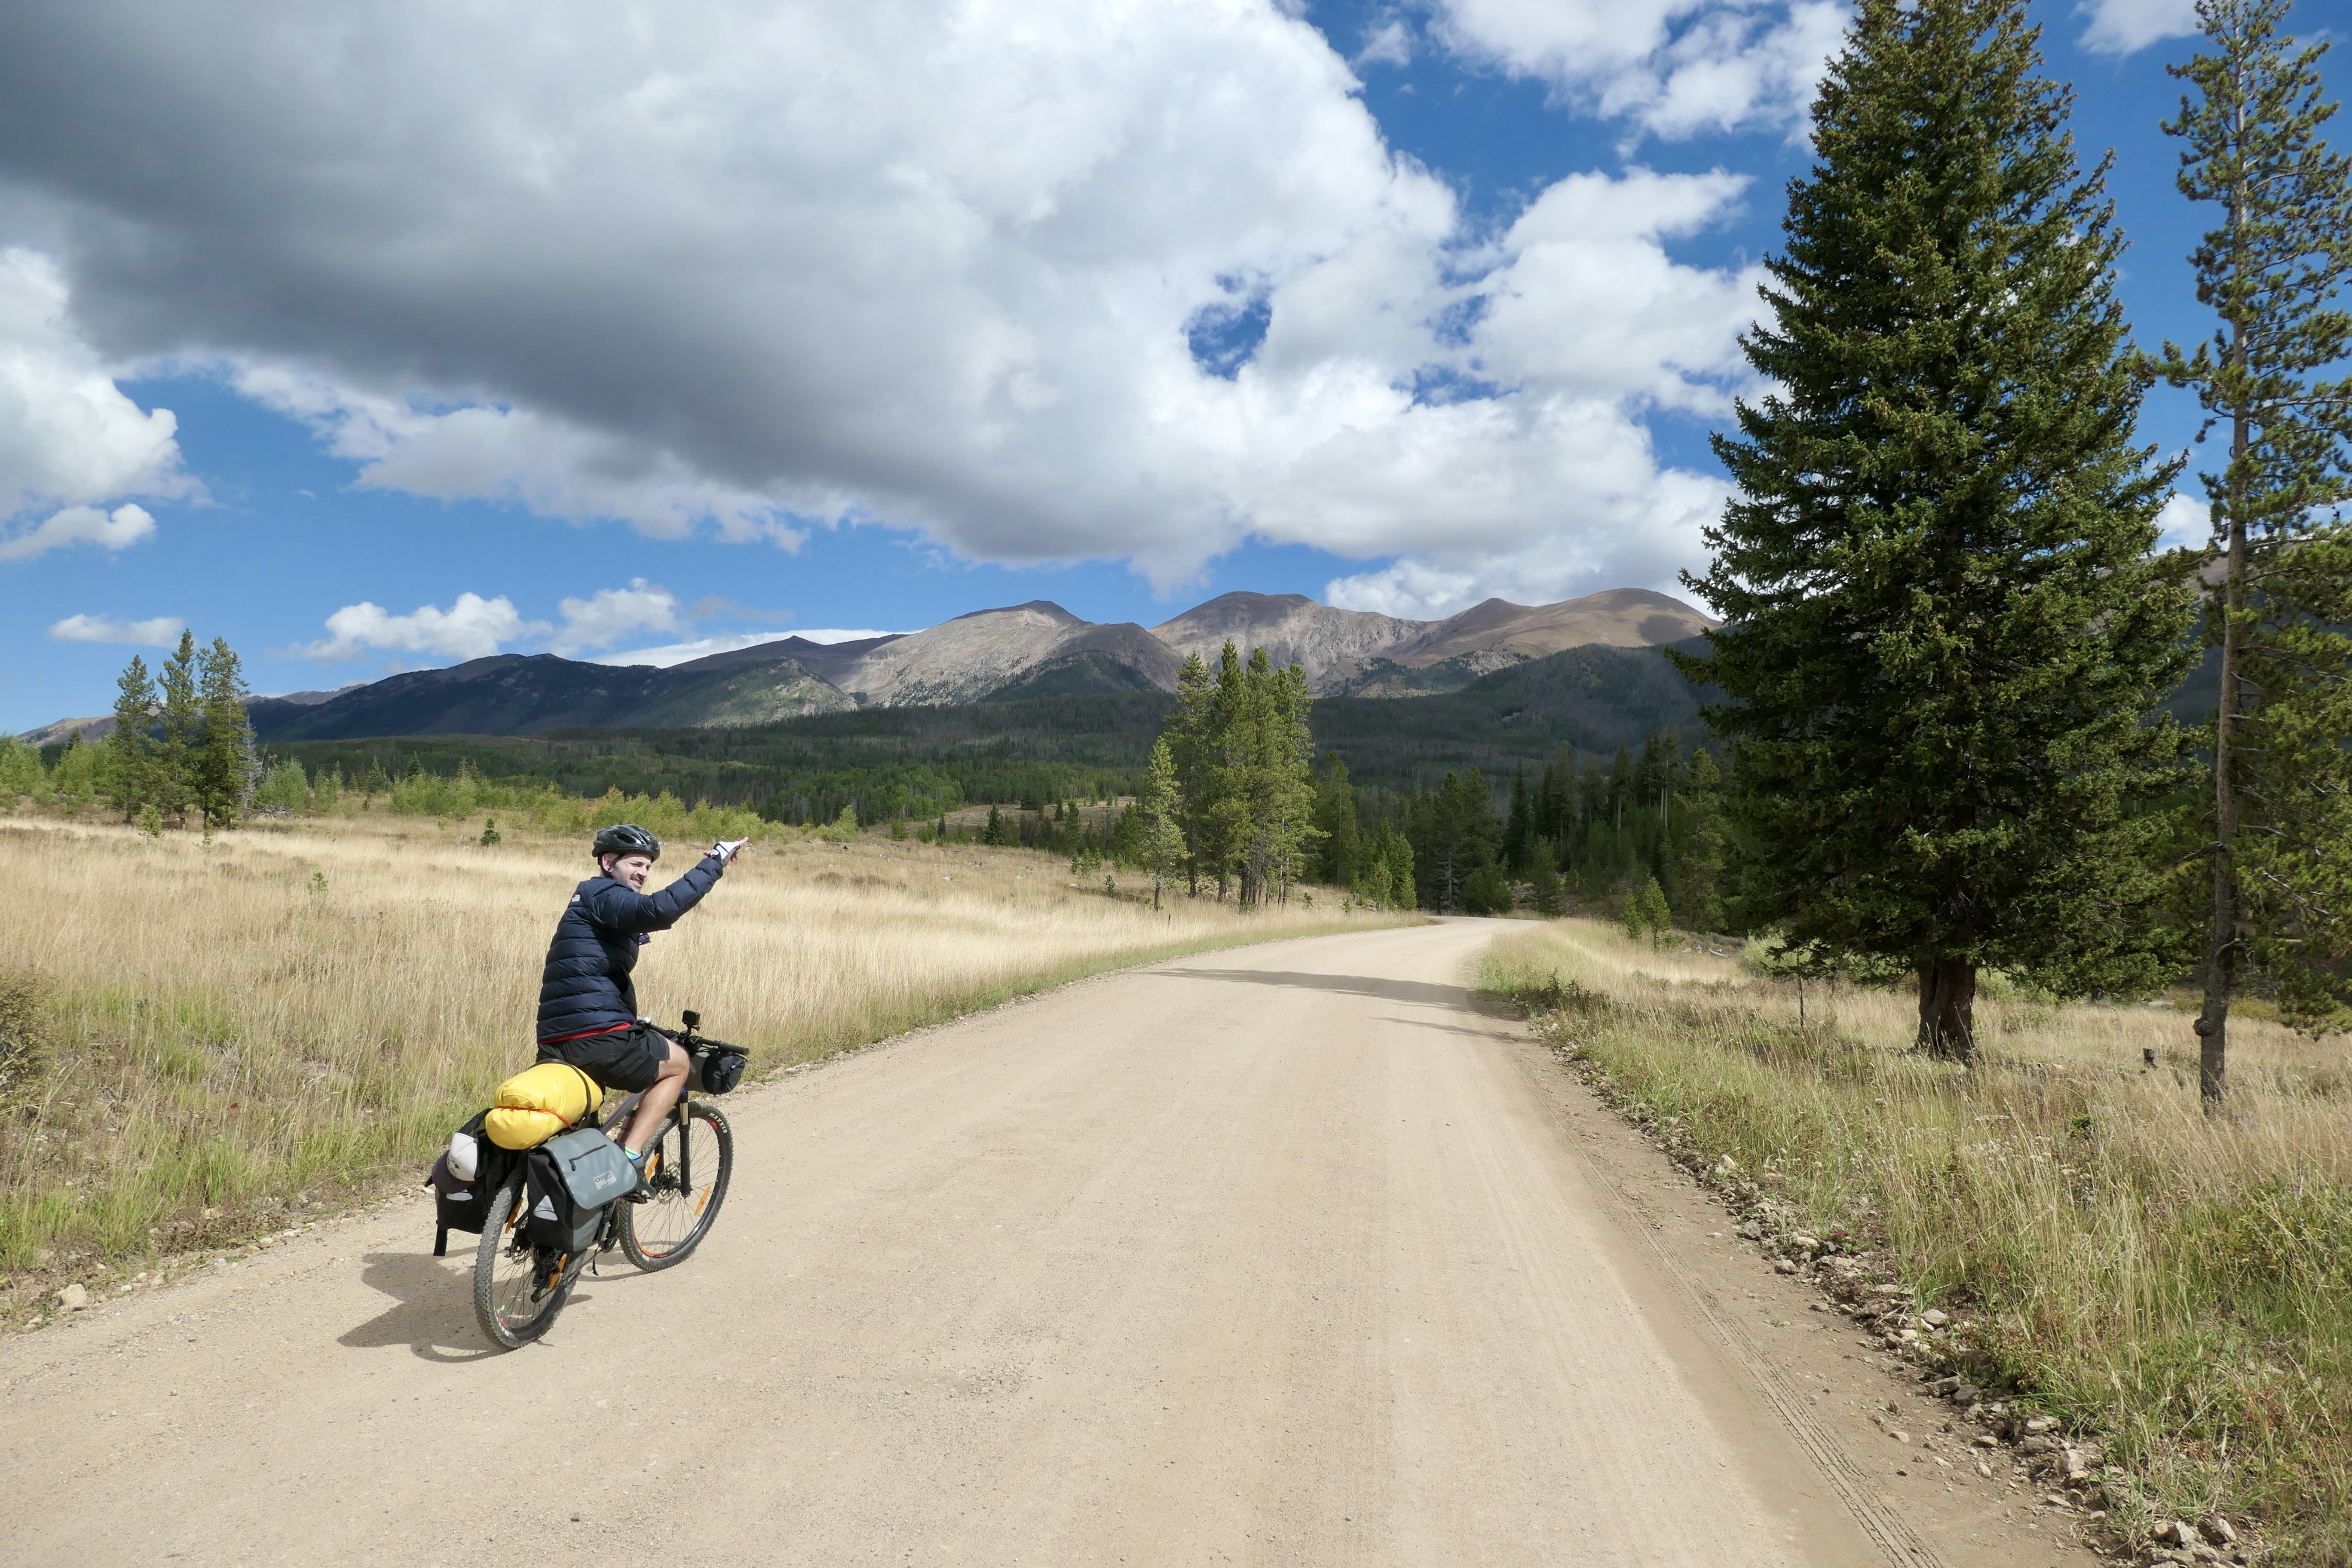
Bikepacking Frisco to Buena Vista via Searle pass and Colorado Trail
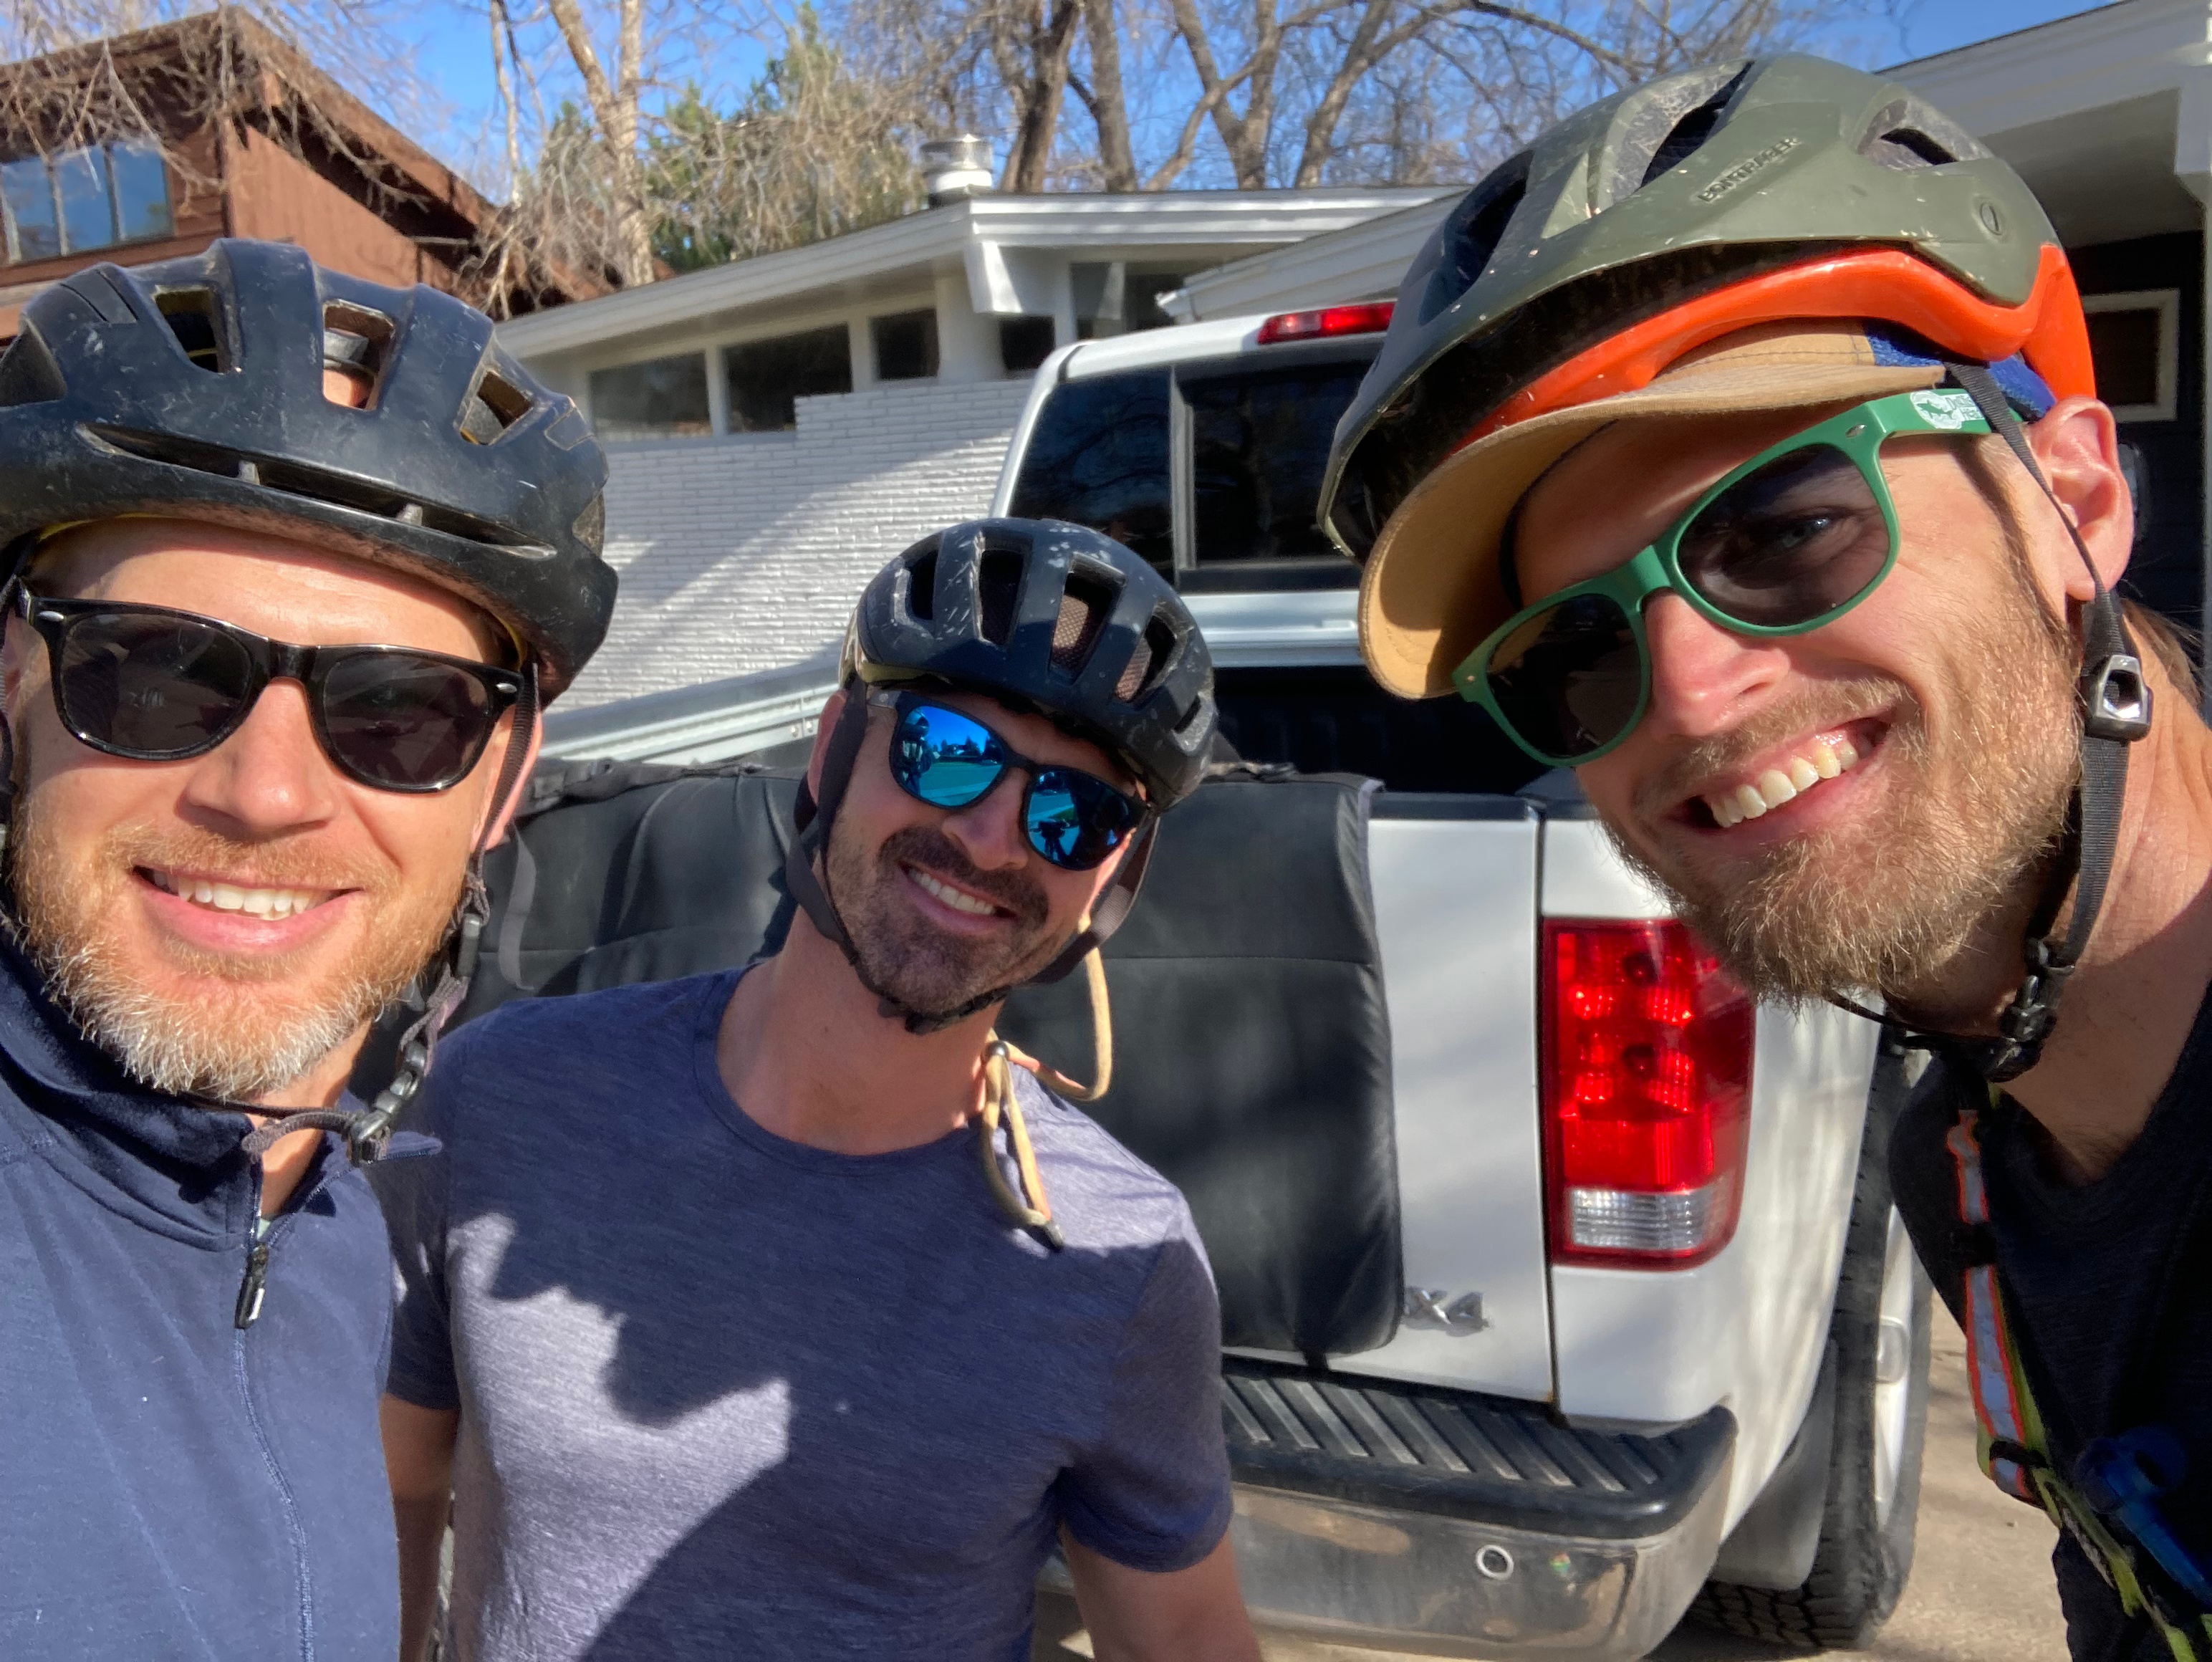
I took the bus to Frisco where I met up with Cam. We rode south to connect with the Colorado Trail going over Searle and Kokomo pass. Then coming down from Kokomo we would have to climb over Tennessee Pass before descending down towards the Leadville and Buena Vista area.
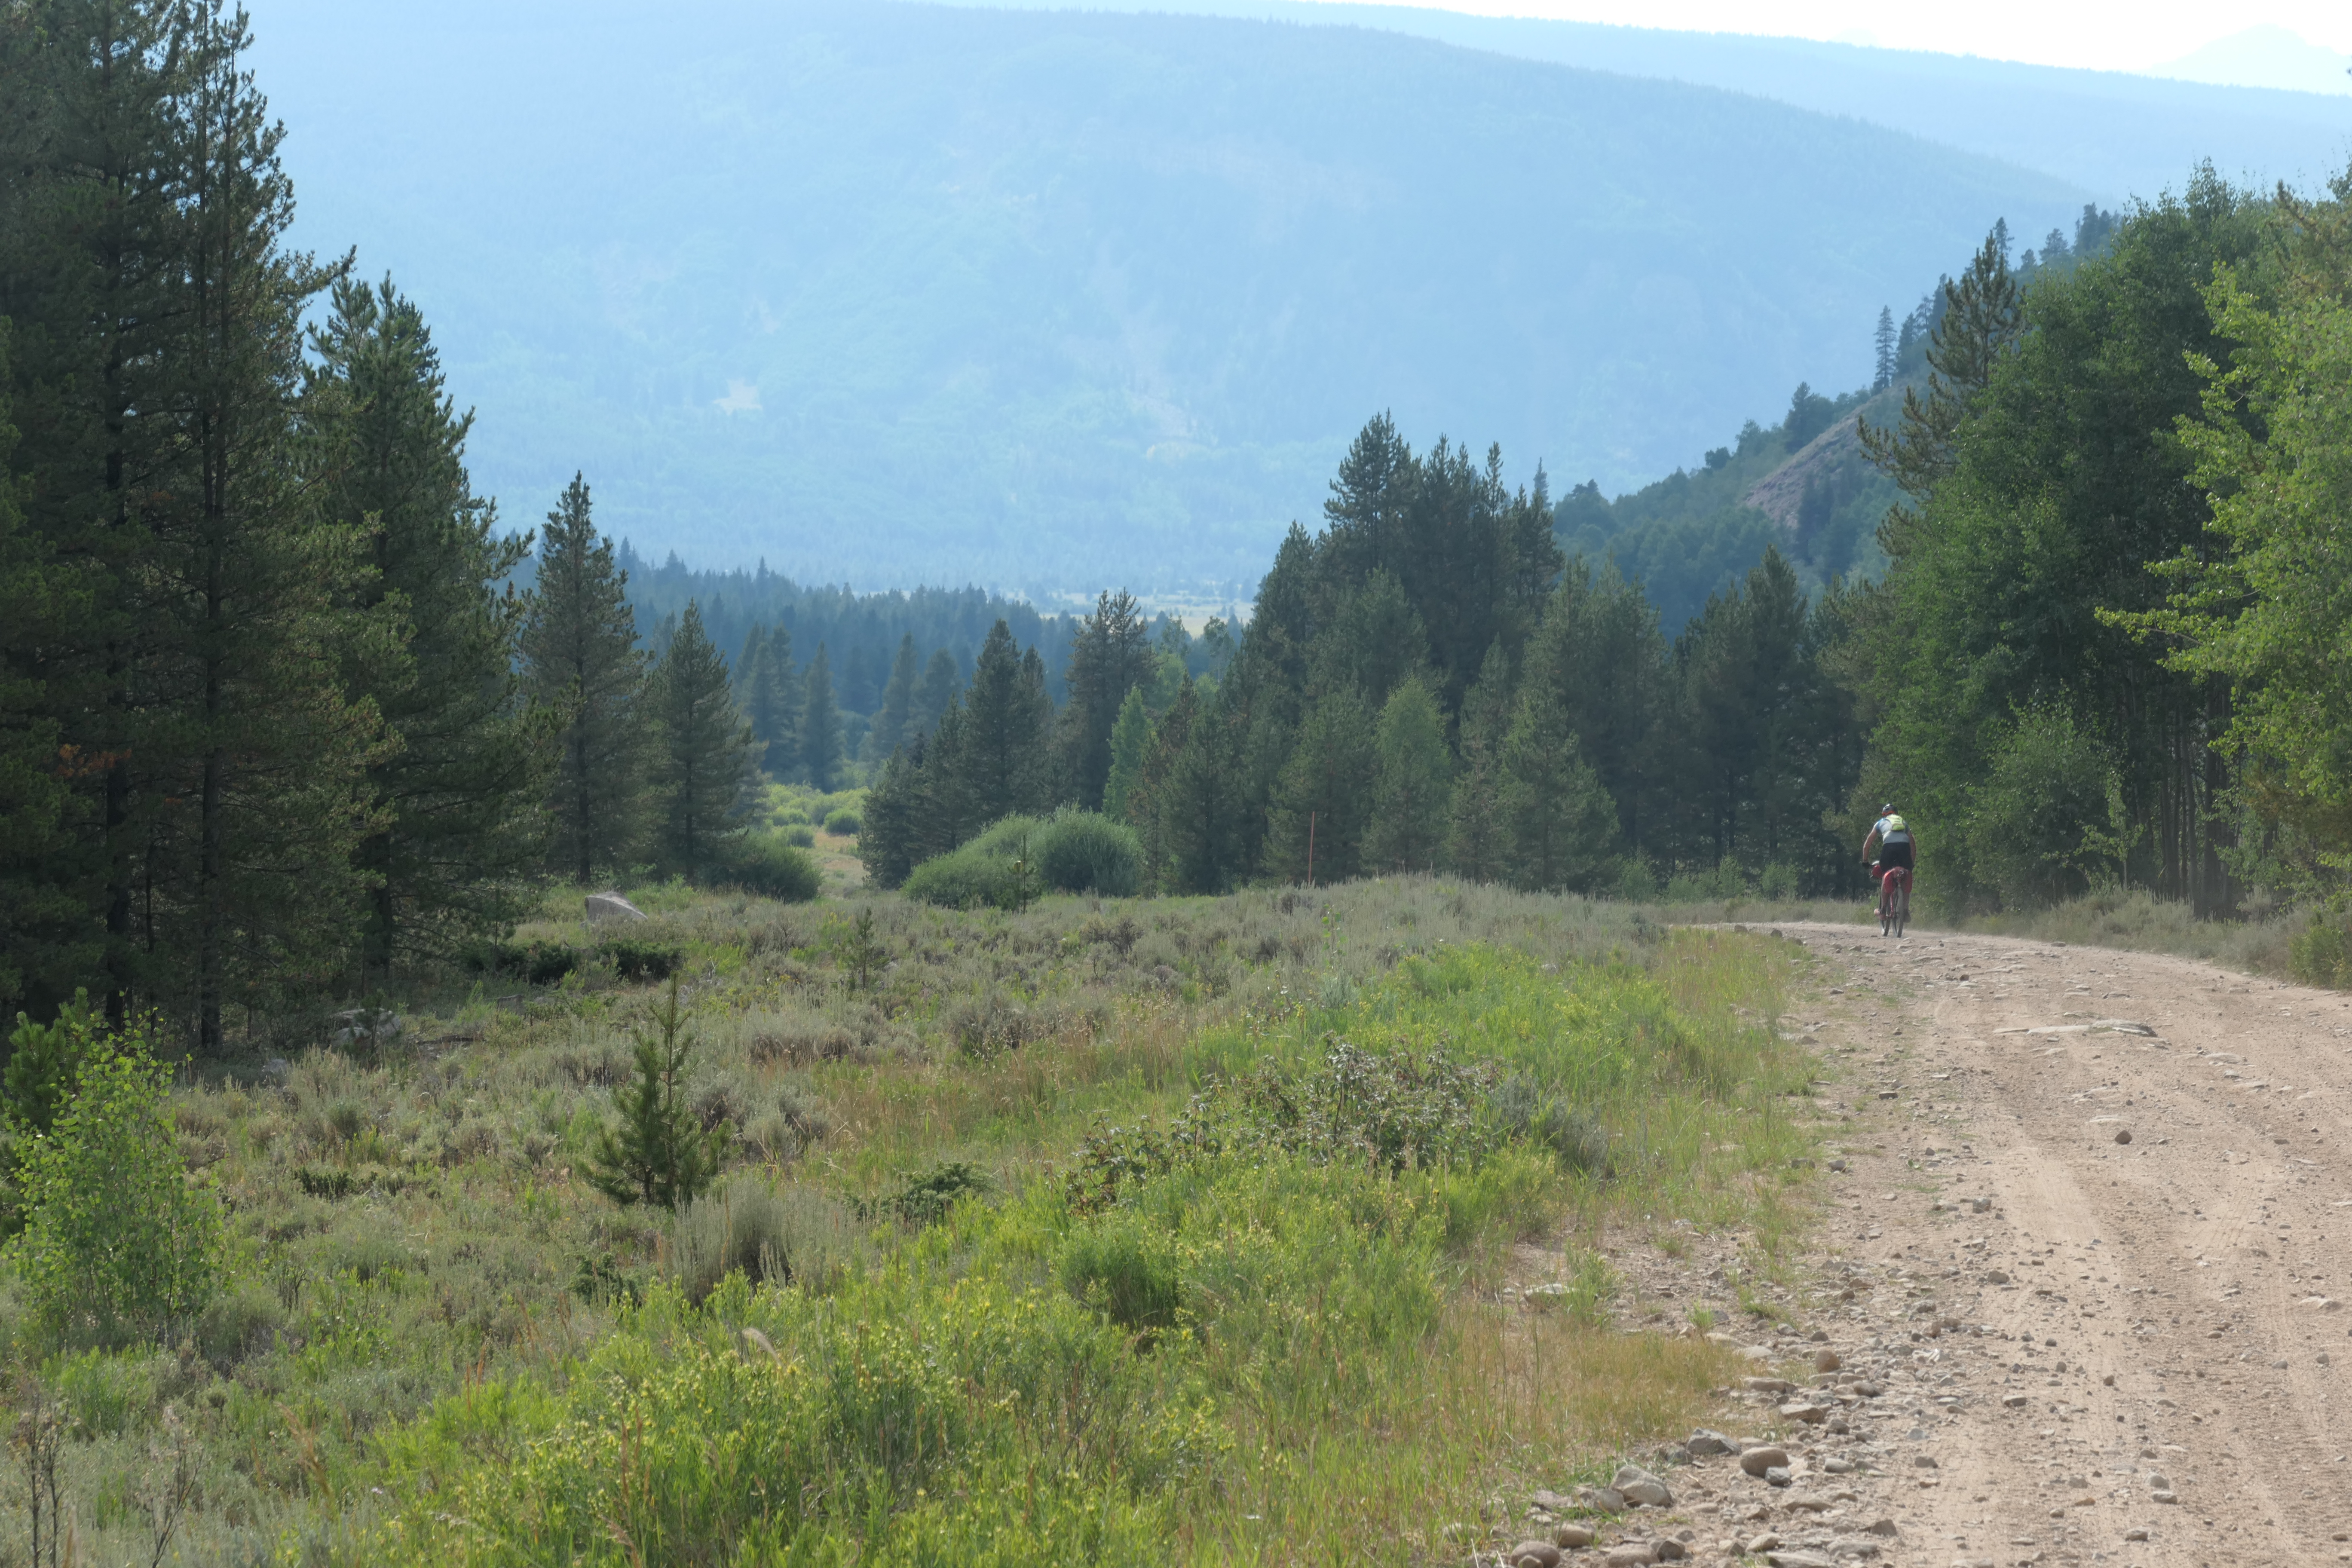
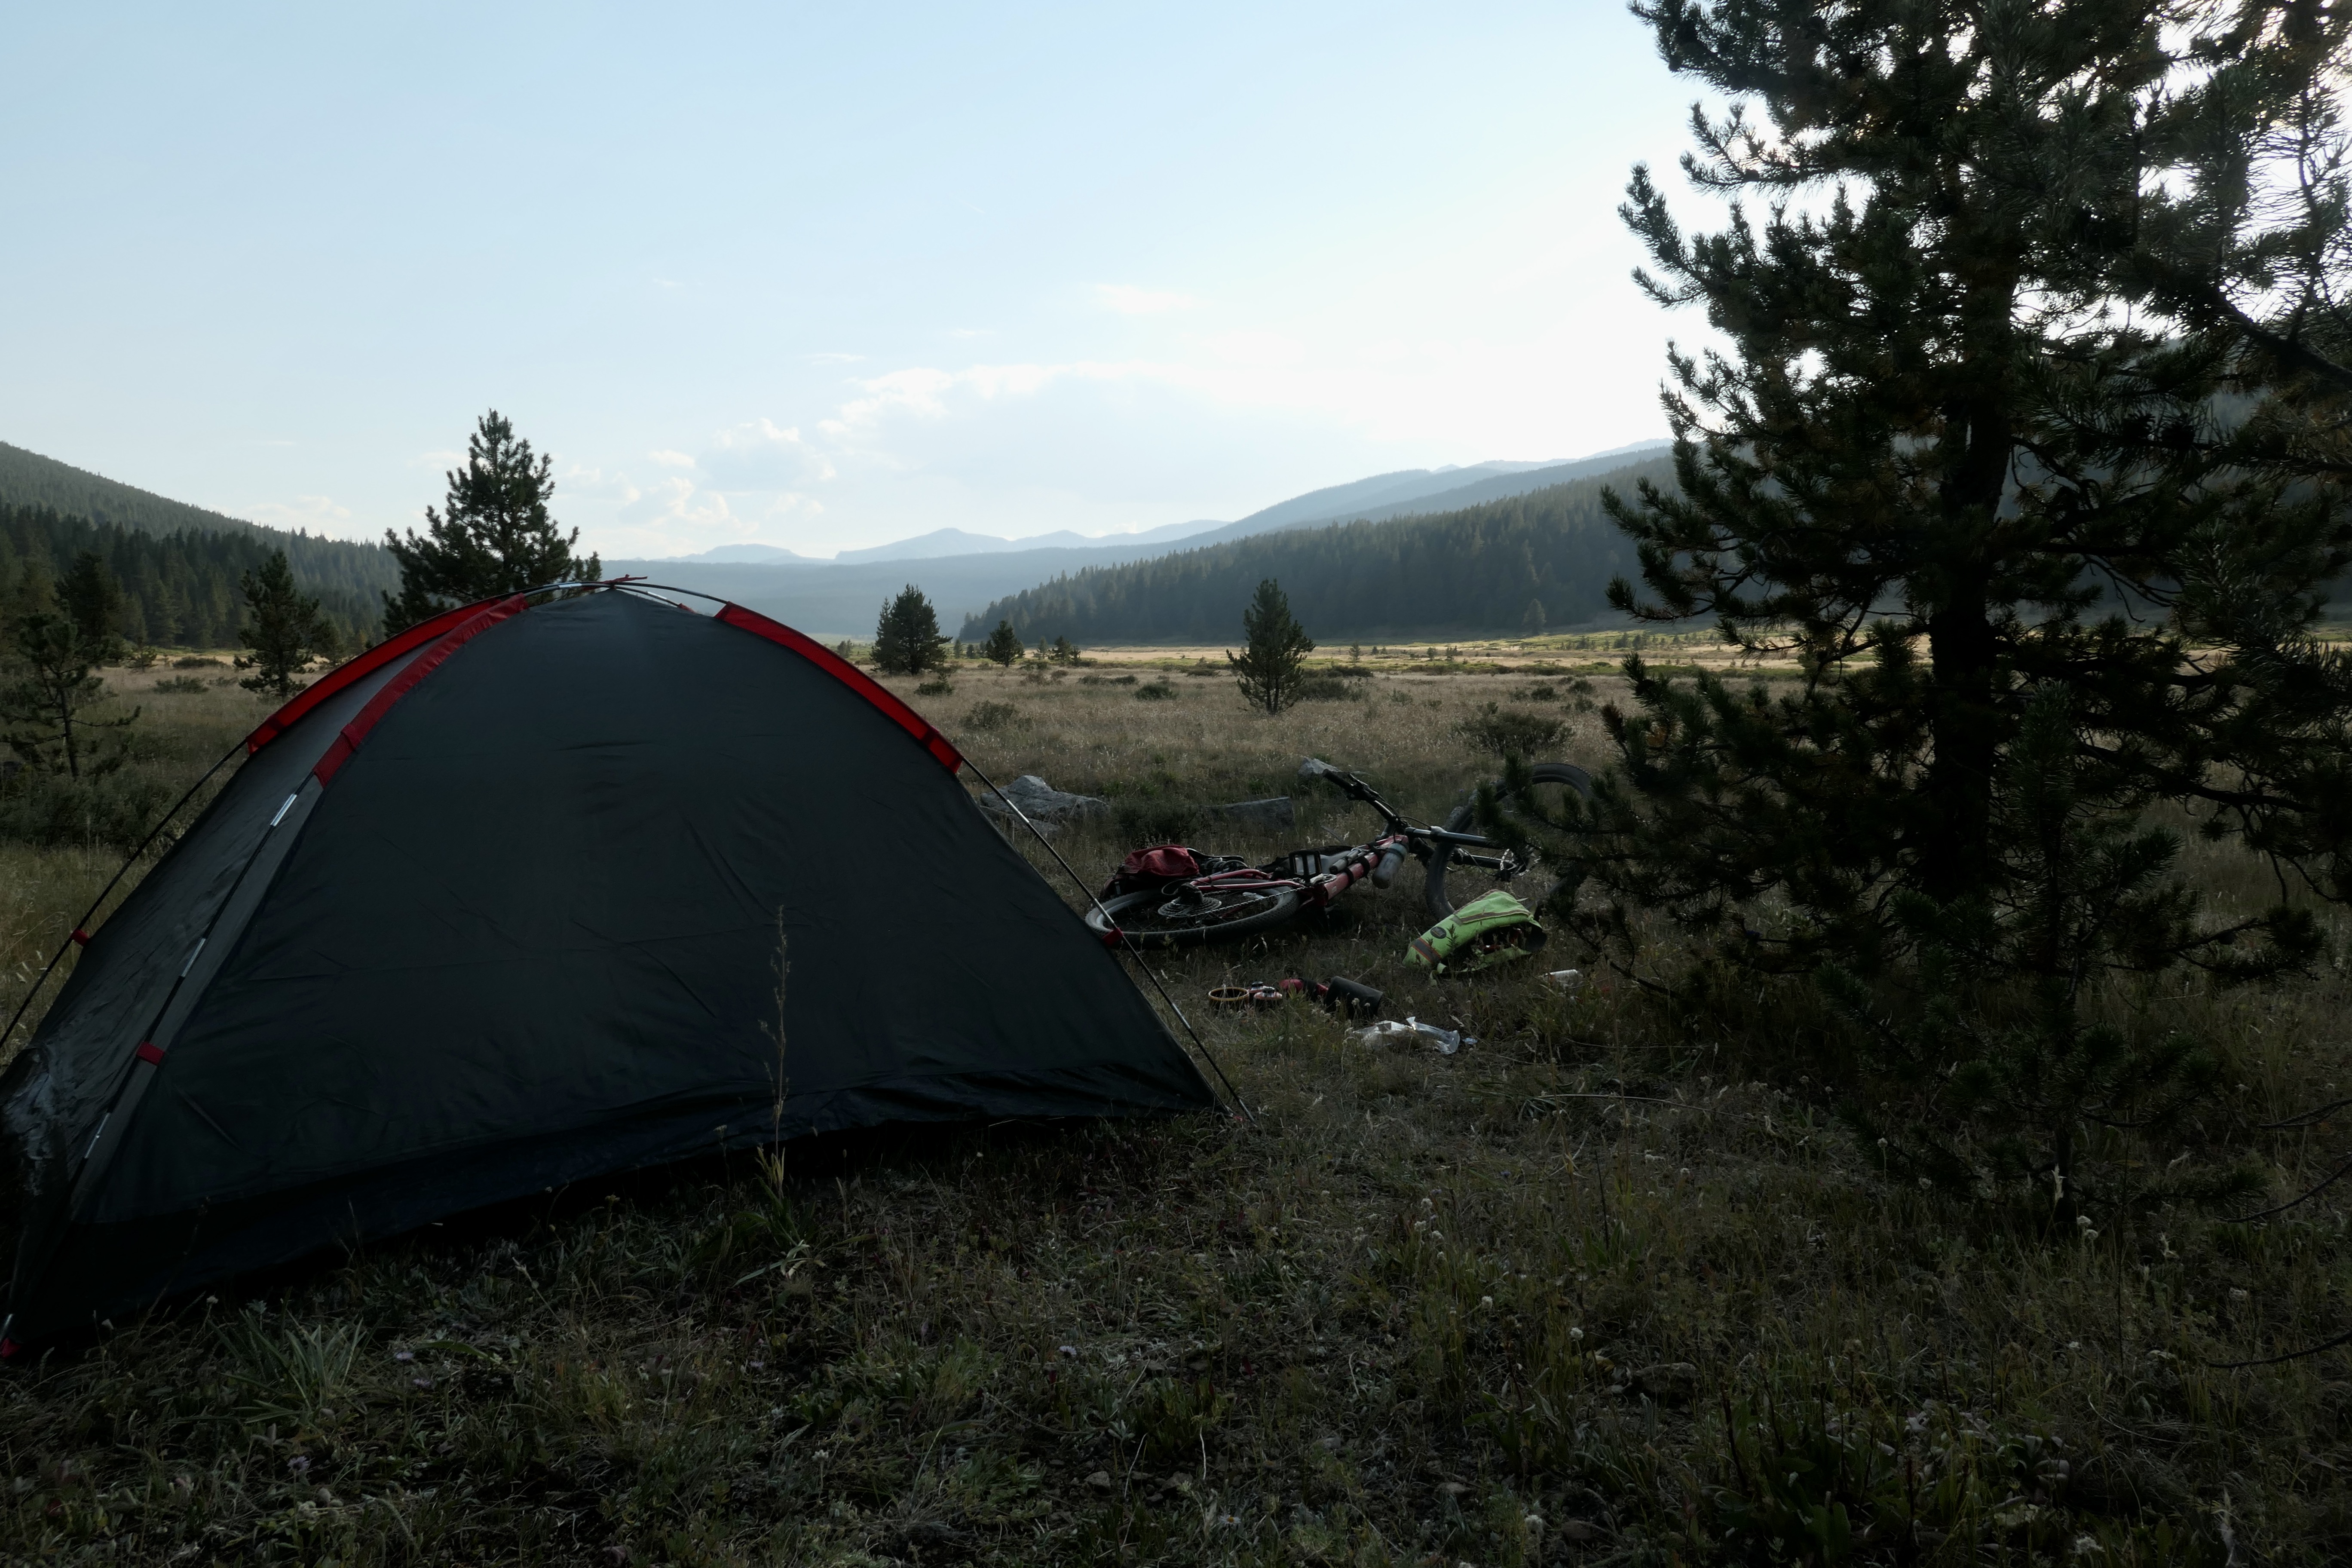
Day 1 was a really tough day. I think I may have taken the price of the heaviest rig to ever cross Searle and Kokomo Pass. My bike on its own is around 35 lbs and on top of that it was fully loaded. So there was a lot of hike-a-bike once we got closer to the pass. The Colorado Trail Race was going on at the same time so we met a few of the guys going in opposite direction. We saw the 2nd place finisher at the top of Searle Pass. He was definitely packing lighter than us! Anyway, this was also a really beautiful ride and the downhill from Kokomo Pass was super fun! Once we came closer to Tennessee Pass we were hammered. So, we found a really nice place to pitch the tents off of the trail. Day 2 was also a really nice ride mostly downhill to Buena Vista, where we camped just north of town before heading home with the bus on day 3. We didn’t follow the CT on day 2, but it is definitely possible to do so.
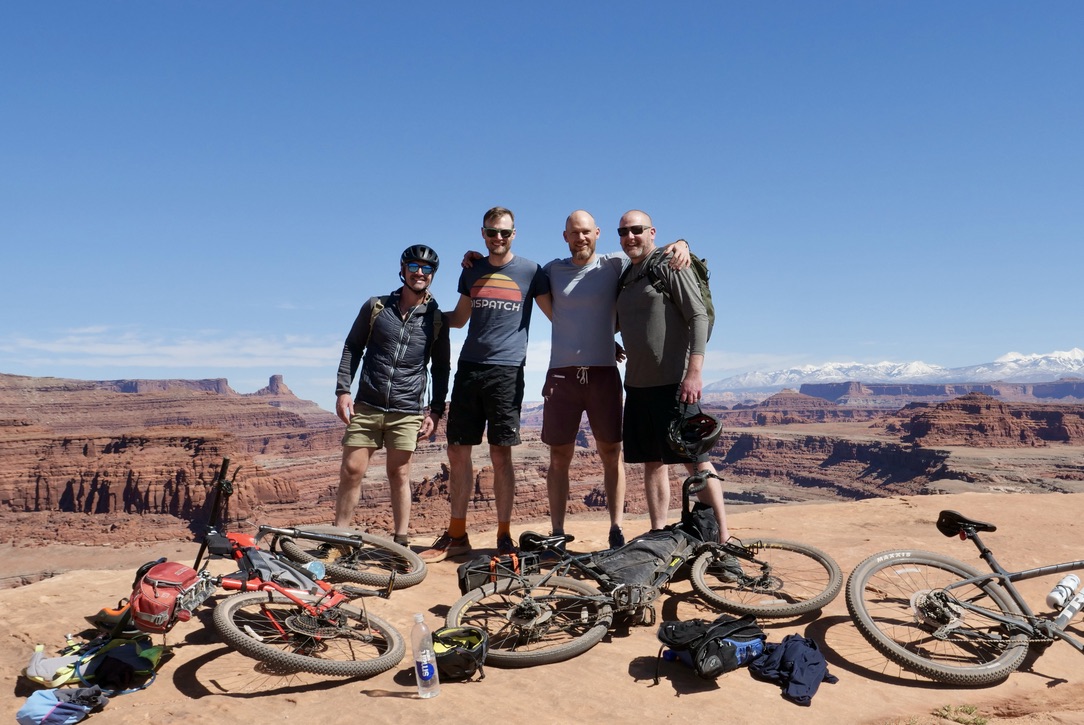
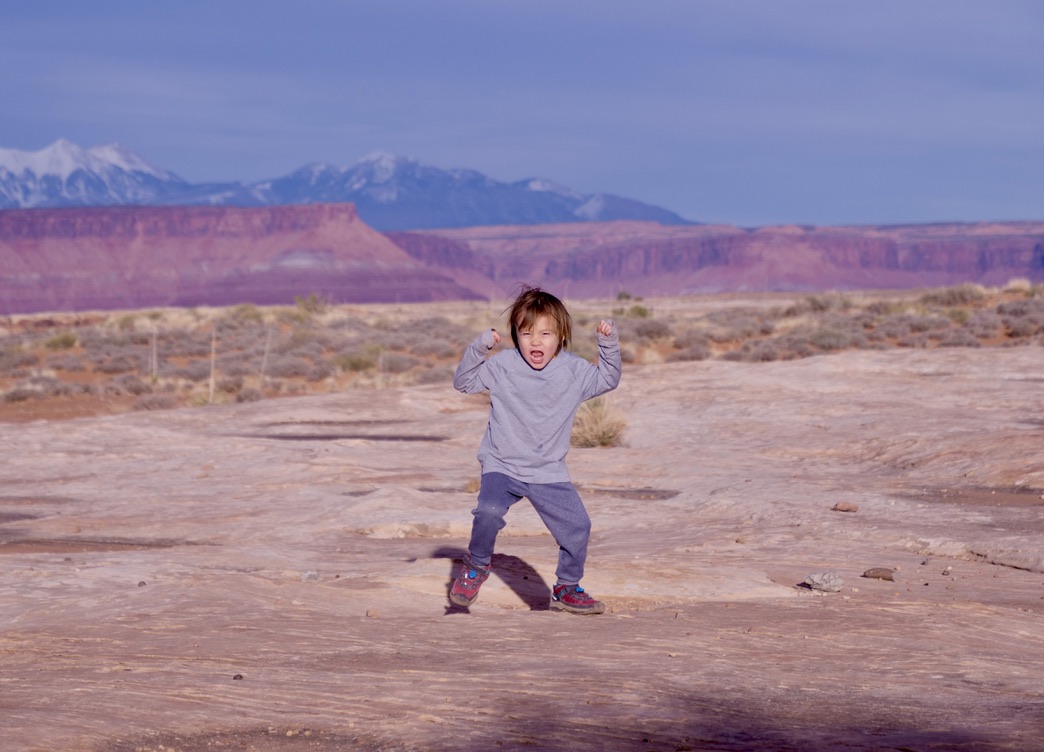
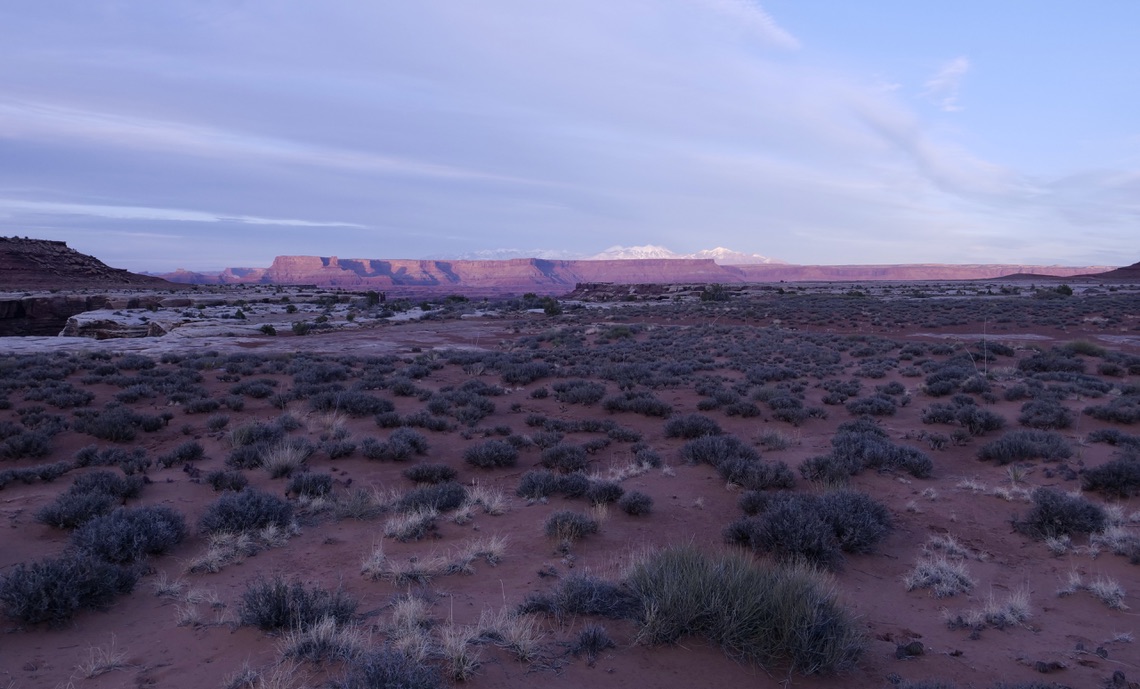
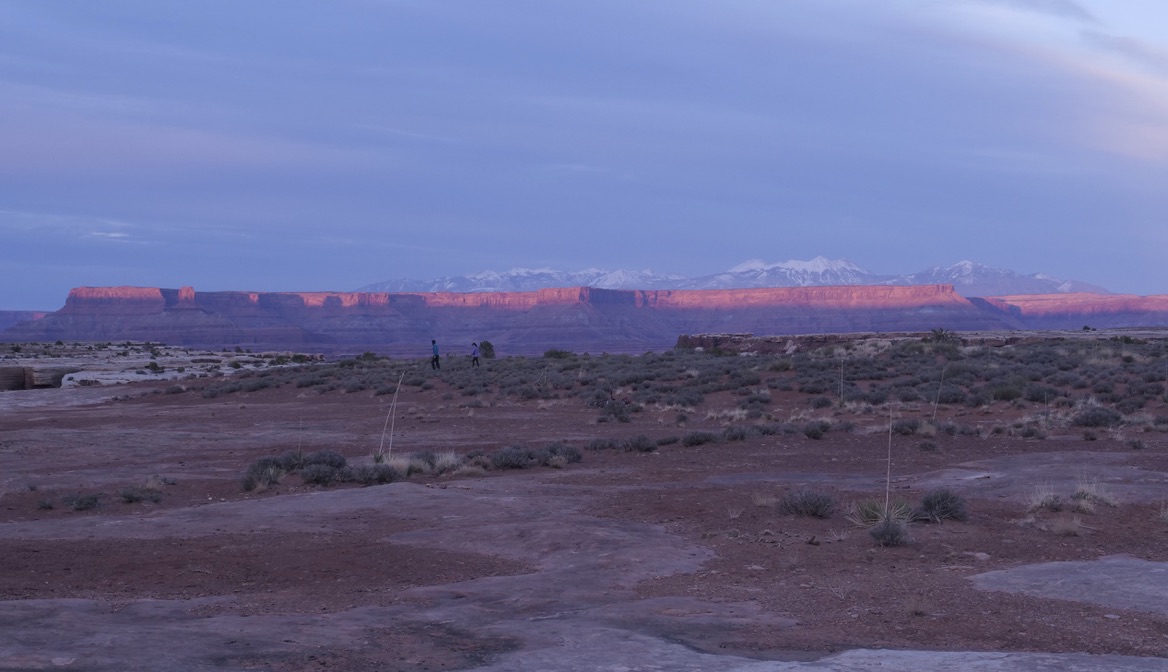
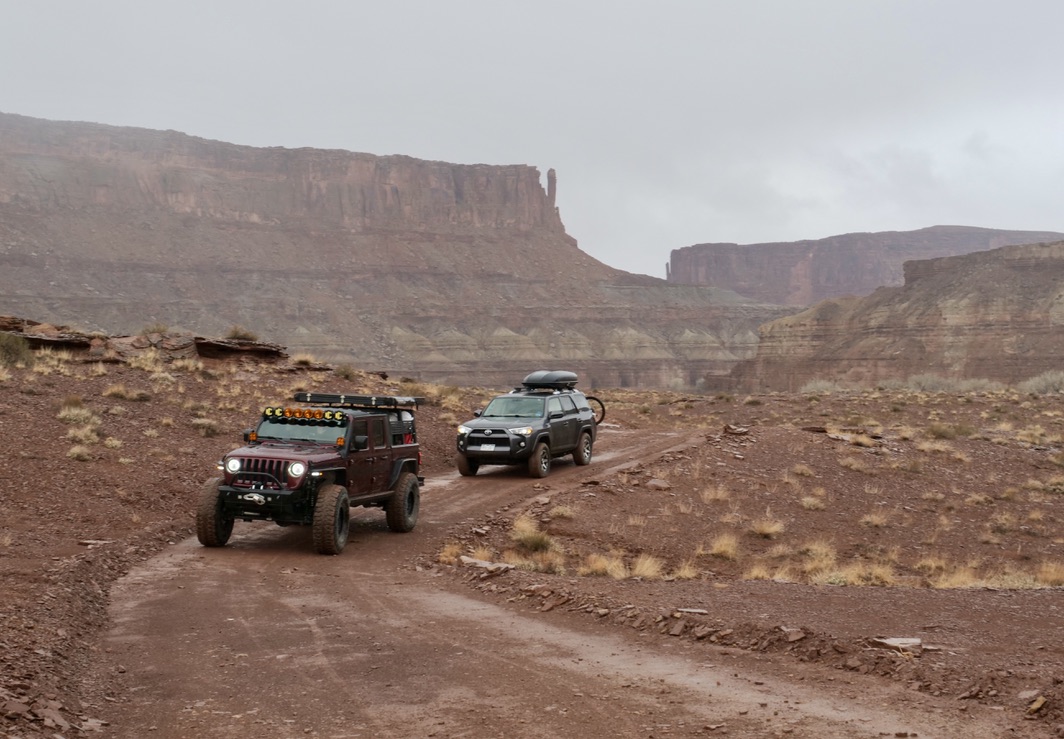
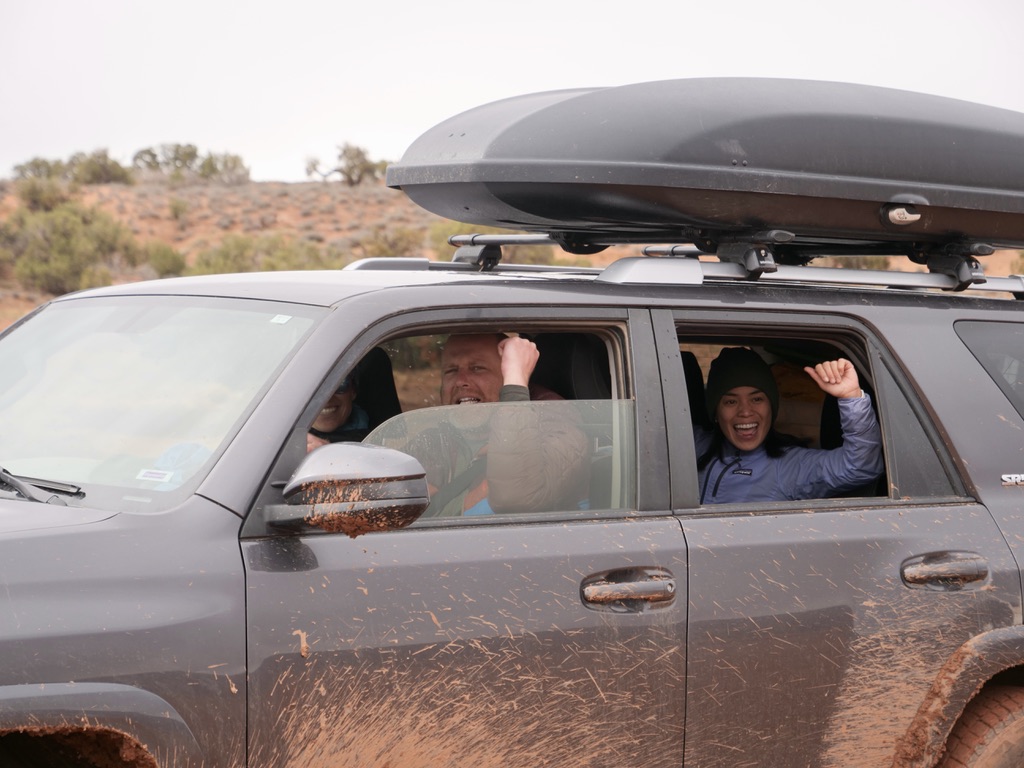
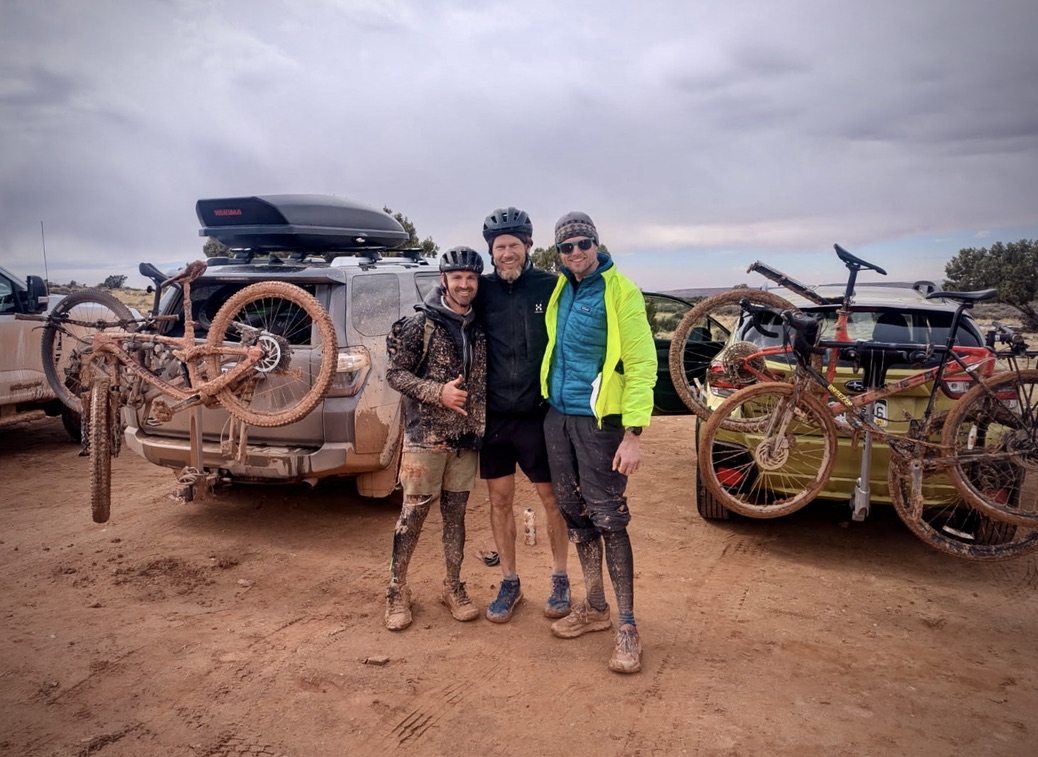
I did this trip in March 2025. I will admit that I cheated a bit on this one since it was not self-supported as all of my other trips have been. My good friend Cameron had arranged the trip with a bunch of my best friends, so there was no way I could not go! We had our families going too and the support of a jeep, but even though it wasn’t the way I usually do it, it was still great fun!
We did the trip over 3 days from March 16-18 with great weather. We did have a rain storm on the last night, it didn’t give us any trouble in the canyon but after we climbed out of the canyon and we thought we where out of harms way, it turned out that the last bit of dirt road had turned in to complete peanut butter mud. So, I actually ended up snapping my derailleur clean off in the last 10k or so. So I guess it was not the worst trip to have some support on!
We stayed at the Gooseberry and Hardscrabble campgrounds which were both great. I did the ride on my steel gravel bike with 650b 47mm tires, which worked out totally fine however, not ideal. I guess the ideal bike would be a bit wider tire and maybe front suspension. The trail is not technical at all, it is all a 4×4 road so I’d probably give it a 5/10 in technicality.
I have some great memories from the trip since my family and a bunch of my best friends were there. Below are the pictures and my stats from strava. I thought 3 days was the perfect amount of time. There is so much to see so I was glad that I wasn’t in a hurry. Water can be an issue, so if you are doing it self-supported there’s an argument for doing it over two days I guess. The trip is very well described on bikepacking.com.
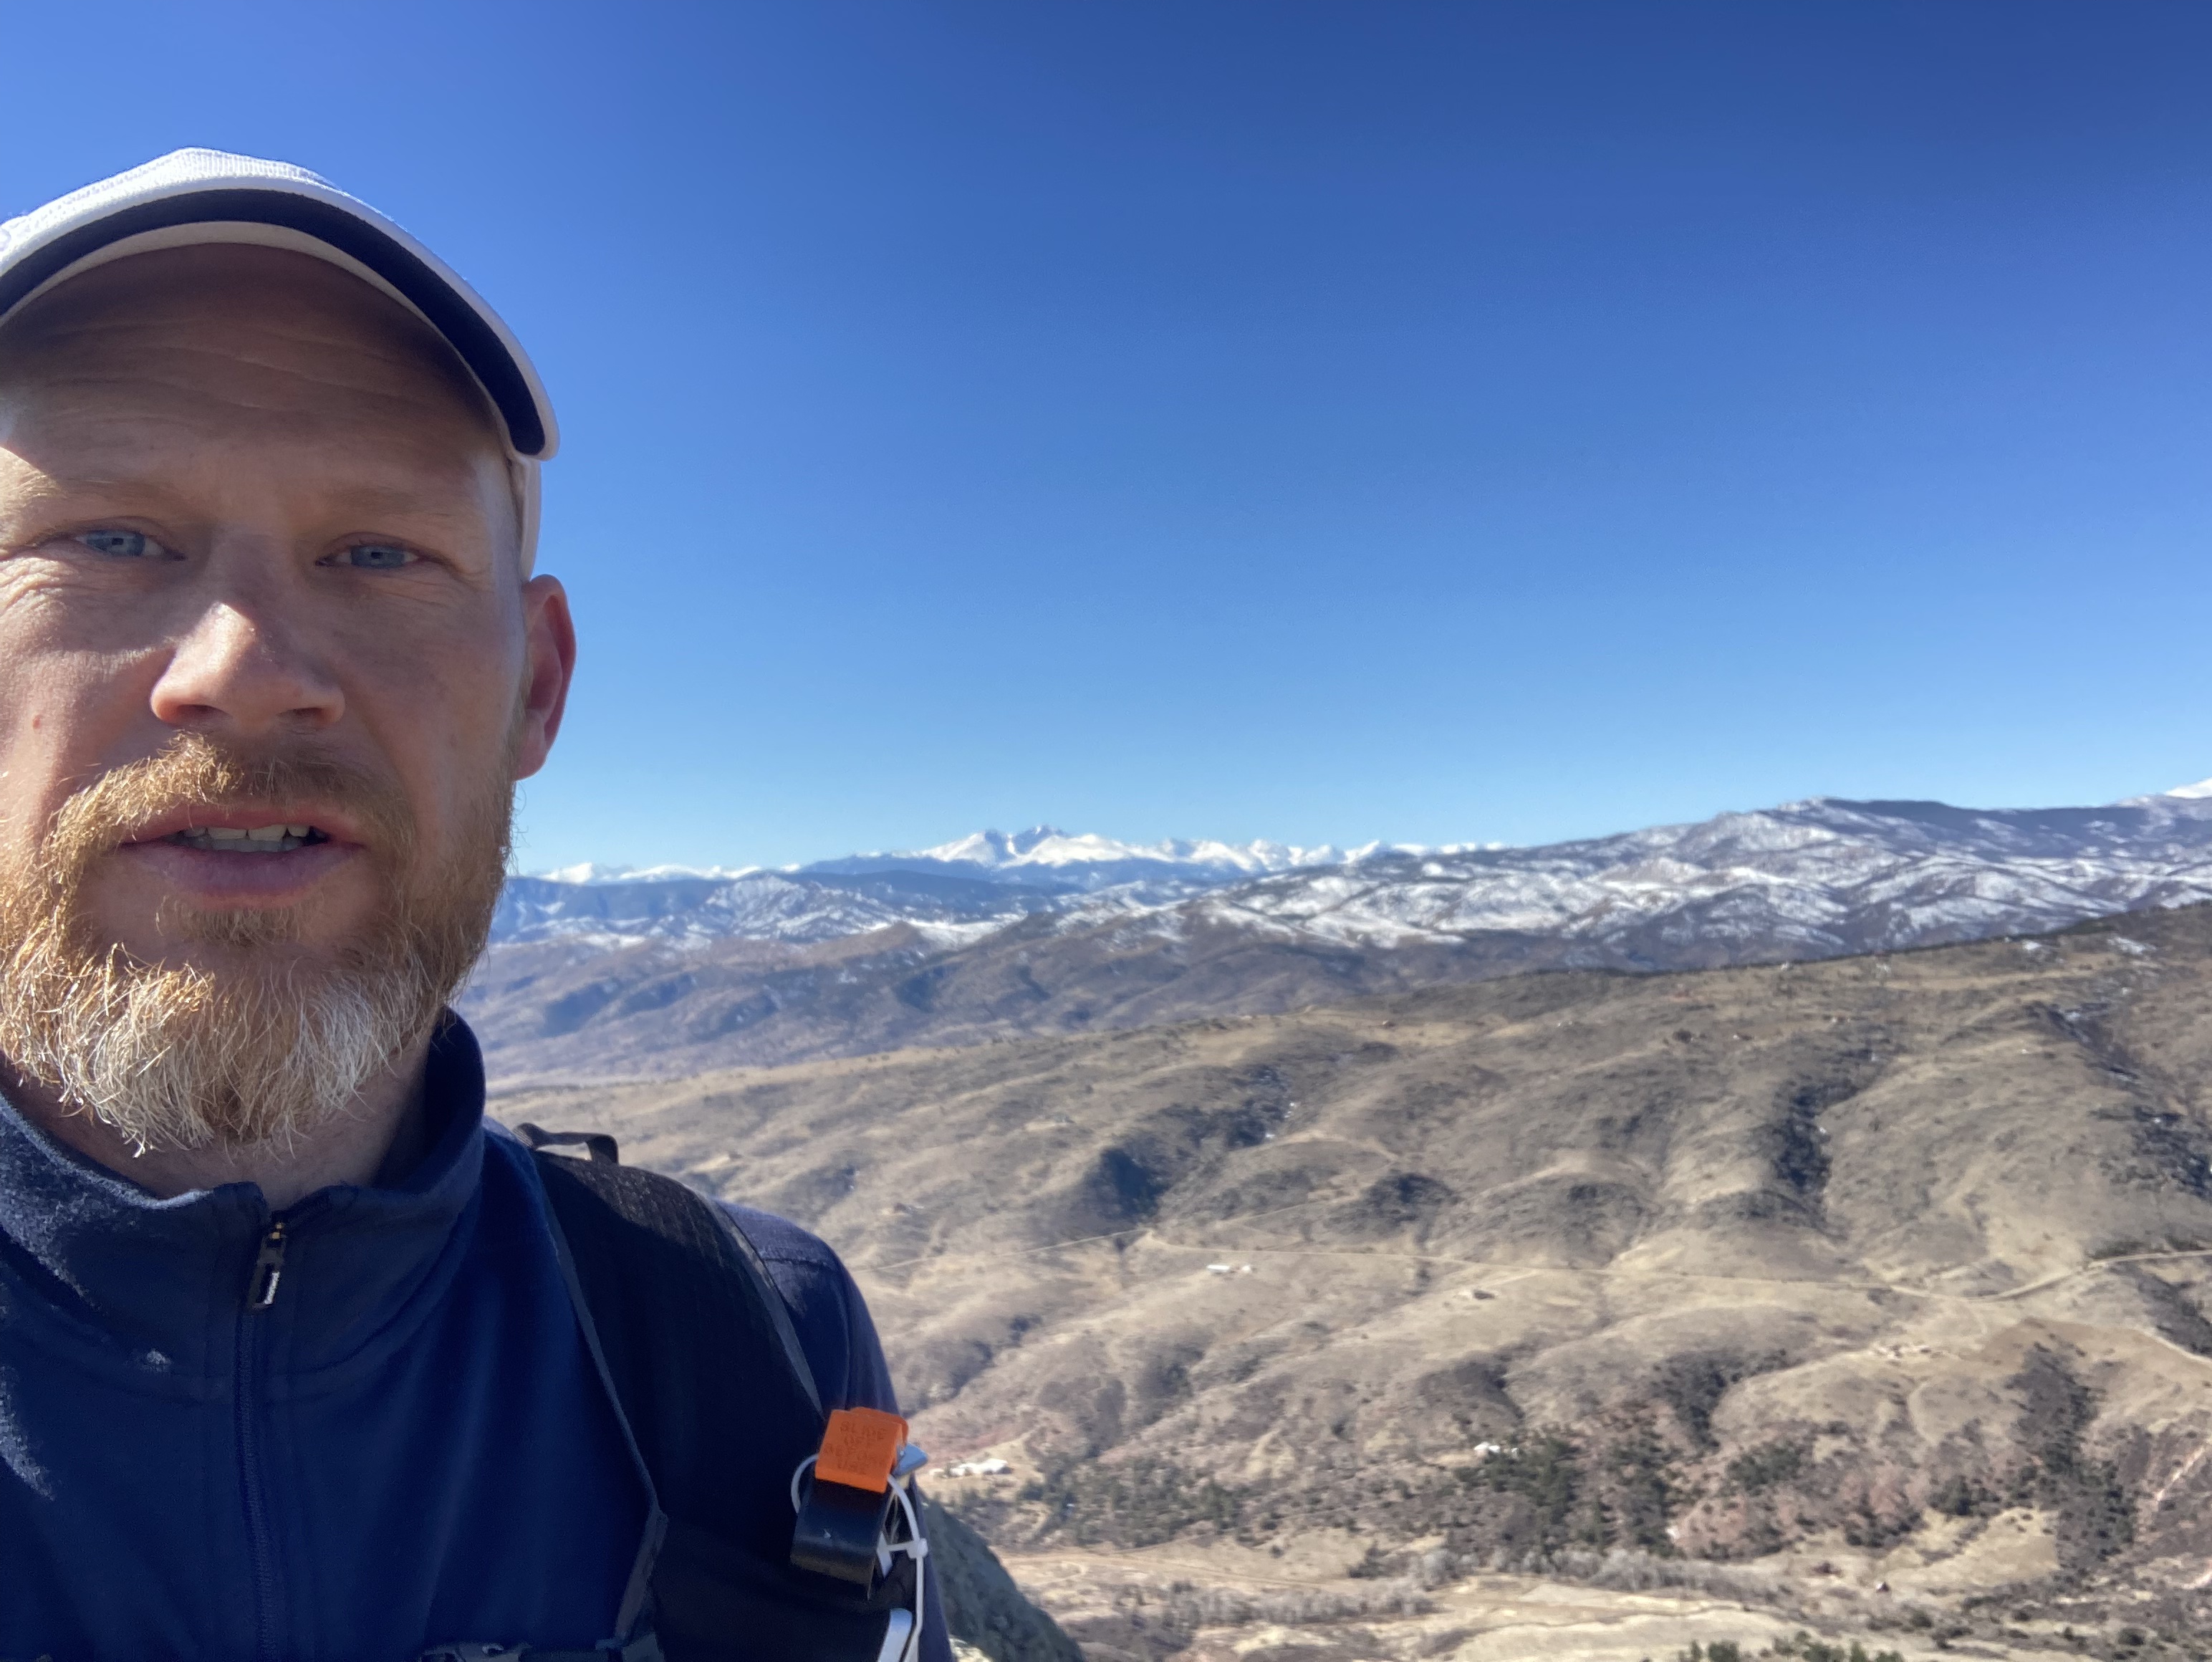
To have this experience was a long time goal of mine – the feeling of running 50k in the mountains! I wasn’t supposed to do this until April/May, but I decided to give it a go yesterday and was able to finish it (March 8, 2025).
I have enjoyed 90% of the training process. I started building my running base slowly about a year ago, and the last half year I’ve averaged around 3x a week running. It’s been great to have a concrete goal to work towards and then achieve it. I’ve had injuries along the way, but I just adjusted and kept running. I didn’t follow a concrete training plan, but my goal initially was to run intervals once a week, 10-12k fast run once a week, and a long slow run once a week…that didn’t happen. Mostly, because of the injuries I’ve had to manage, but I also like to go more on feel. For me it keeps it more enjoyable, and when it’s something I do in my free time, it has to be somewhat enjoyable. I pulled my calf muscle late last year, and then re-pulled it once or twice. So, I ended up not running intervals at all, and only the last month or so I’ve started to run faster on my 10-12k’s. Everything else has been very slow runs which was a new experience for me.
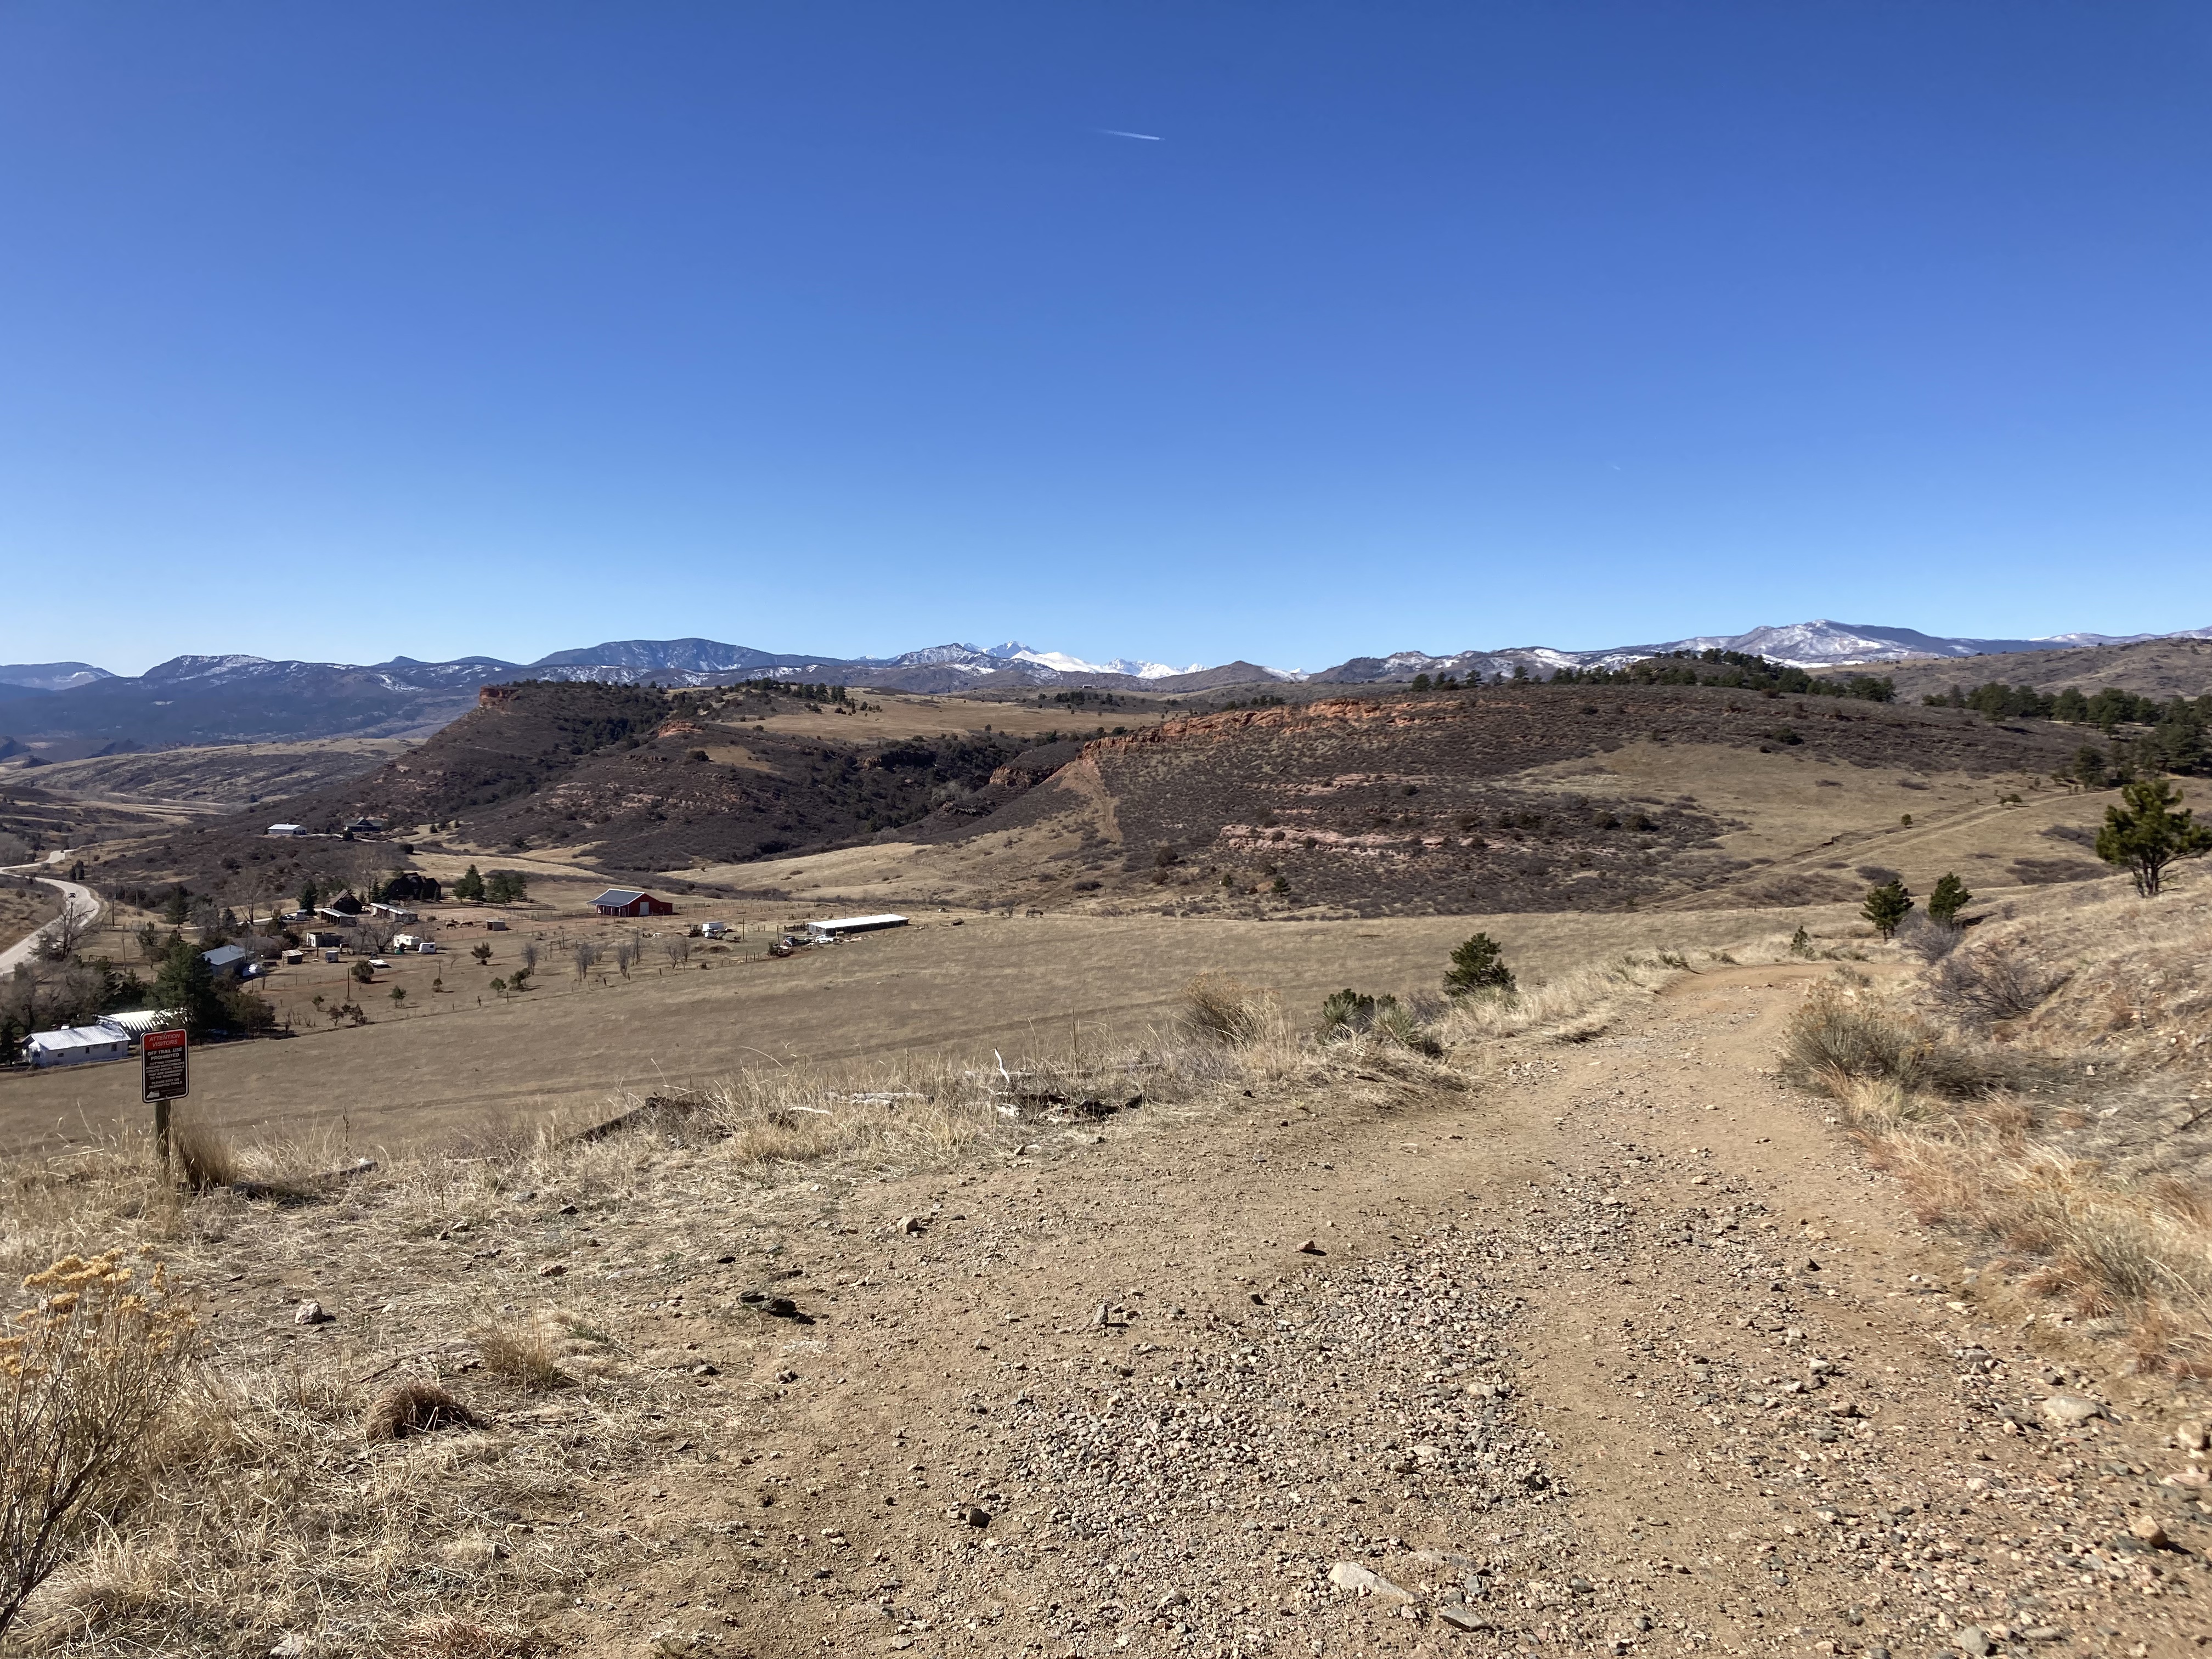
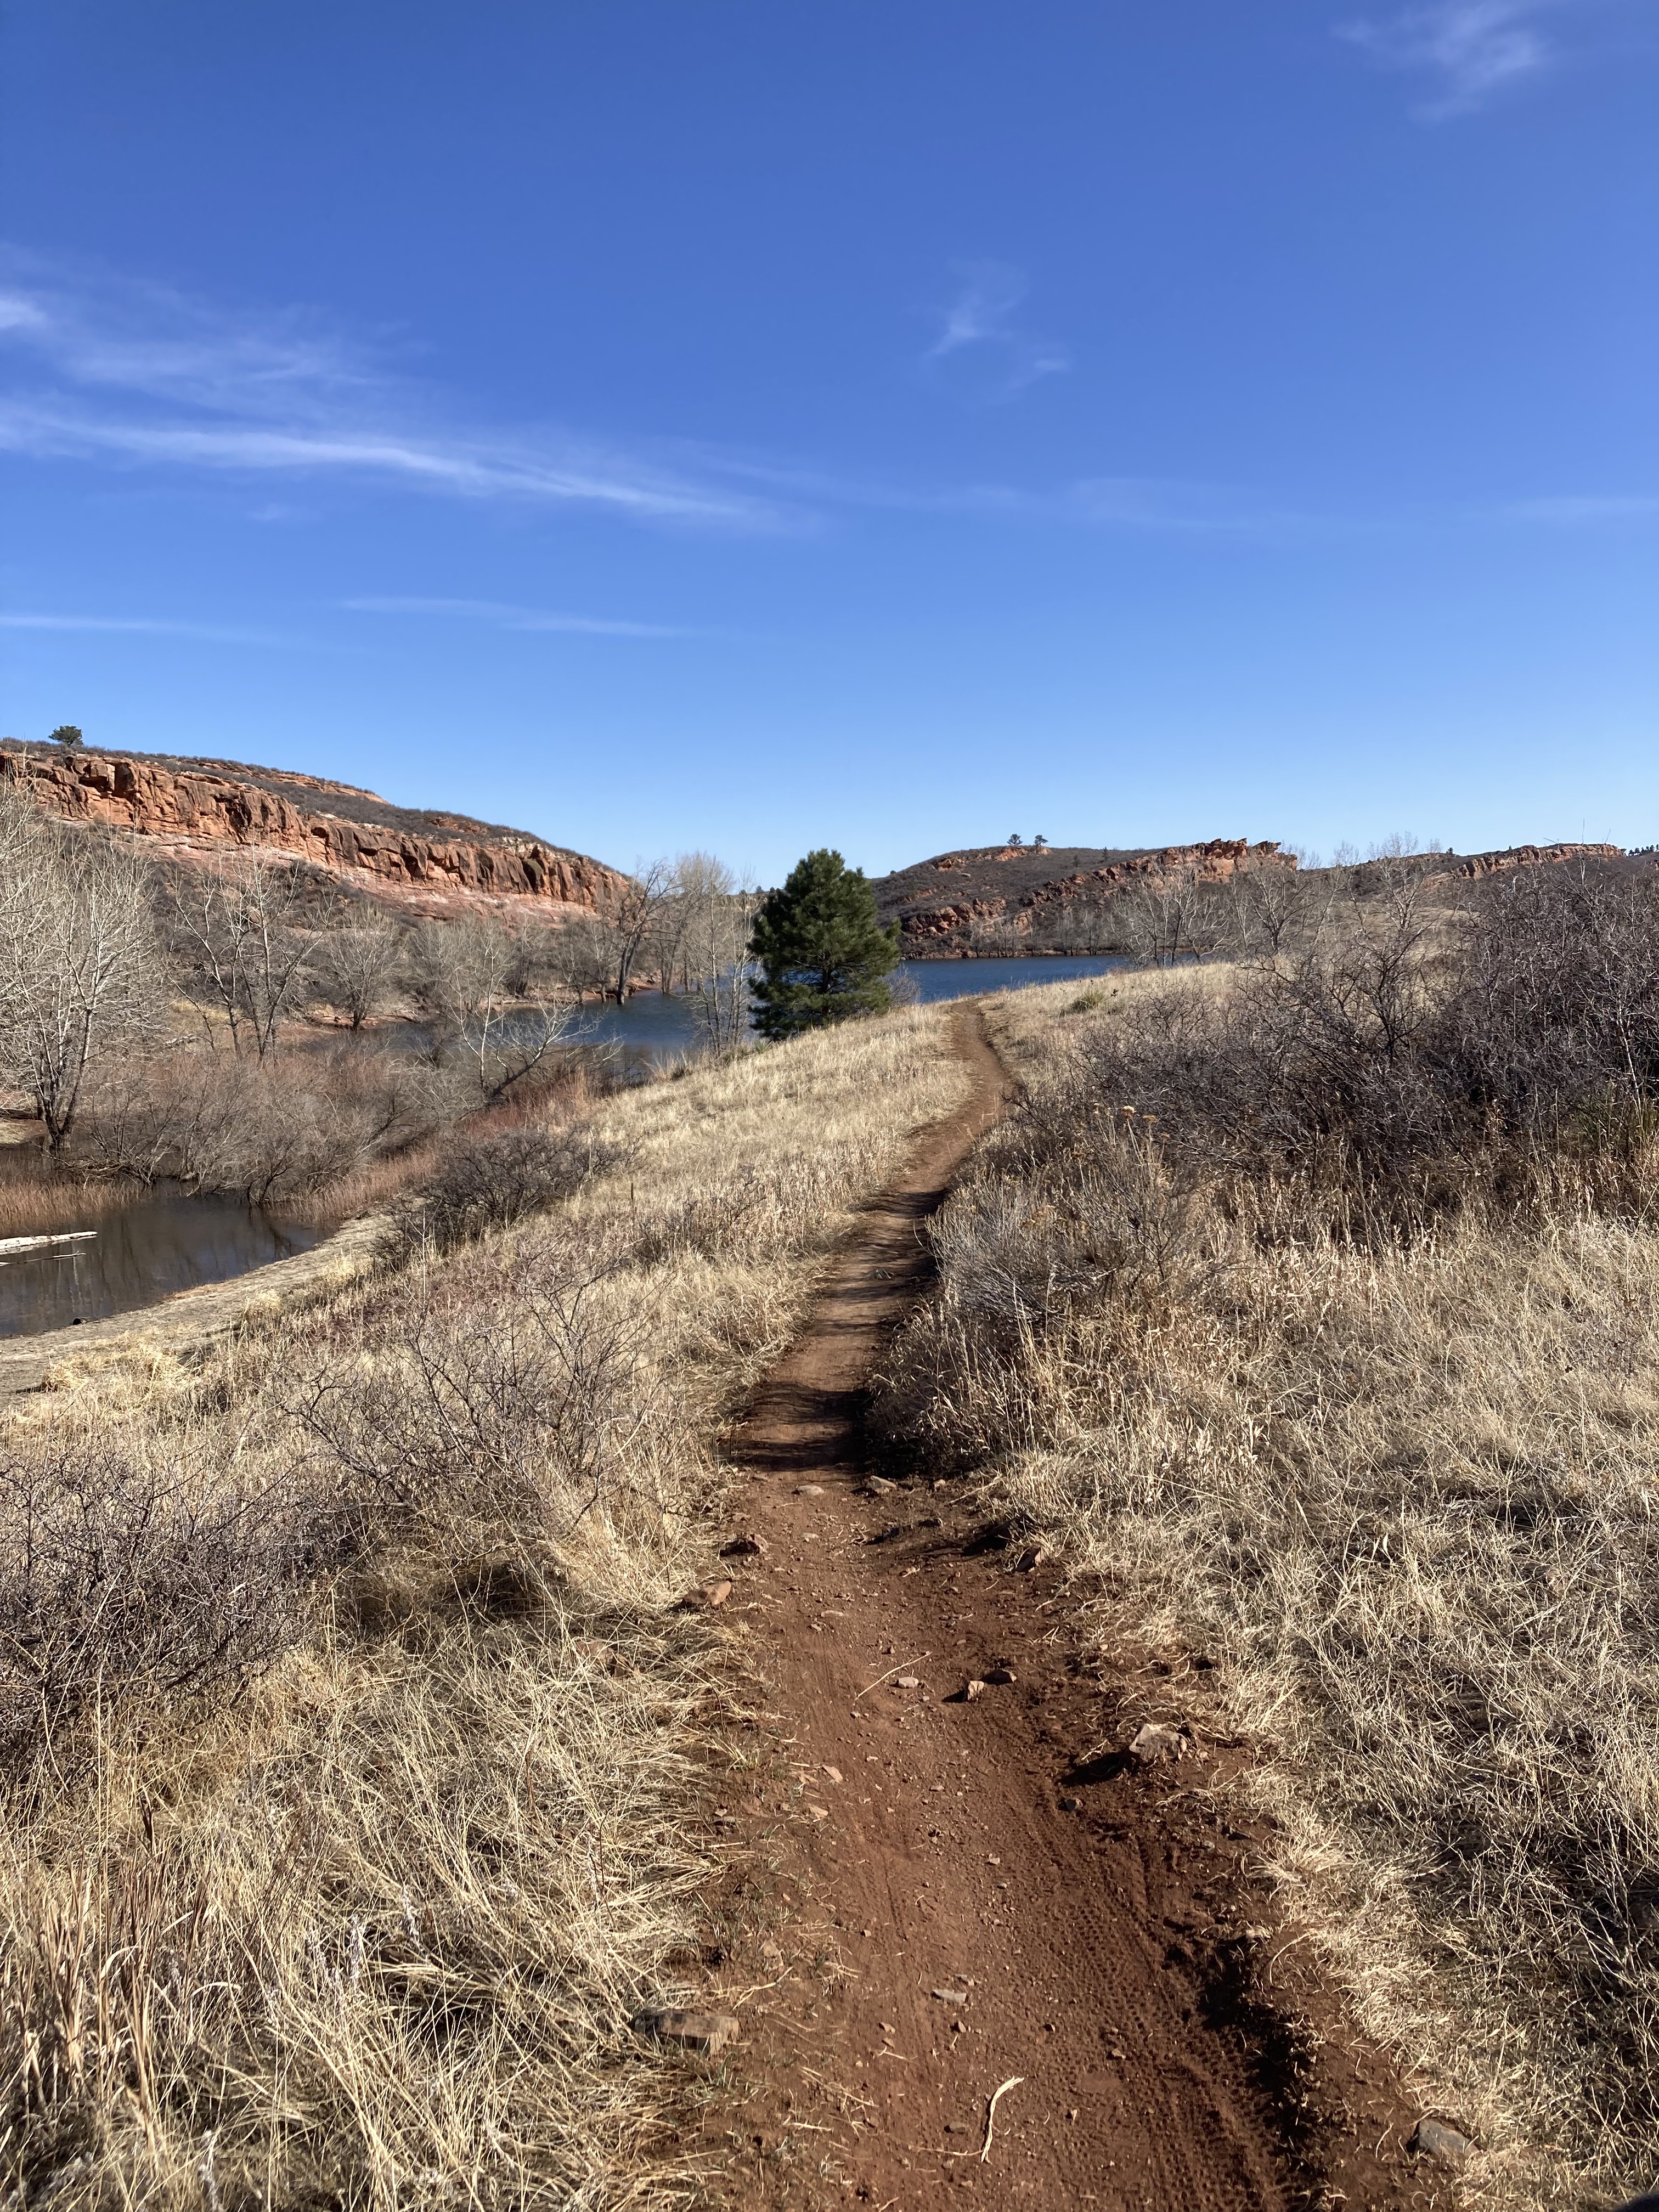
I didn’t really get to run beyond around 19k in training, and I was supposed to build those longer runs over the next 1-2 months…but I ran out of patience. Yesterdays run was far from planned, the days leading up to, my diet was horrible and I didn’t anticipate giving the 50k a go until I was actually running. From the get-go my body didn’t really feel great, but when I got on the trail it was very enjoyable and the conditions where great. The first half of the trail is awesome, it starts from Arthurs Rock parking lot in Lory State Park with a big climb of around 650 m elevation going over 7,5k up to Horsetooth Rock, then from there a beautiful downhill on the Southridge trail with views of Longs Peak. Then from the Horsetooth Open Space parking lot it goes back up the Spring creek trail and connects with a big downhill along the Towers road and then connecting with the nomad trail that goes back to Arthurs Rock parking lot. Those first 25-26k are so beautiful and was really enjoyable. Still, after this first half I wasn’t committed to do the 50k, but I wasn’t ruling it out either. Initially, I was supposed to finish my run after that first part. But then I was thinking, “I already spent 3,5 hours running, let me try to do this 7,5 k loop around the valley and see how I feel”. So that’s what I did, and now I only had 17-18k left to go. I could see the end now, it’s doable! So I set out for another loop and counted down every k. I was talking to myself and hyping myself up the whole time. The second loop started getting painful but when I finished it I had just short of 10k left. Now, there was no way I was not going to do it. So I did the last loop which was pretty painful, and then finished the last 2k left. Man, what a great feeling!
In a sense, it was good that I wasn’t fully prepared for it, because a big part of doing the 50k in the mountains was to get the feeling of pushing myself beyond what I normally do. So, when I’m not fully prepared it becomes more a test of my will since it gets more painful.
I wanted to share my experience here, and hopefully this is the kick start of writing more on this blog again. Between starting my own business and raising a little kid, I havn’t had much time for this blog. But, as it says on the welcome page, this is a life project and I plan to write about more adventures this year…I have a few planned 🙂
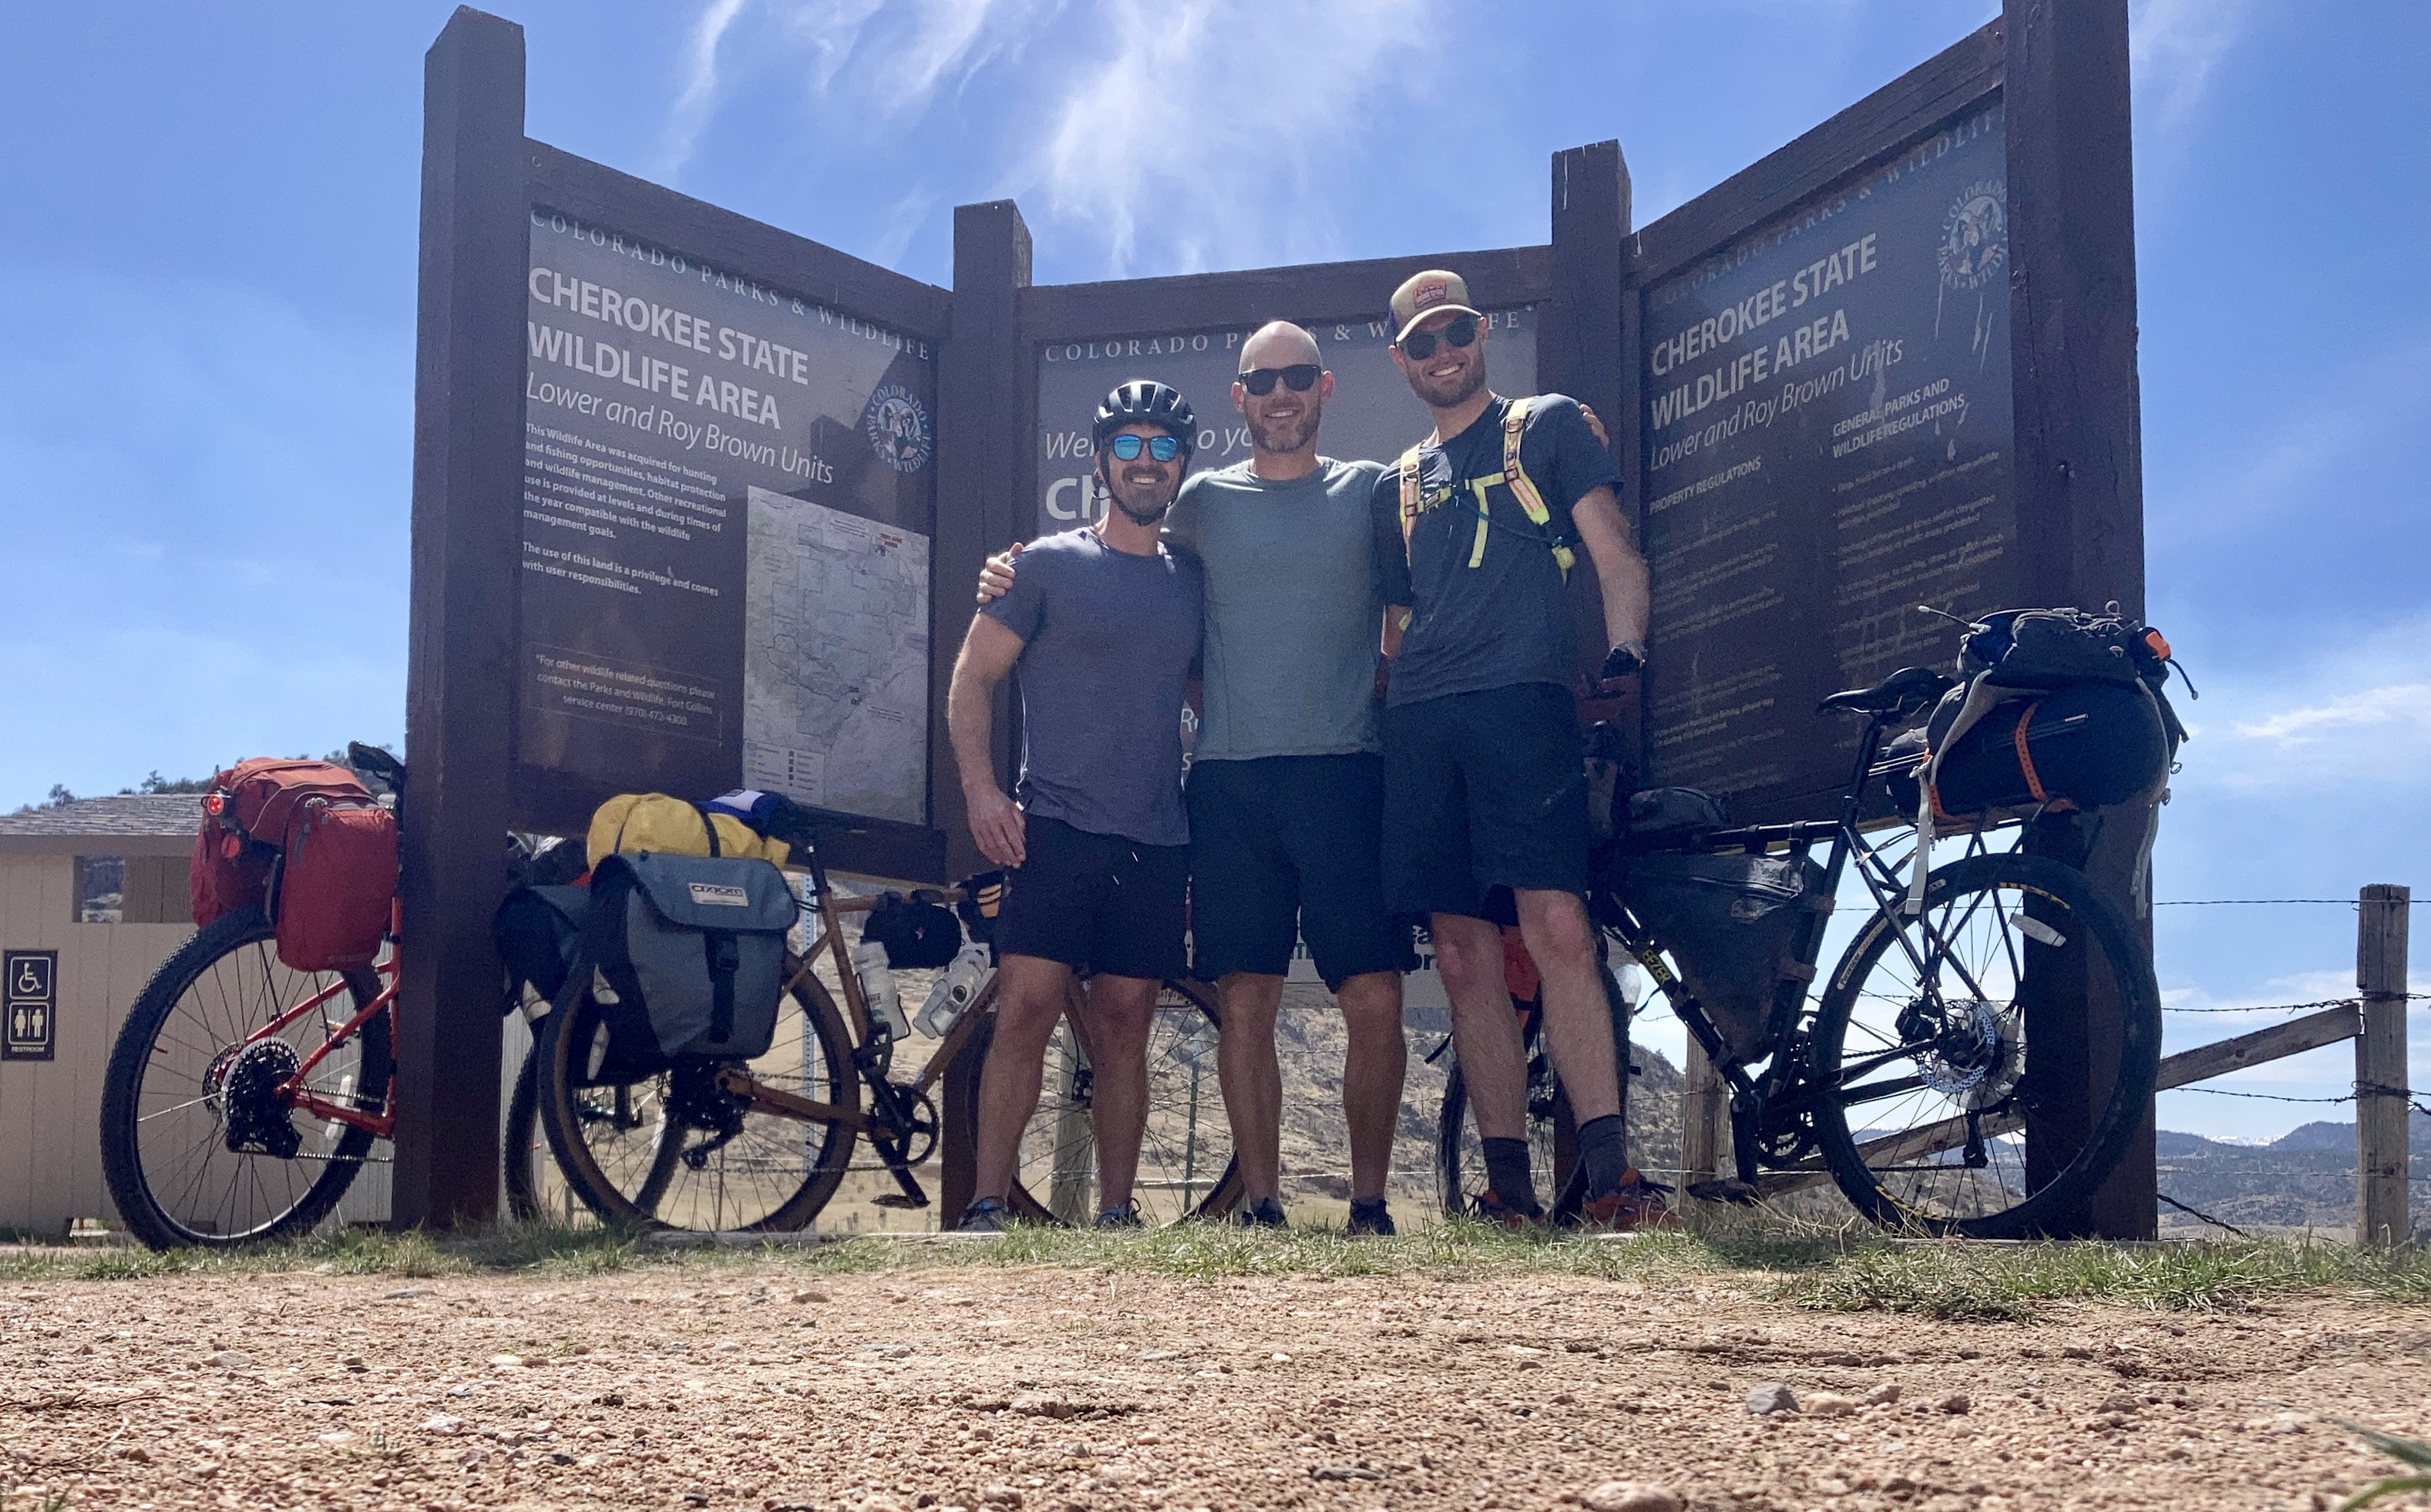
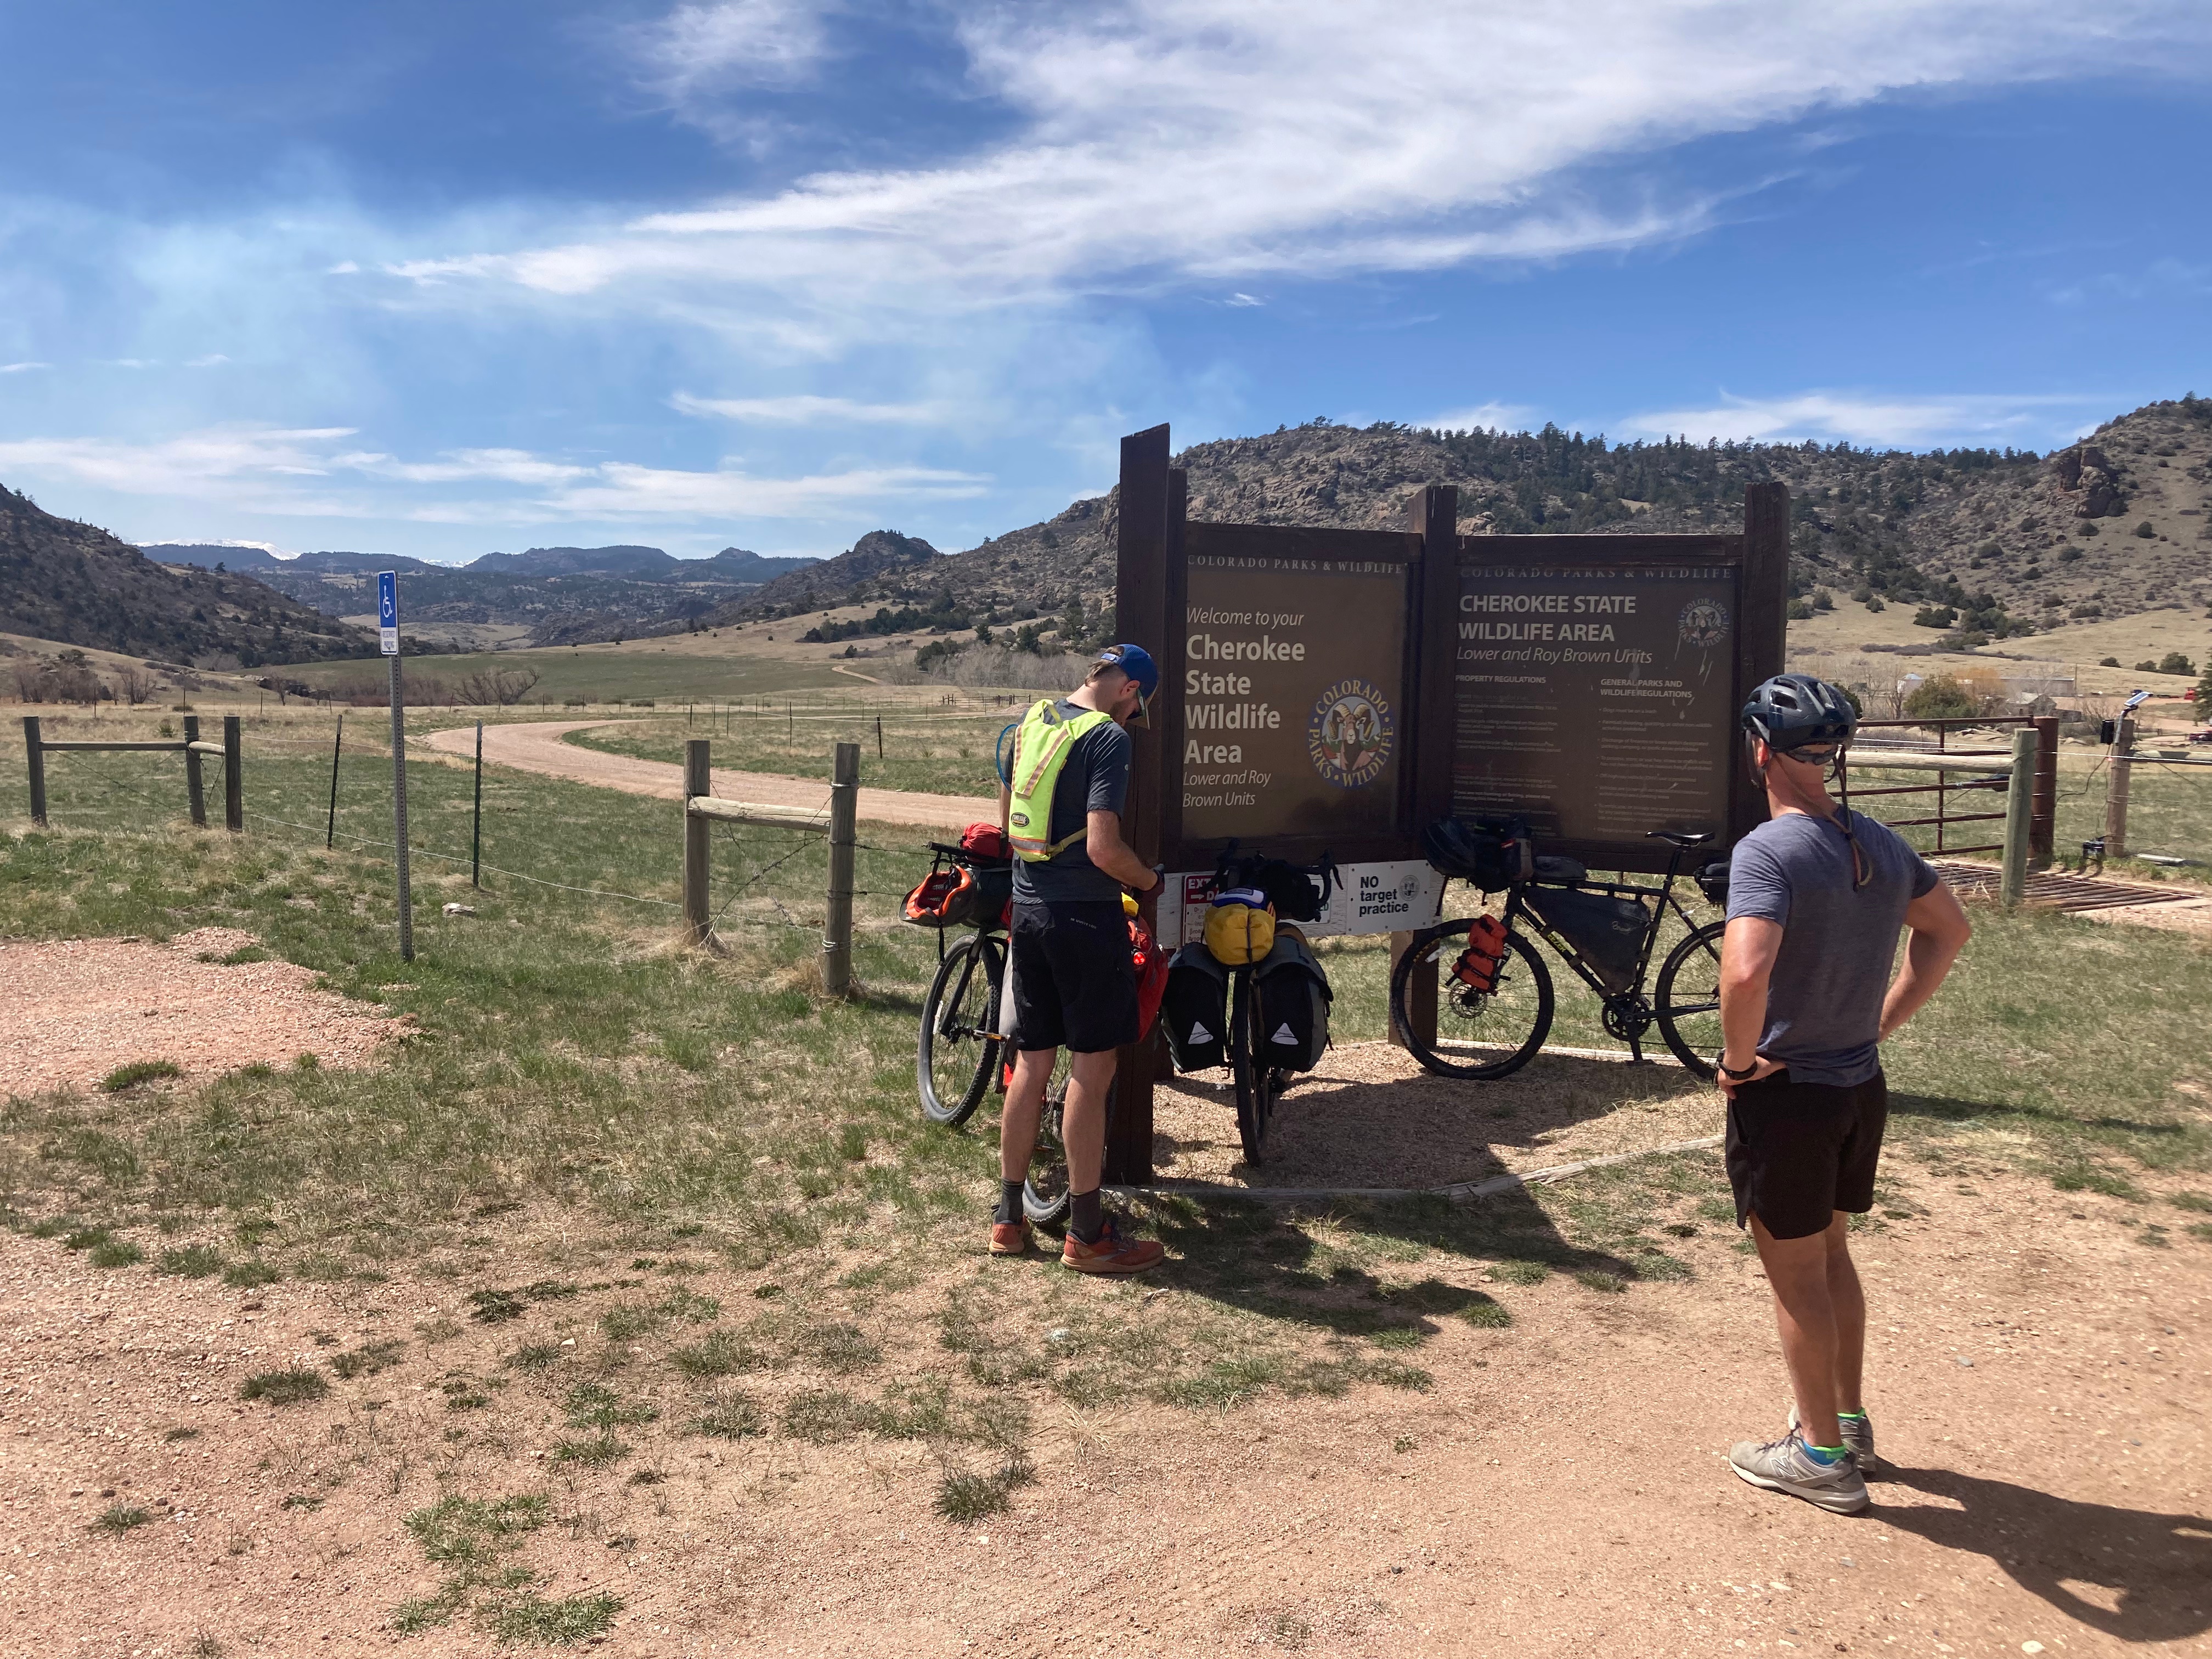
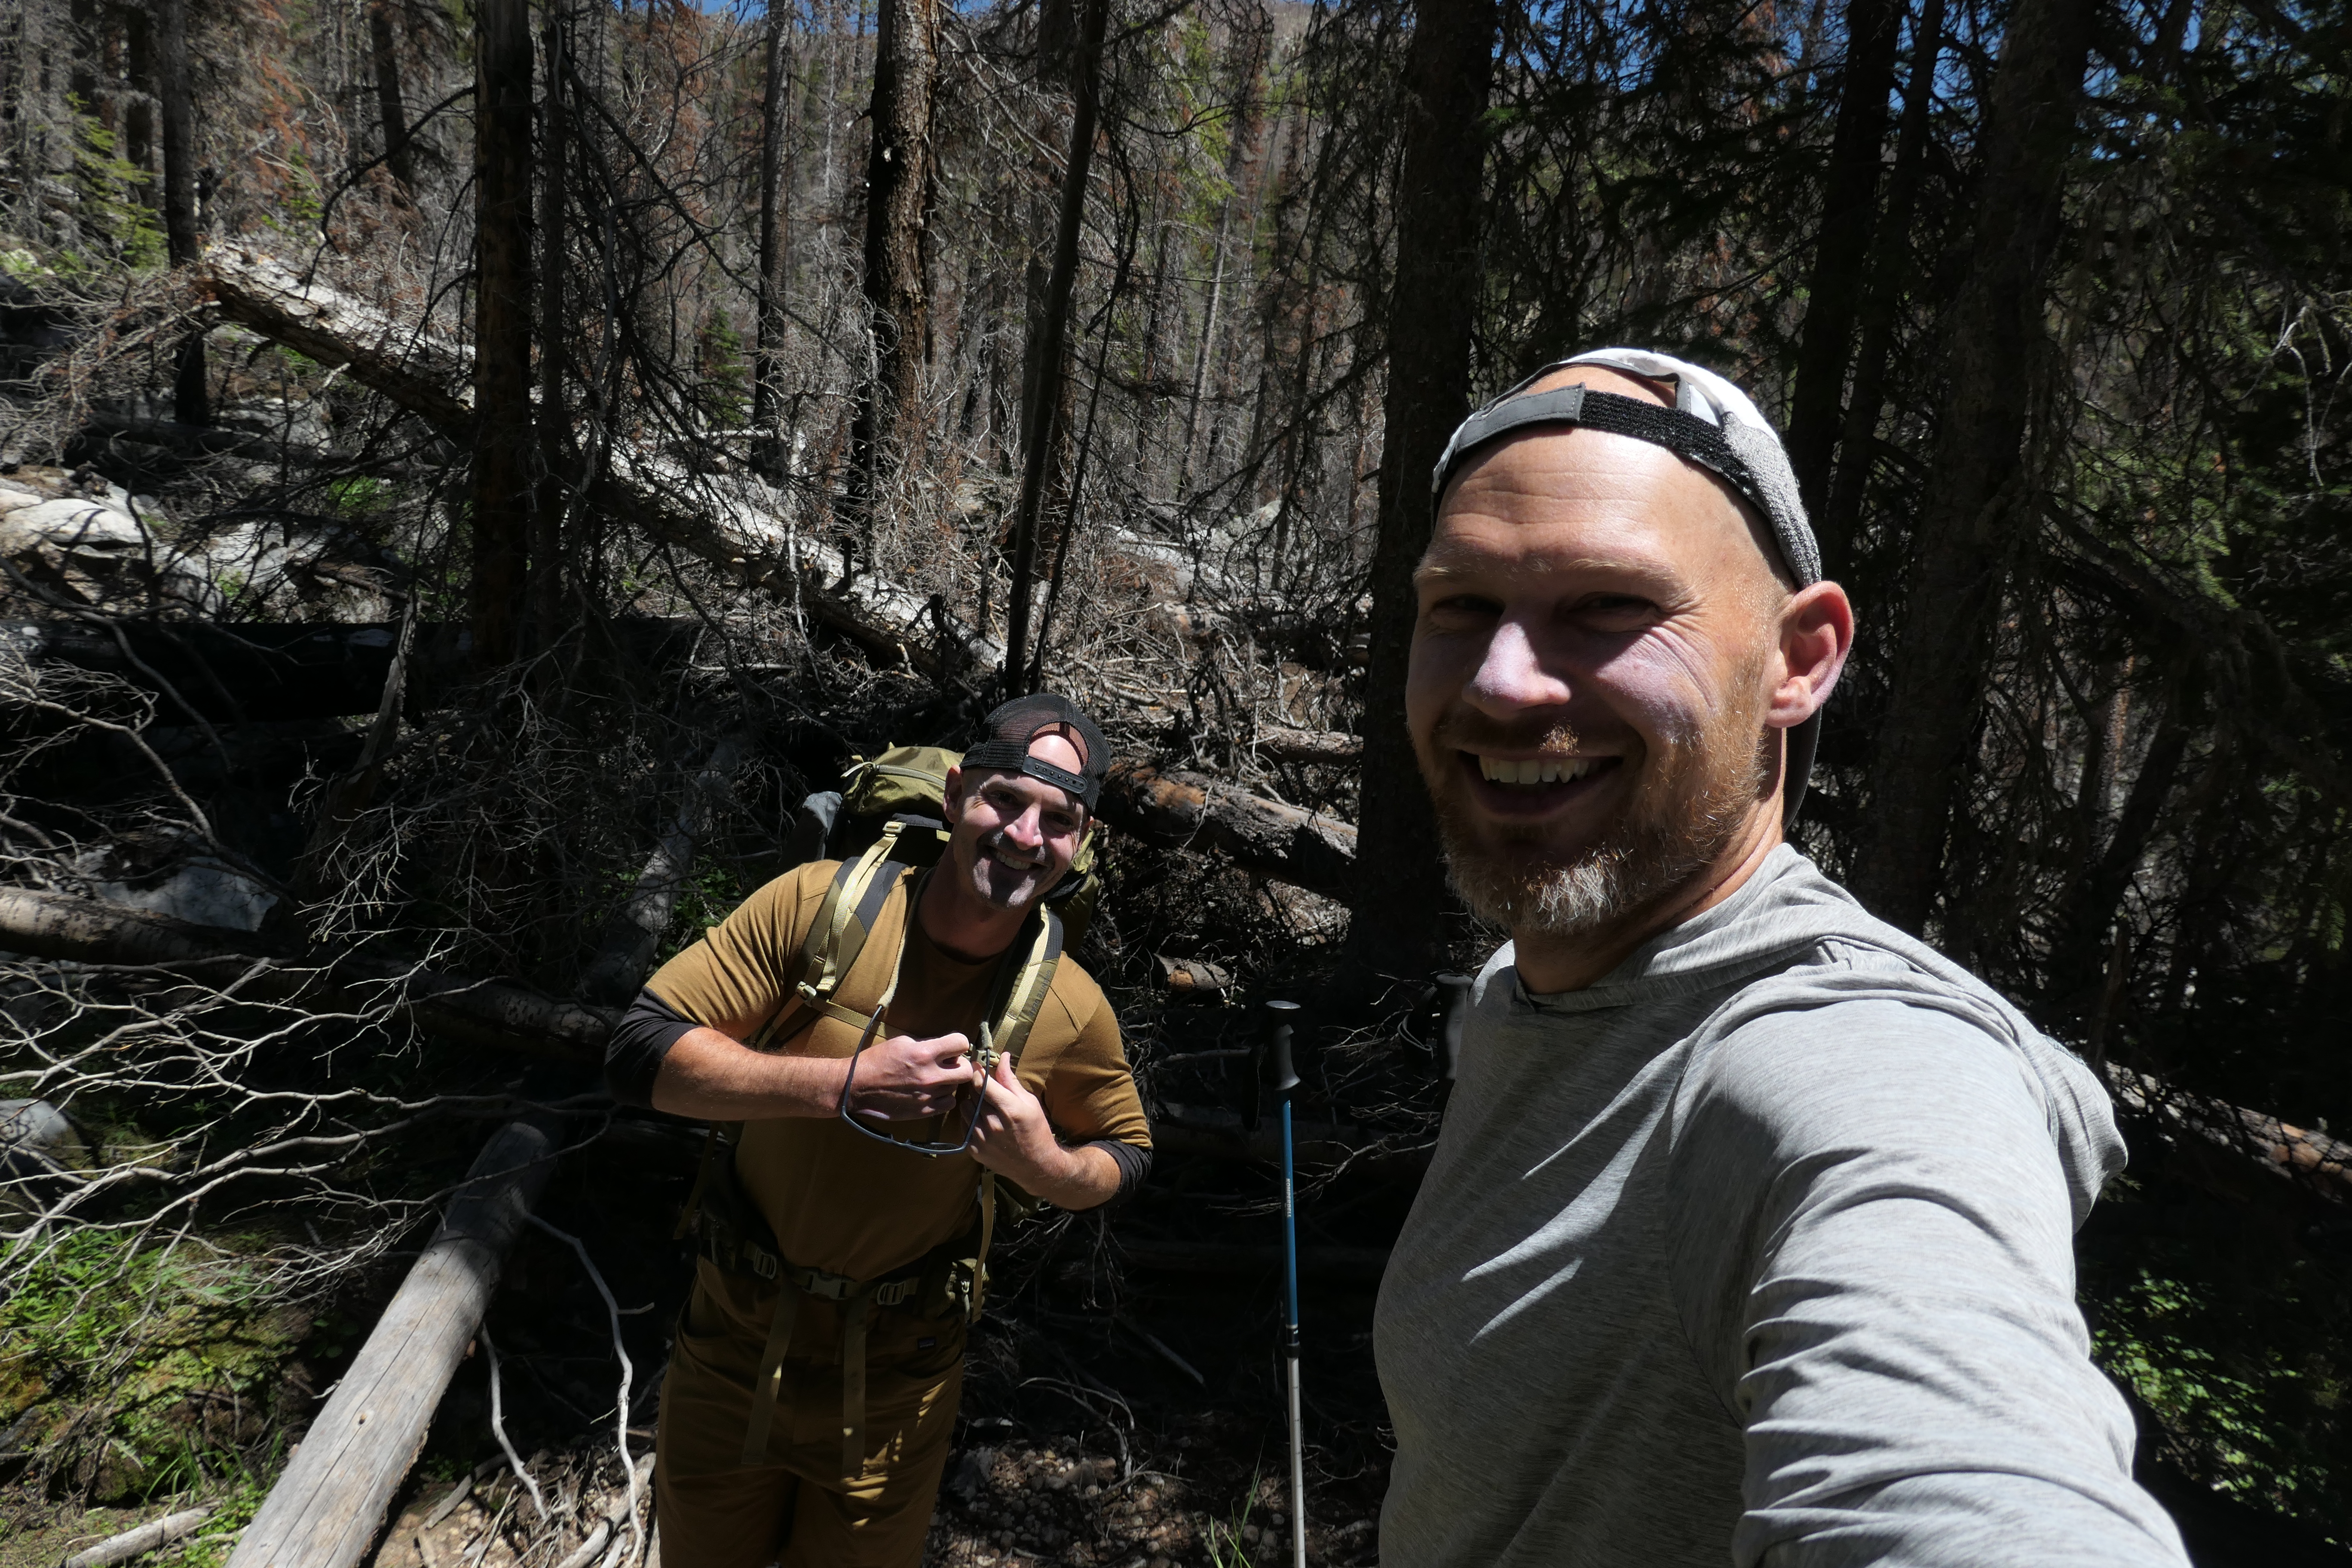
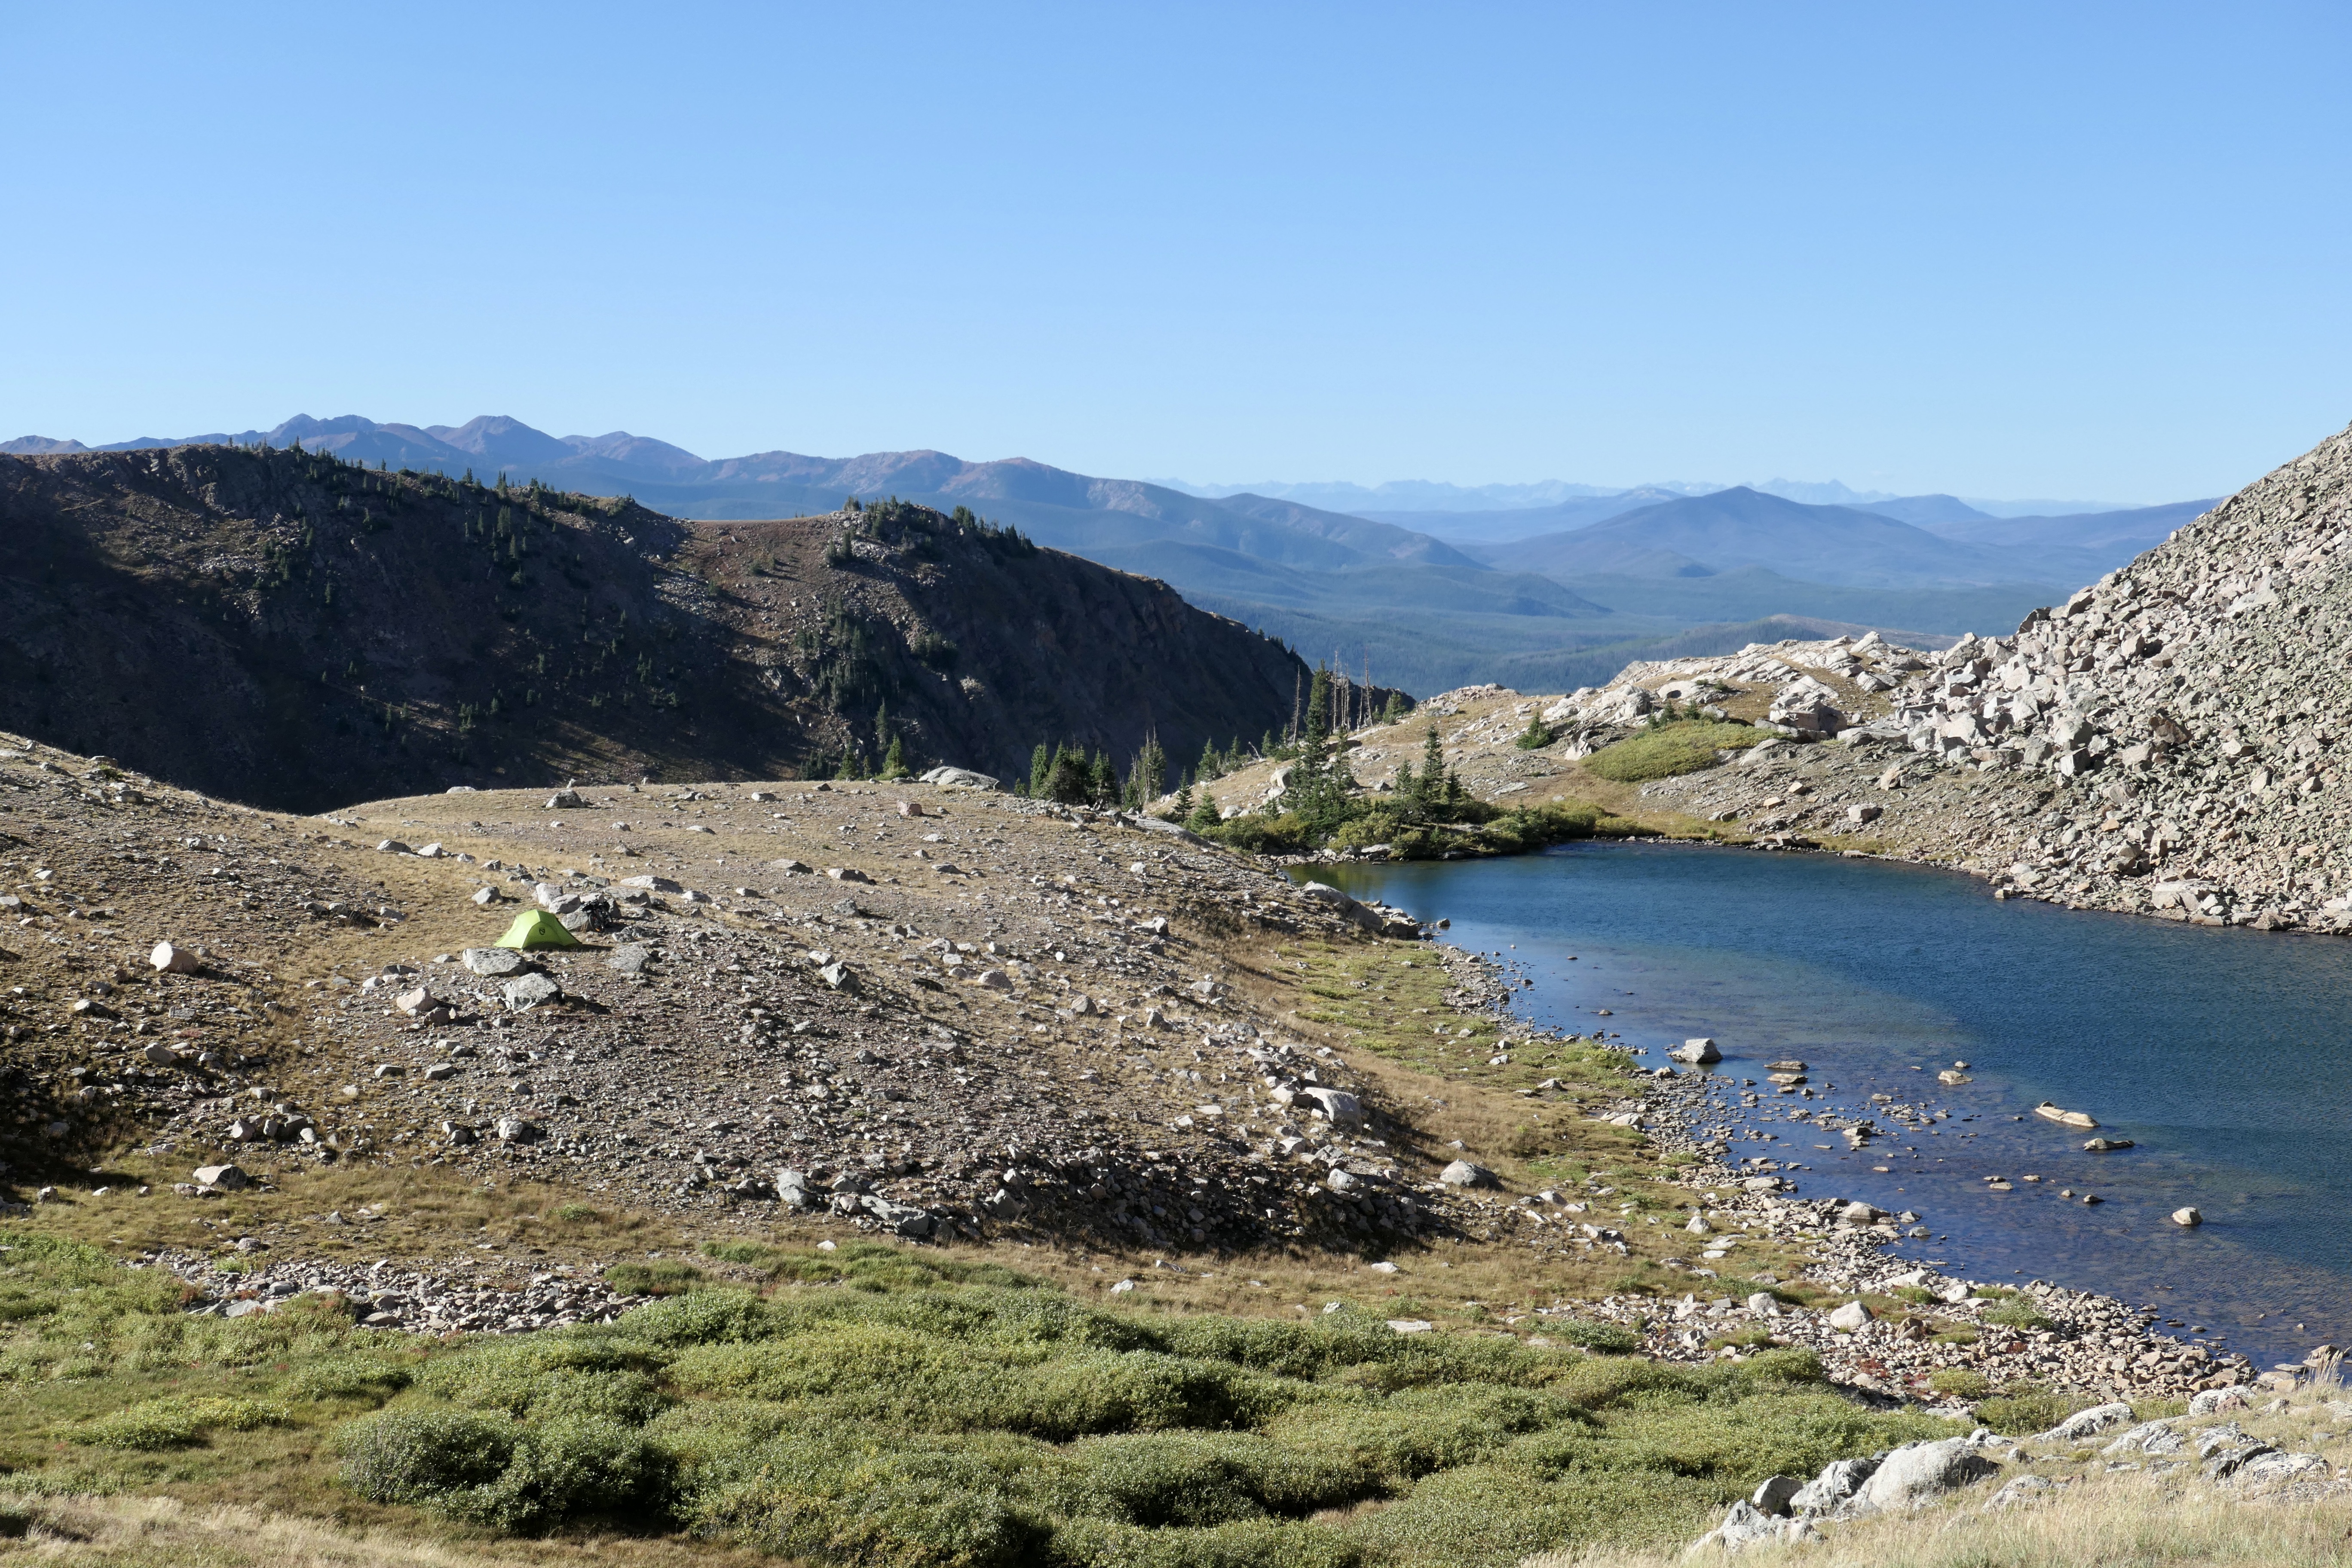
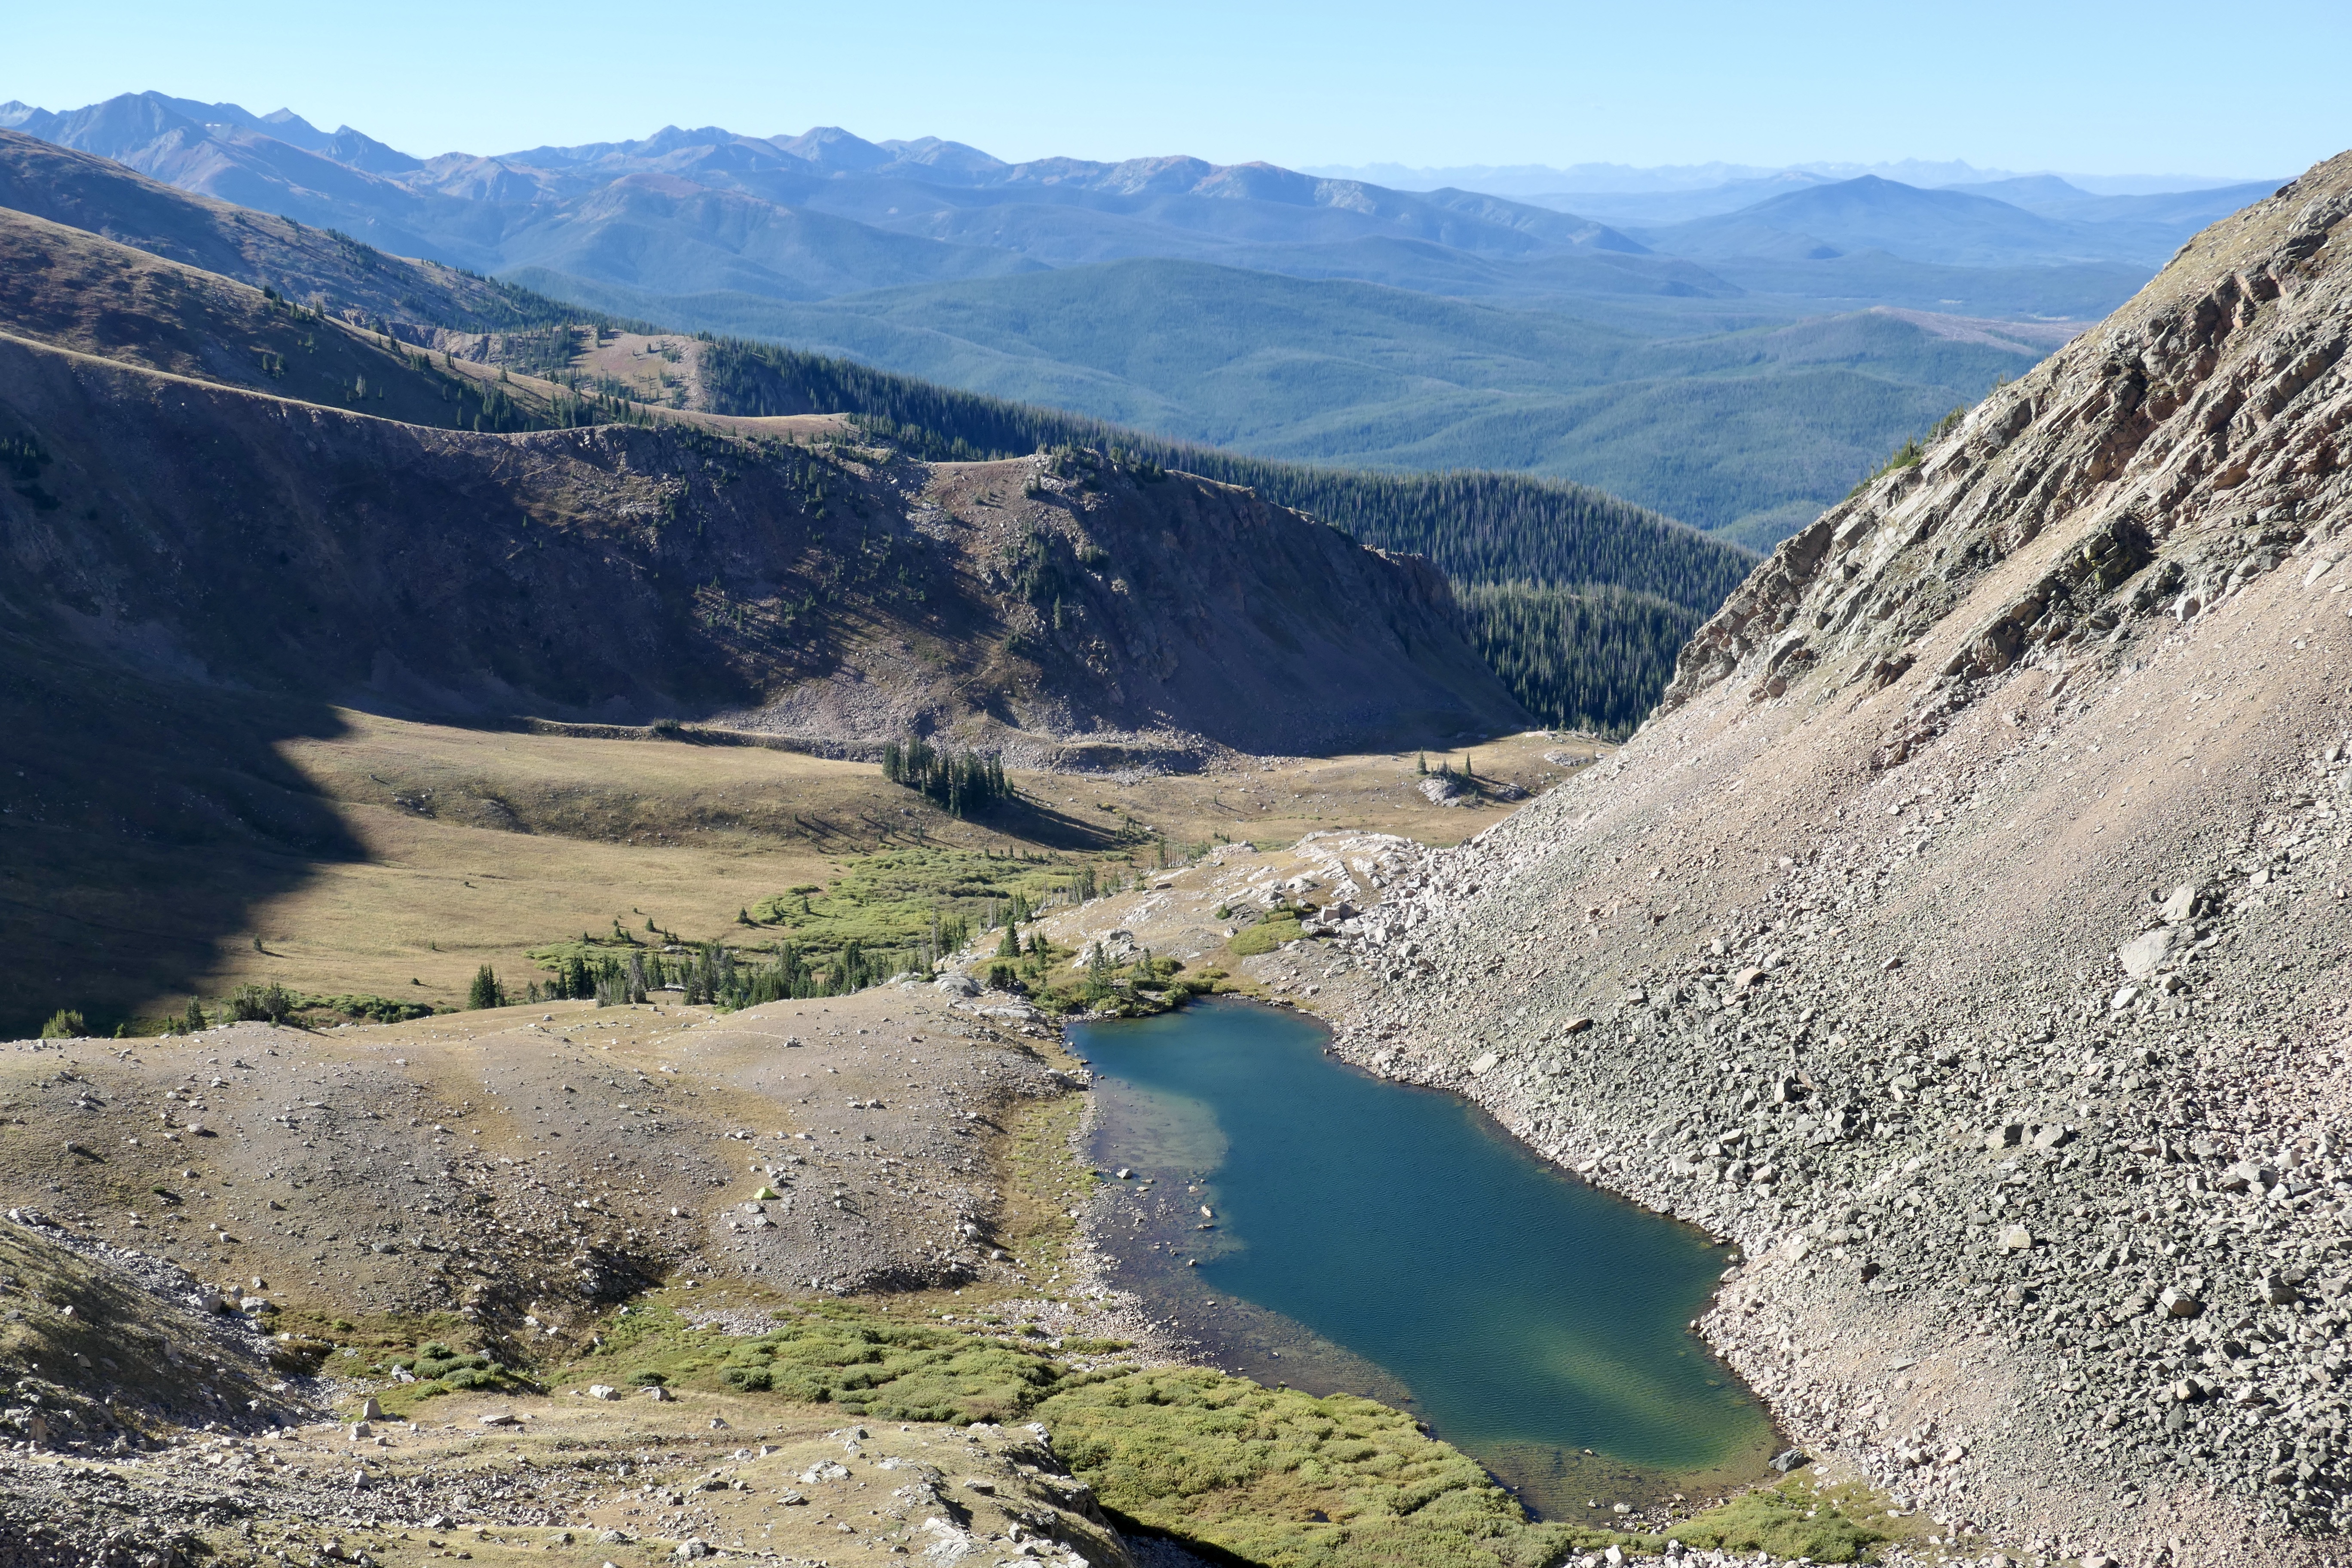
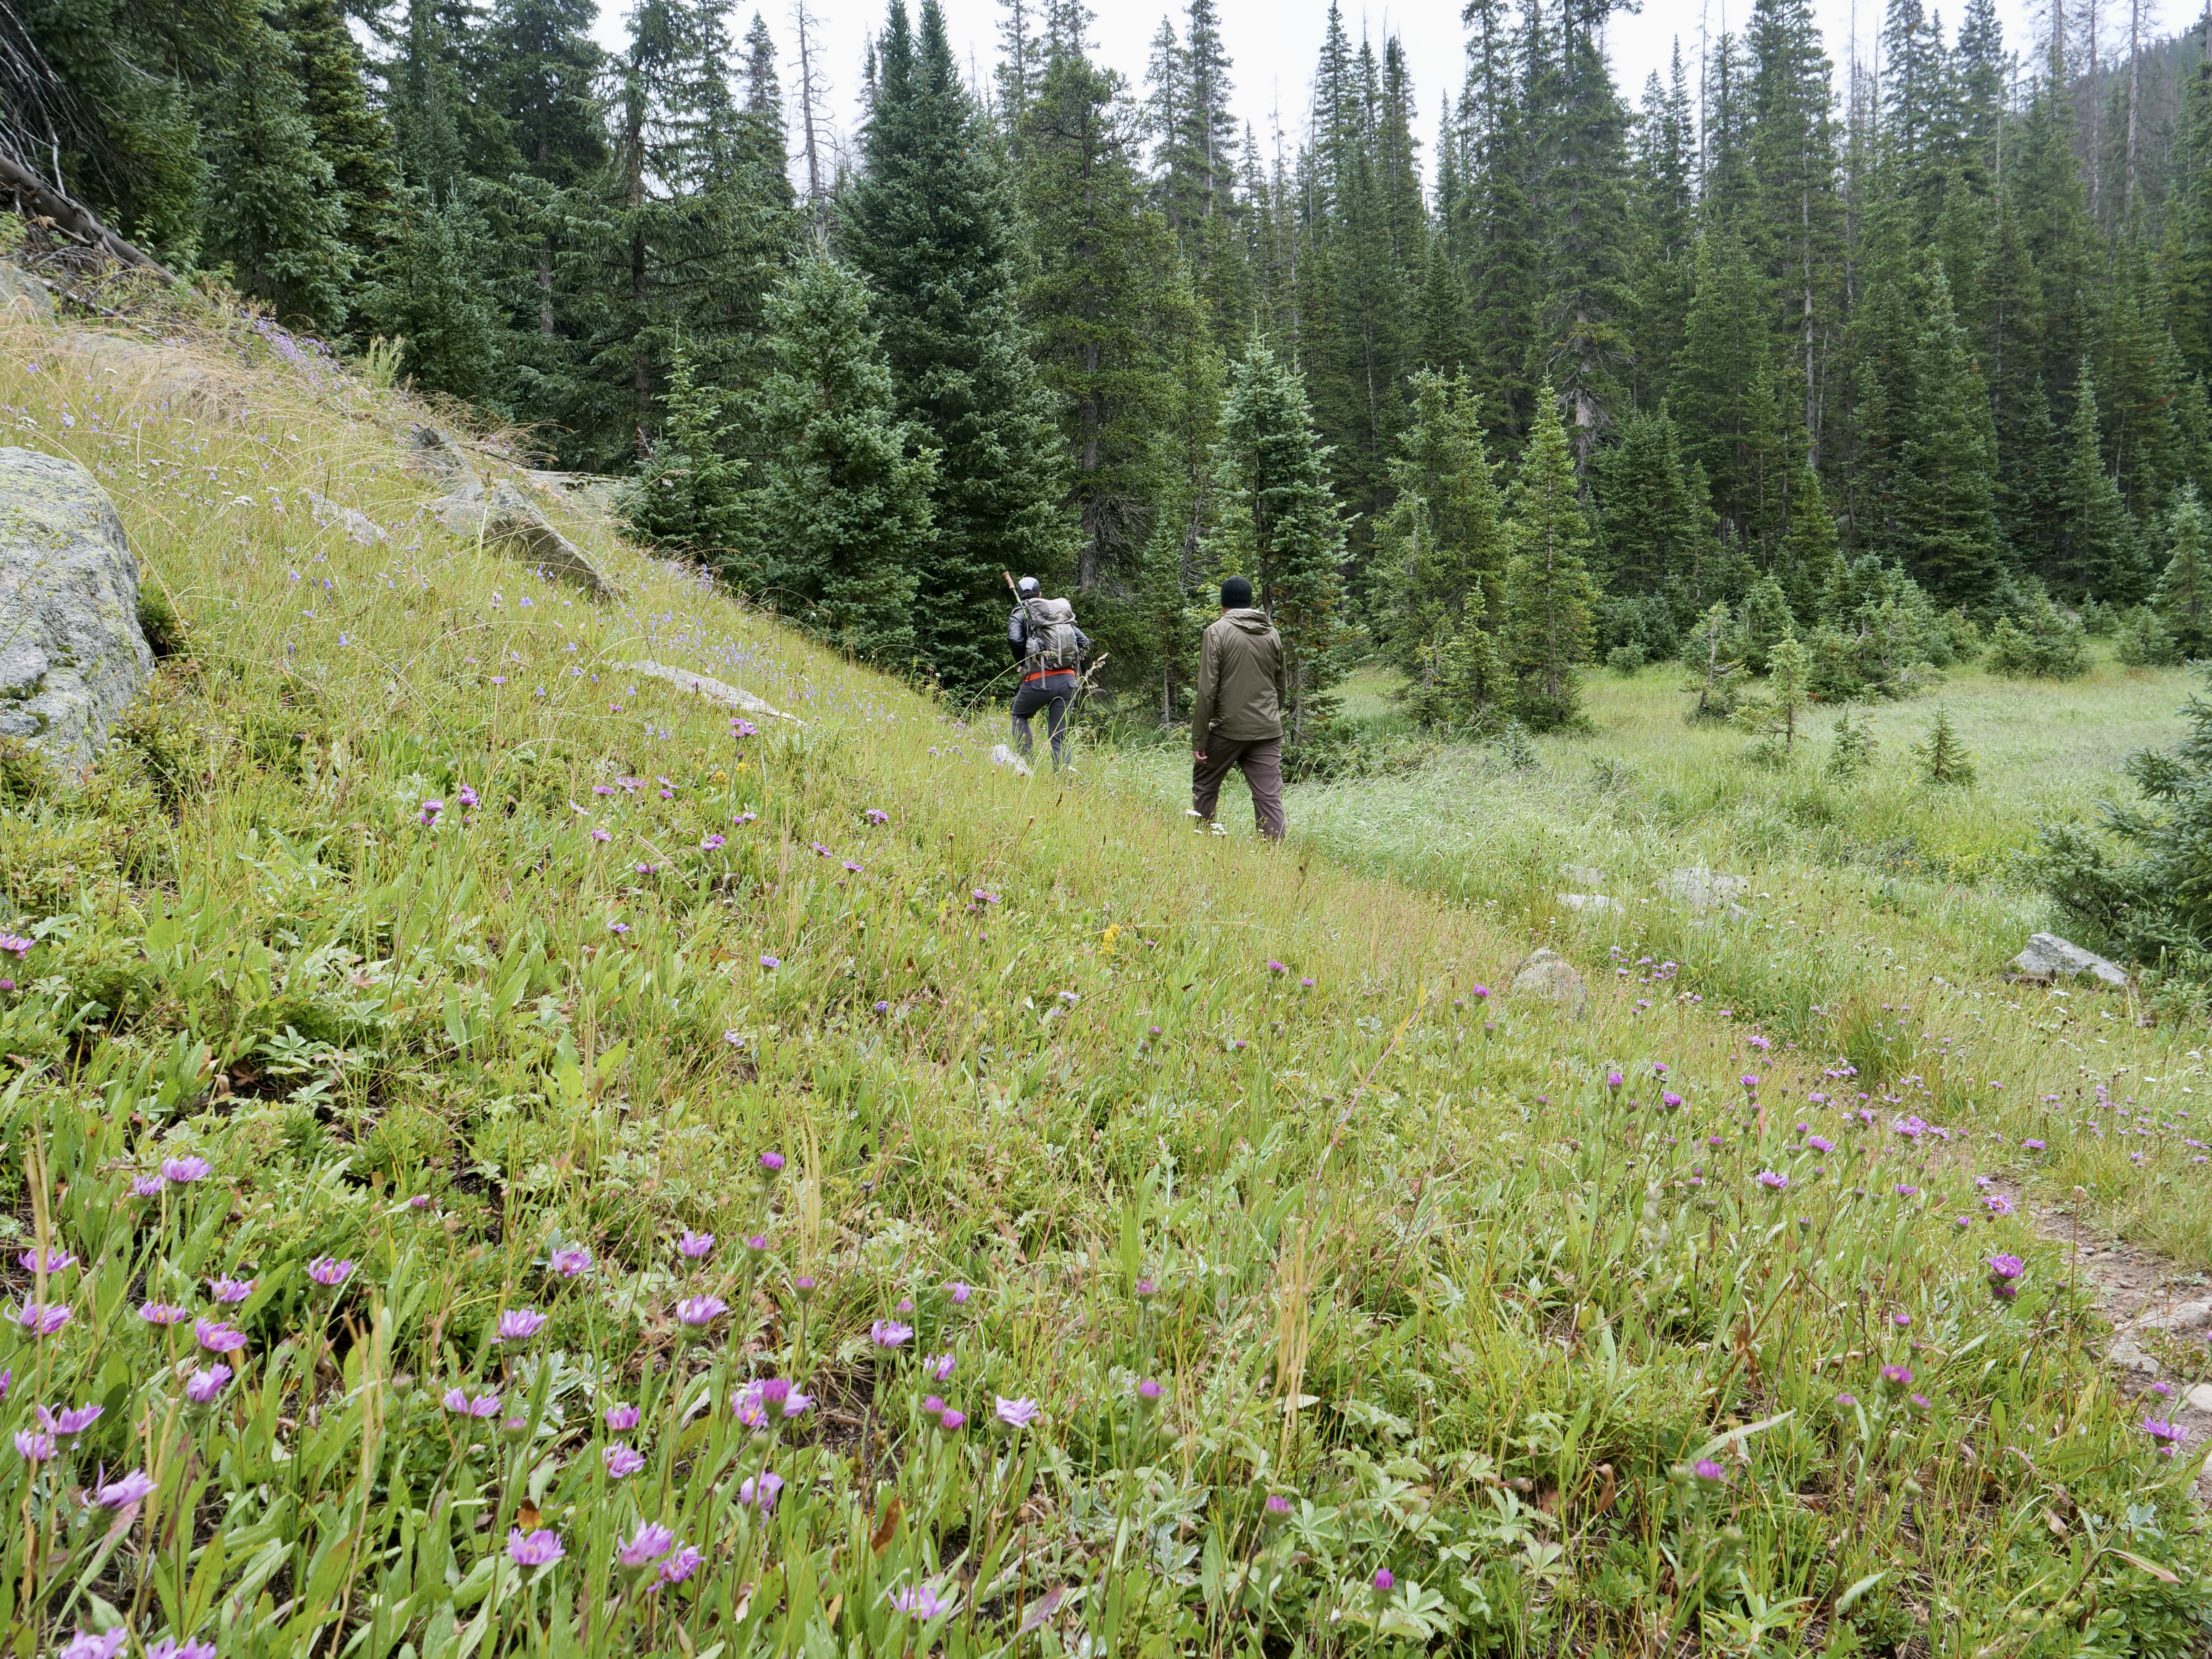
I recently found out about Outdoor Trail Maps and got a bunch of the wilderness areas in Colorado. I really like them, well priced, good size, and there’s nothing like pulling out a physical map when you are planning a trip. The Comanche Peak Wilderness is very close to where I live in Fort Collins so it has been on my list for a while. I had a failed attempt of going there on my bike a few weeks ago but it’s definitely doable in a day on a bike from Fort Collins if you are ready to eat some elevation.
The route I planned for this trip turned out to be perfect: Even better views that I could imagine, and a perfect mix of terrain and difficulty. I had planned this weekend with my friend Josh which is always fun. He mostly brings a great energy but sometimes whines a bit too much to my liking. He’s new in the game so I suppose it’s okay, hopefully it will change for the better with more experience…(I know he’s going to read this with a big smile).
Day 1– Beaver Creek Trail & Brackenbury Cabin Trail (Strava link)
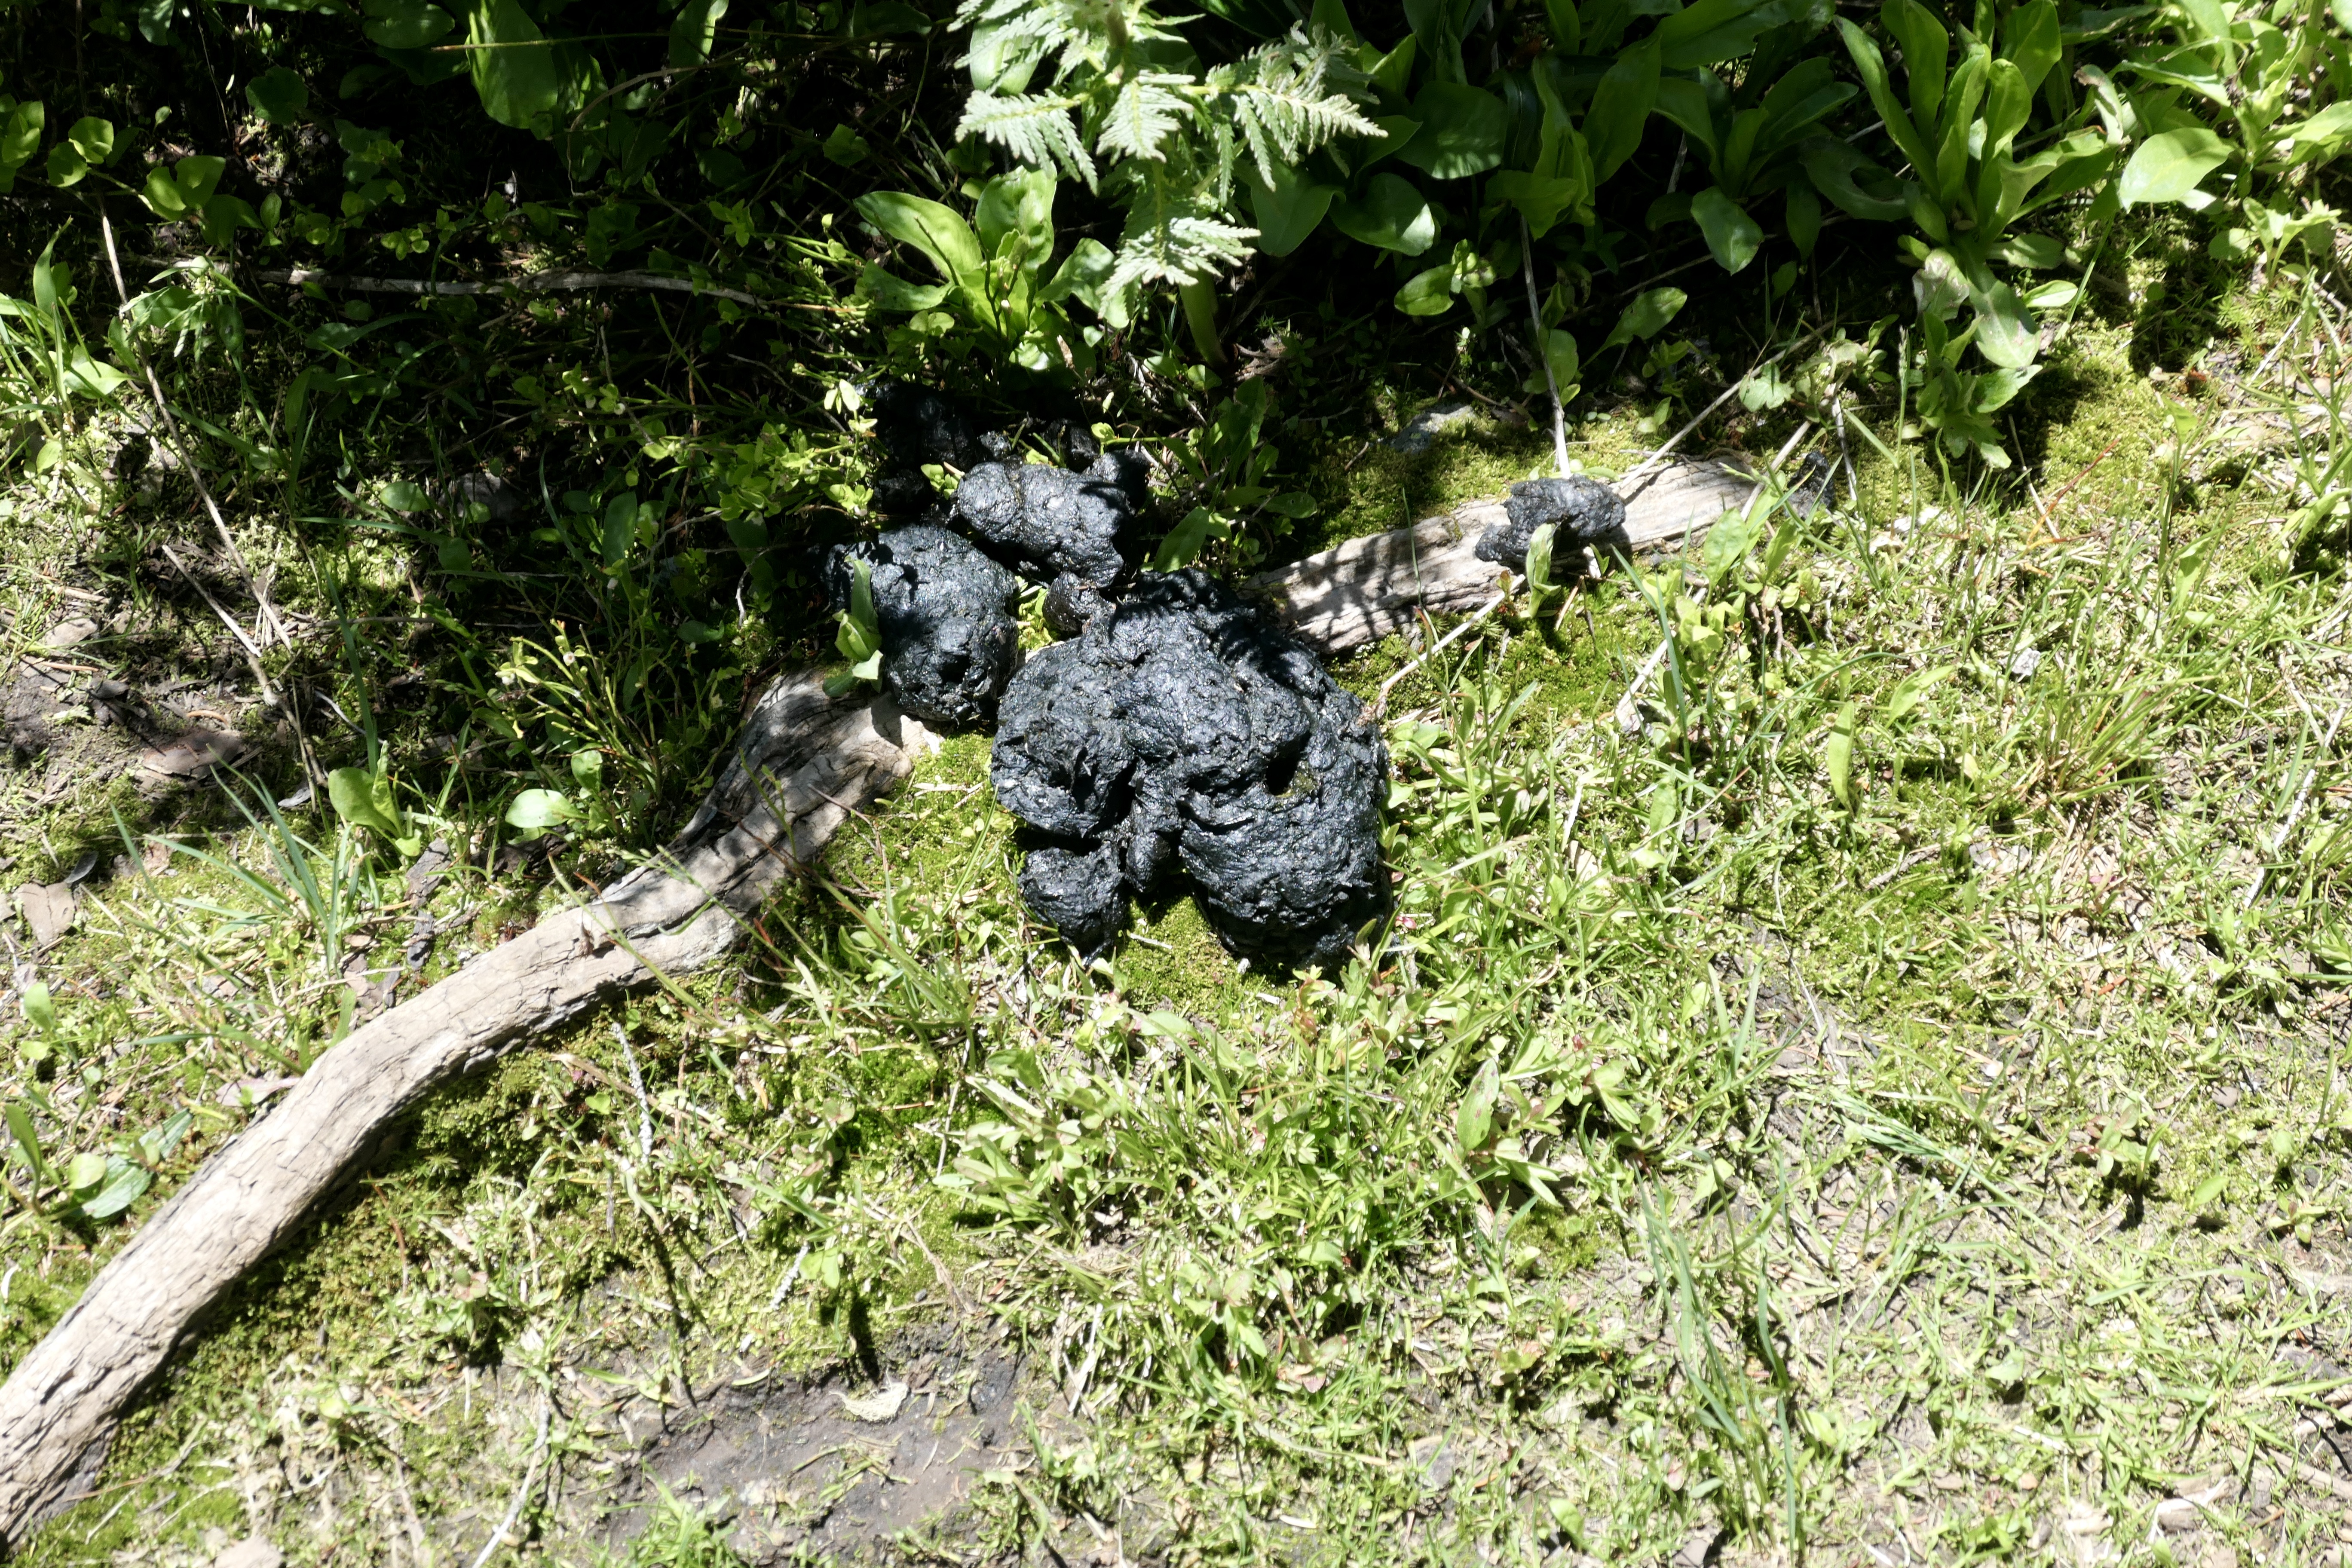
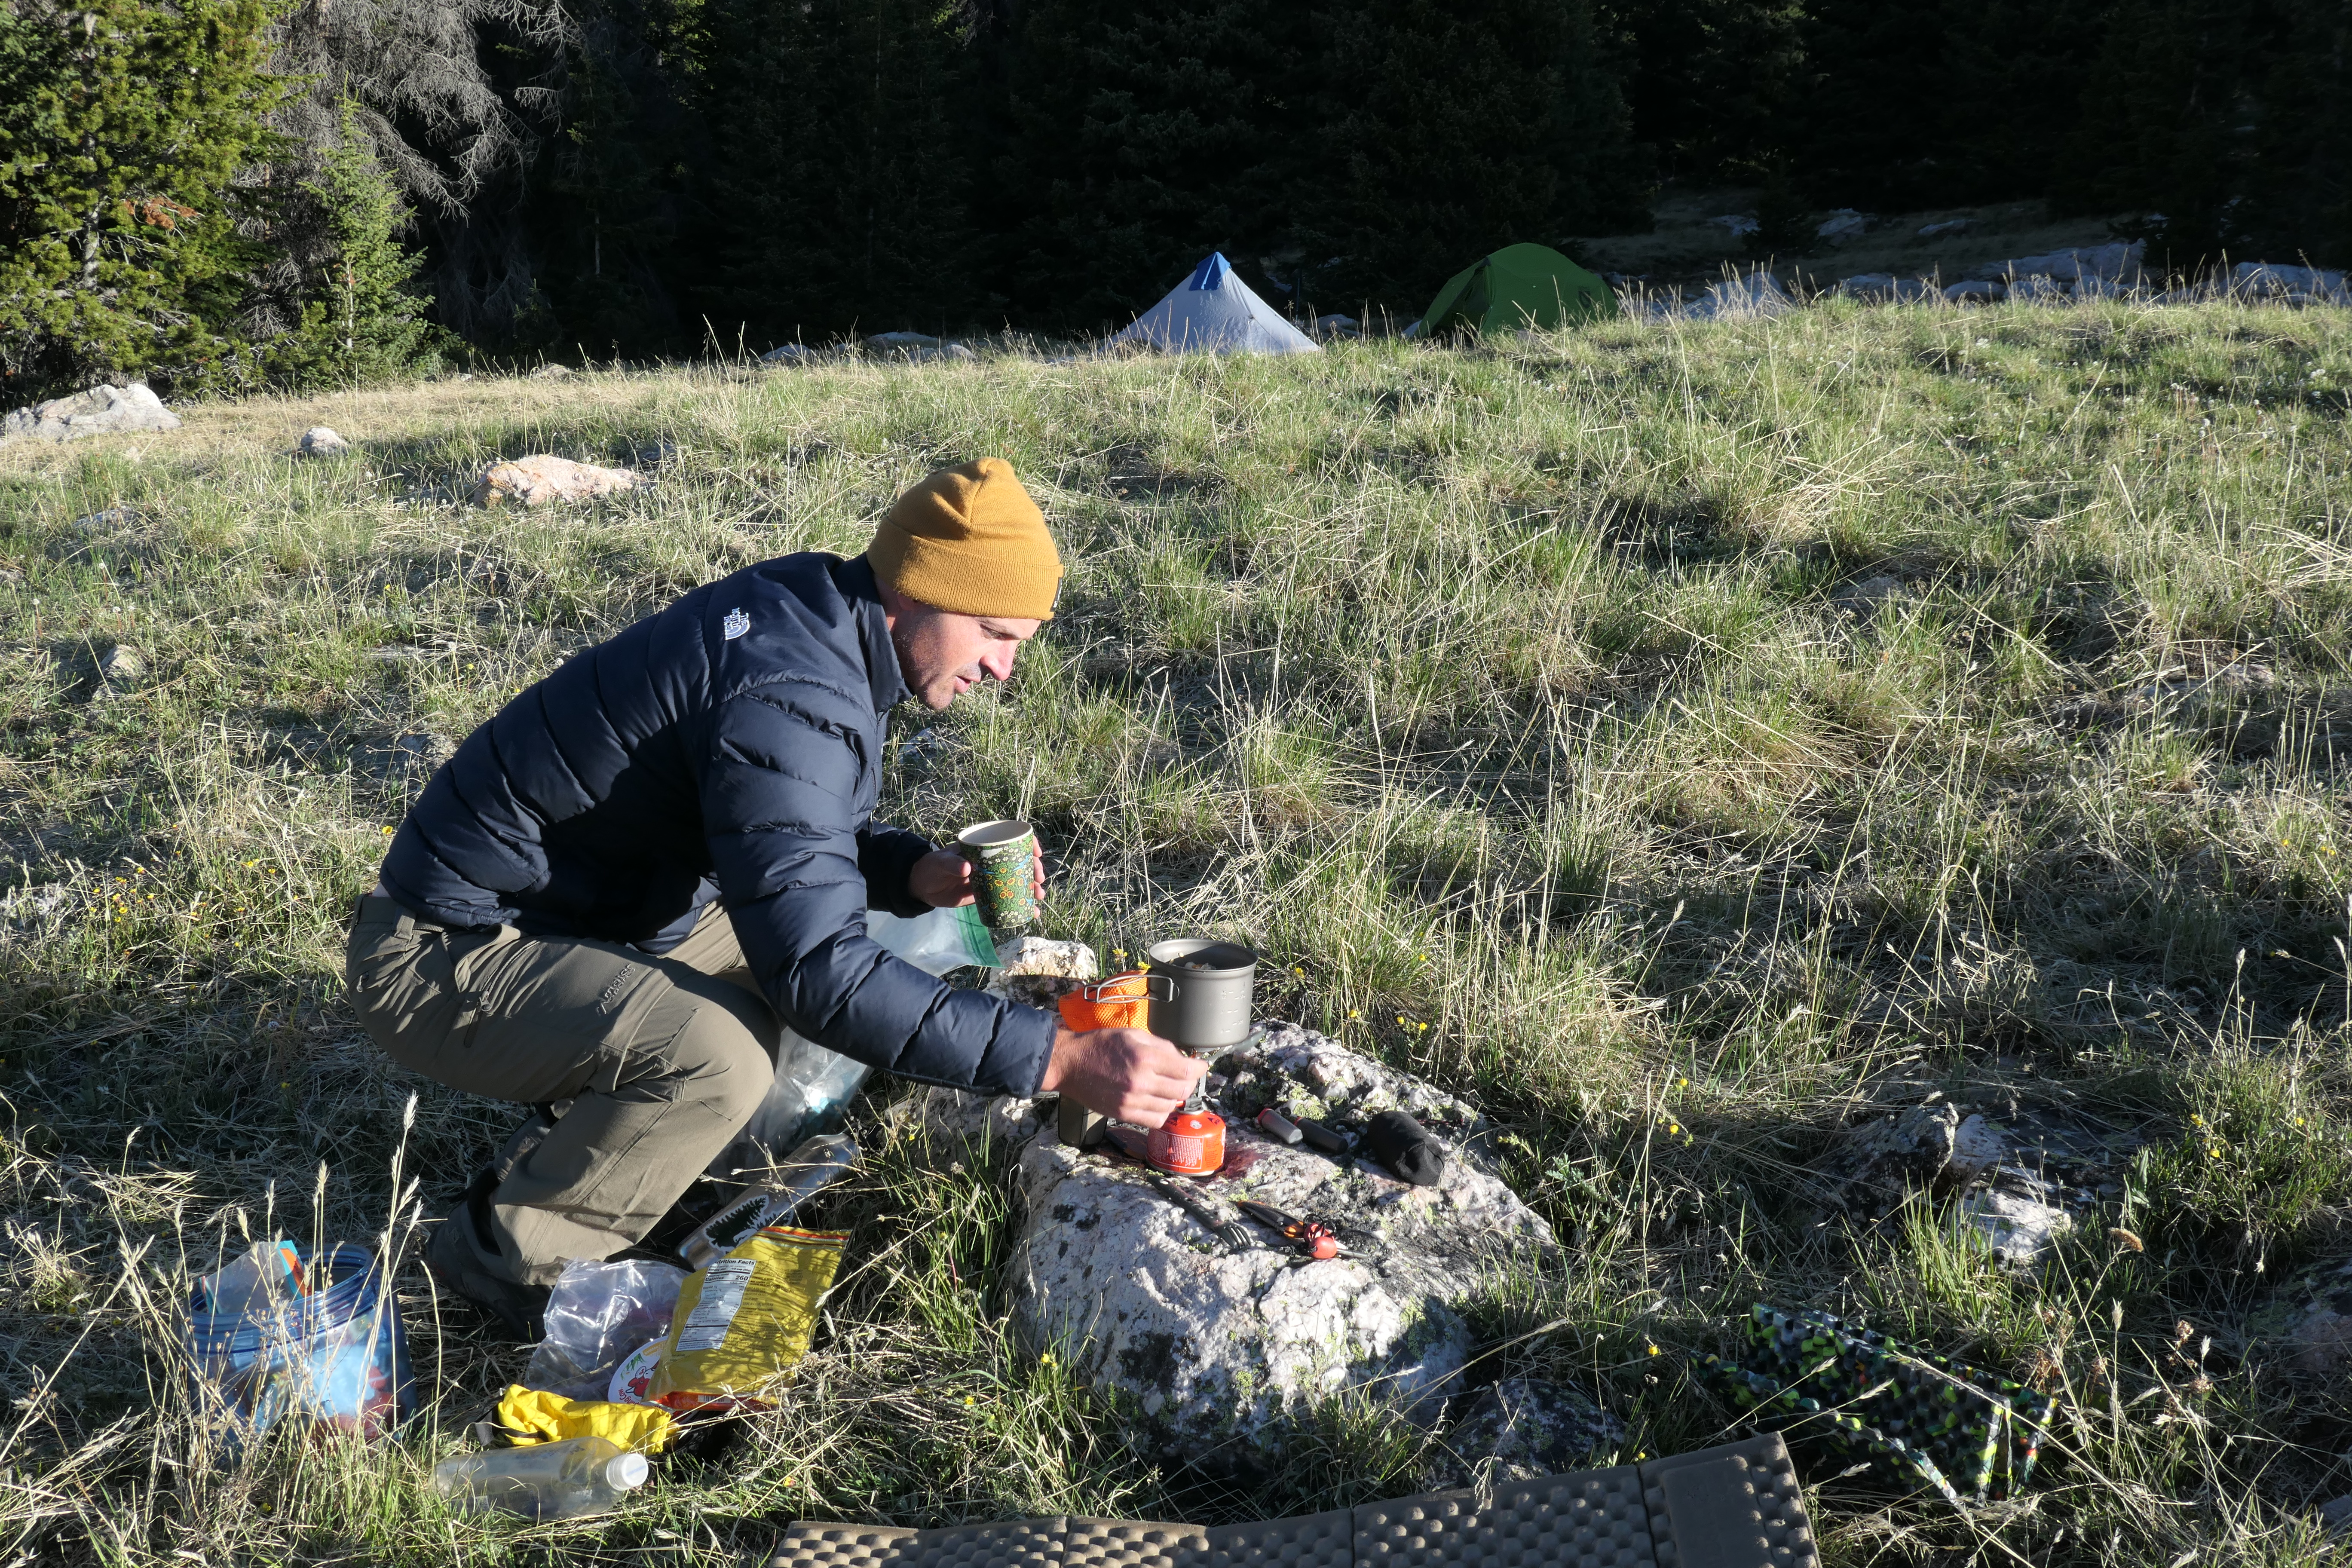
The trail goes along Beaver Creek and is a really nice trail and super beautiful. Most people either go to Comanche Lake or Browns Lake so after that the trail becomes a bit more rough. We saw a lot of bear, deer, and Elk poop but never saw the animals. There’s a gentle climb out of the woods where it connects with the Brackenbury Cabin Trail. It was a little tricky to follow the trail because of the snow but if we lost the trail we used MapOut to steer us back. When we crossed the pass an amazing view of the Never Summer Range opened up (see pics) and we found a perfect place to pitch our tents on the other side right around treeline. We cooked some couscous with tuna and broke out the whisky.
Day 2 – Camp spot to Comanche Peak to parking lot (Strava link)
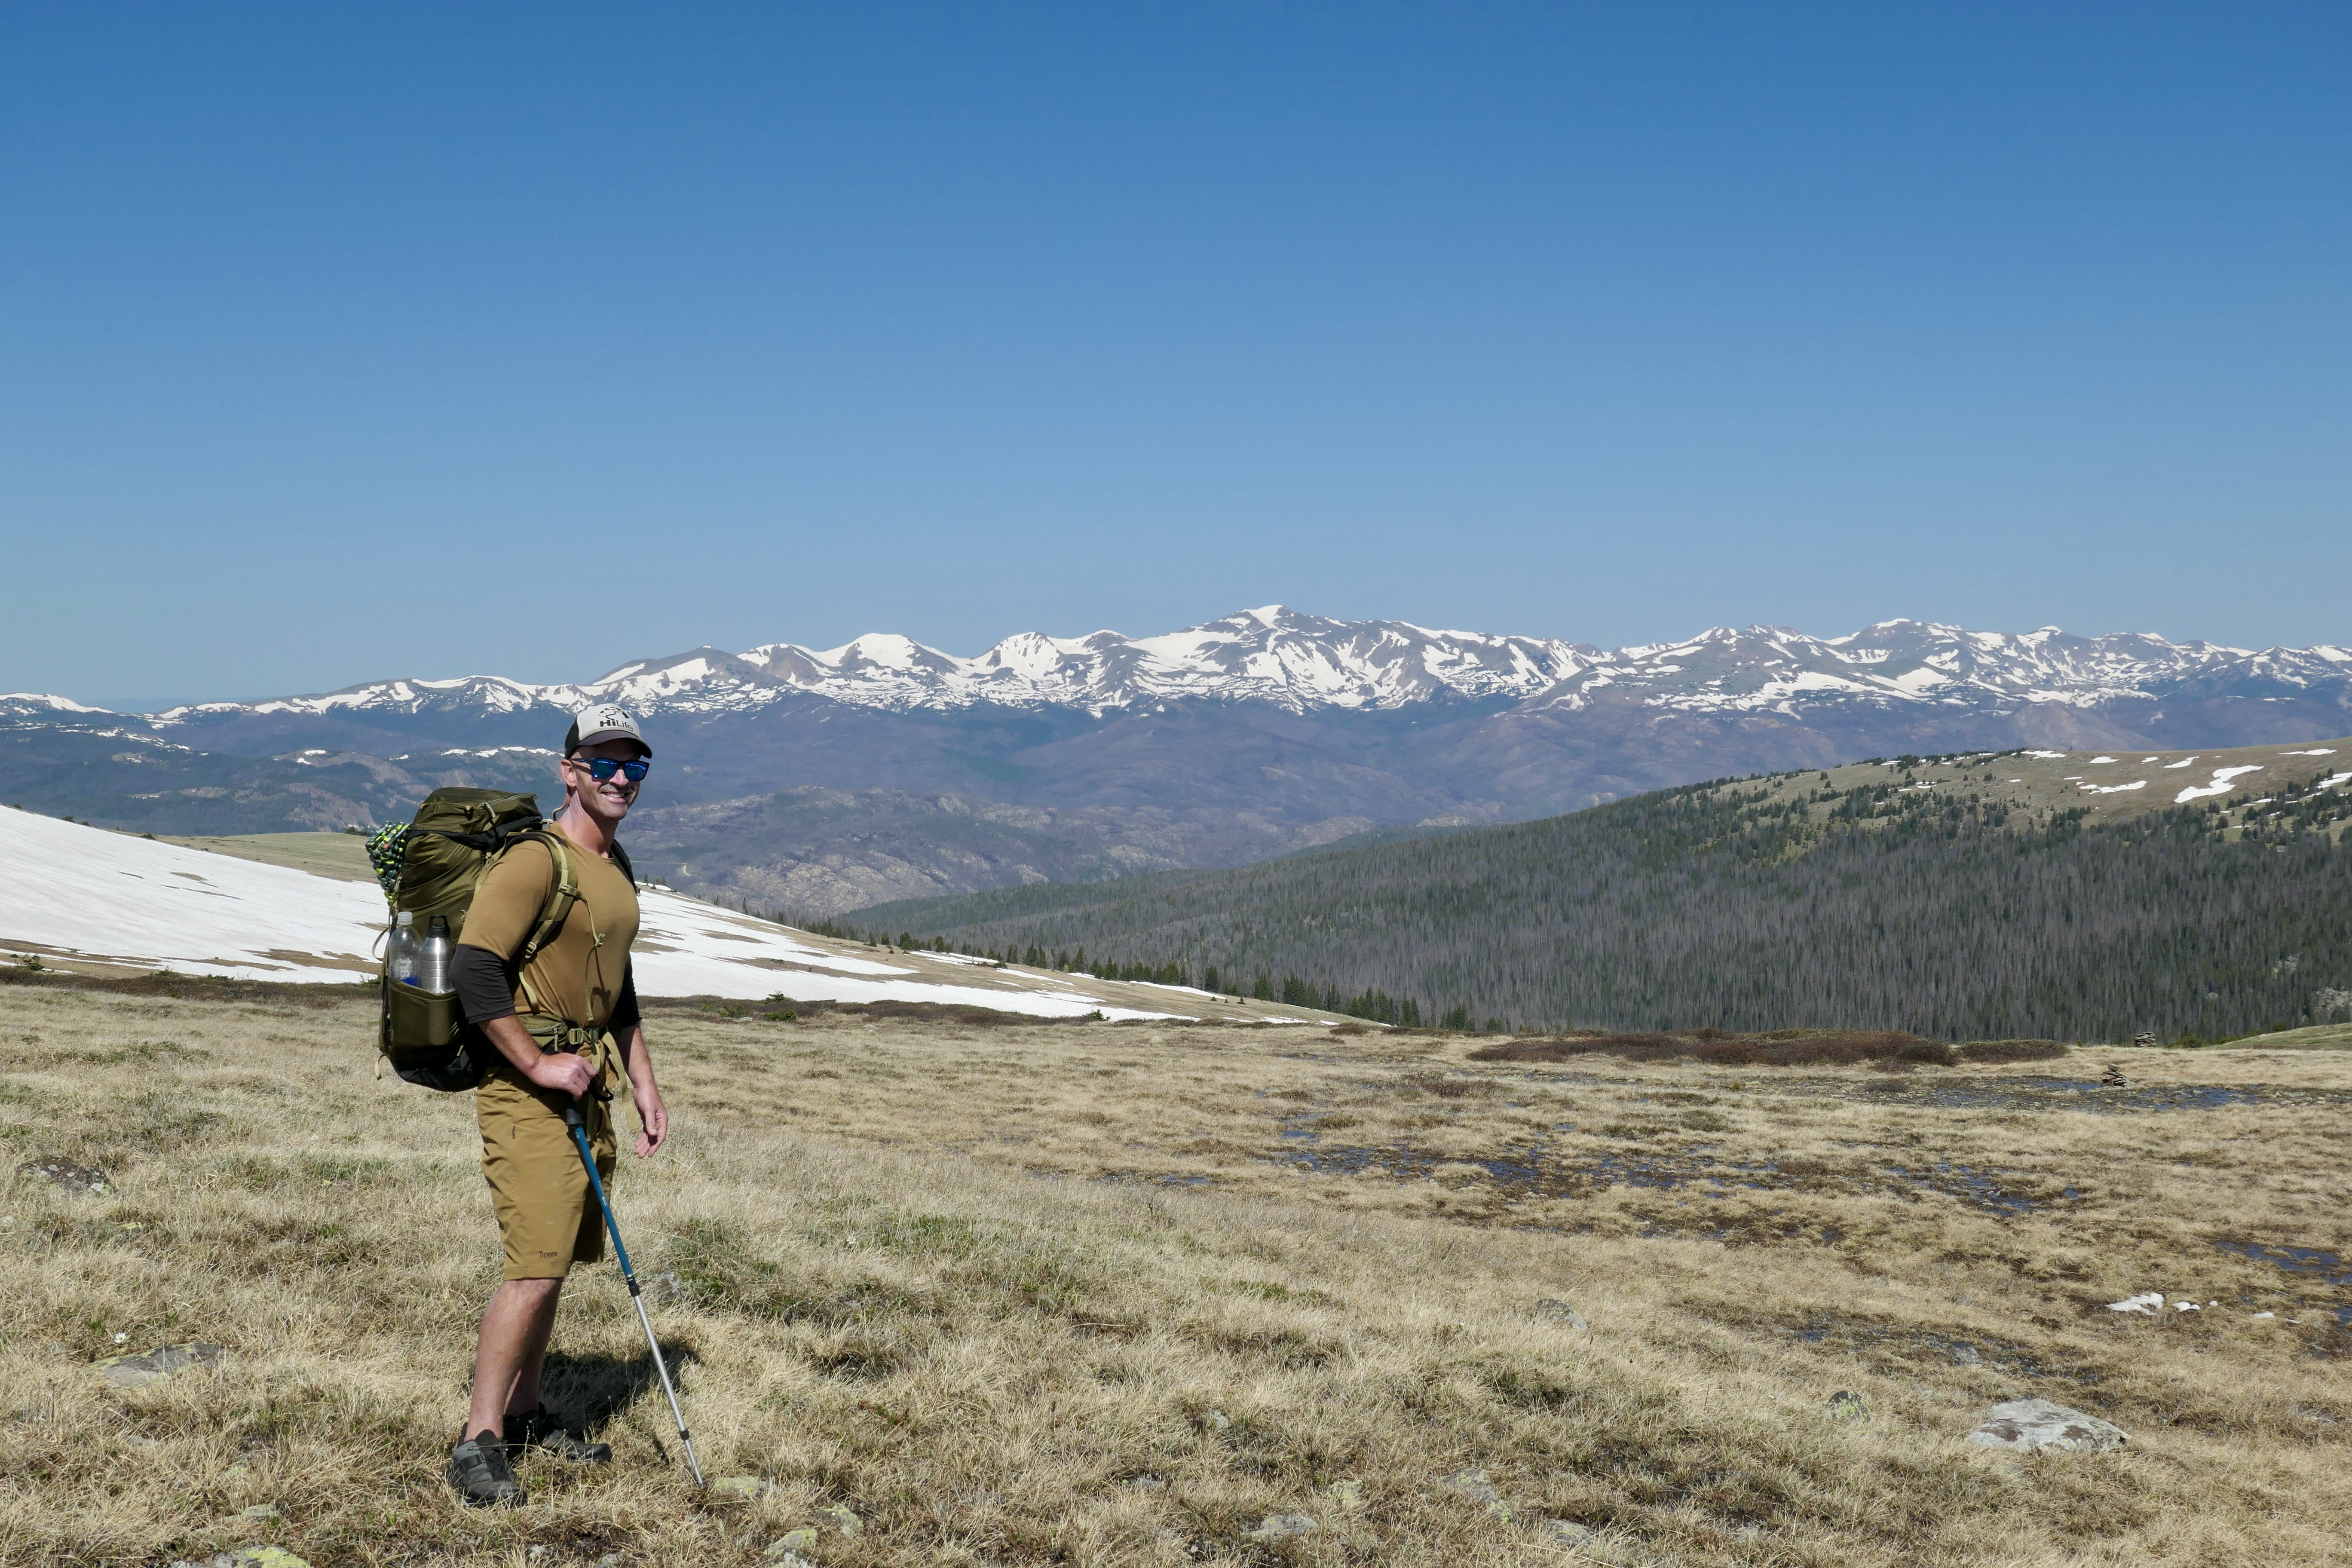
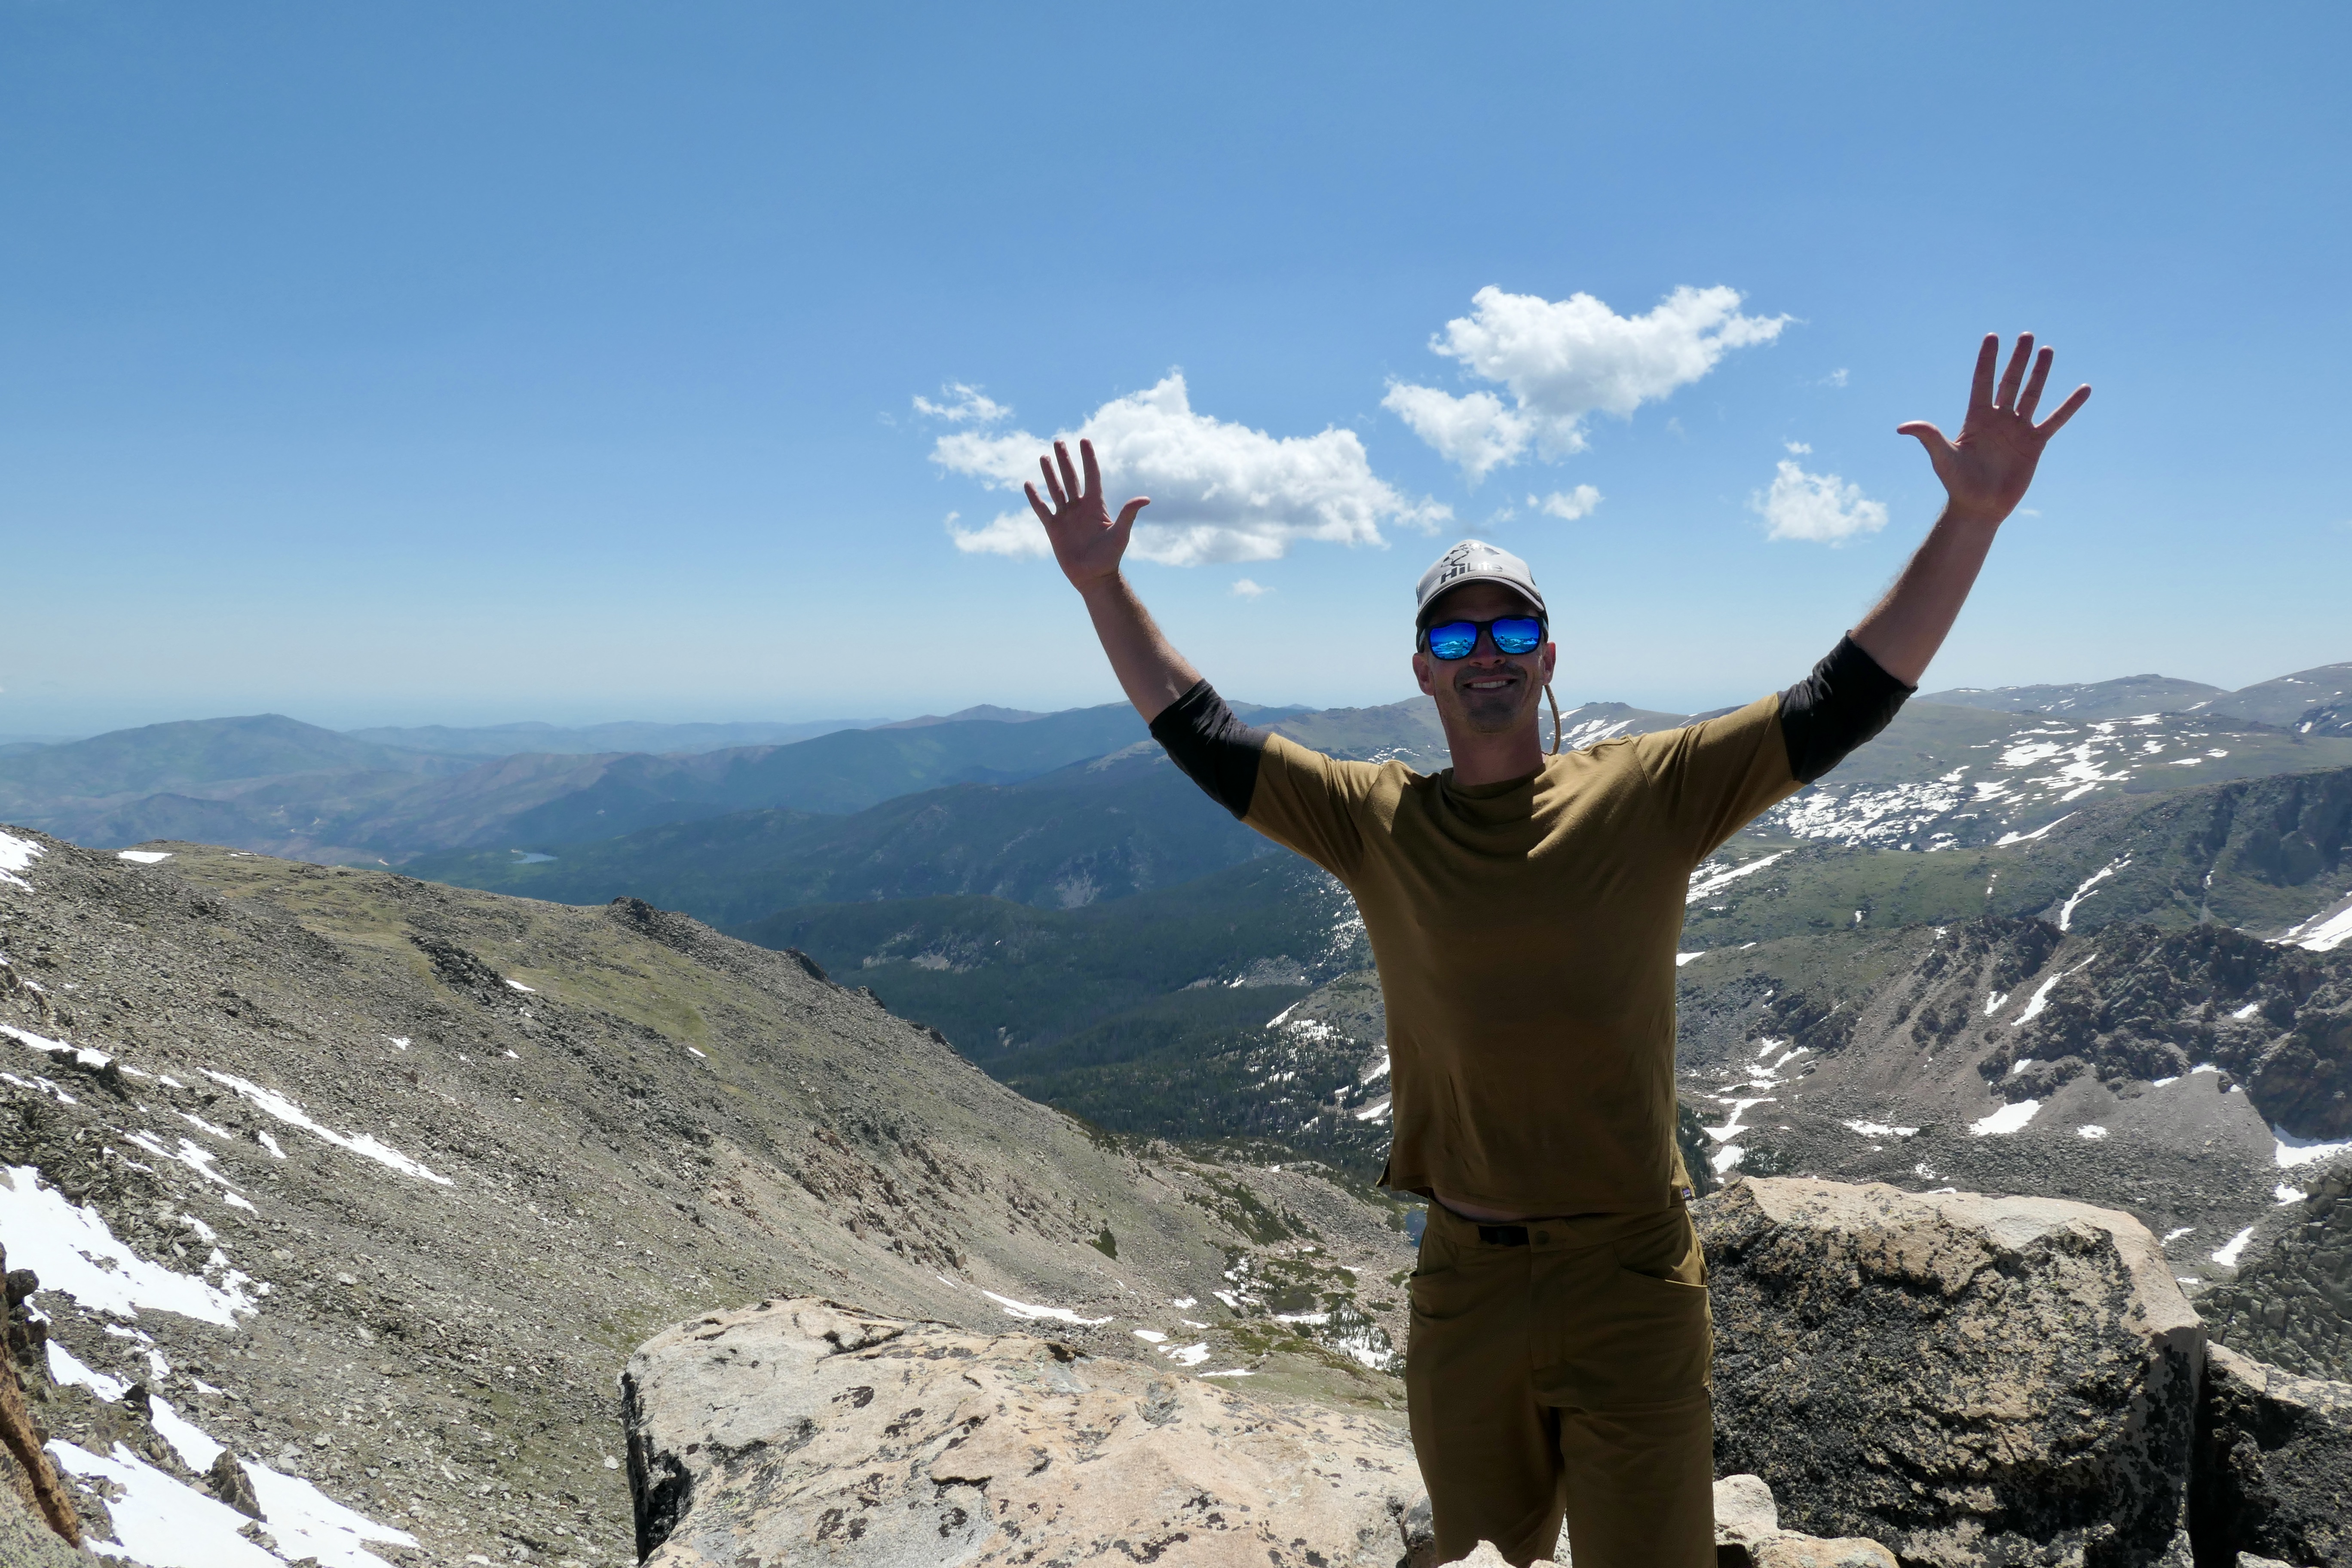
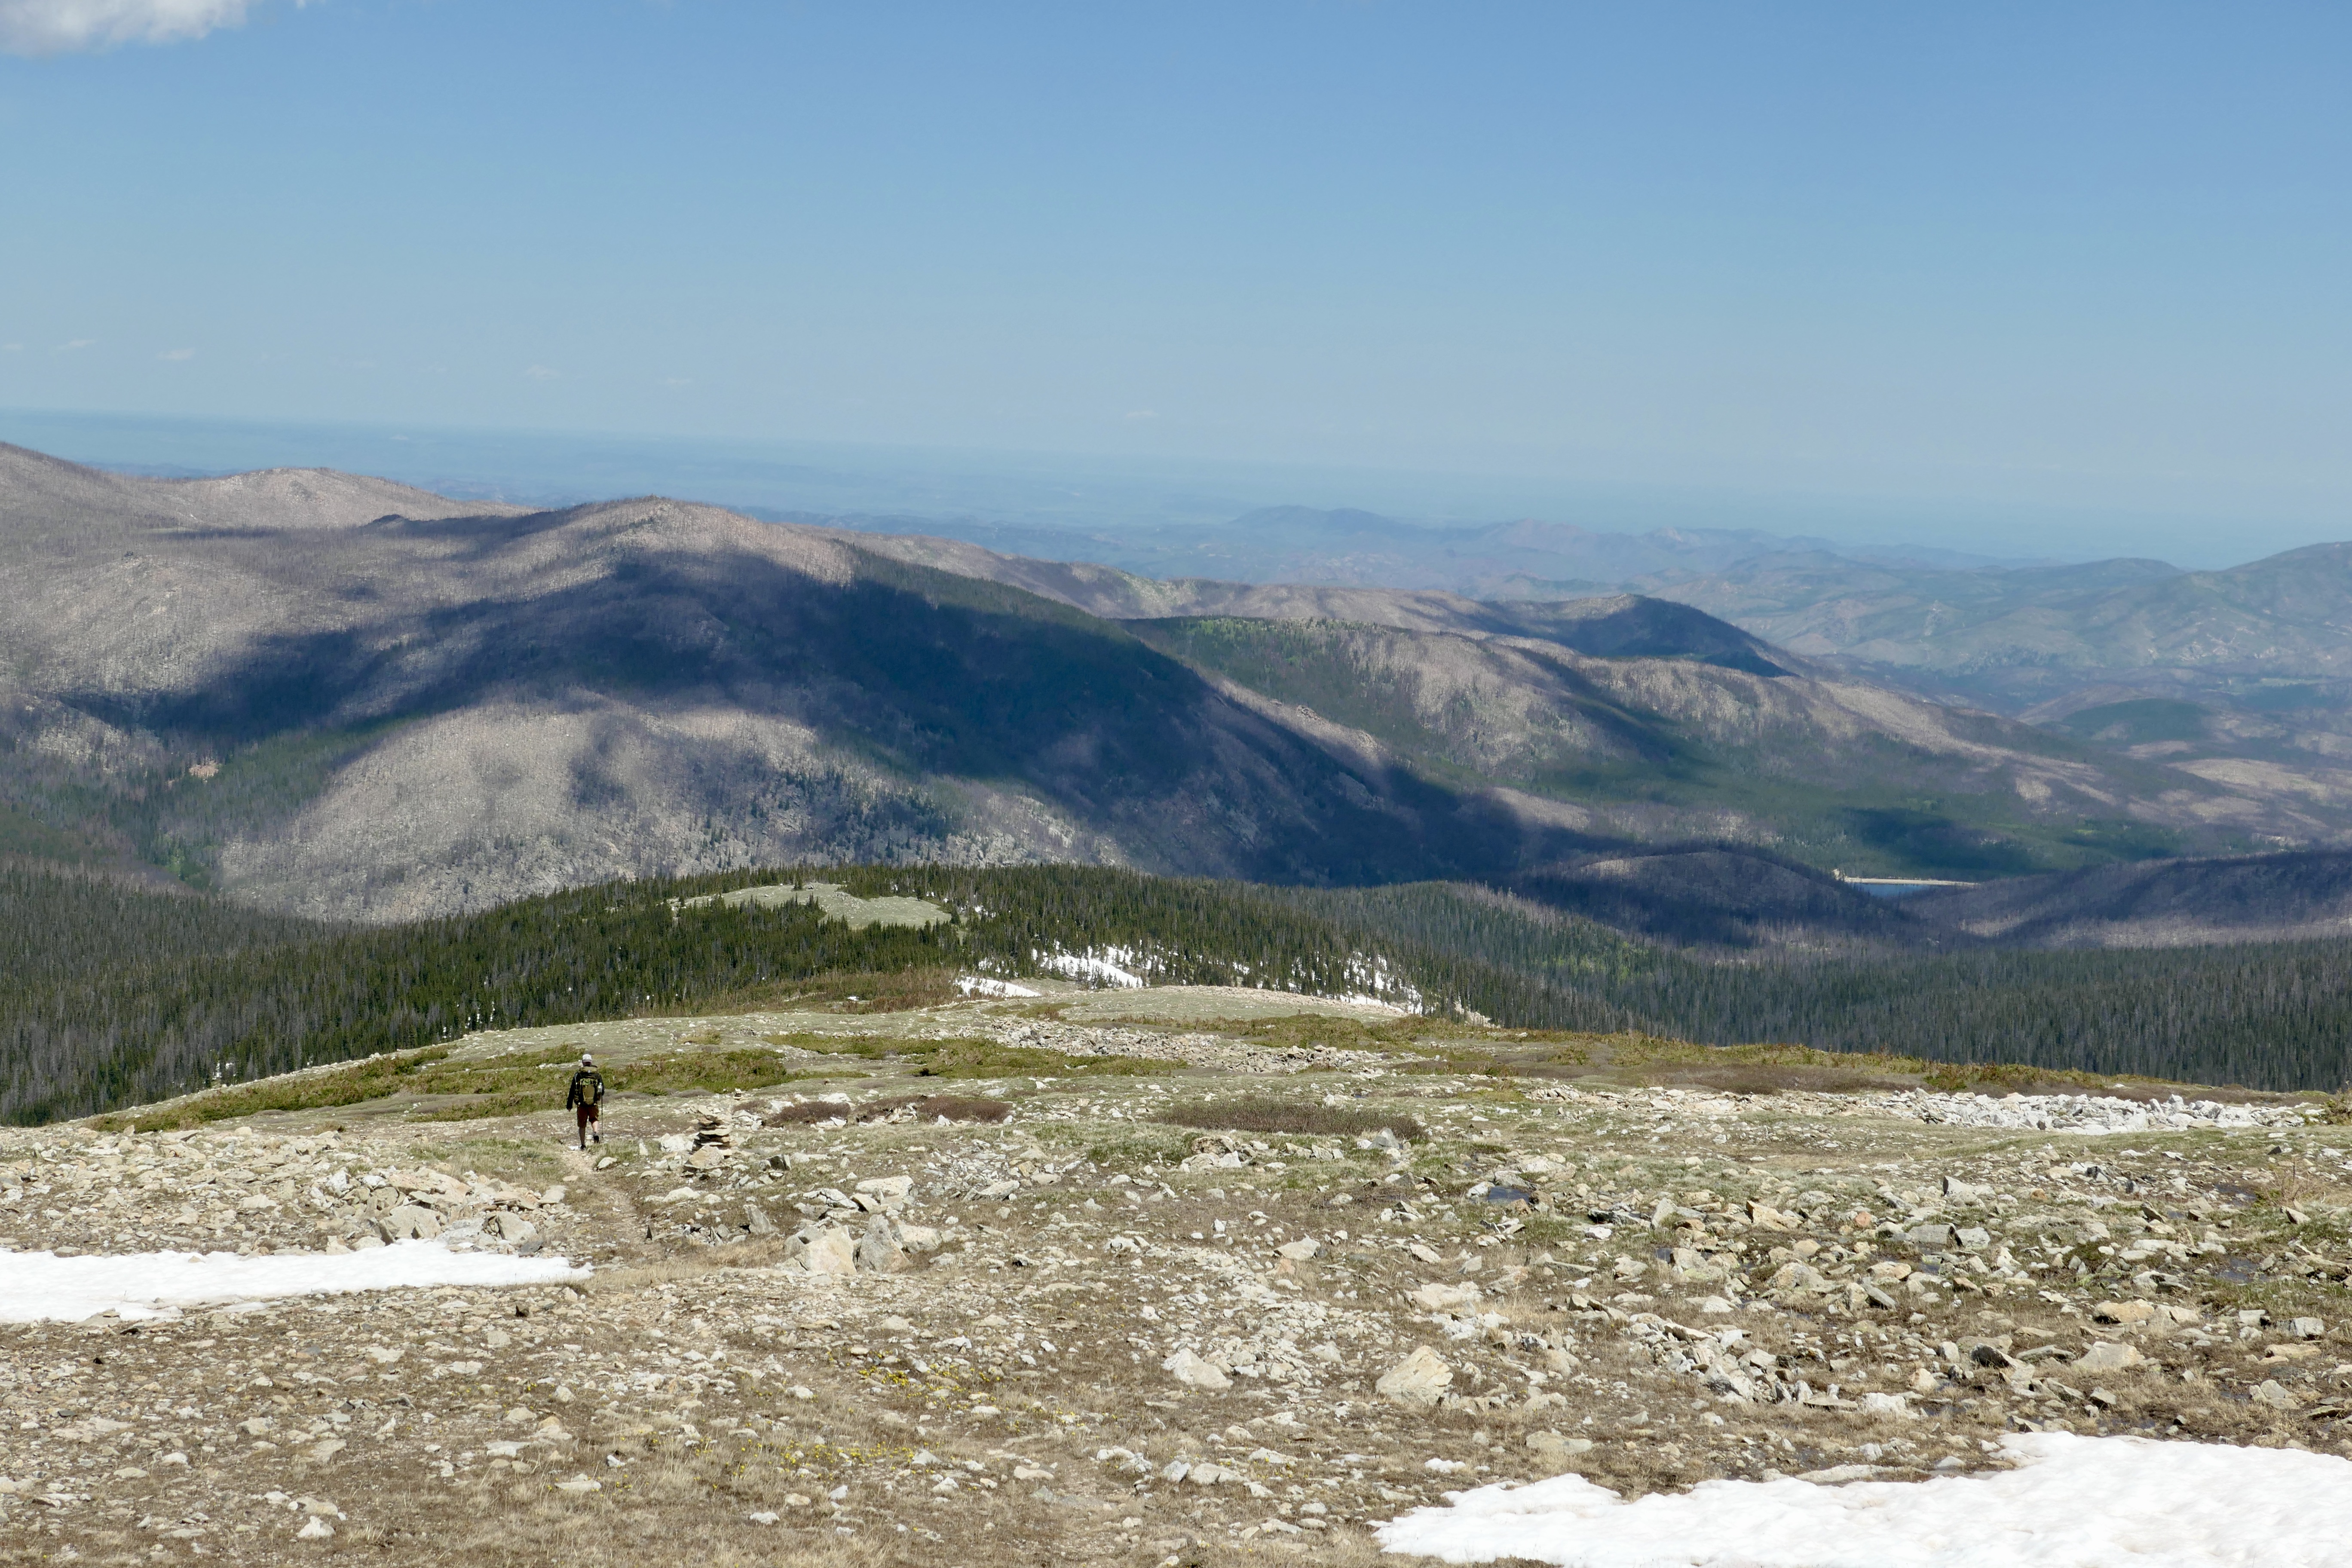
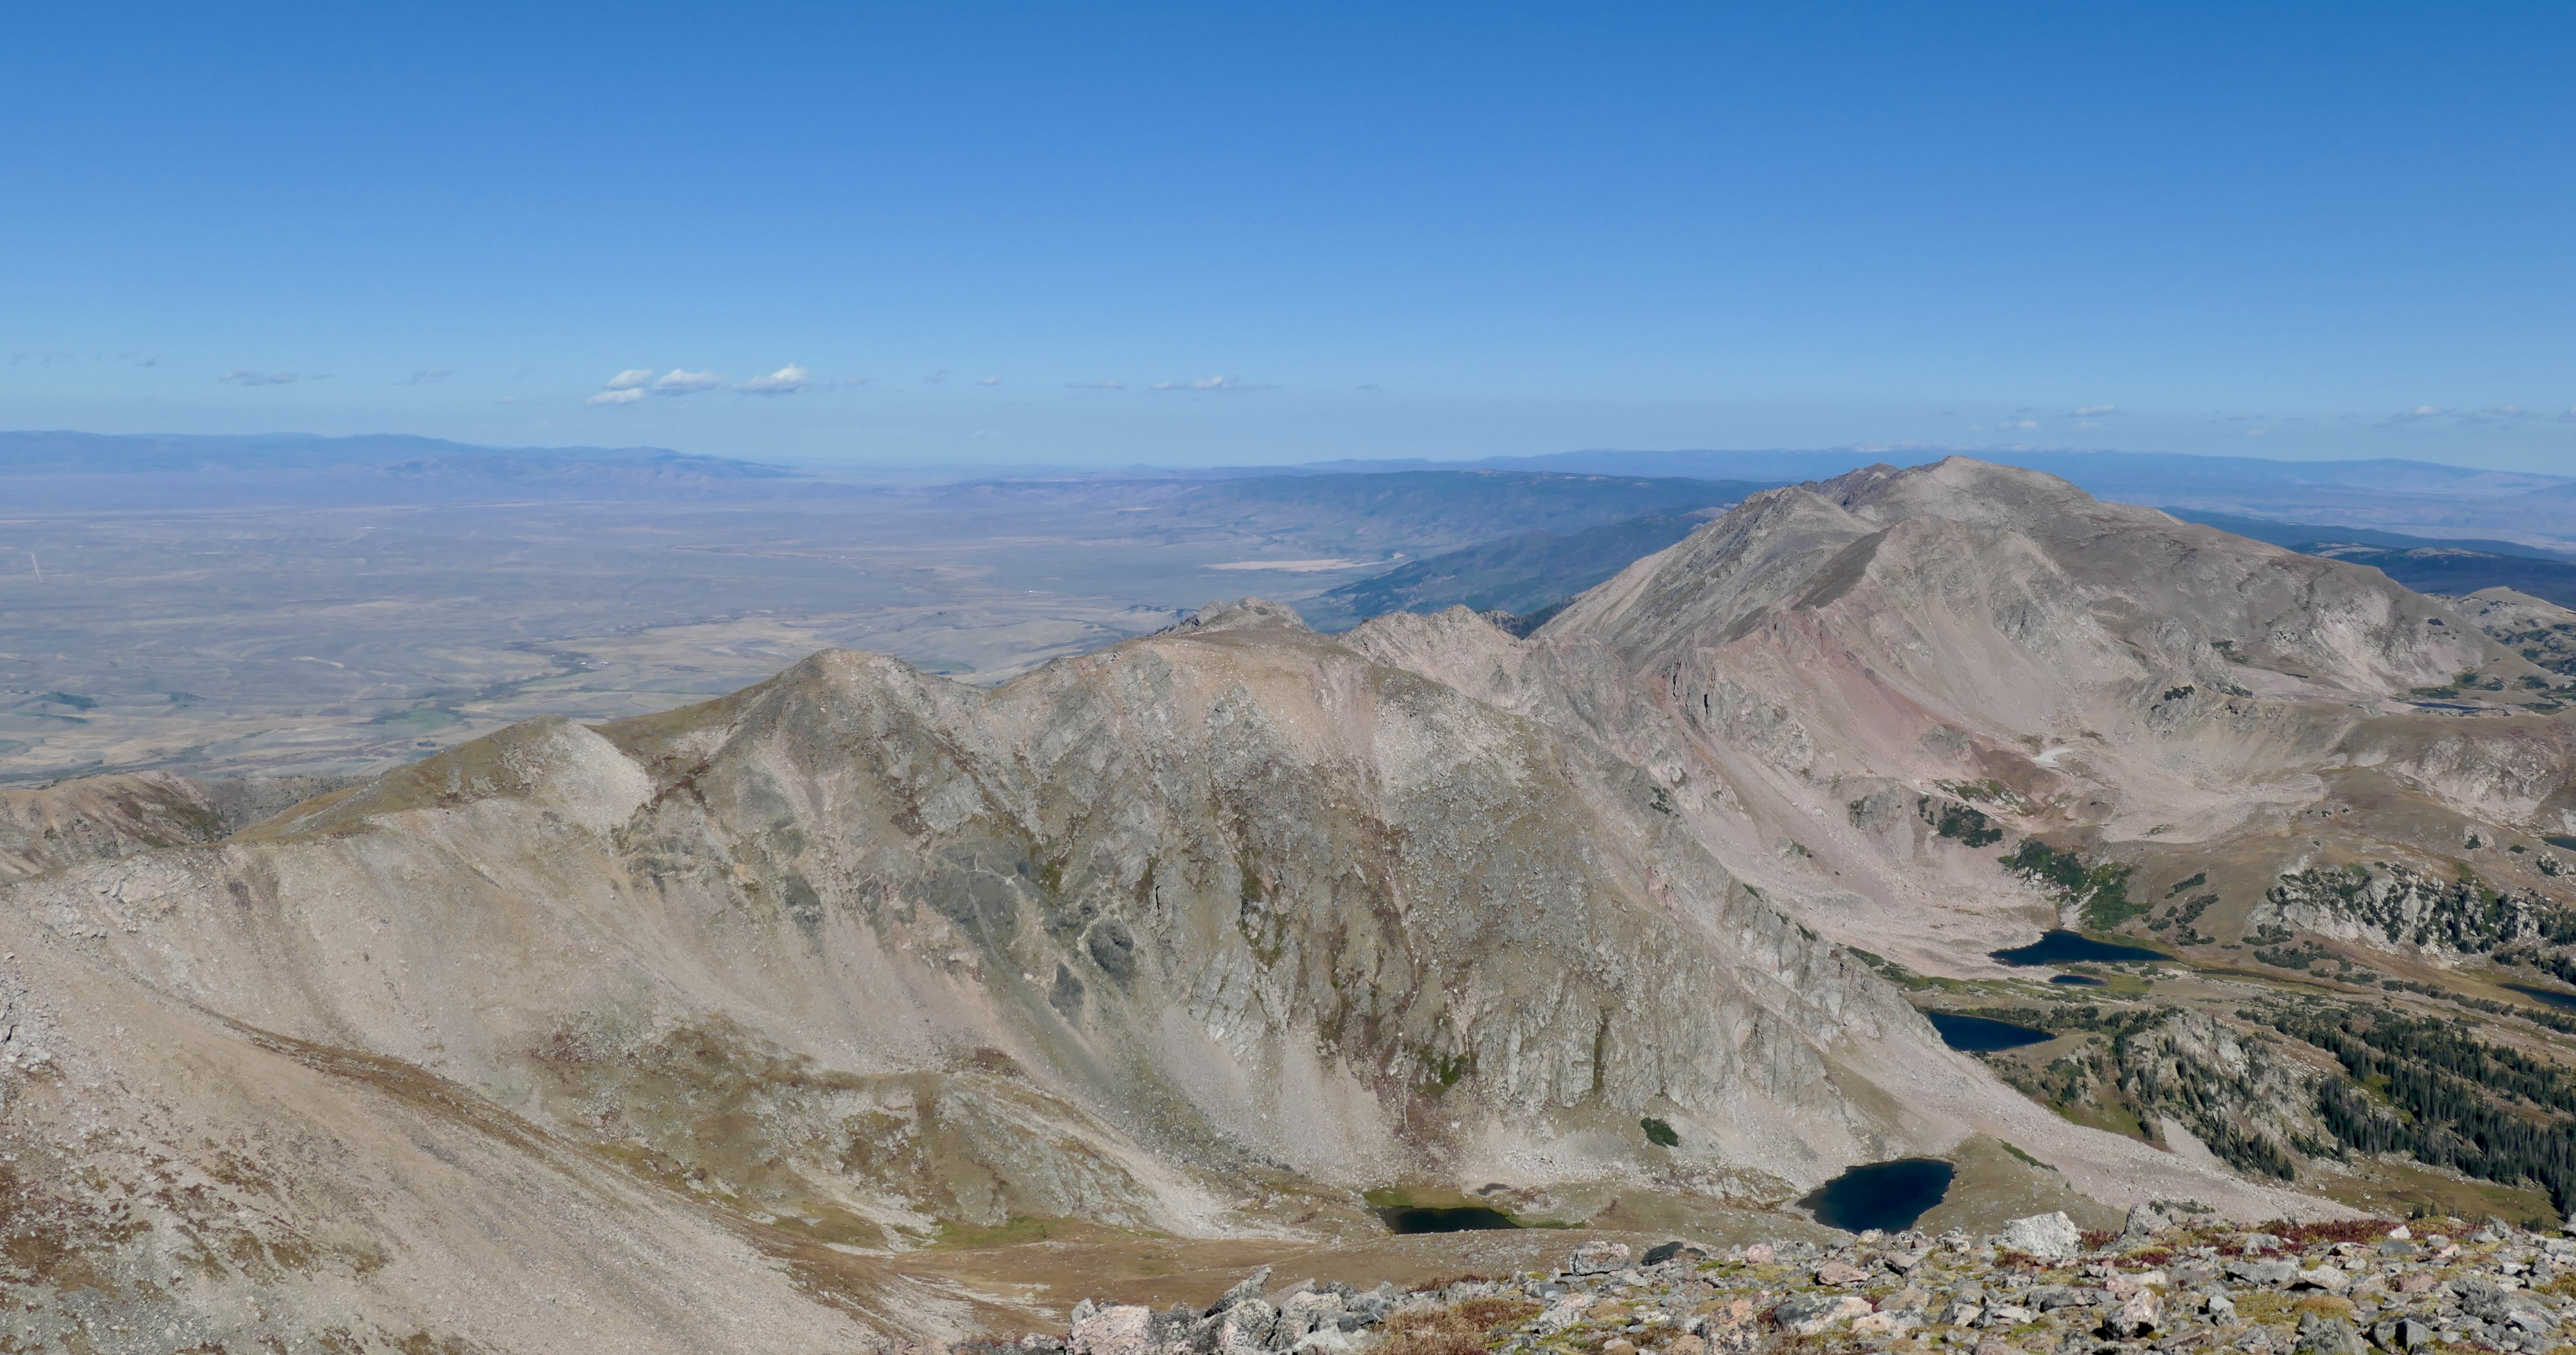
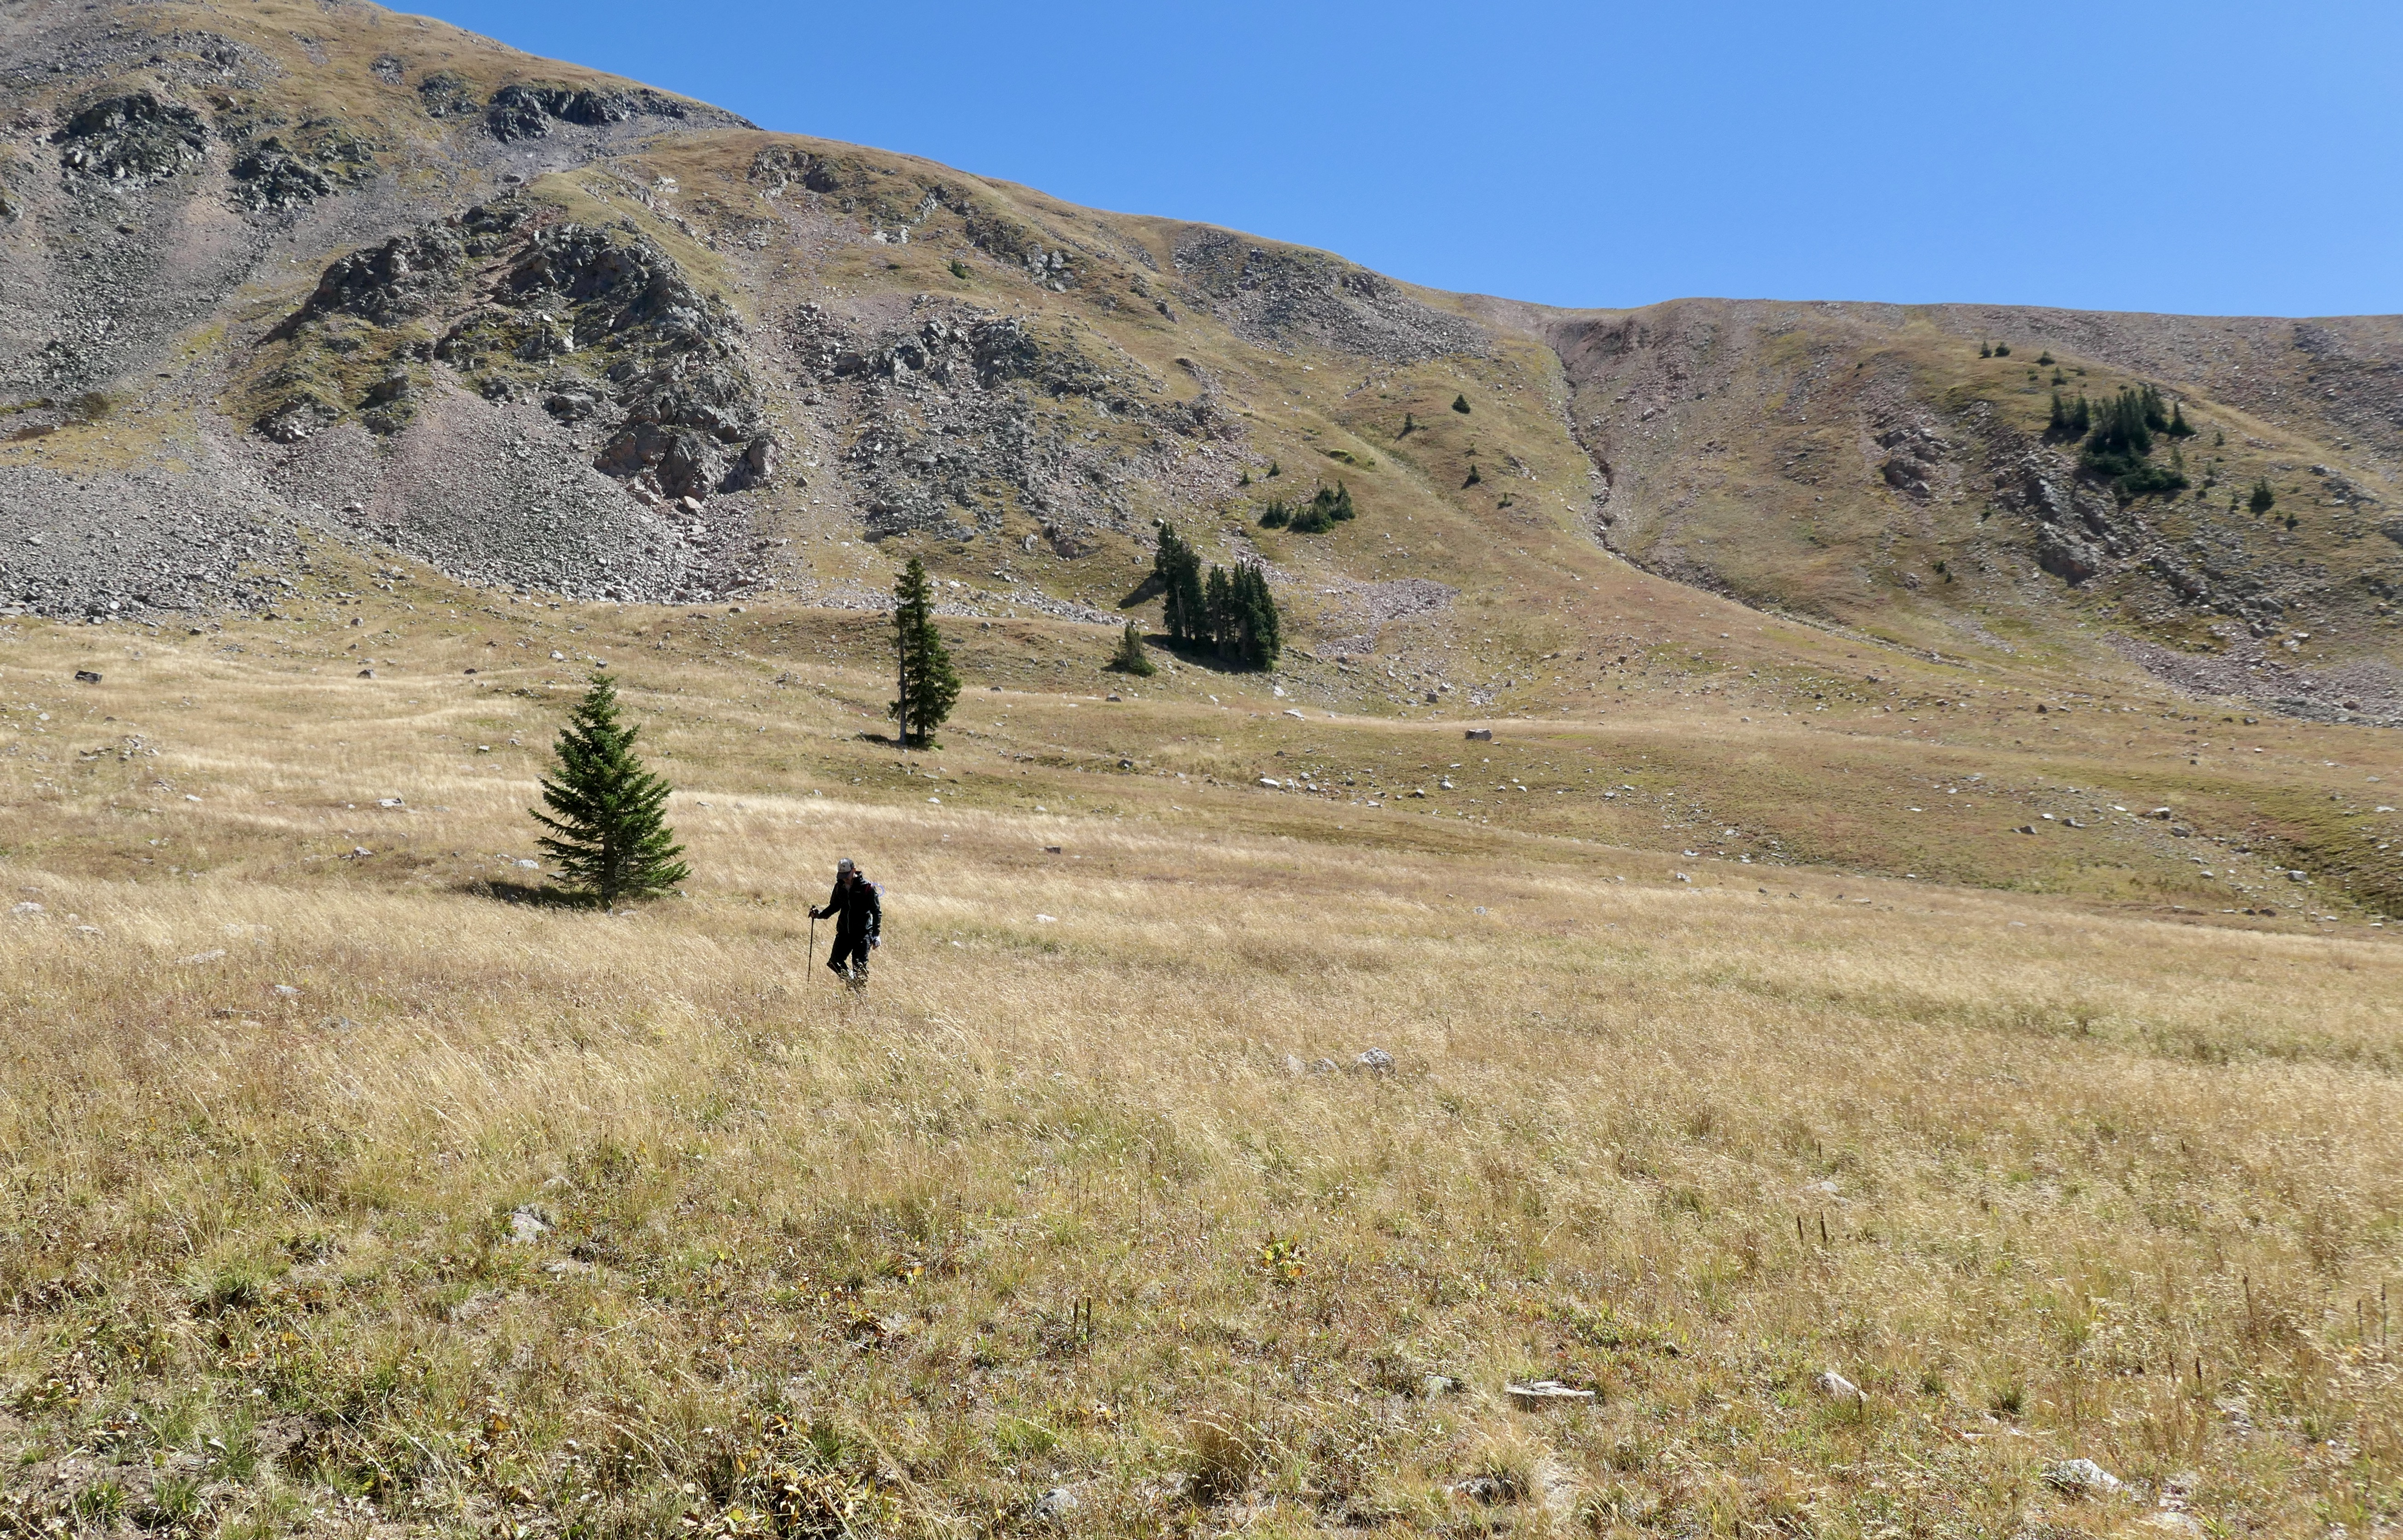
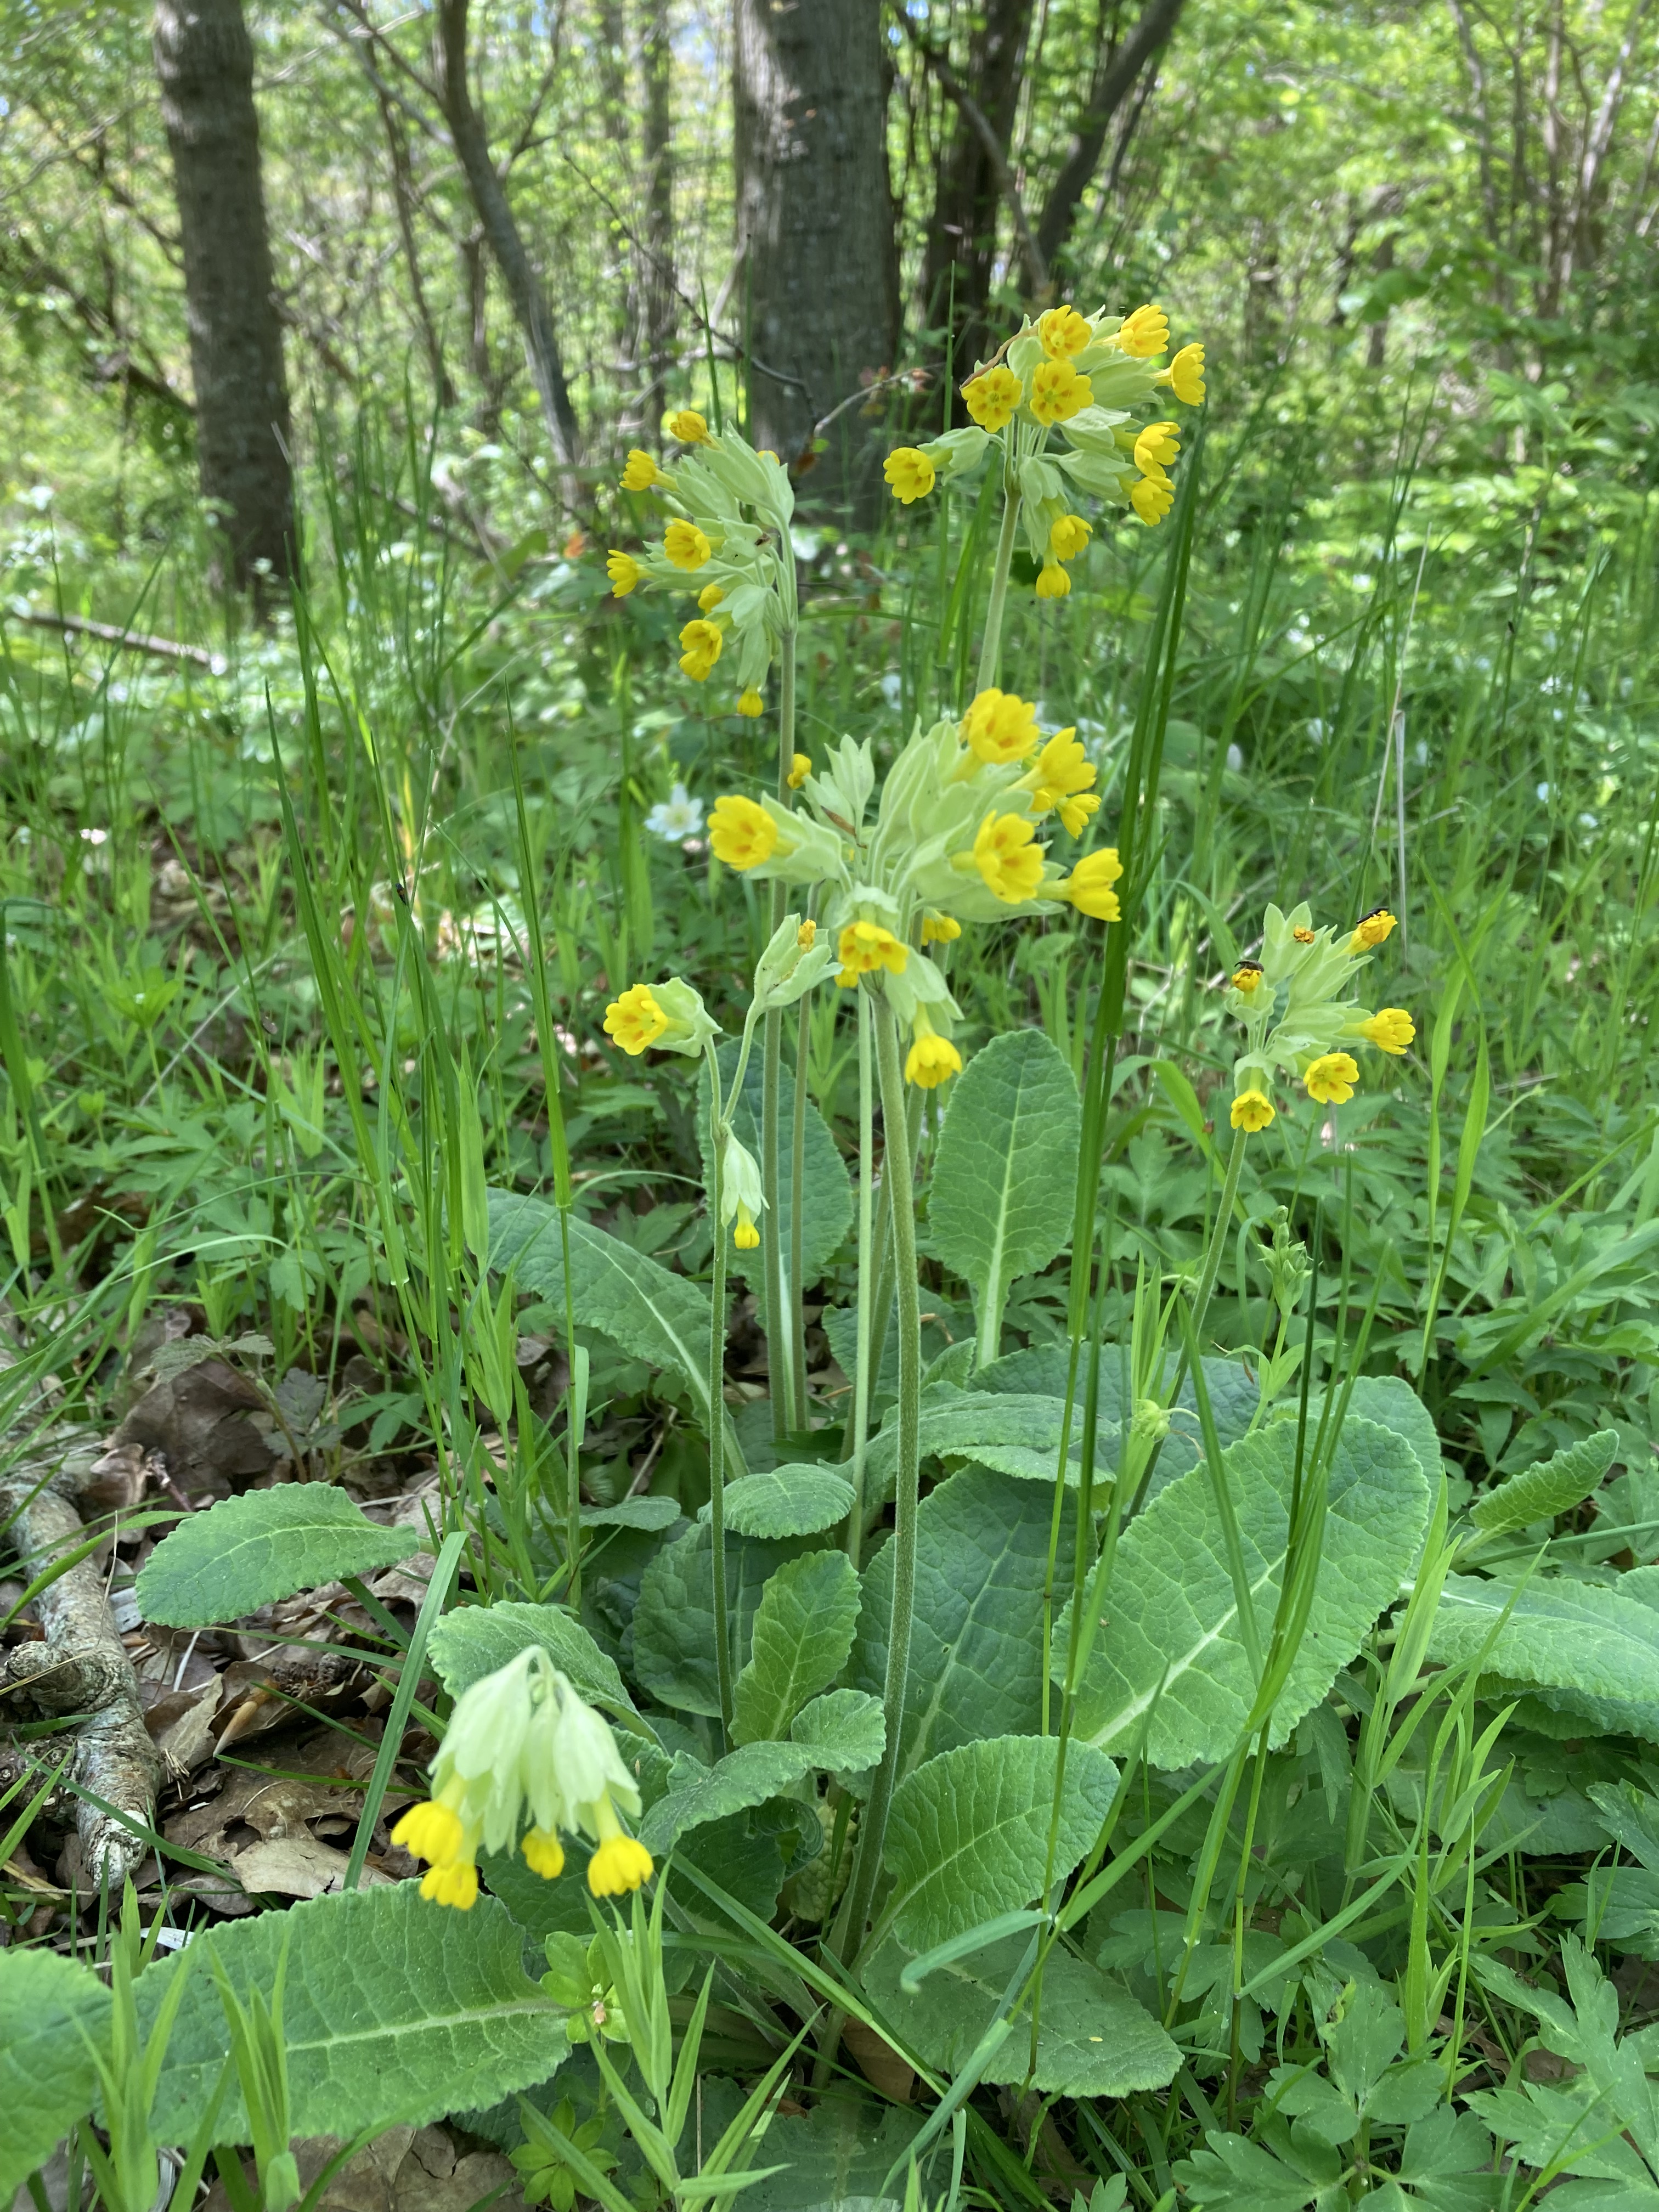
We got out of the tents and made some coffee and Müsli and just took our time enjoying this awesome place. We started moving towards Comanche Peak with the hope of climbing it. We had picked the easiest route which you can walk up (class 1). The Mirror Lake Trail was pretty rough and very wet this time a year so we just had to accept getting wet feet which I don’t mind at all when I know they are going to dry out really fast in the weather we had. It was a really nice hike into the woods again and then the ascent towards the top. It turned out there was almost no snow on this side of the mountain so it was a relatively easy climb with amazing views. From the top you can see both Rocky Mountain National Park, The Never Summer range, and the Rawah Wilderness range (which I think technically is called the Medicine Bow Range, but it goes through the Rawah Wilderness and State Forest State Park). After we reached the top we came back down and hit the Hourglass Trail that follows the ridge down and hits Comanche Reservoir. Coming down Hourglass Trail we walked through a burnt area, it’s like walking through a cemetery. I thought it was really cool to see the yellow flowers were still able to grow there. It ended up being a quite long but very awesome day.
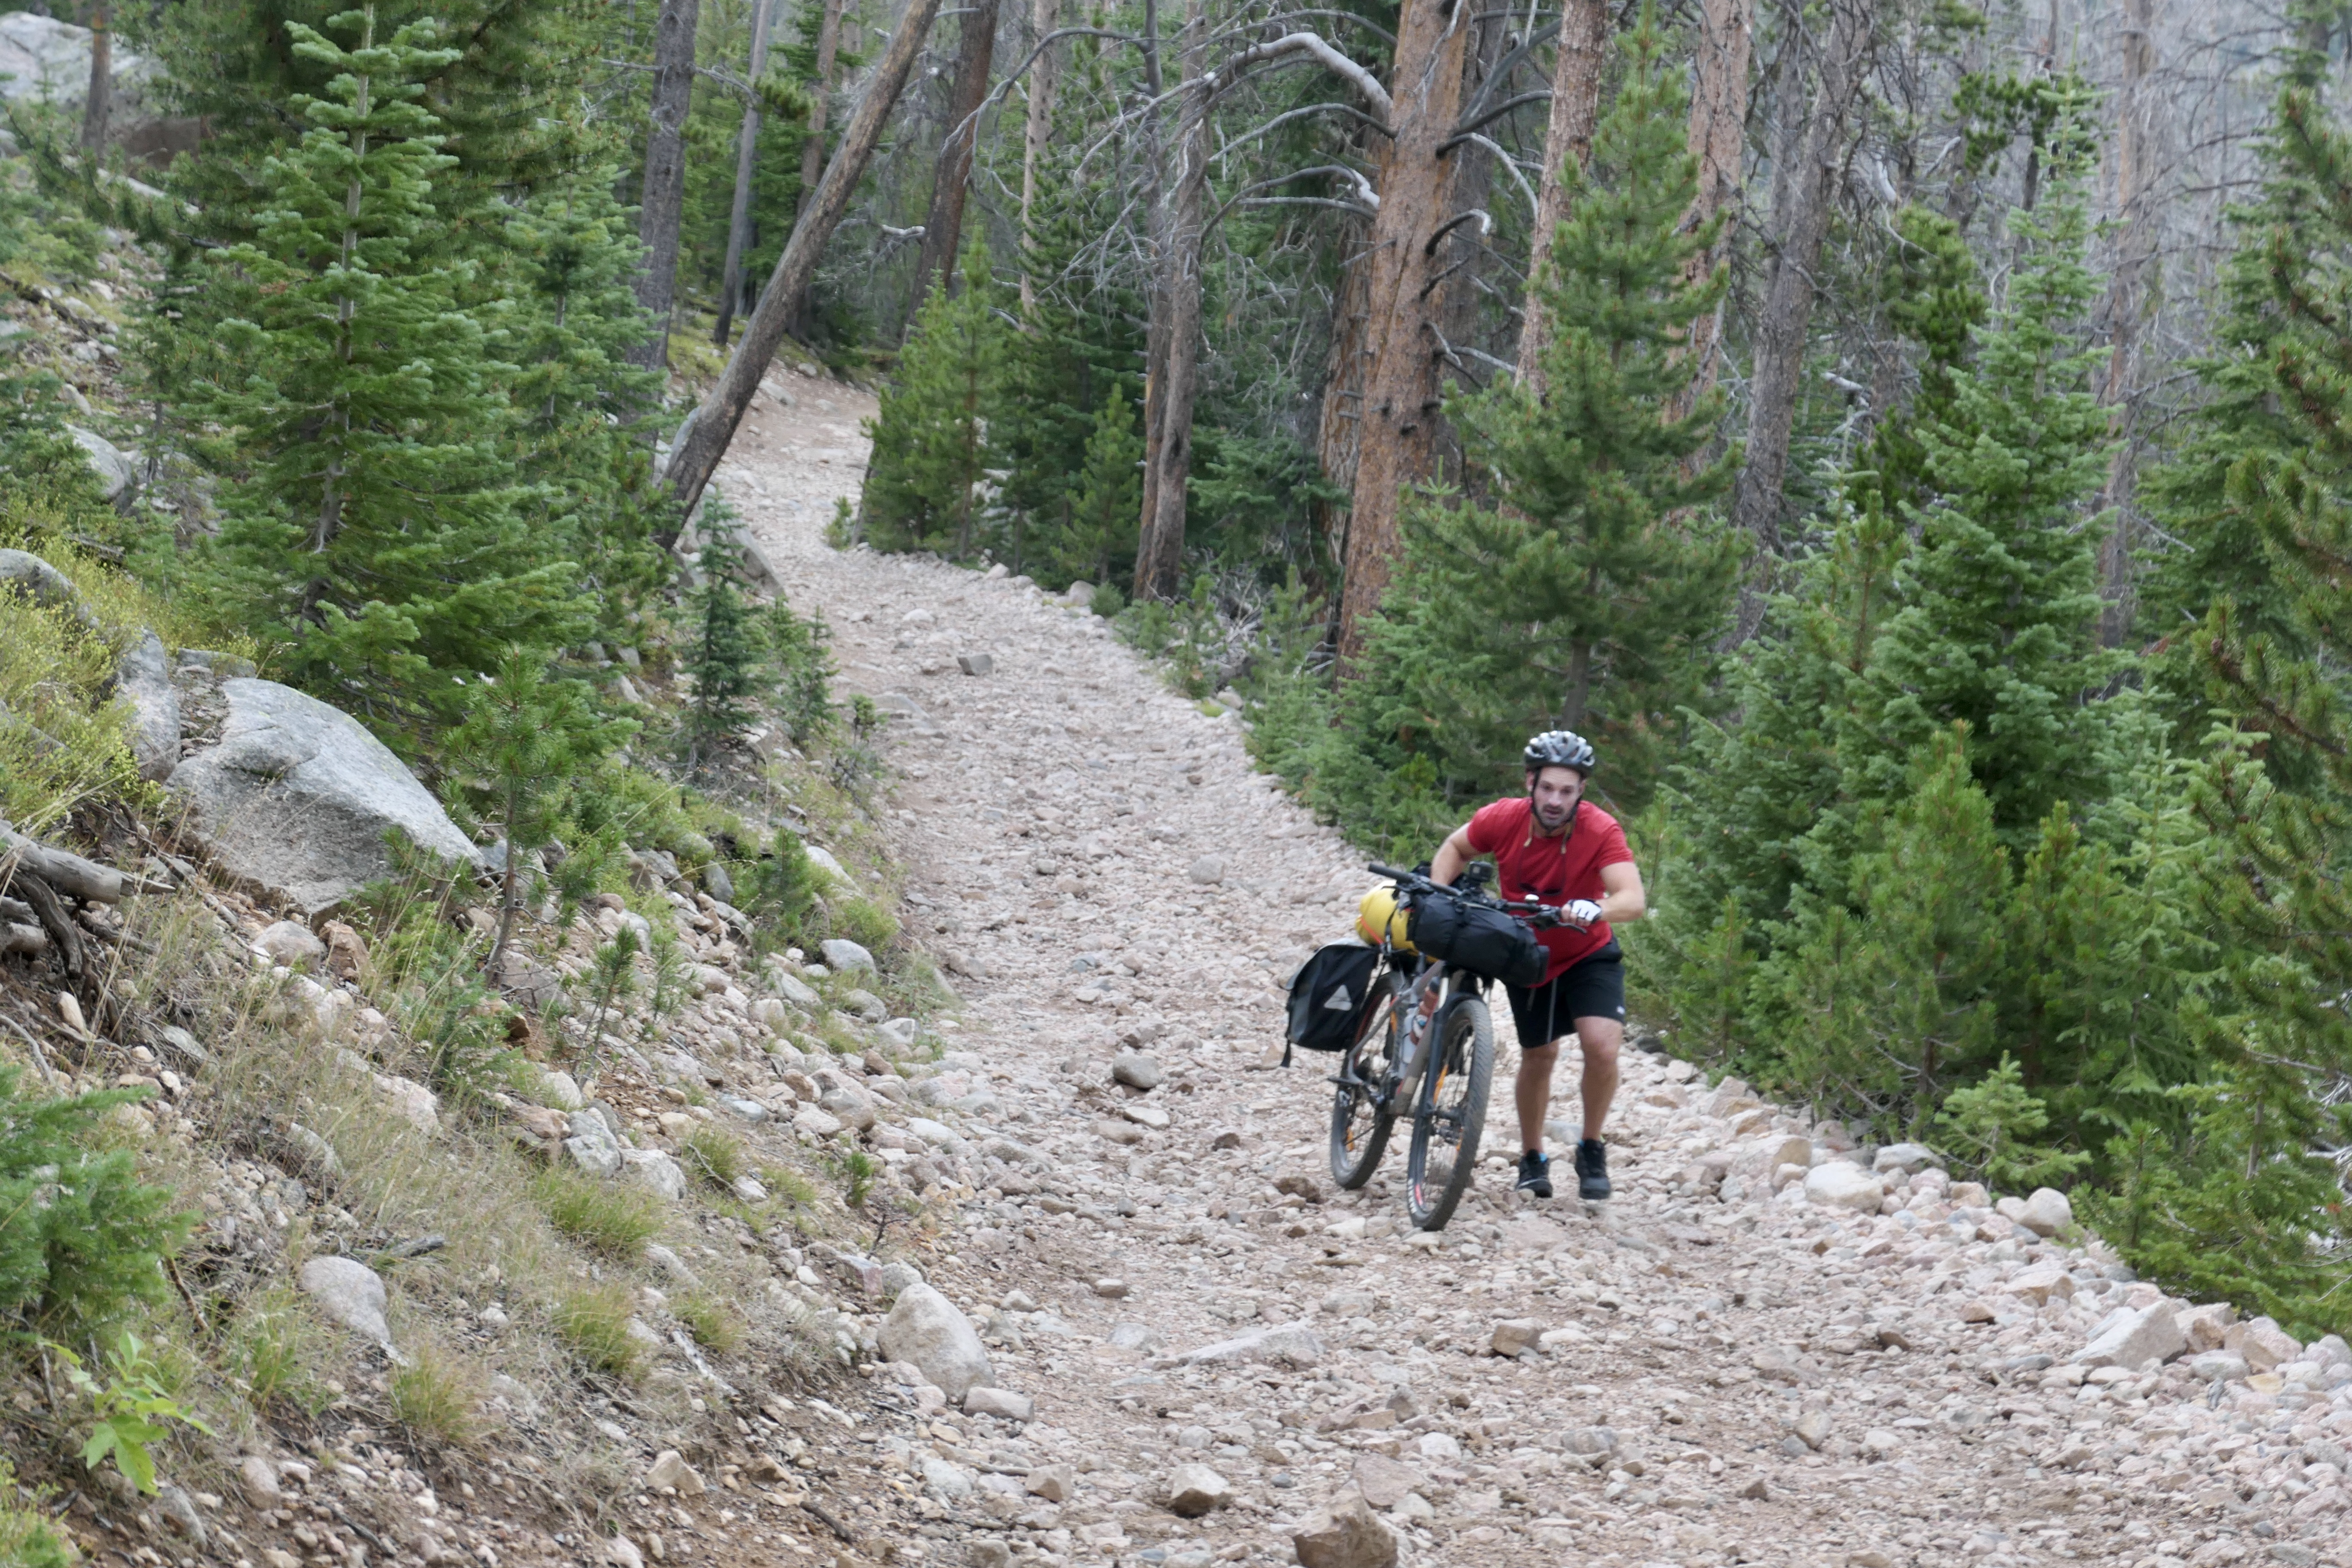
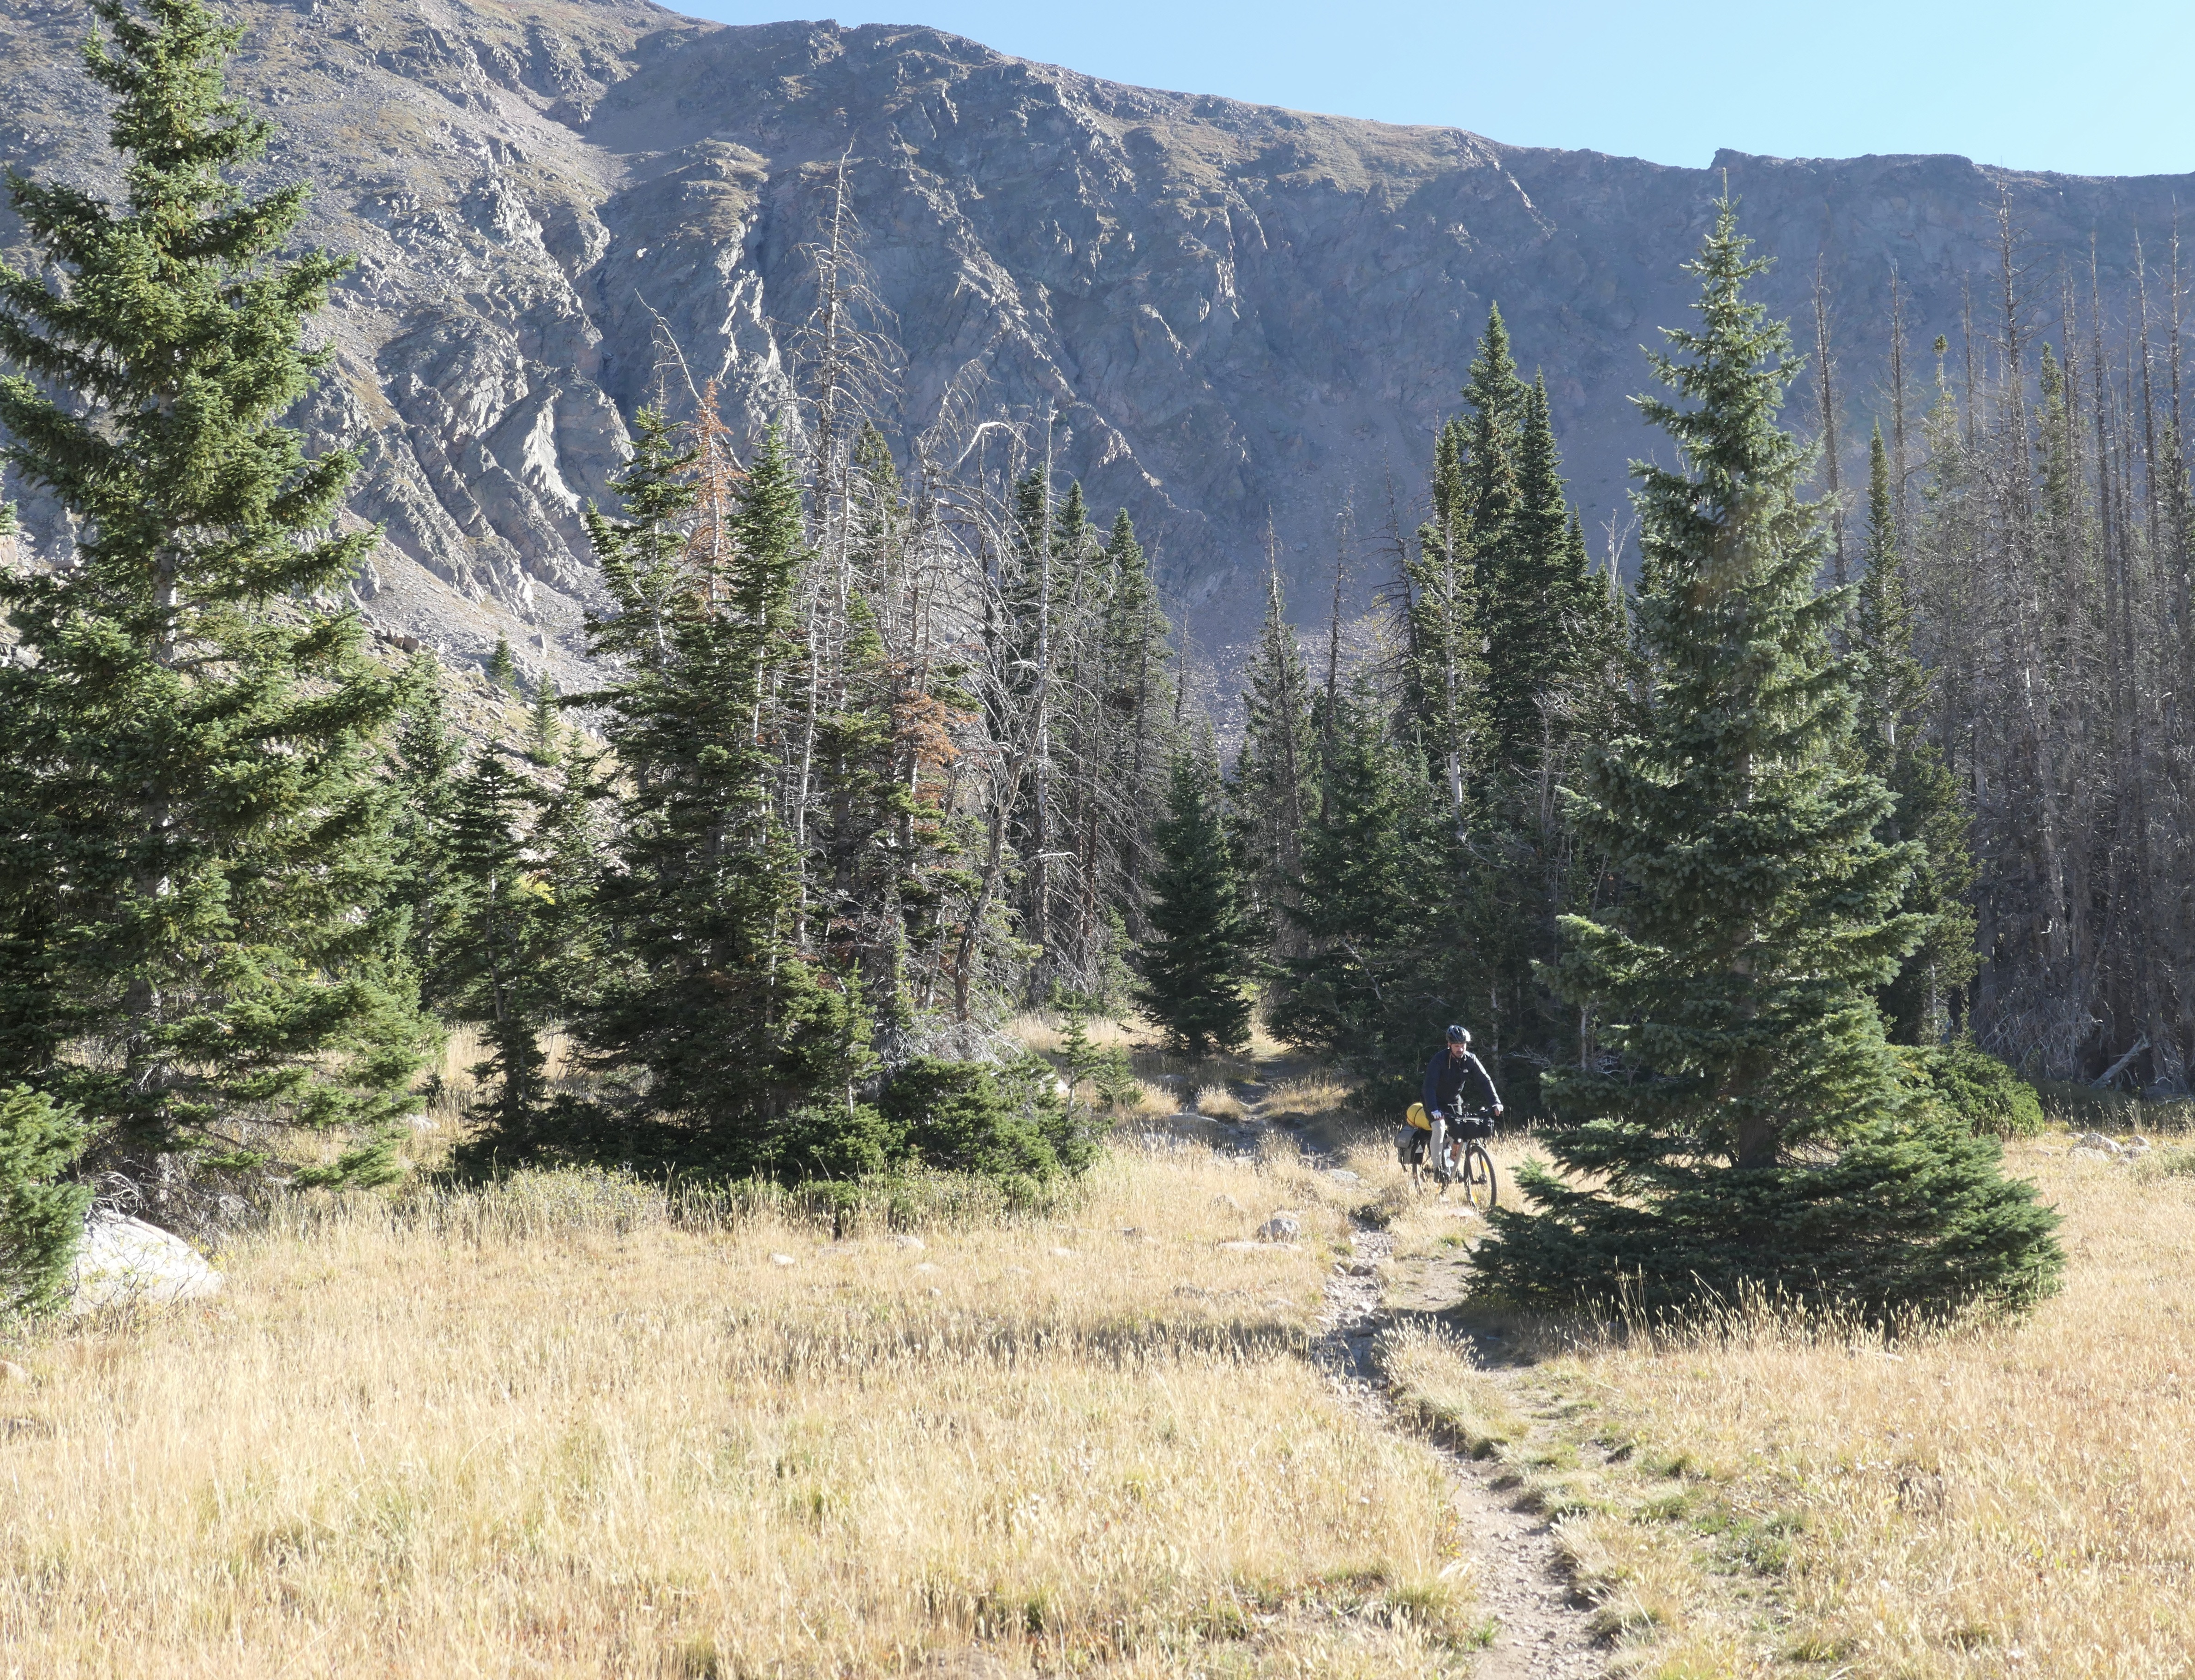
I’ve had my eye on the area around State Forest State Park and Rawah Wilderness for some time and wanted to explore it deeper. Also, I wanted to climb Clark Peak (highest peak in the that area) which I discovered from the book “Best summit hikes in Colorado” by James Dziezynski. Lastly I’ve been wanting to do a true bikepacking adventure and test my beloved Breezer bike‘s capabilities in rugged conditions, so why not combine all of those things.
I planned a route that combined dirt roads and hiking trails. I used local maps, Cotrex, Mapout, Google Maps and Ridewithgps to plan the trip. I knew there was a risk that some sections would be too technical and that we would have to carry the bikes a lot, but the elevation changes looked doable and I had a backup plan if things didn’t work out. I couldn’t find any info on people bikepacking there before so there was a big unknown factor but I think that’s part of a true adventure. If you know exactly what you’re going into some of the excitement goes away. With an element of unknown the fear and awareness level goes up and coming out on the other side gives a big confidence boost and expands the comfort zone. To me it is necessary to go beyond the comfort zone sometimes in order to truly live and grow as a human being.
Day 1 – Seven Utes parking to Jewel Lake (Strava link)
We logged in at the Moose Visitor Center, parked the car at 7 Utes parking (close to where Bockman road connects to the main road) and began our adventure. I was joined by my friend Josh who was on his own personal journey to find his balls. Rumor had it that at least one of them would be located atop Clark Peak. I thought it was an important journey and was very happy to partake in that, besides I think it’s a good idea to be looking for them once in a while to make sure they don’t get lost.
We were off to a great start hitting Bockman road which is a fun and beautiful 4×4 dirt road to ride. We passed by Bockman camping and hit the Fransisco Loop road that connects with Ruby Jewel road and eventually Ruby Jewel trail. The Ruby Jewel road is a very rough and steep 4×4 road that was very hard to bike with a big load so eventually we got more into pushing the bike and that’s what we did for more or less the rest of that day. The trail is beautiful going up into the valley of Jewel Lake below Clark Peak. Mountain biking the whole thing without load is definitely possible (if you’re in shape) and would be an awesome day adventure looping around Kelly Lake. In fact that’s the original route that I planned but we ended up staying by Jewel Lake for 2 nights instead.
We set up the tent and I broke out my new cooking gear: The Pocketrocket Deluxe, a Toaks Titanium 900 ml pot and a Mugmate coffee filter. I decided to change my cook system from my beloved jetboil that i used for the last 10 years since I want to cook my food instead of the pre made meals. I loved the new setup, it performed beautifully and it’s actually a lighter system. I could even cook enough couscous for 2 people in the 900 ml pot. So dinner was couscous with tuna and spices, on day 2 I added some mayo which turned out to be a golden move.
Here are some shots from day 1, click the pictures for description and more story…
Dqy 2 – Clark Peak round trip climb from Jewel Lake(Strava link)
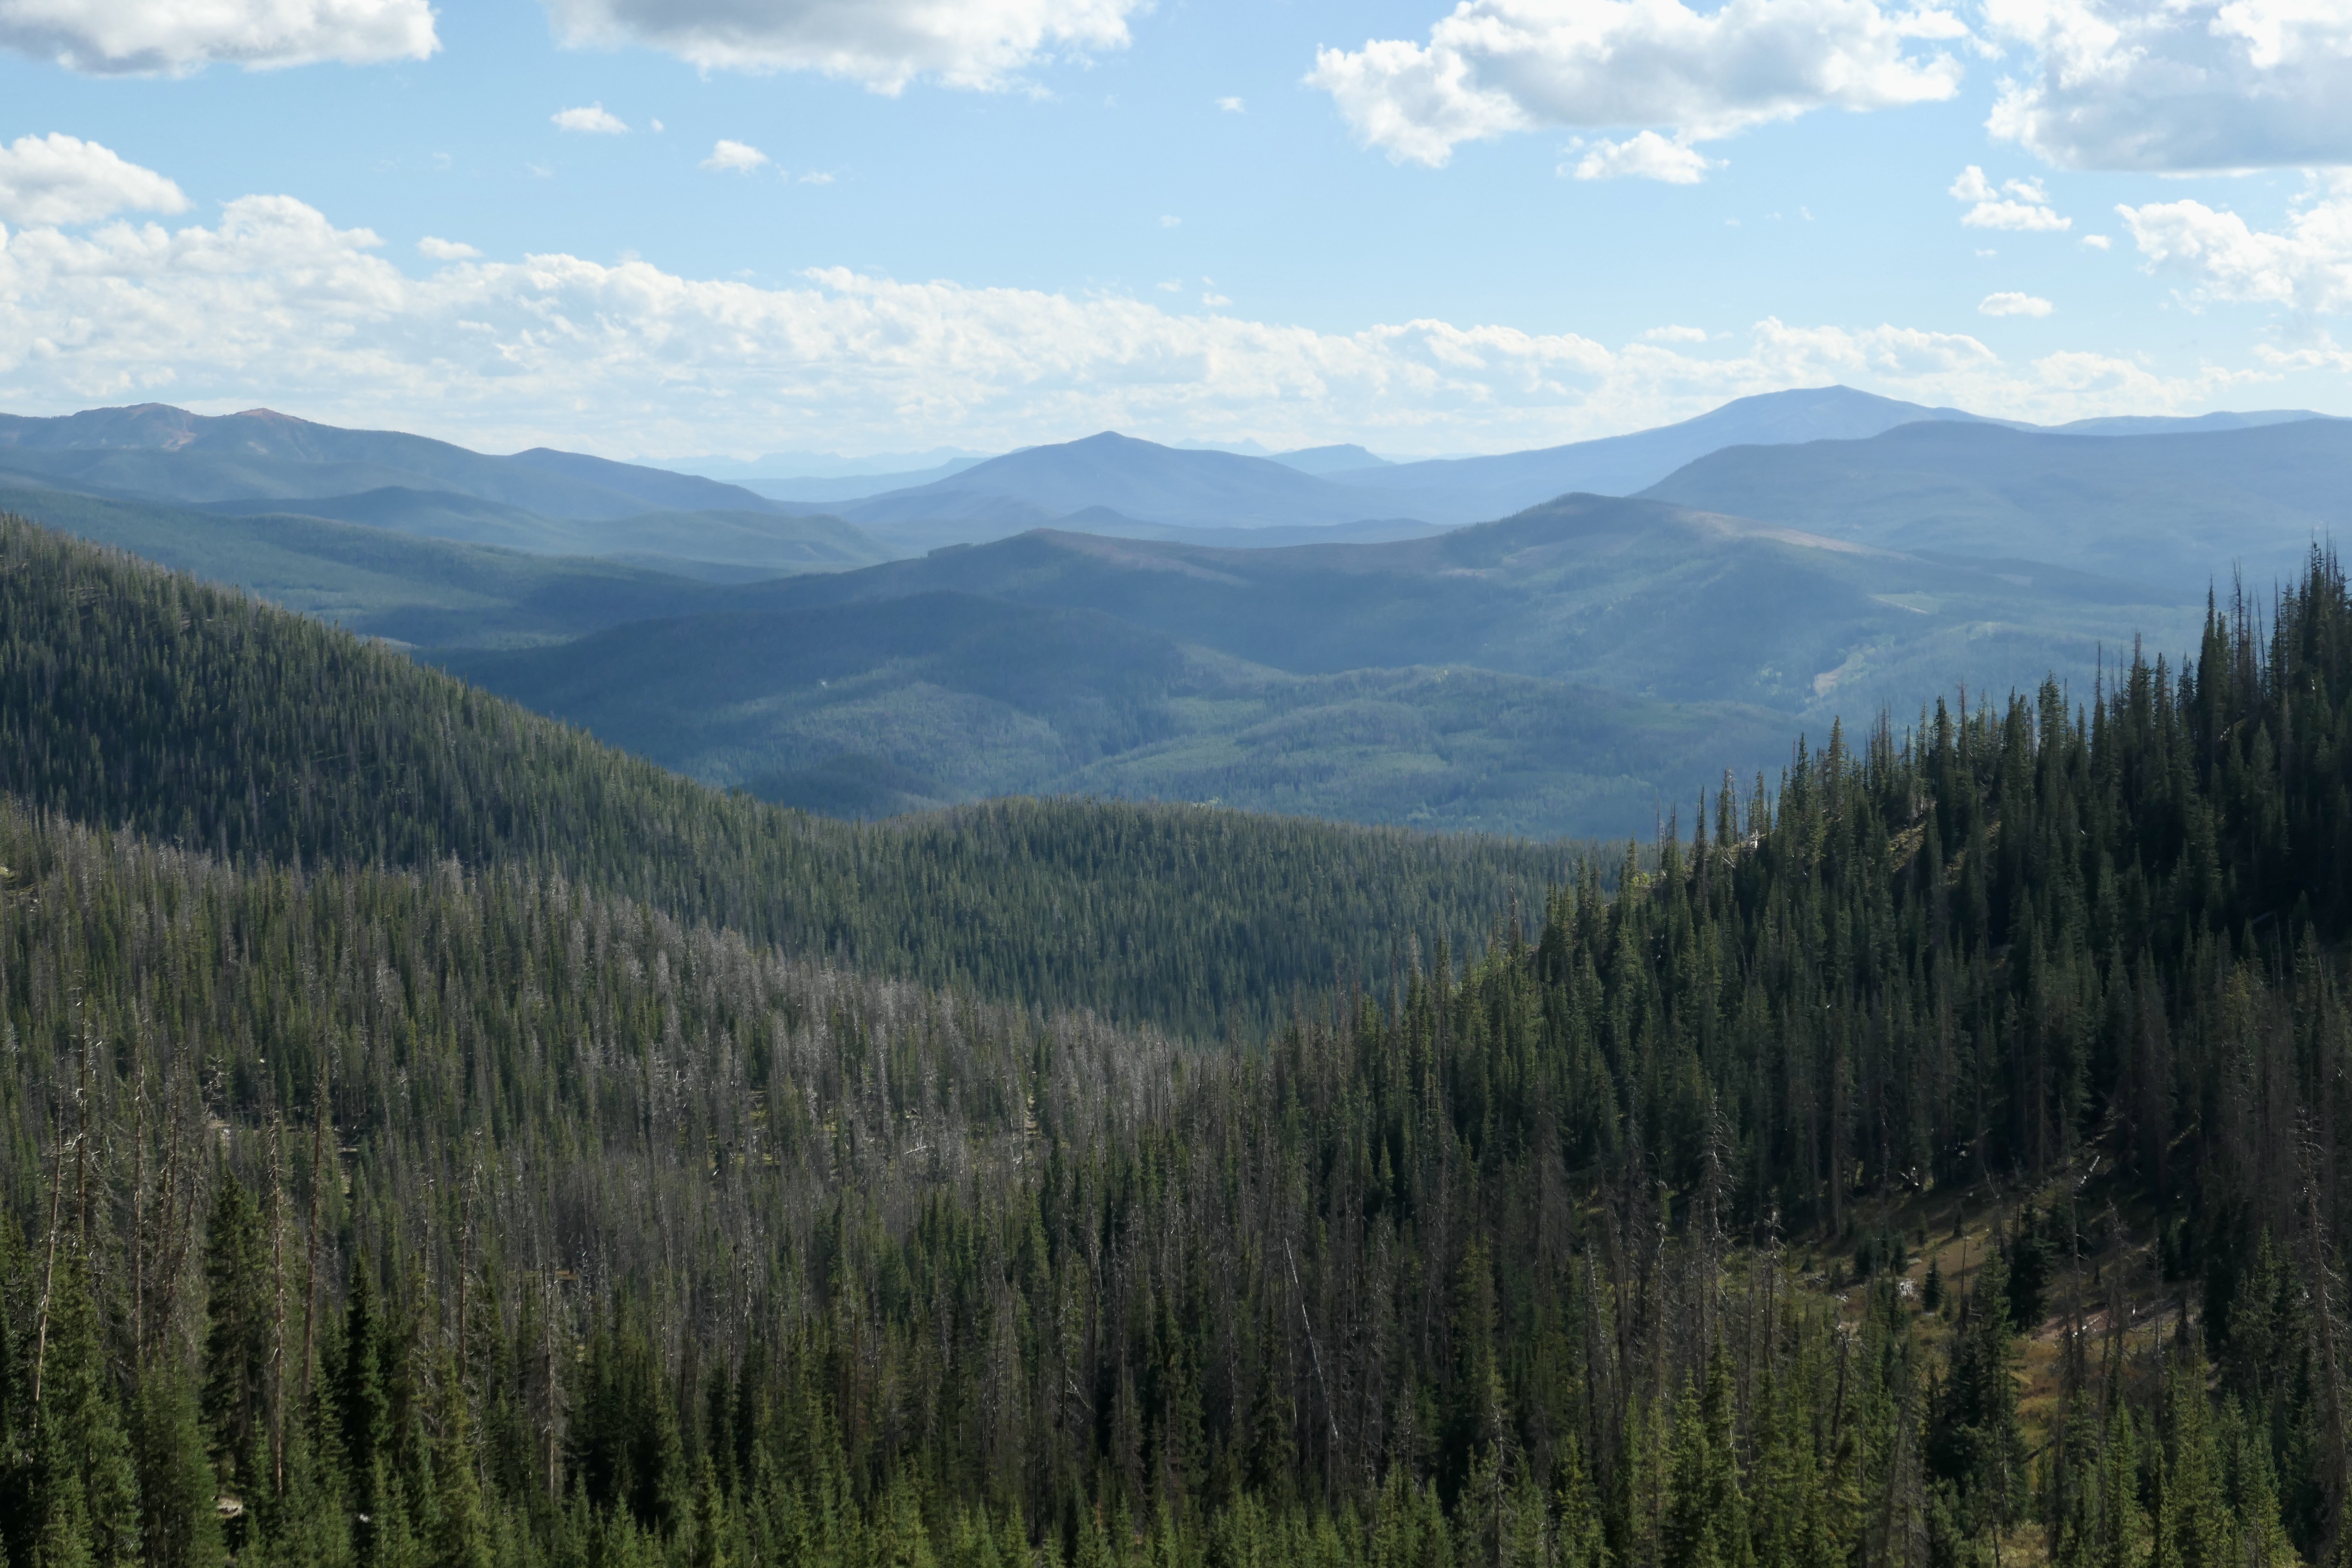
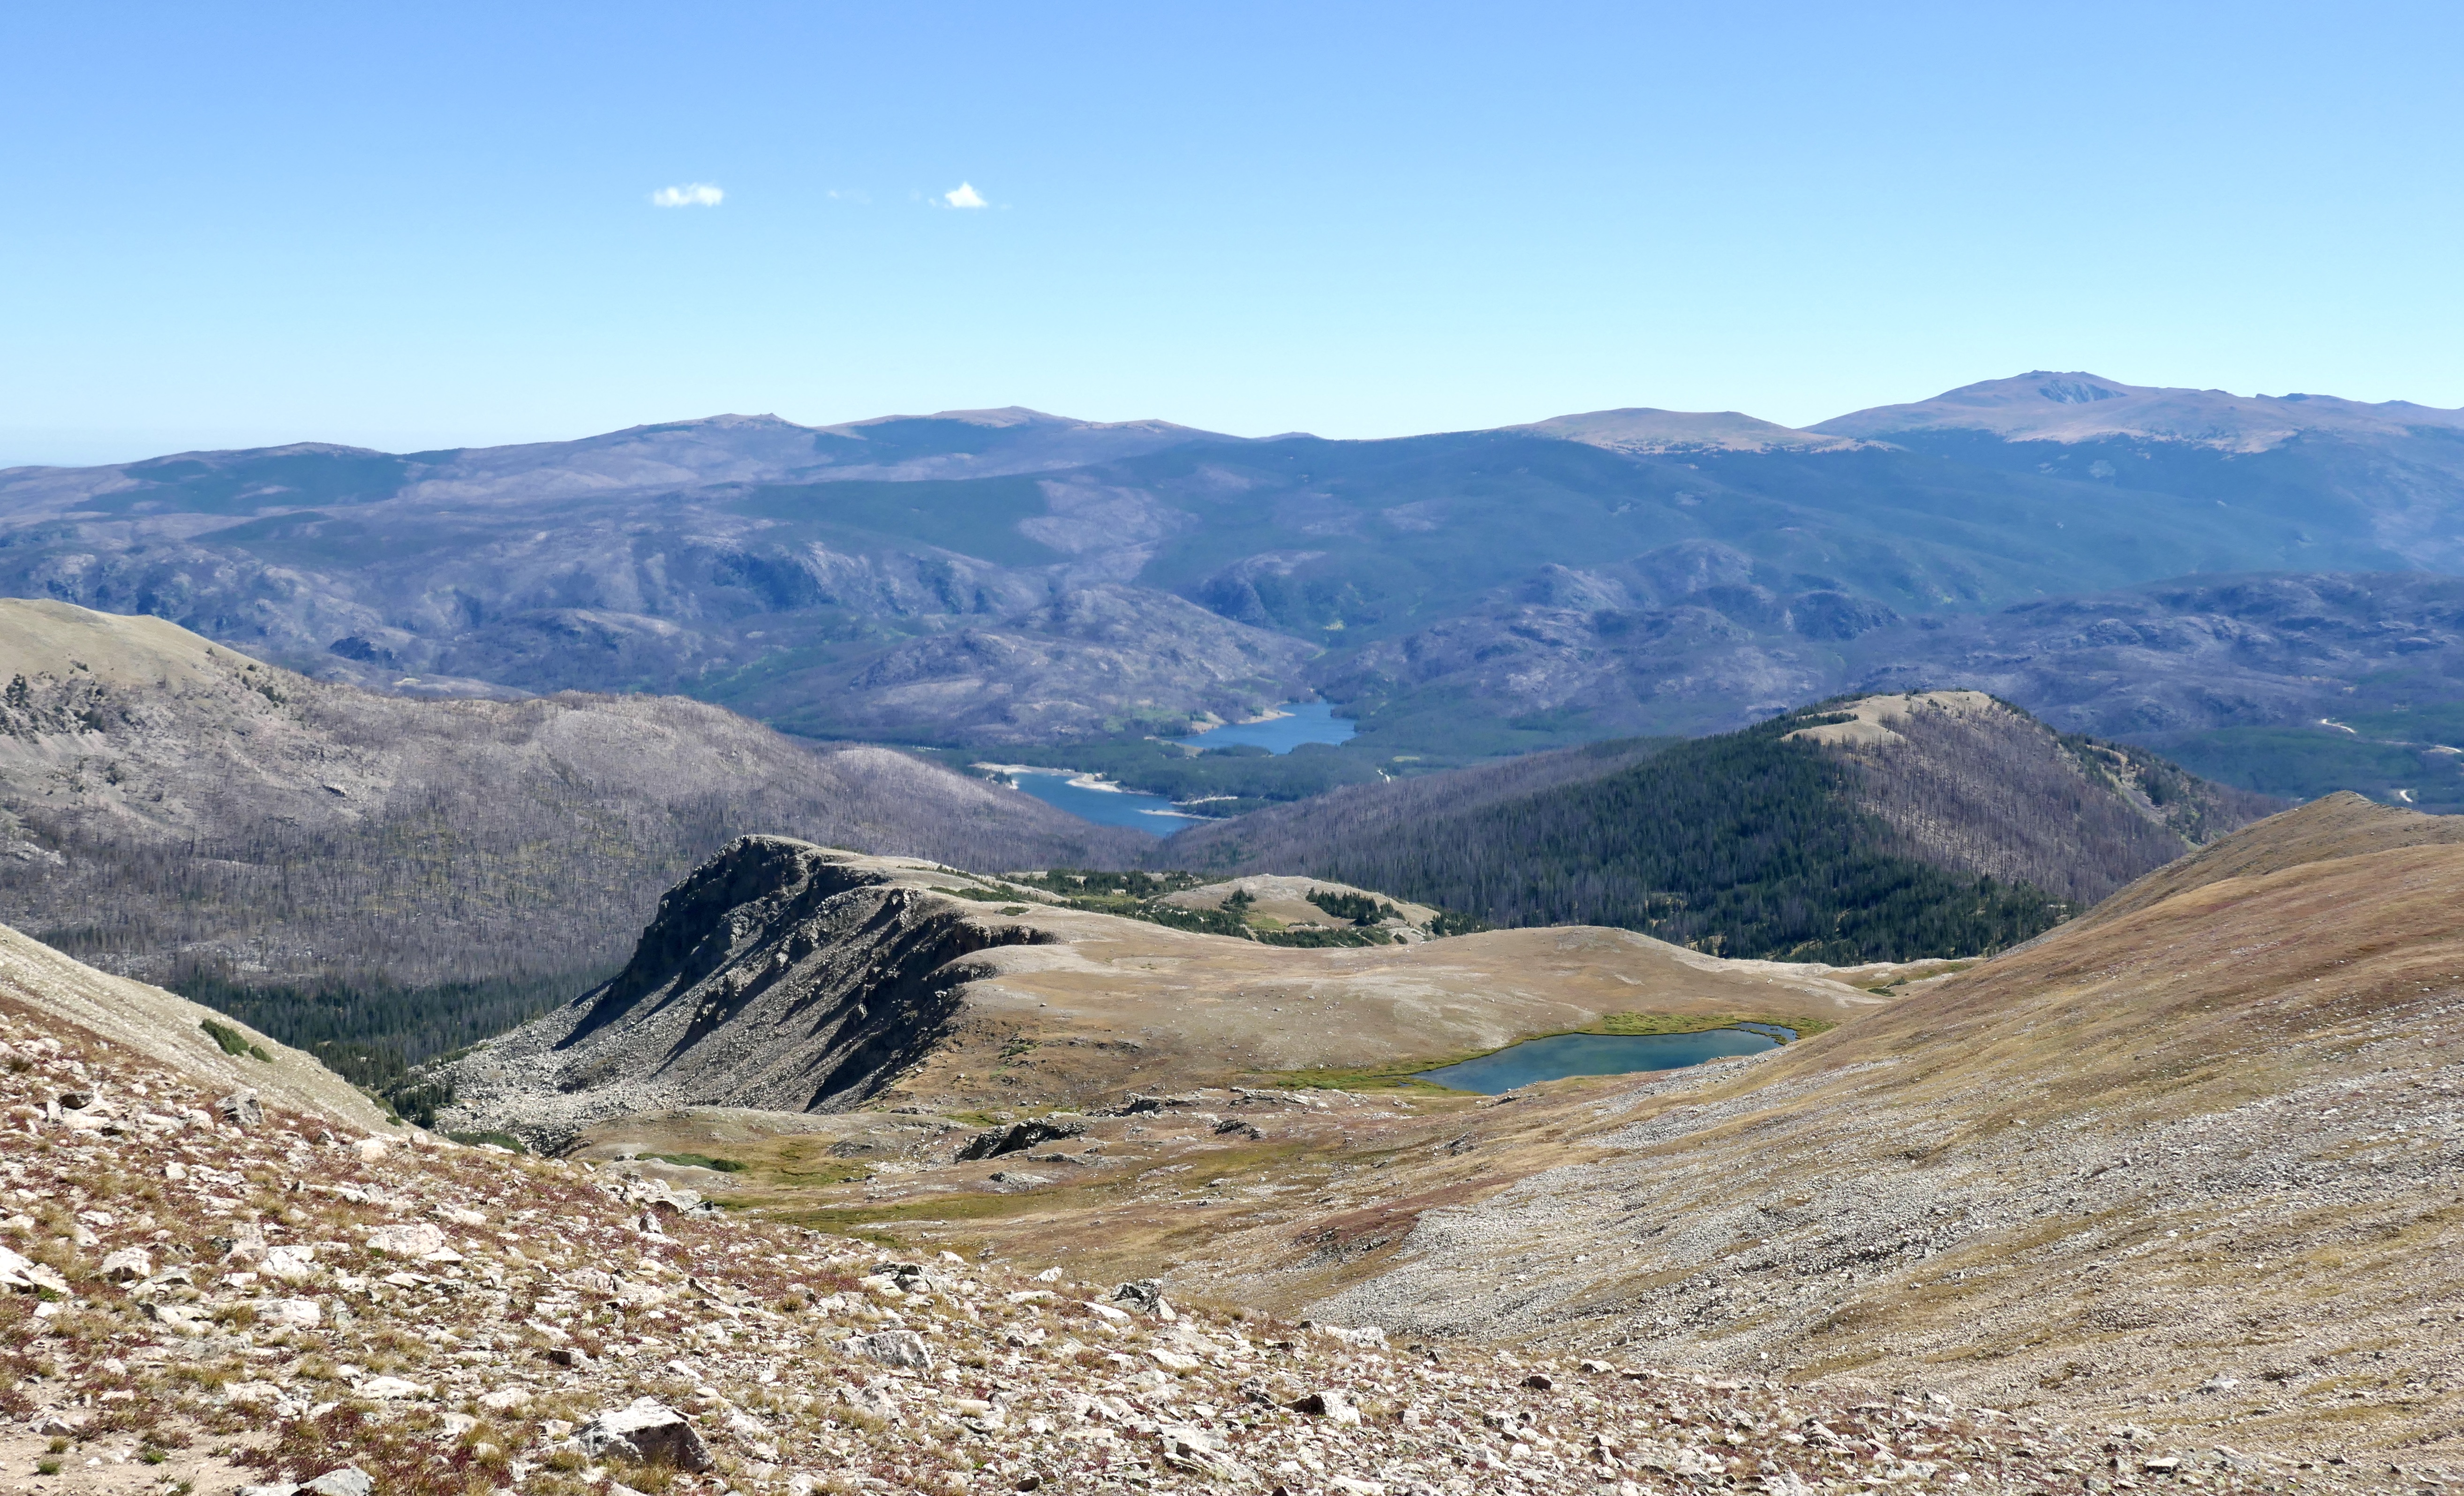
The plan was to climb Clark Peak scrambling up from the north side of the lake and loop around on the ridge as described in the book. Getting out of the tent was pretty cold but not freezing, also it was pretty windy so it felt a lot colder than it was. After some good coffee from the new stove system Josh stopped shaking and we started the scramble. It was steep but not technically difficult. It’s such a beautiful loop with amazing views into the Never Summer Wilderness and Rocky Mountain NP to the south, Rawah Wilderness to the east, Medicine Bow Range to the north and the flat area and Zirkel Wilderness to the west. Thankfully Josh located one of his nuts on the top, he was very happy since it has been lost for a while. The other one was nowhere to be seen so the search continues, but still, one is better than none!
We had a rest back in camp and decided to explore the valley a little bit. When we came back we ate some good food and had some whisky watching the sun set. I have to give it to Josh, he did a very good job on the whisky, What a day!
Shots from day 2, click the pictures for description and more story…
Day 3 – Jewel Lake to Seven Utes Parking(Strava link)
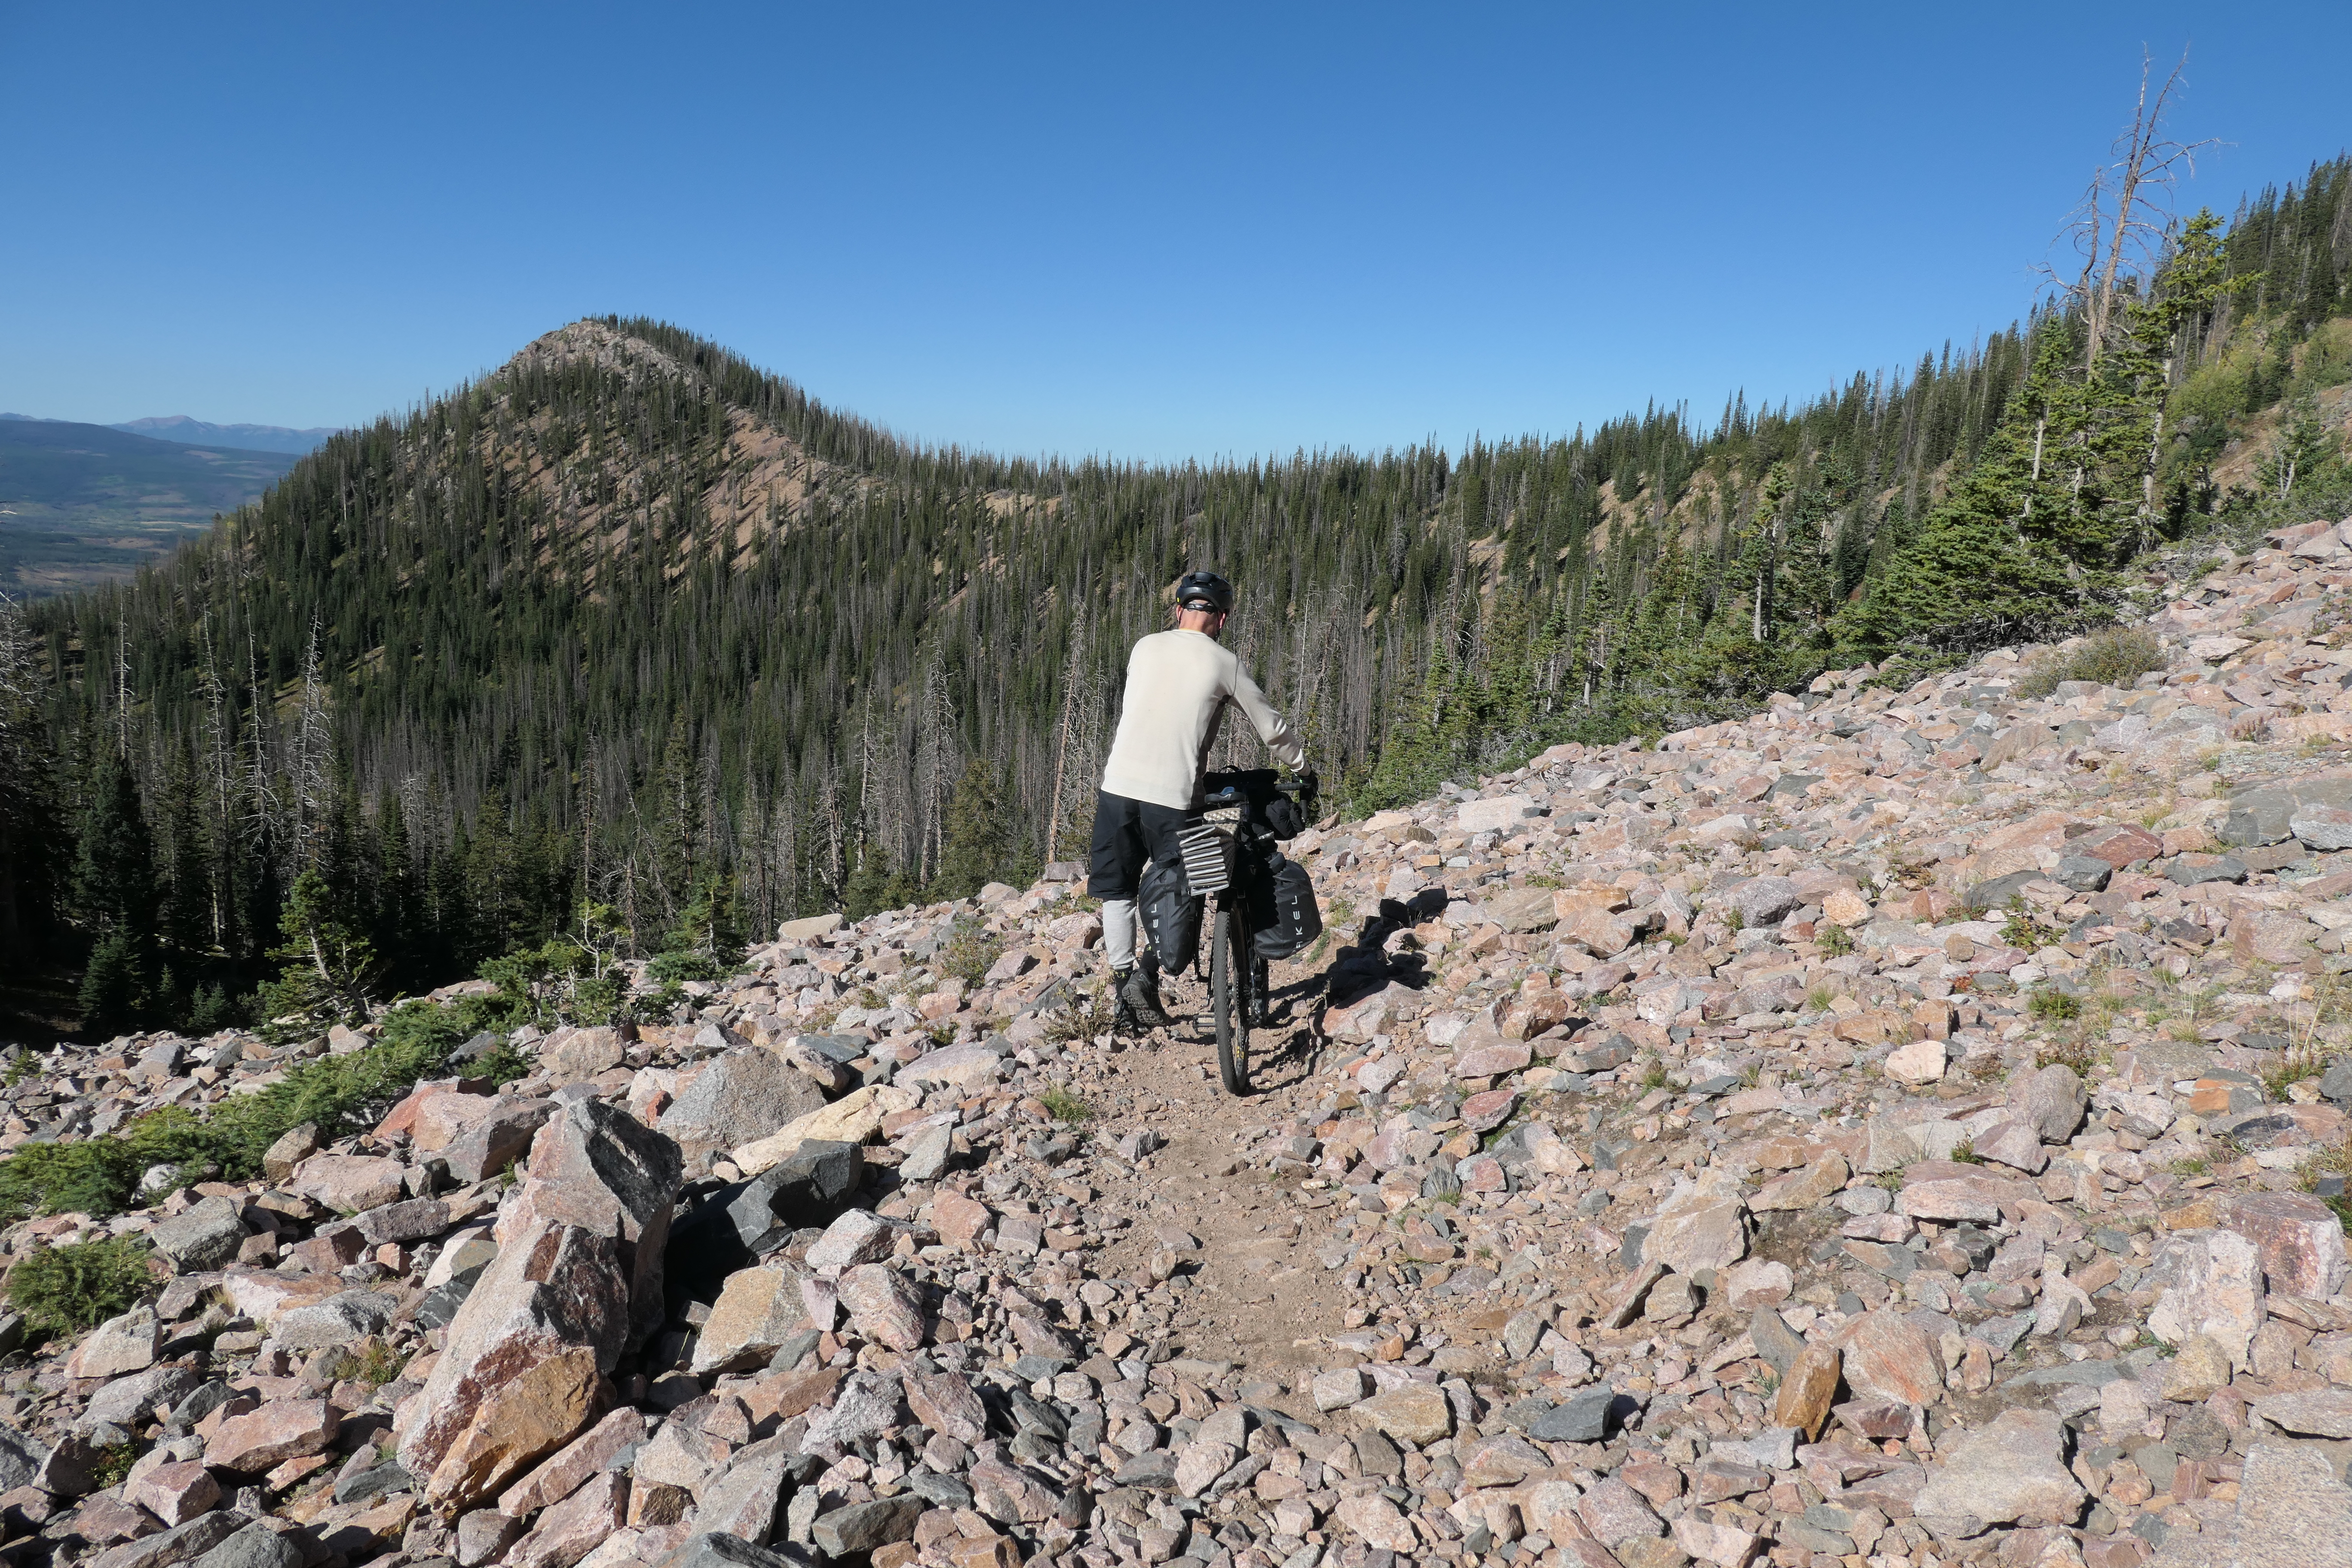
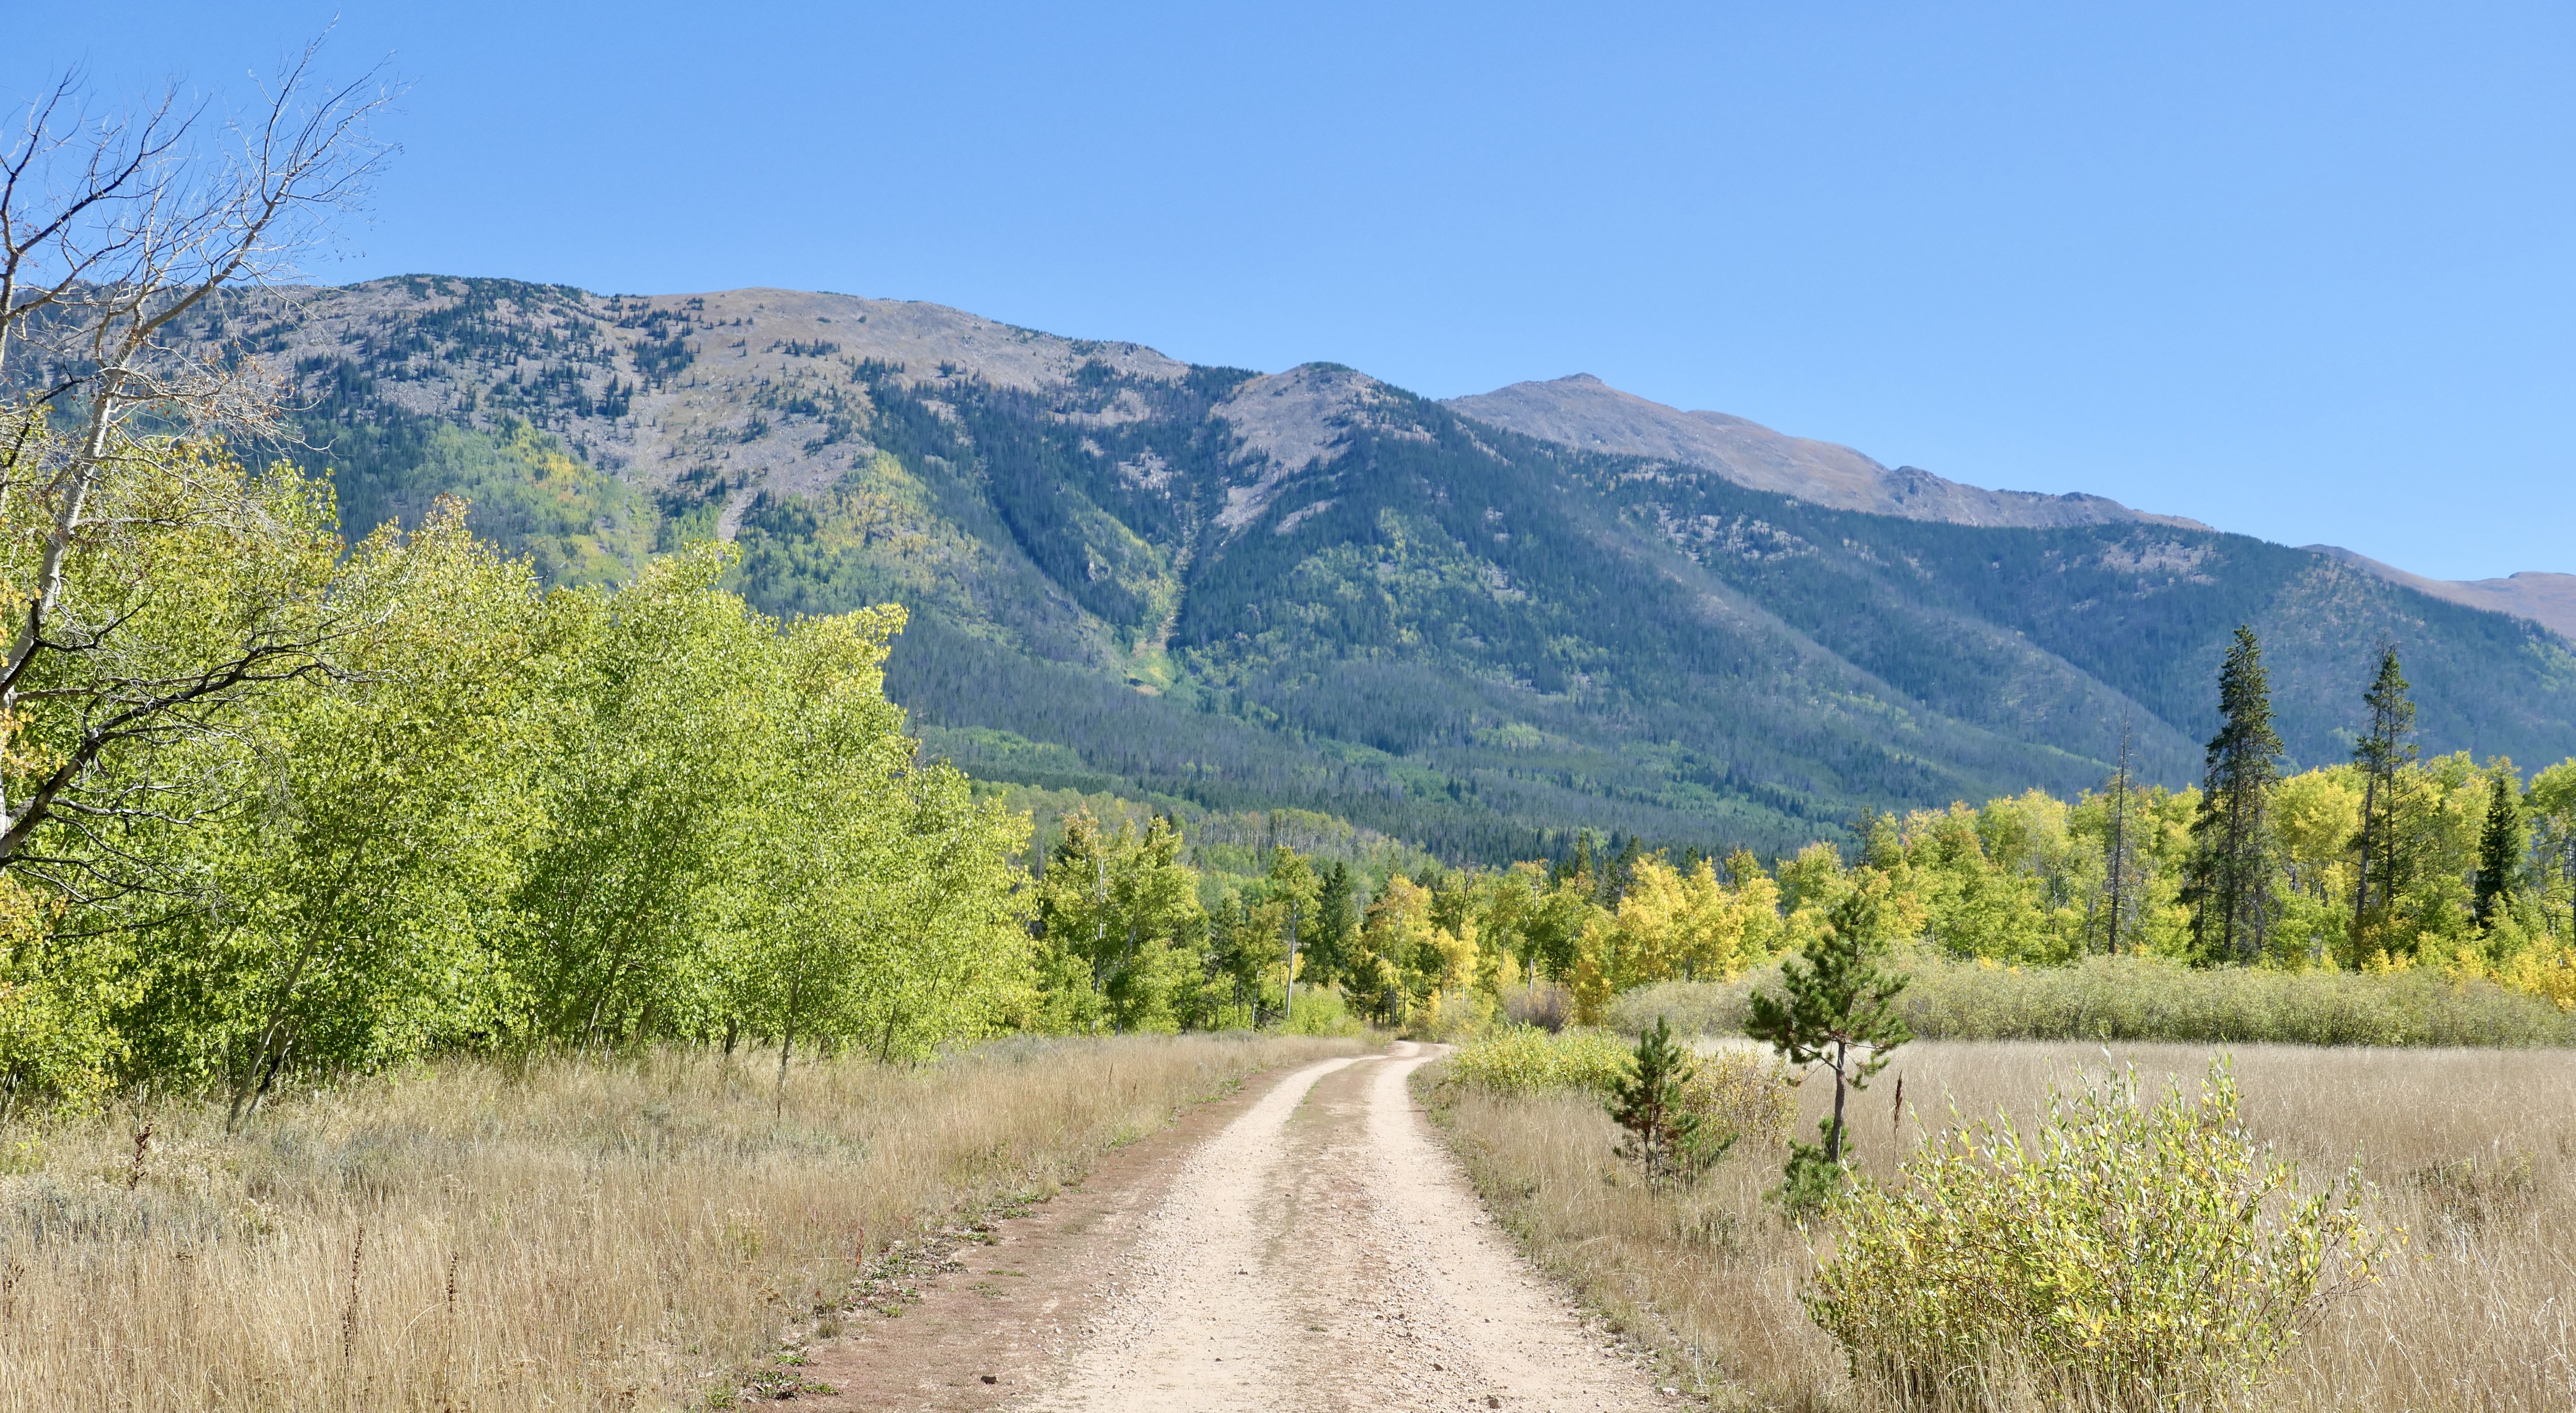
We reserved day 3 for some pure bikepacking. After breakfast we started to ride down the mountain, and to my surprise most of the way was actually rideable even on my Breezer Doppler Pro bike which is a hard tail with 650b and 47mm tires, and fully loaded too! Yes, of course it would be better on a mountain bike but that’s the bike I have and I’d rather go with less optimal equipment than not go at all. There wasn’t one single moment where I wished I had another bike and besides we weren’t in a hurry. It confirmed the versatility of this bike and that I can take it almost anywhere!
Coming down from Ruby Jewel road we turned right on the Canadian Trail which was a beautiful forest trail and didn’t seem like it was getting a lot of visitors. Eventually we linked up with the main dirt road and then the main road. It was a beautiful 3rd day ride with a nice lunch break by North Michigan Creek Reservoir. We logged out at the visitor center on our way back before getting to the car park, what a great trip!!!
Shots from day 3, click the pictures for description and more story…
Thank you Josh for some great company, I have a feeling we’ll be doing it again soon.
Oh and btw “balls” and “nuts” are just metaphors for courage – I know I had you all fooled!
Maps & Stats
Here’s a screenshot of our route. Check it out in more detail on my google map and of course my Strava (day 1, day 2 and day 3)
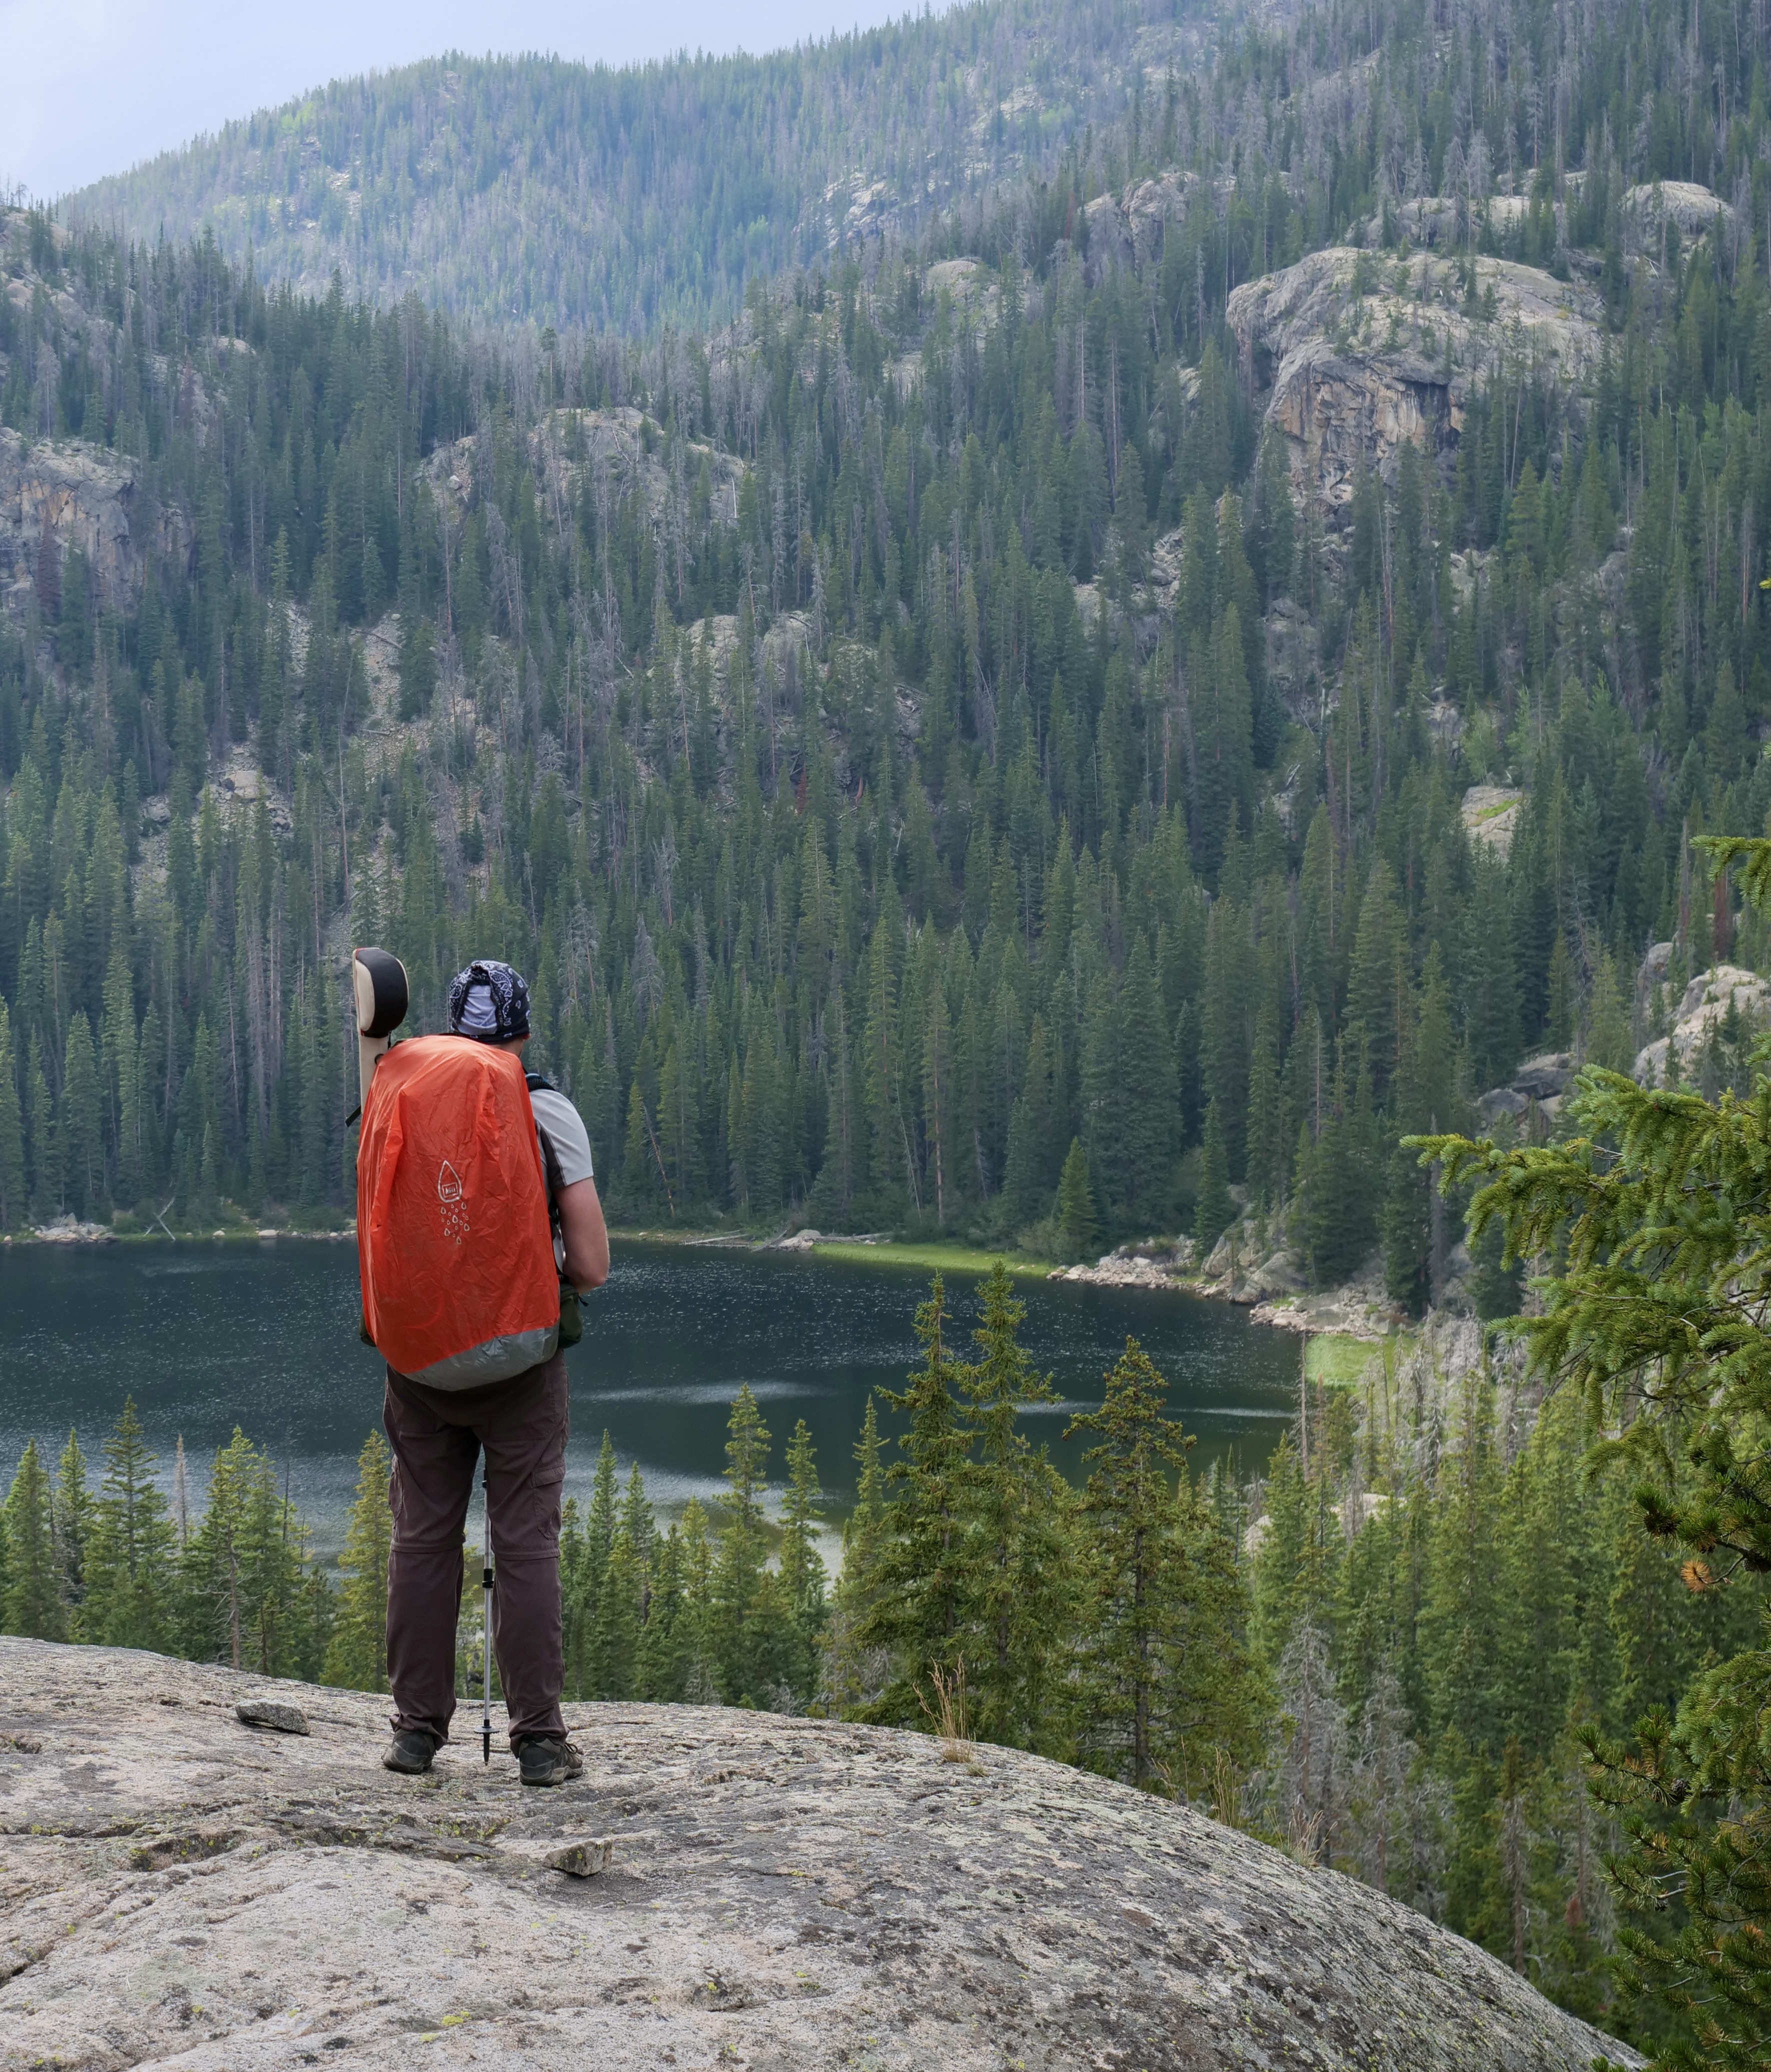
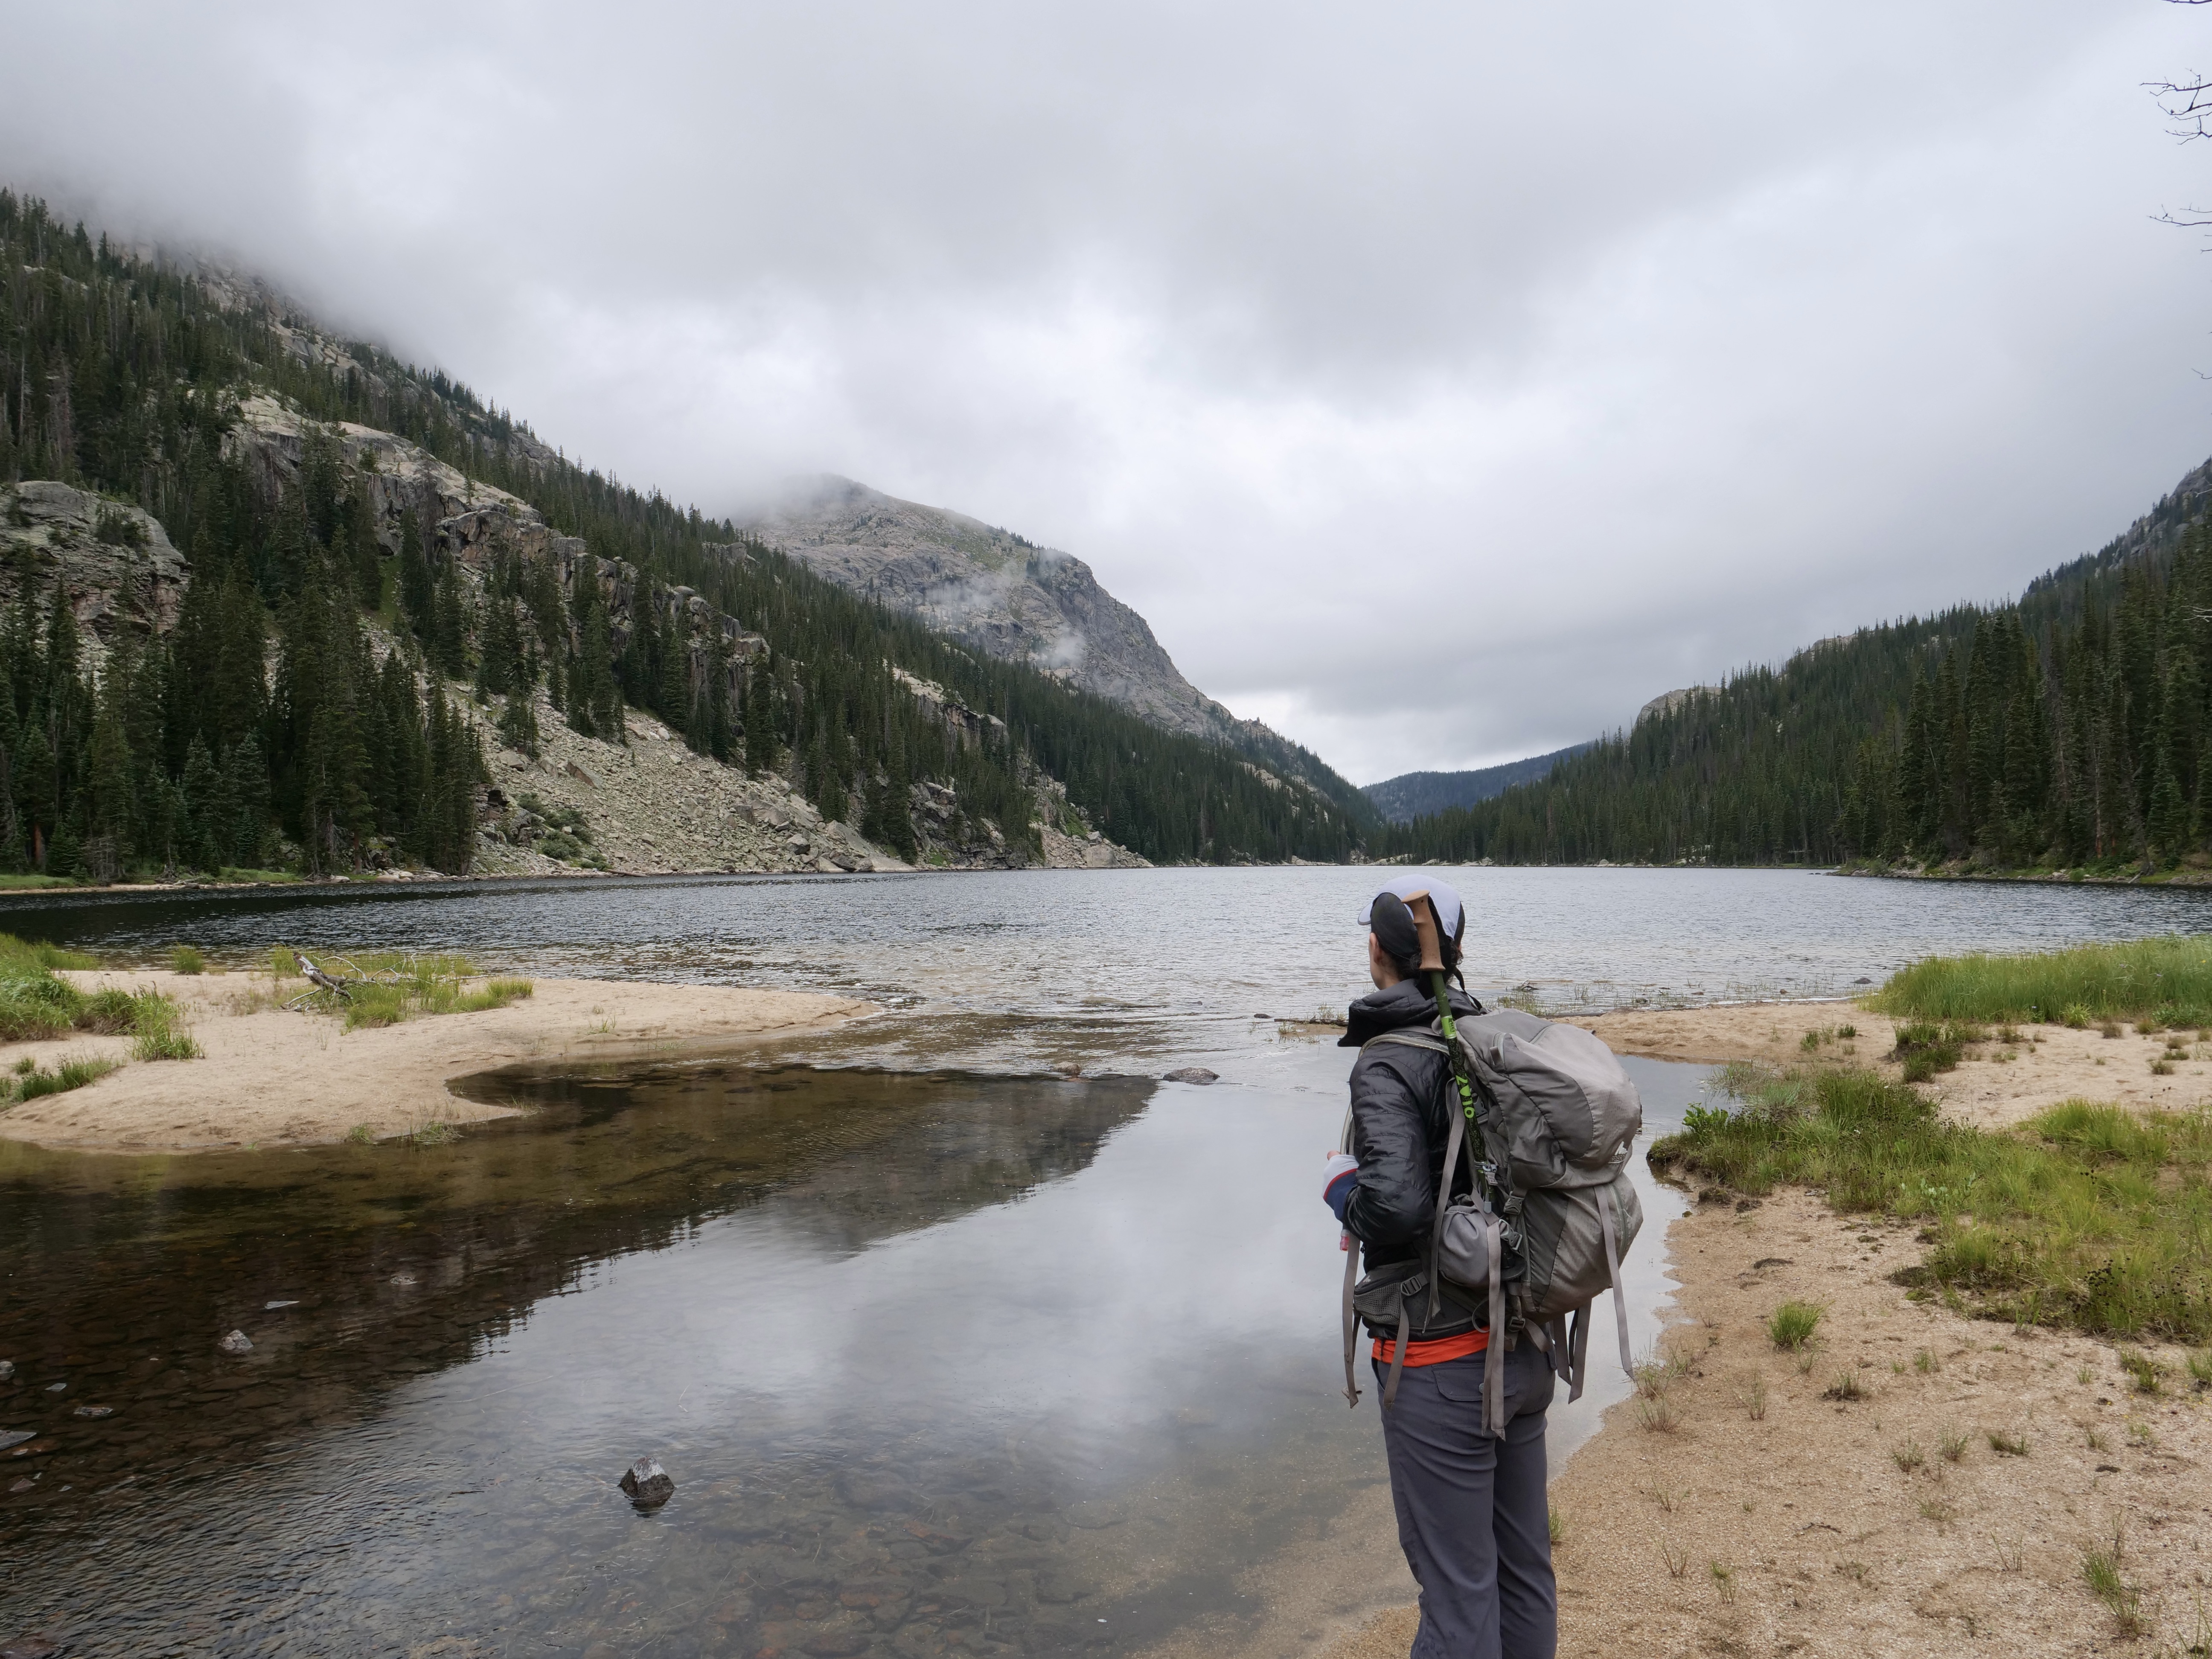
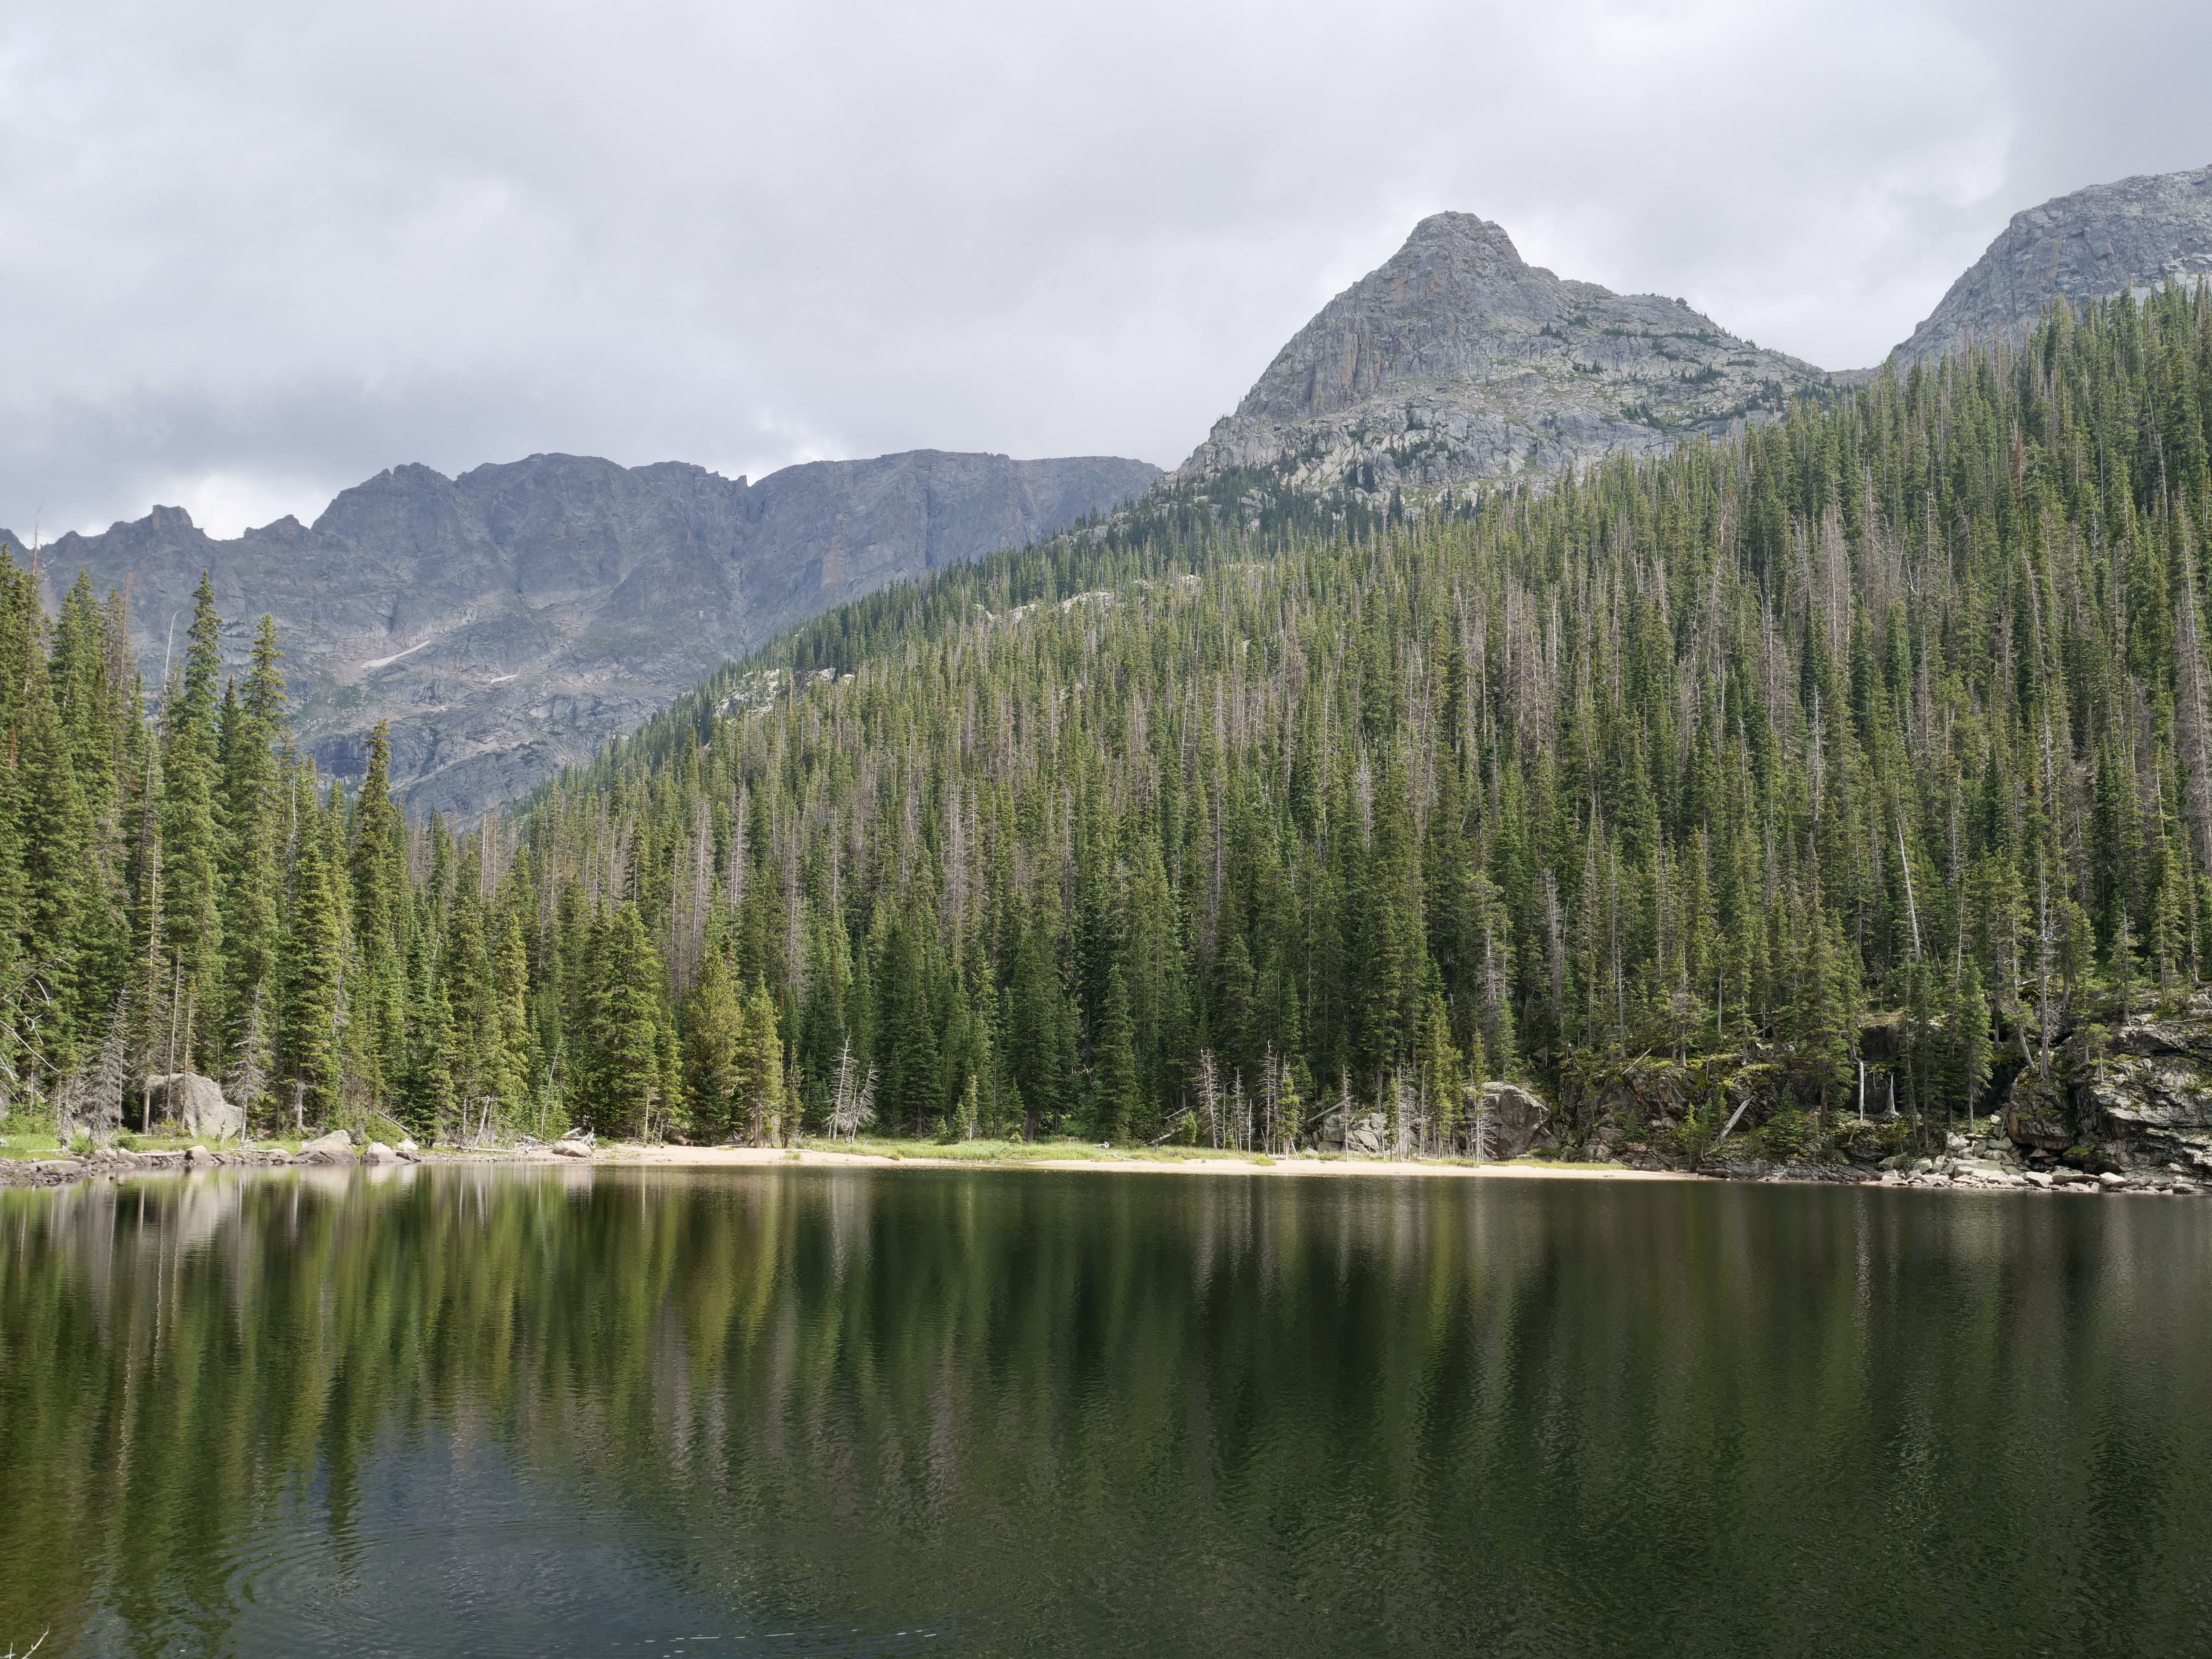
I managed to tag along on two of my good friends backpacking trip in Rocky Mountain National Park (RMNP). Nicole & Dave-The-Rave reserved (well in advance) the only campsite spot by Lake Verna on the less busy west side of the park.
Day 1– Parking lot to Lake Verna campsite (Strava link for hiking details)
The trailhead of the East Inlet Trail starts from the east side of Grand Lake and works its way into the mountains. There are 5 lakes going into the valley and Lake Verna is the second one. It’s a beautiful trail hiking along the river and very gradual ascent. Since we had the same campspot for 2 nights I didn’t pack very light so the pack was heavy hiking up the first day and the pace was very “hygge”.
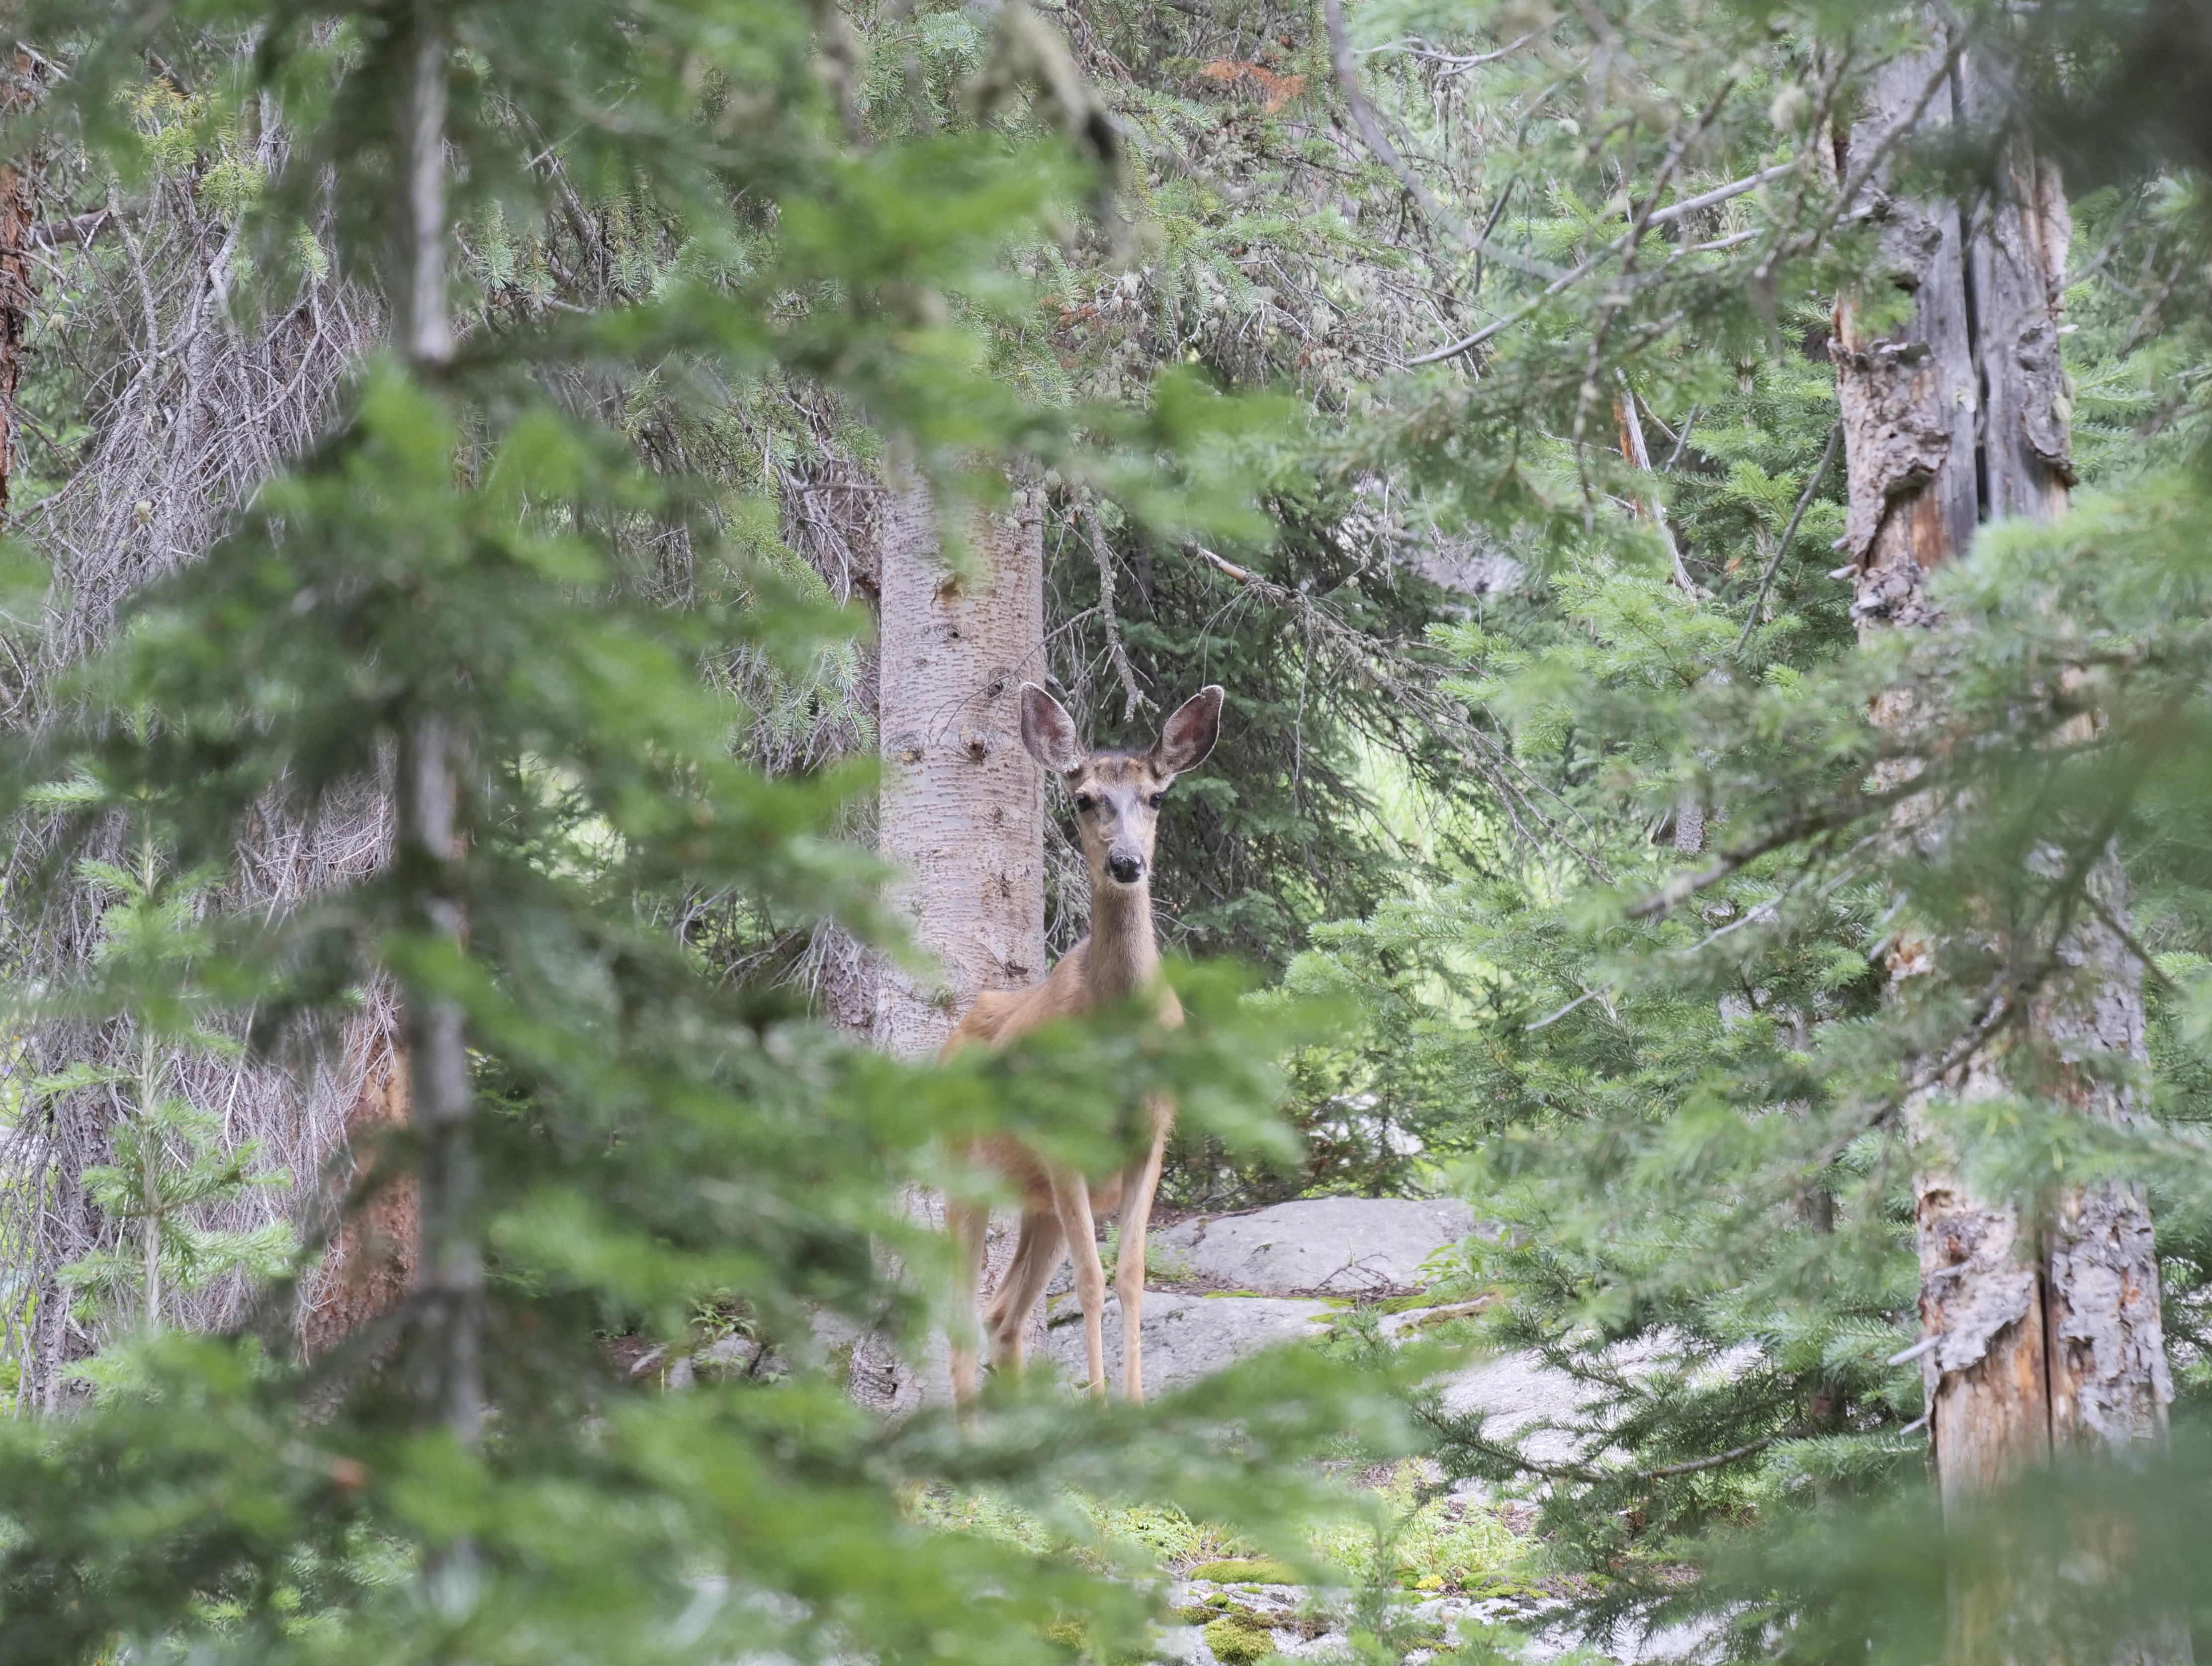
The weather in general was very mixed the whole trip which I like, it makes the scenery chance all the time so you experience something different even staying the same place for days. We got to the campsite and pitched the tents just before it started raining. Immediately we got a new campsite friend, a deer that kept coming by our camp for the 3 days. Maybe he was hoping for scraps but I got the sense that he felt more secure from other predators being around us…I could be wrong though.
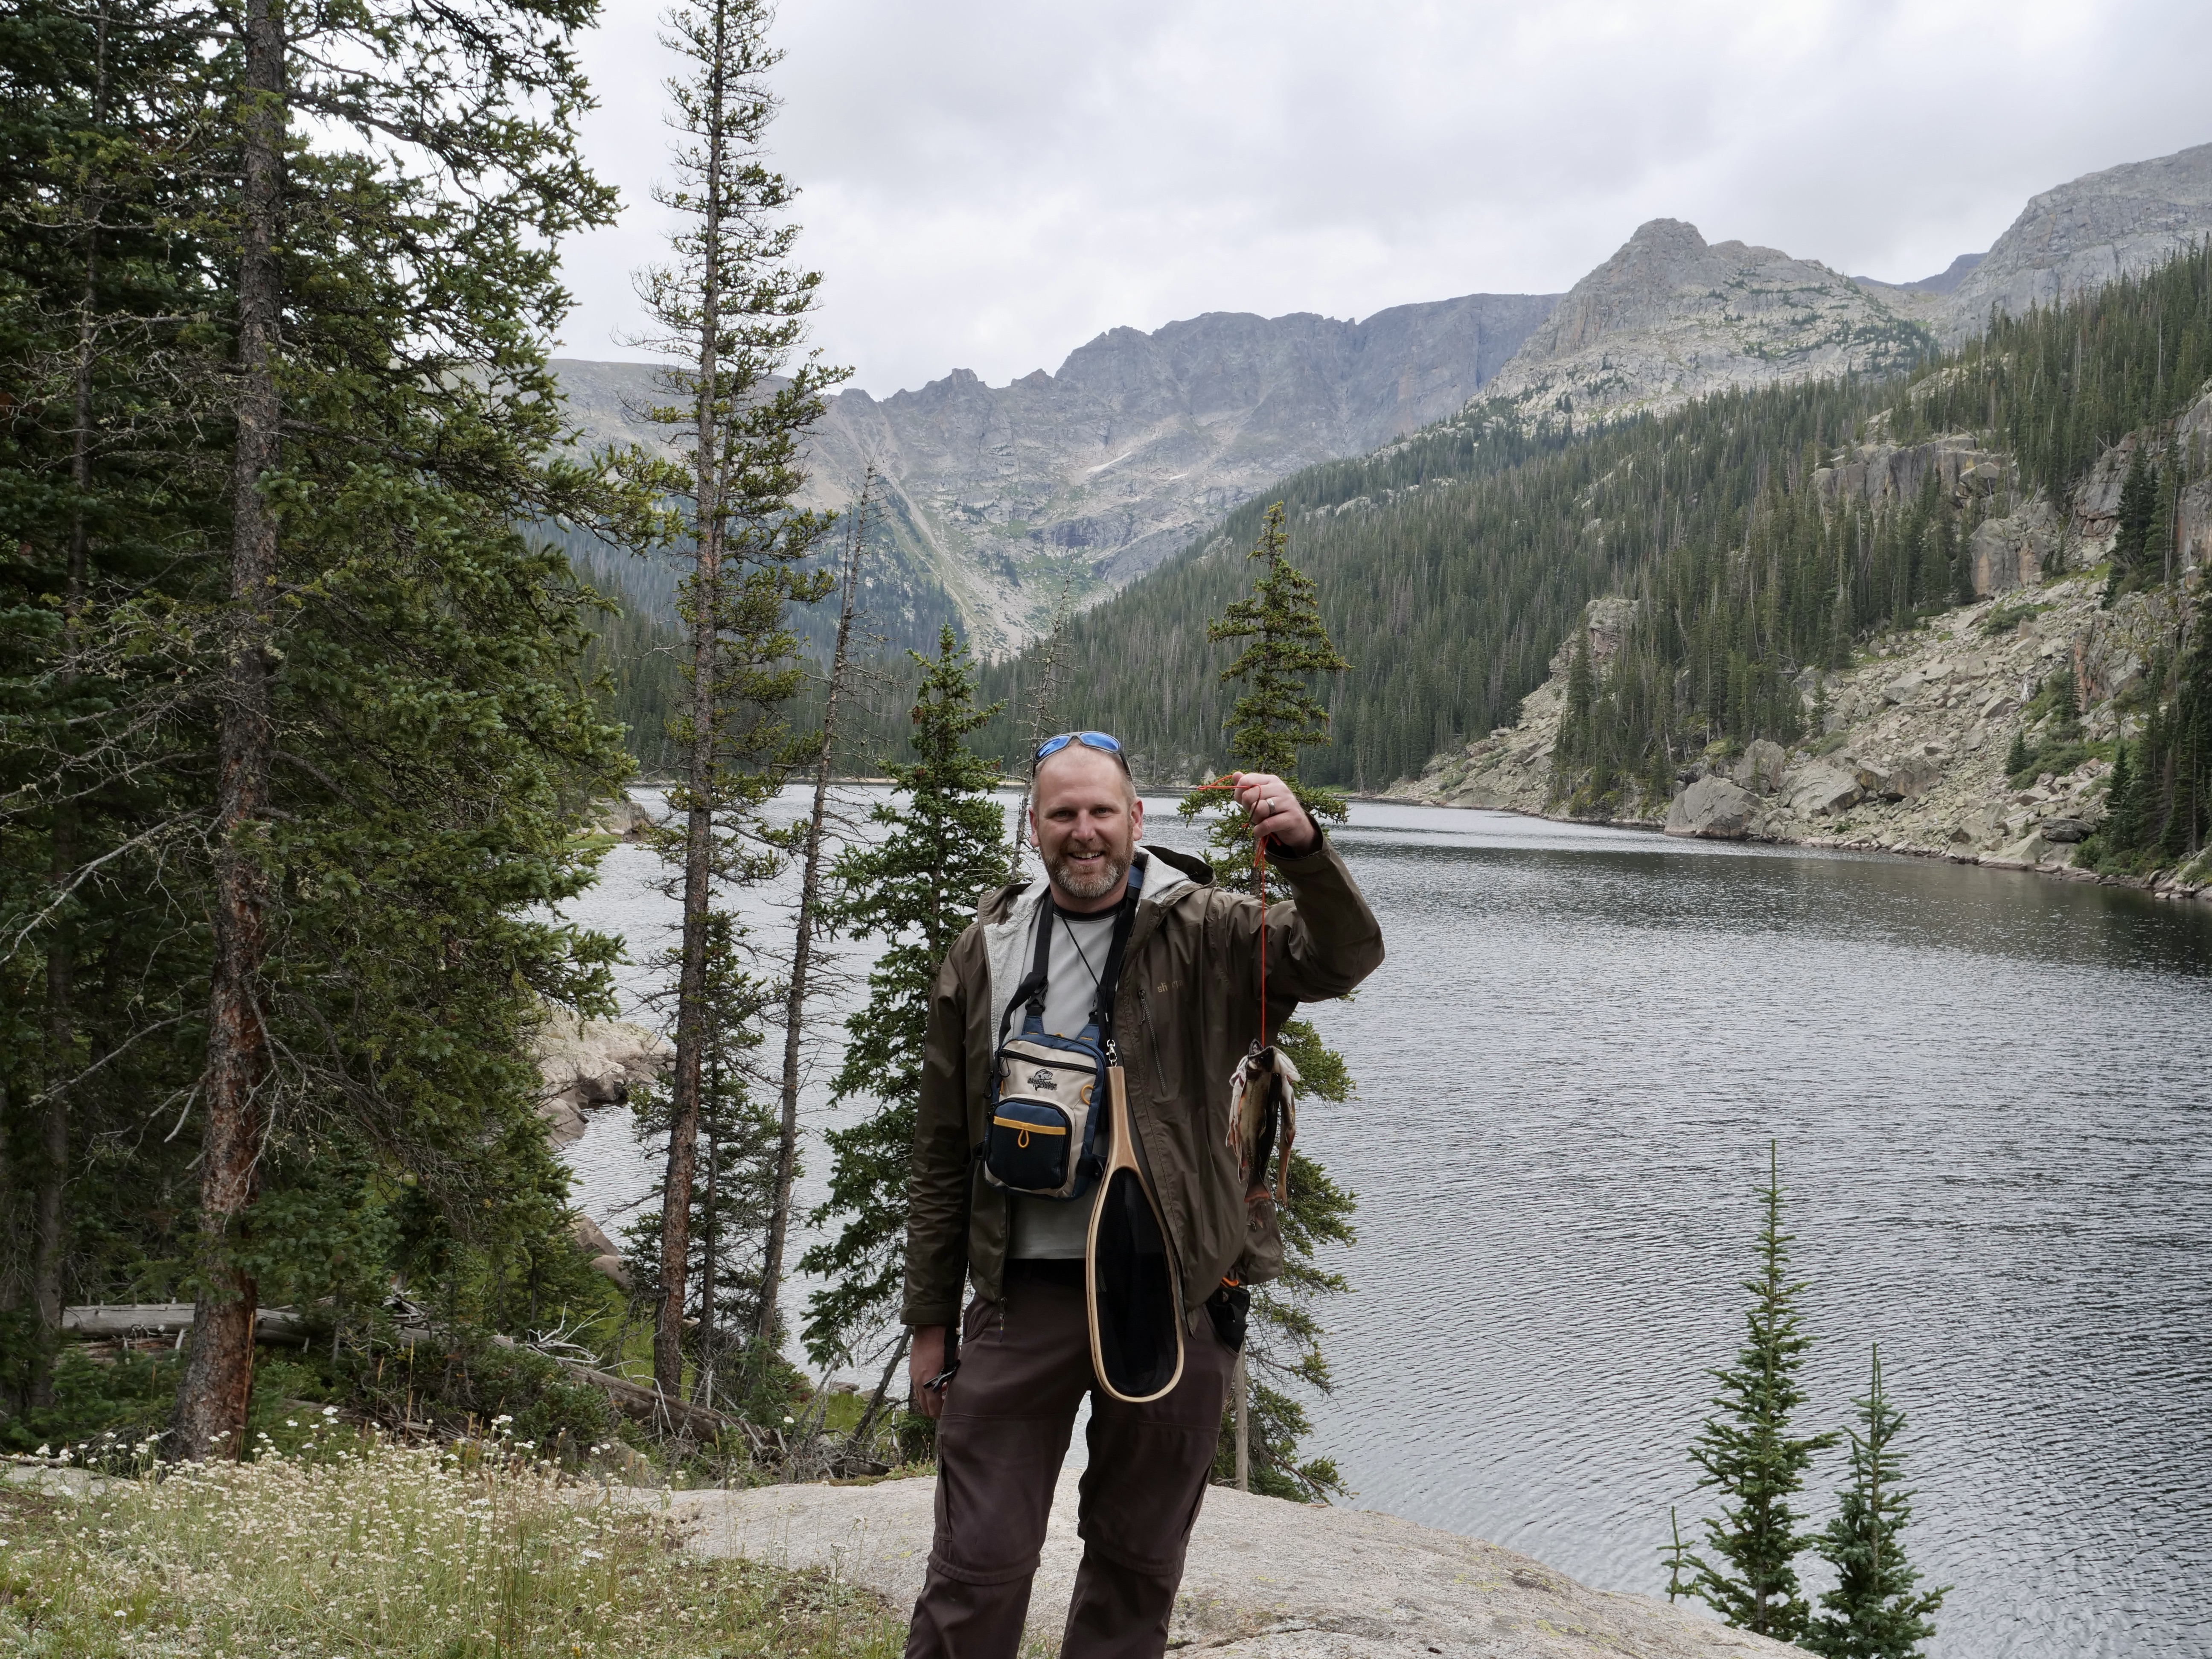
Rave broke out the flyfishing rod and we spend the rest of the day fishing and cooking in camp.
(Click on pictures and read captions for more details).
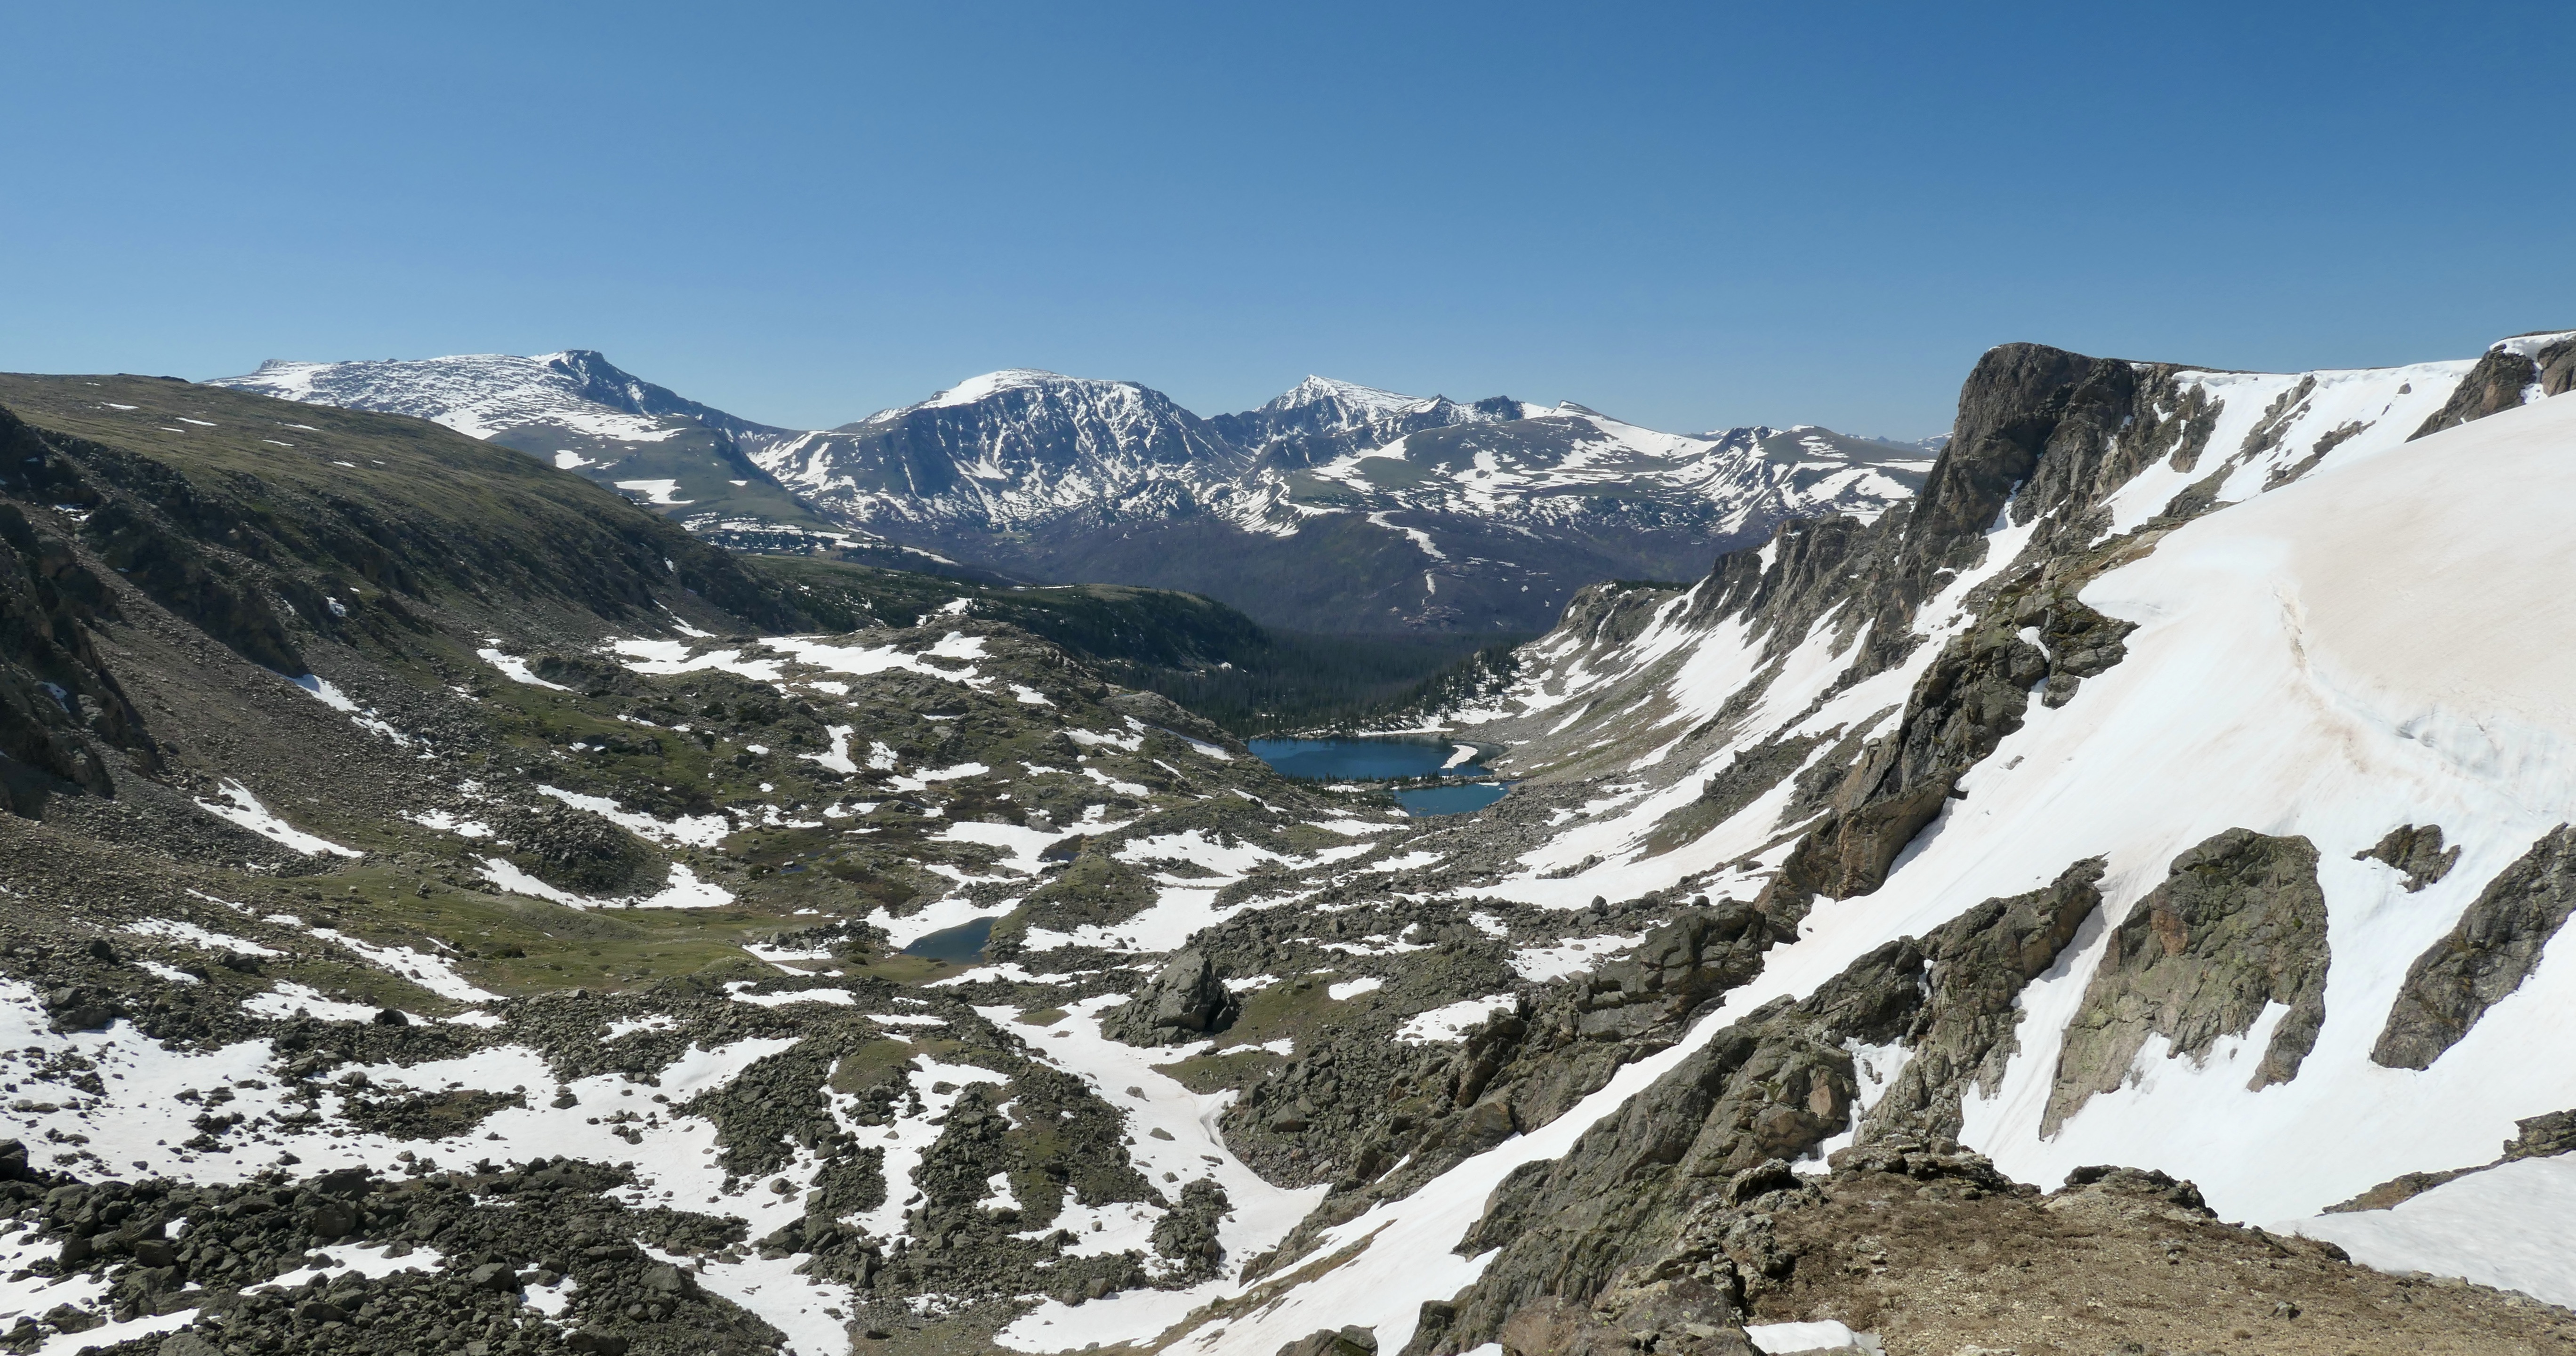
Day 2– Lake Verna to Fifth Lake and back (Strava link for hiking details)
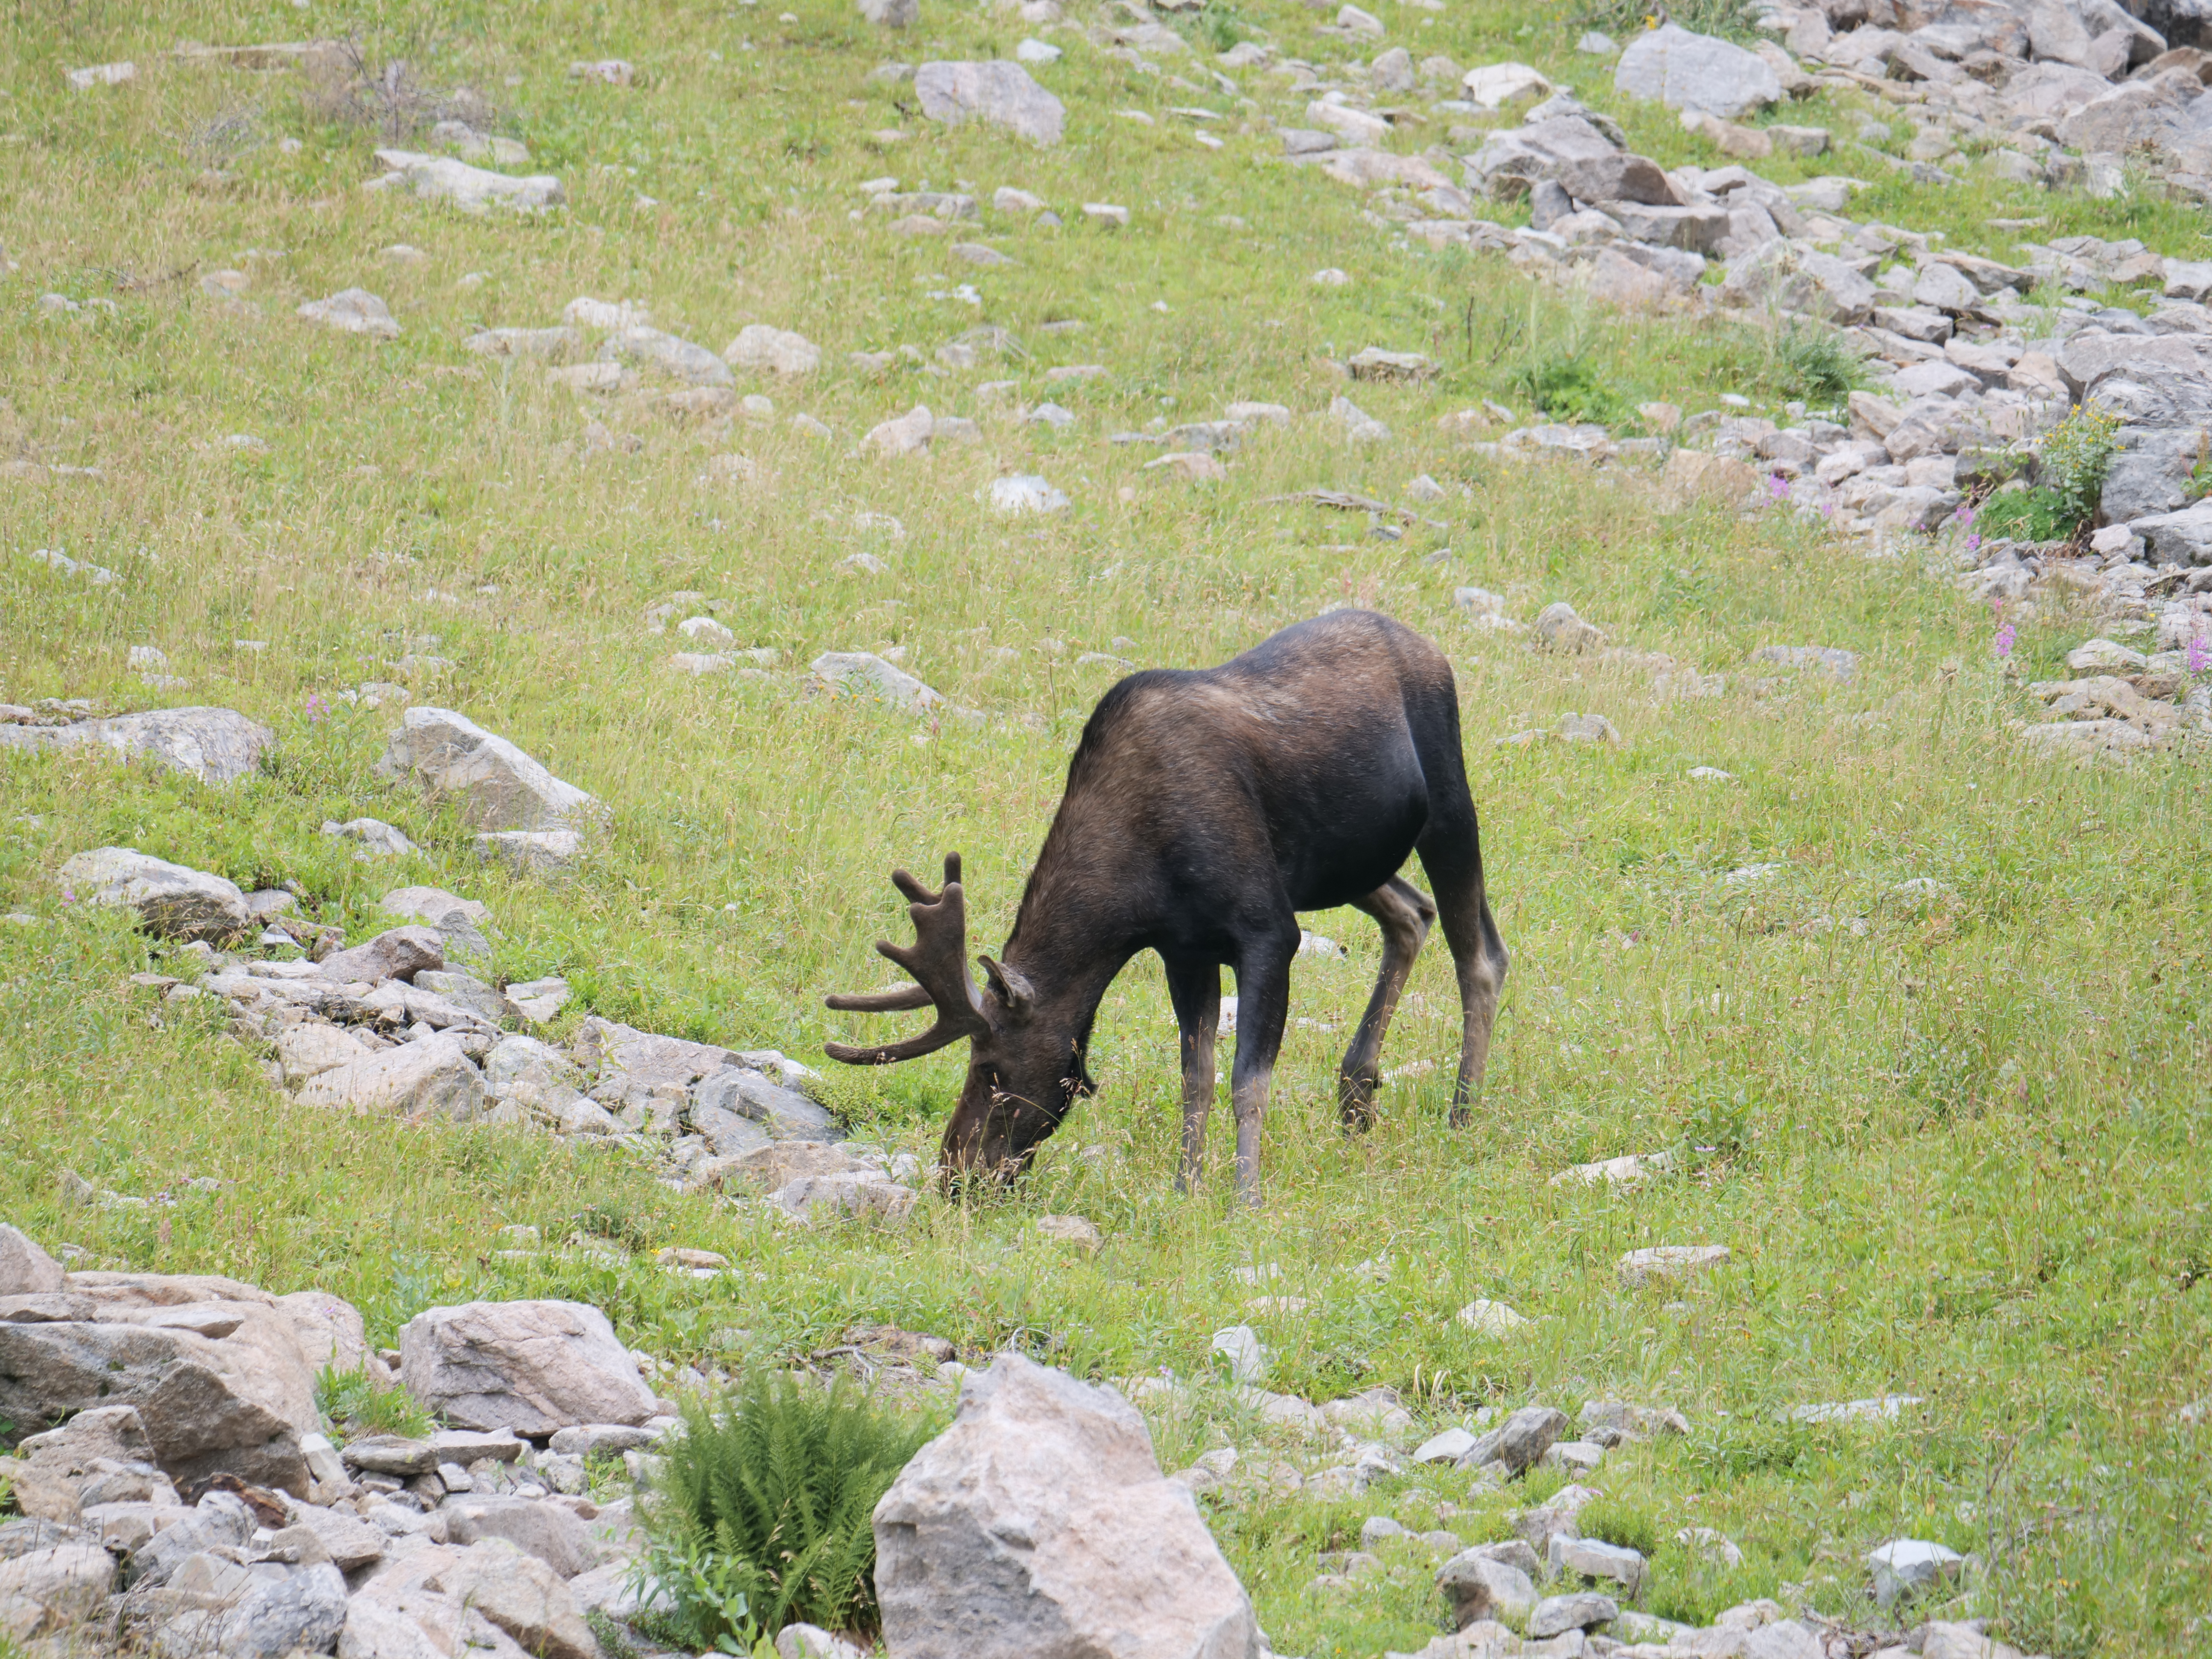
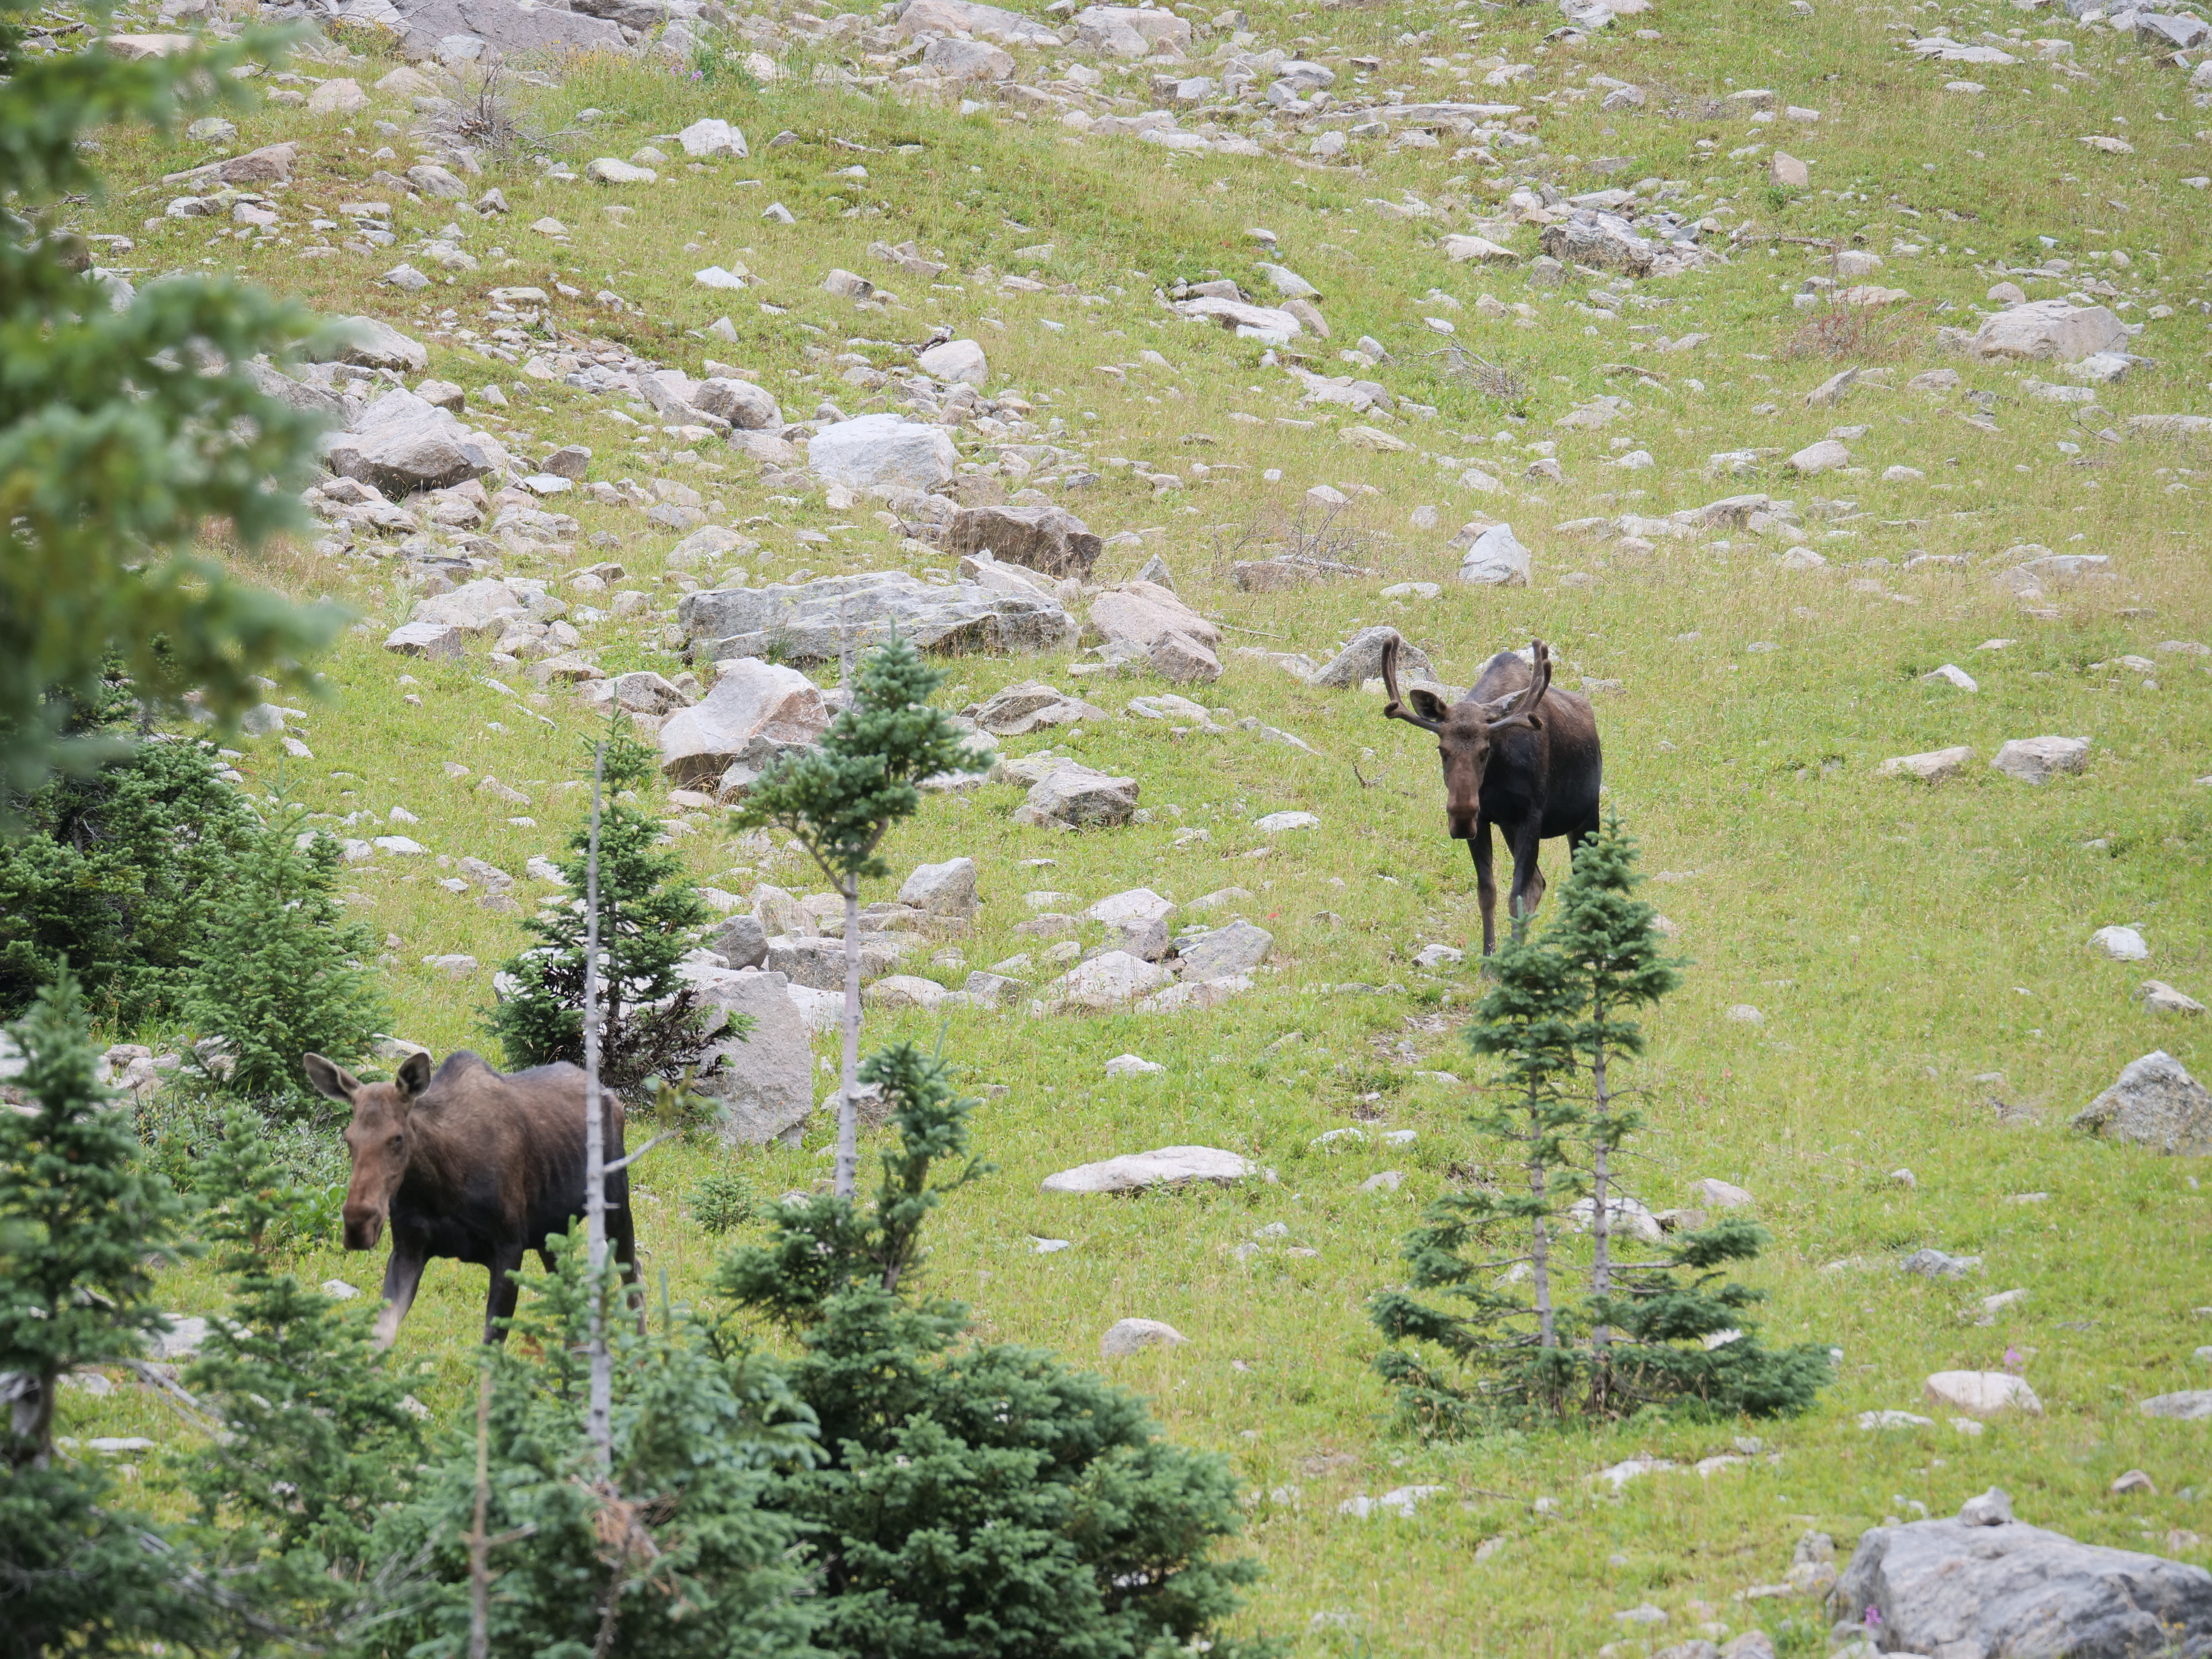
Nic and I wanted to explore the valley and possibly get to one of the mountain passes. After a bucket full of coffee we all head up the valley. After reaching Spirit Lake, Rave decided to turn around and try to turn his no-fish-failure on the previous day into succes. Nic and I kept hiking deeper into the valley. Immediately after Lake Verna the trail becomes more rough (but still pretty good) and we had a sense that we would see wildlife at anytime. Ones we passed the fourth lake we could either go up to Boulder-Grand Pass or hike to the fifth lake. It was still very cloudy on the pass so we kept on going to the fifth lake. After the fourth lake it ascends above the treeline and Nic spotted two moose further up the game trail that we were hiking on. They spotted us at the same time and we stayed for a moment then moving a bit closer and stayed there, maybe 200 metres away from them we stopped. It was a male and female and they started coming down towards us. It was my first real moose encounter in the wild (which is crazy given the places I’ve been) so I was a little nervous but watching their demeanor I calmed down, they didn’t look aggressive at all. They kept coming down the game trail towards us until maybe 30-40 meters away from us they veered off to the side and passed us down the hill so we could continue. I really got the feeling that they recognised where we were going and they came down to let us pass, amazing experience!
We went up to the fifth lake which is very beautiful surrounded by mountain tops and took a food break (Nic – thanks for the amazing salami sandwich!). We considered wether to continue up the pass or hike back down, and as we were conversing it started thundering so we made the wise decision and went back. On our hike back it started clearing and we could see all the mountain peaks – amazing. There’s a beautiful beach on the east side of Lake Verna and right as we reached it the sun came out so it was a perfect opportunity to take of the shoes, dry our stuff and put our feet in the water. We agreed there was 3 possible scenarios for how we would find Dave-The-Rave: 1) Happy having caught trout, 2) Depressed in his tent because he didn’t, 3) Molested by a chipmunk. Luckily we came back to scenario 1). He had caught 4 brook trouts (we believe) that we cooked up and ate, they tasted AMAZING!
(Click on pictures and read captions for more details).
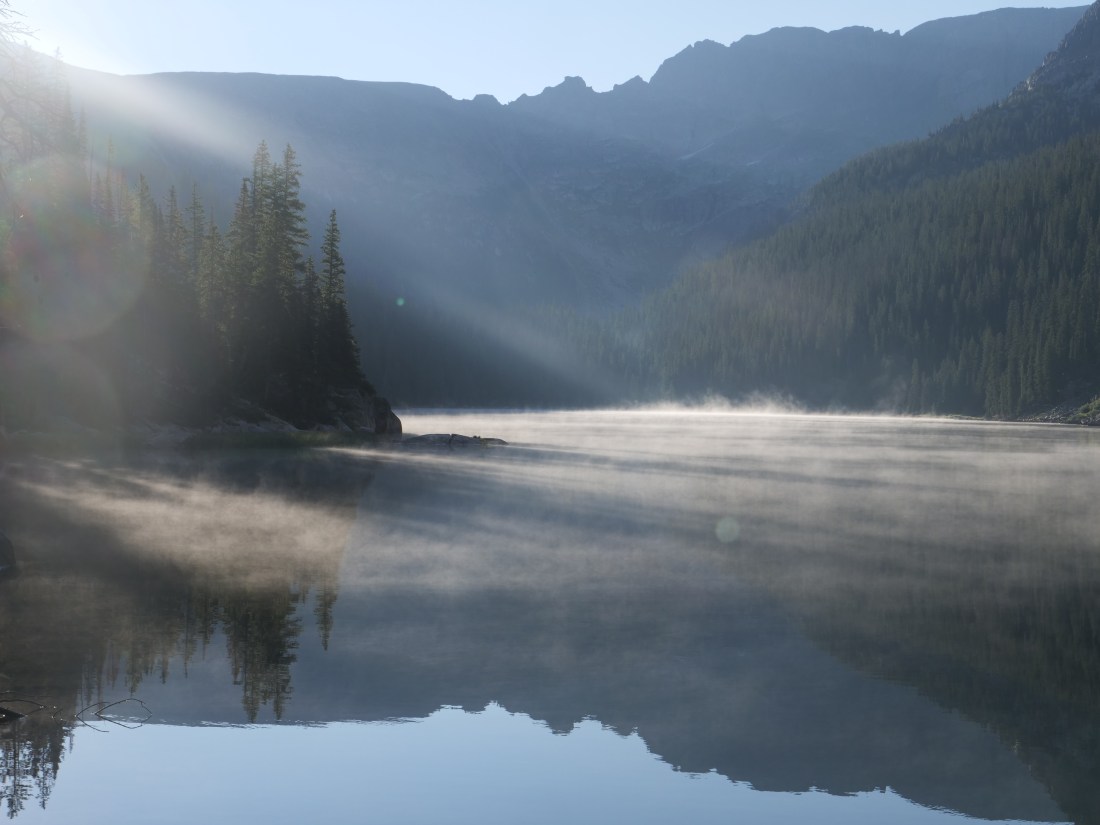
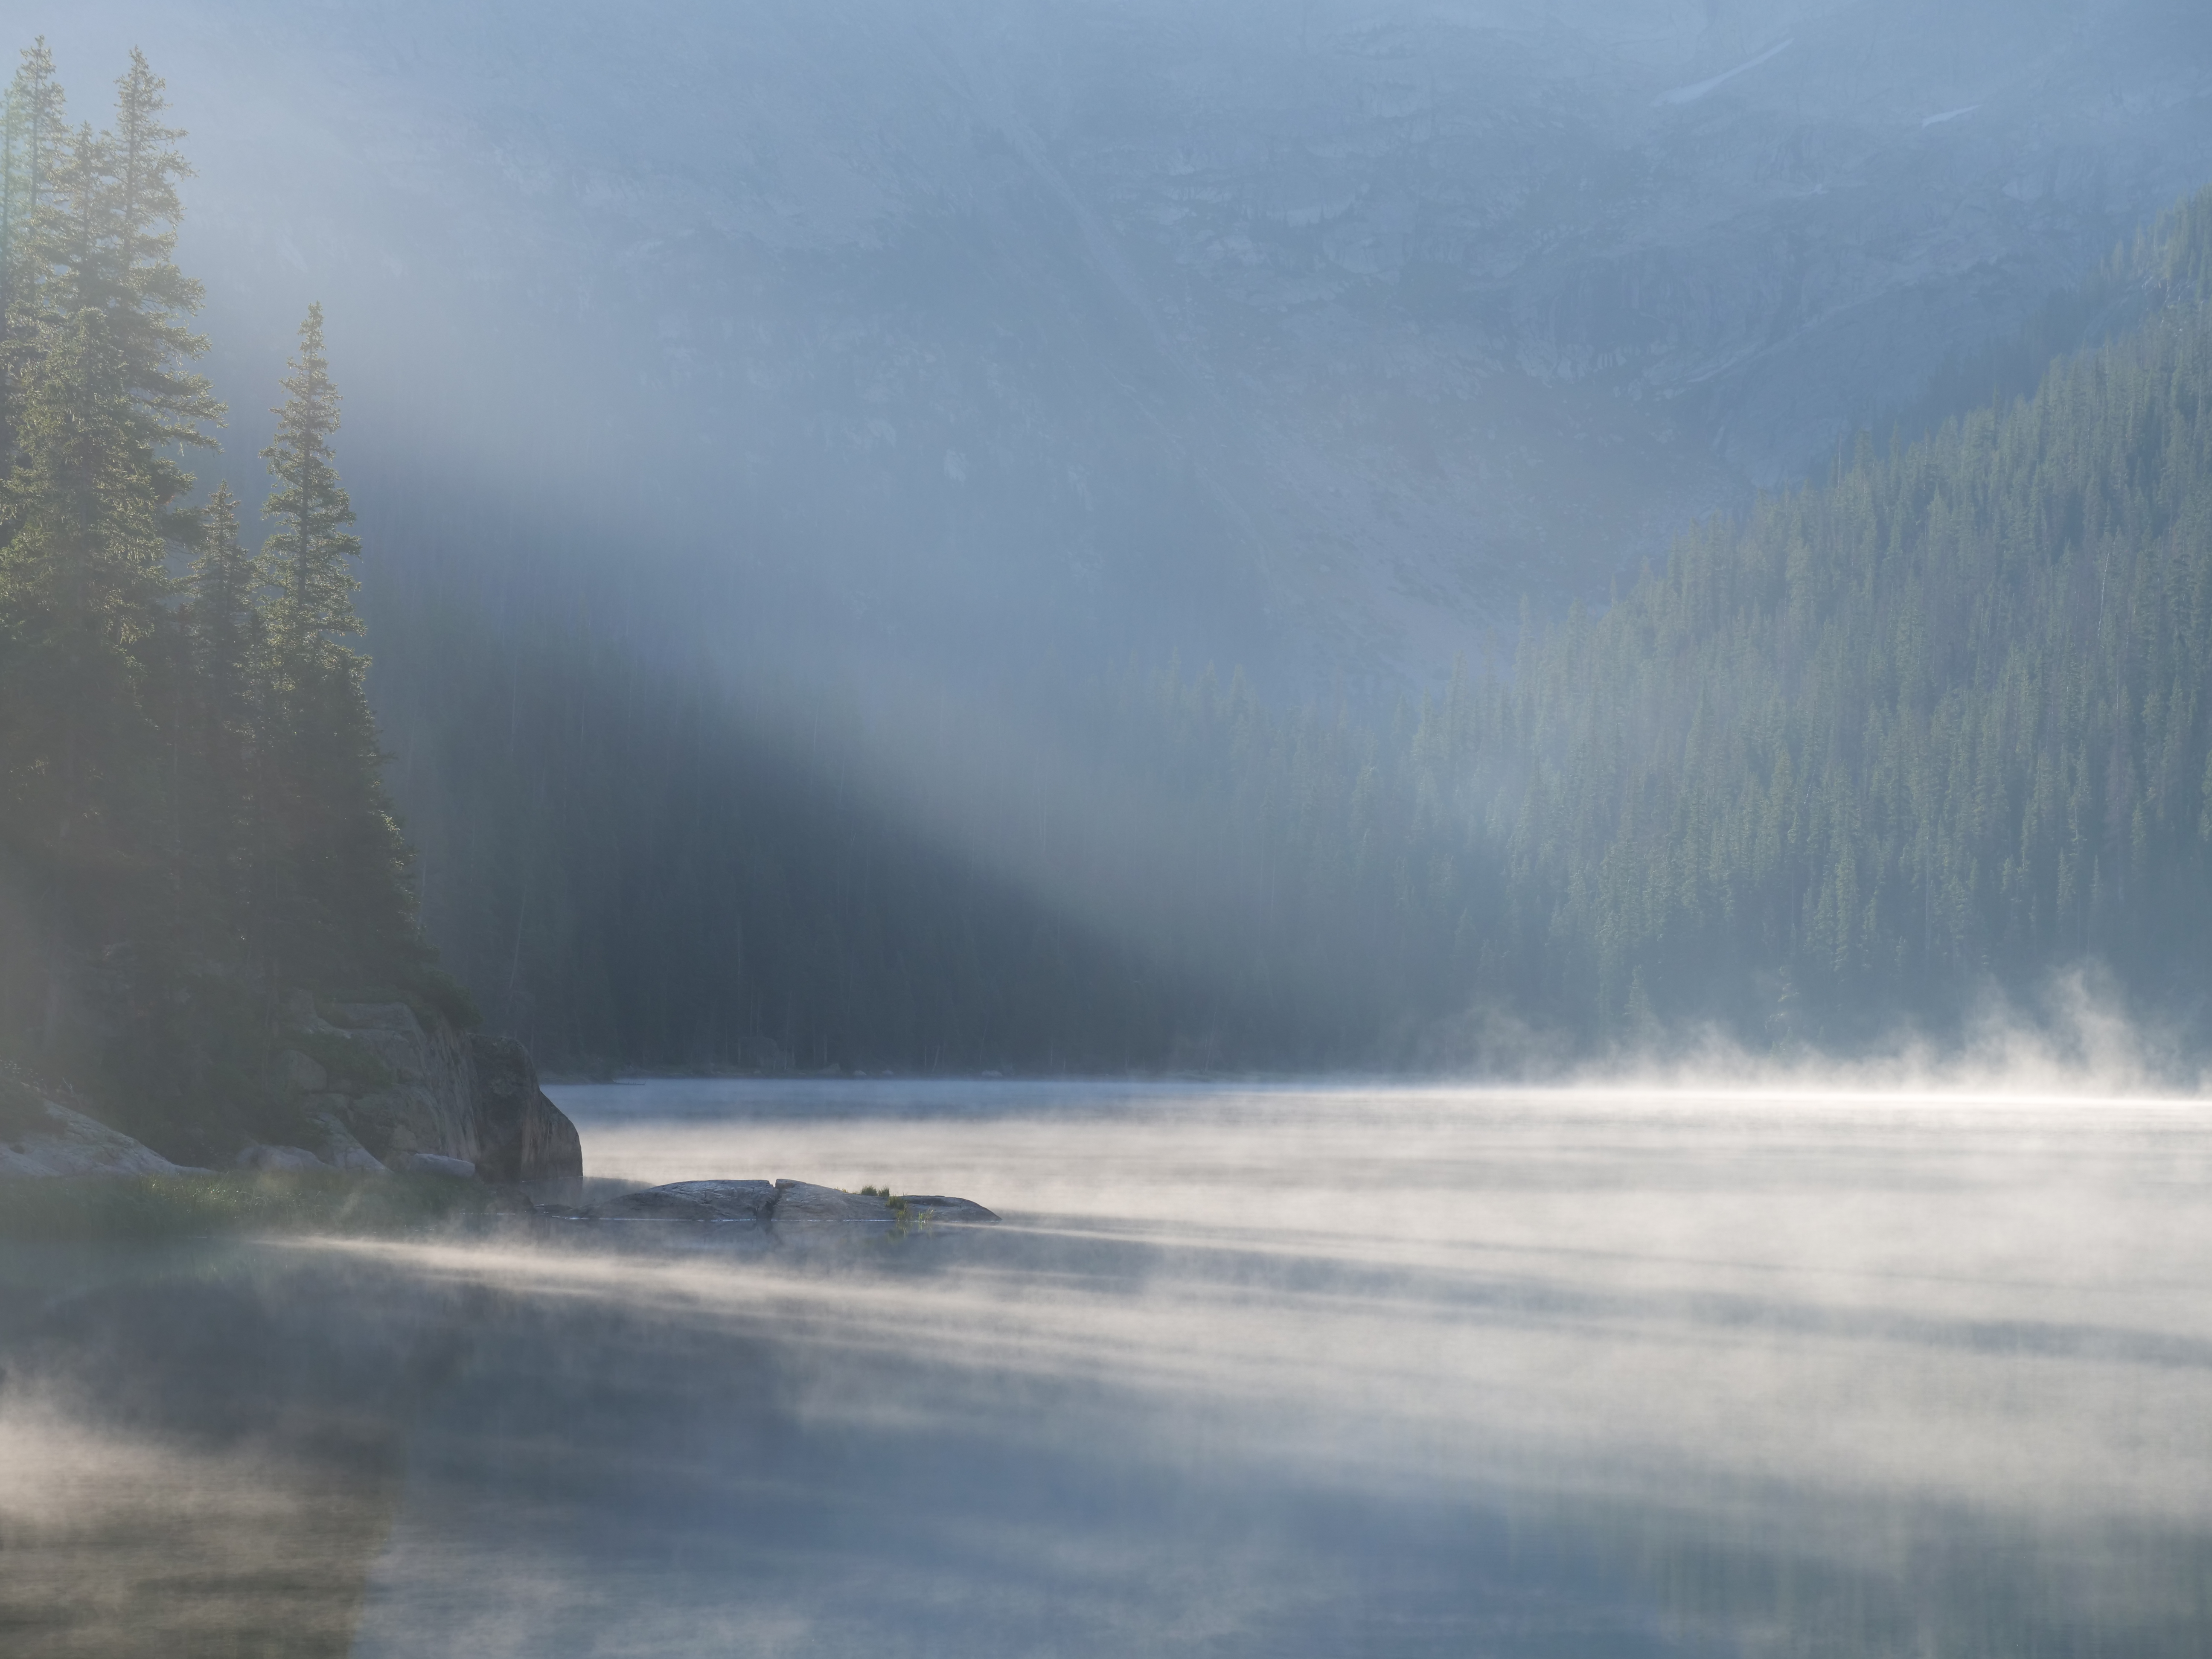
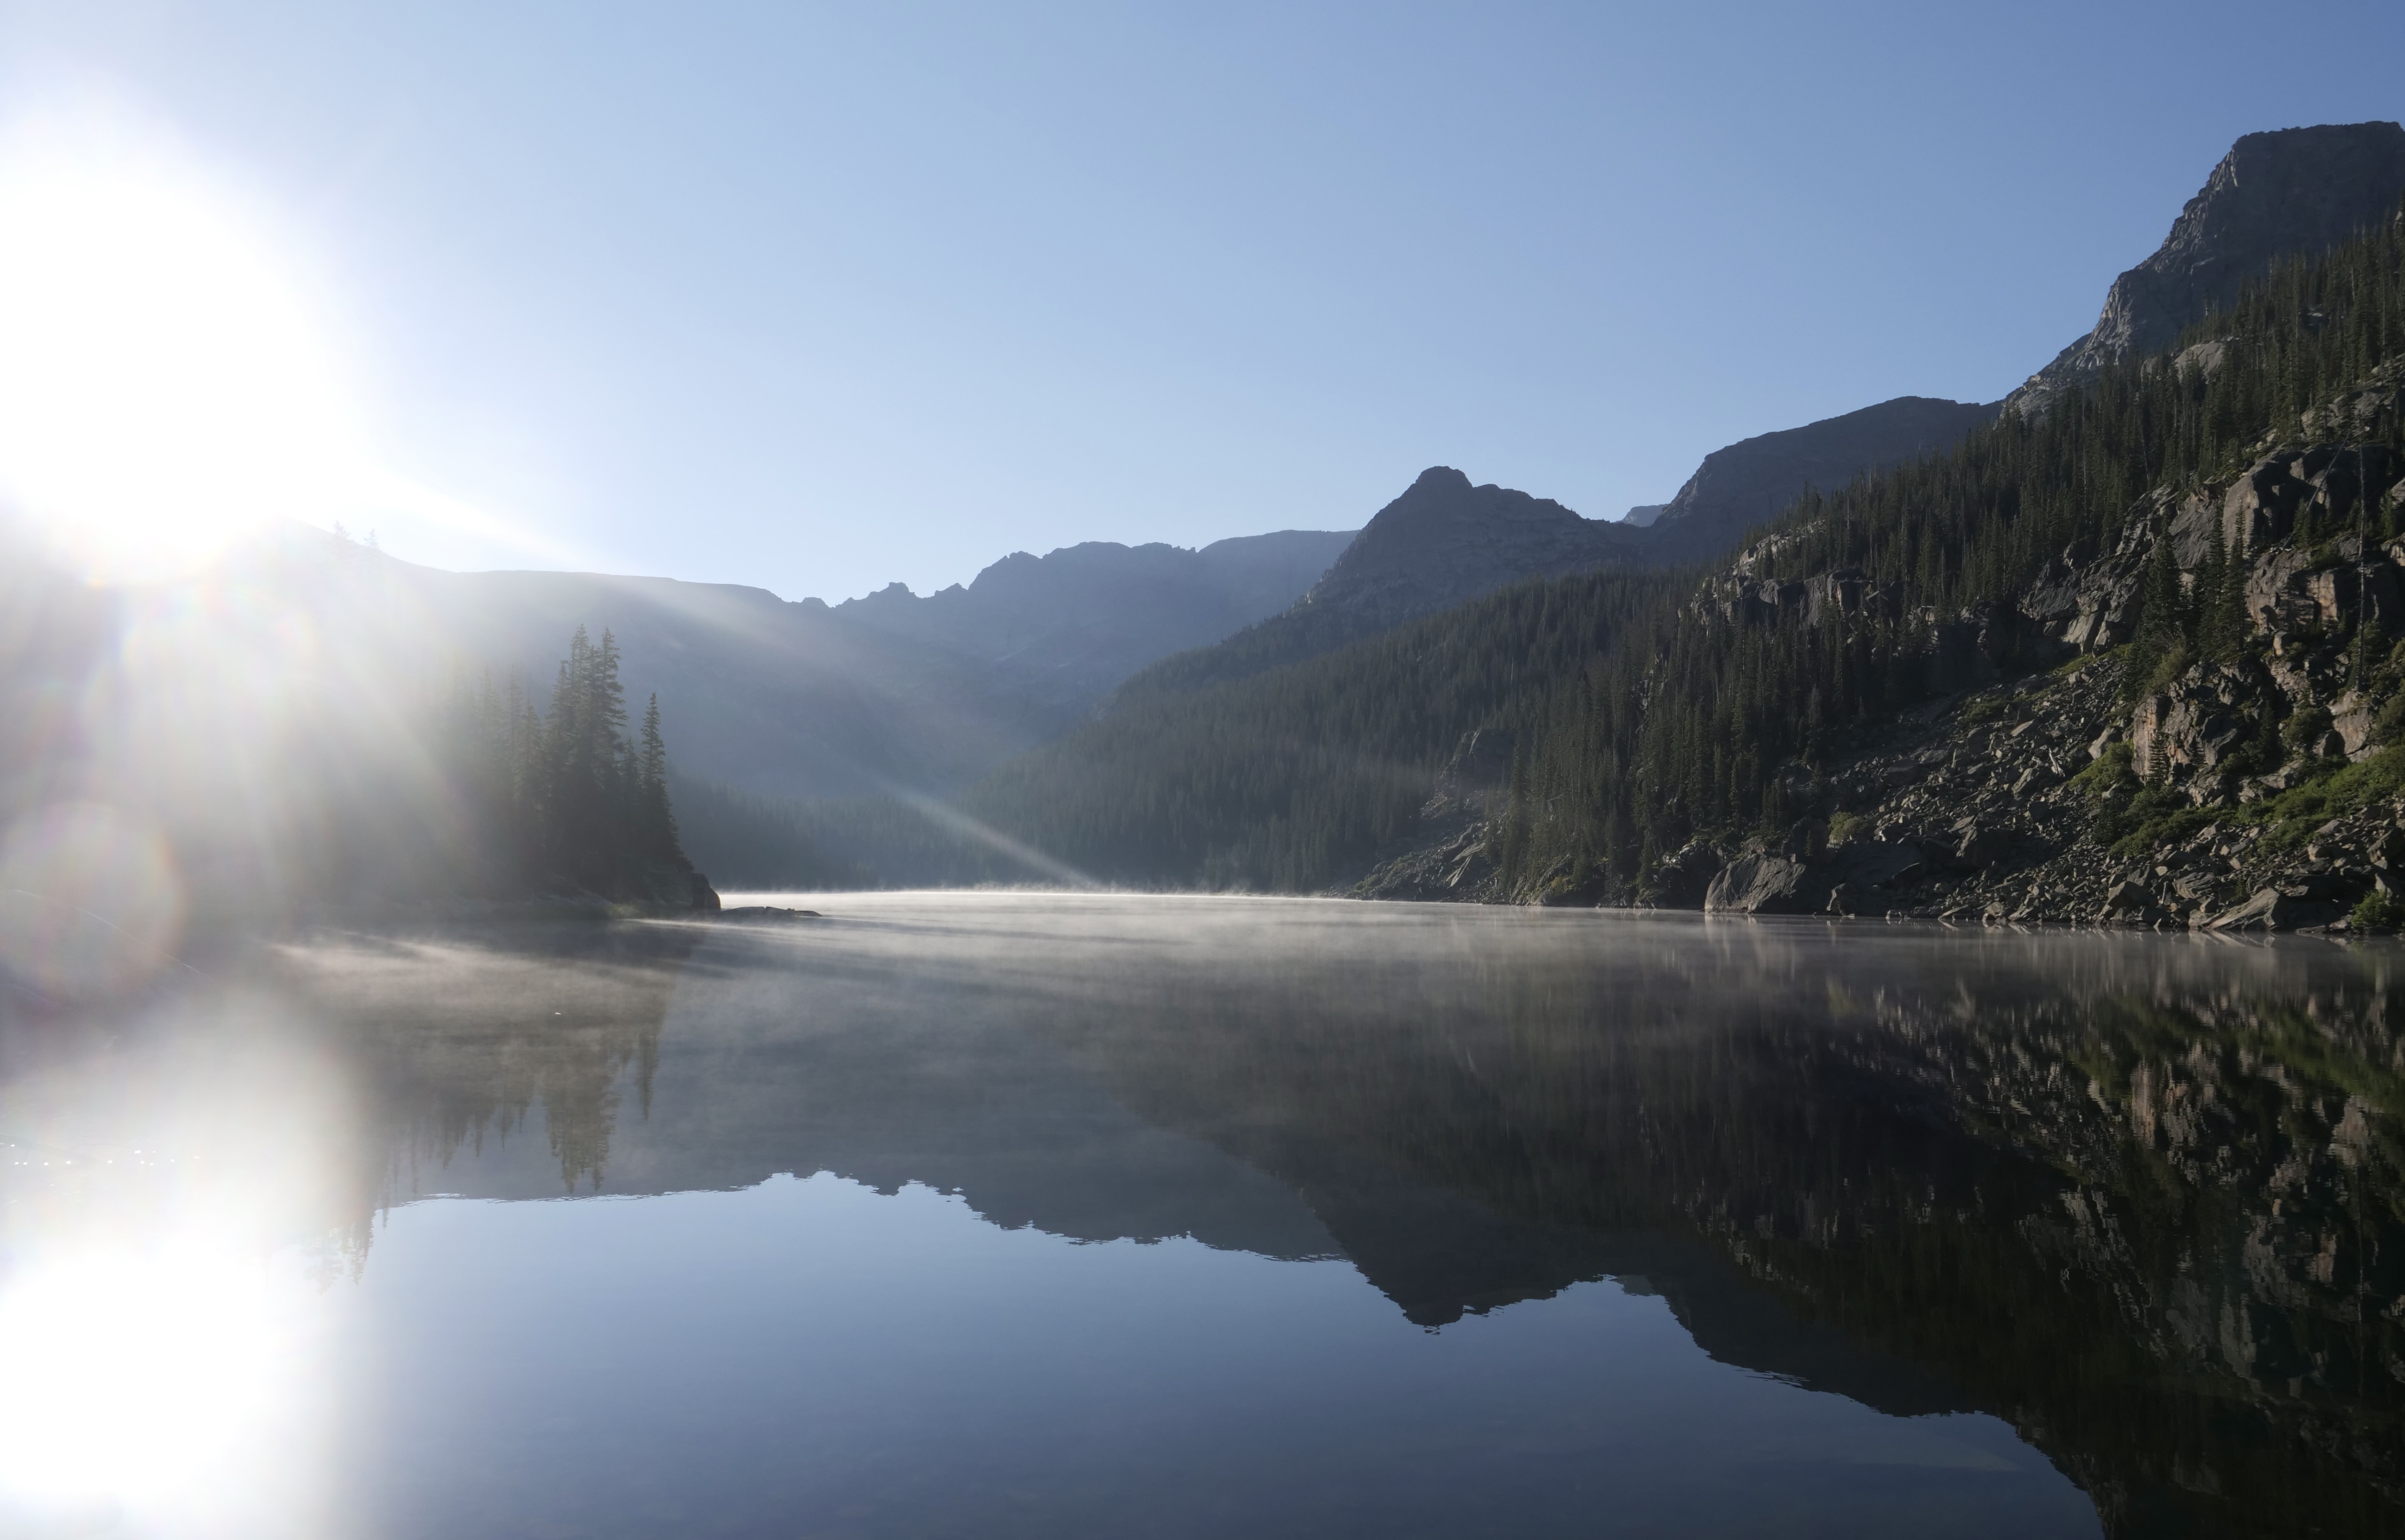
Day 3– Lake Verna to parking lot (Strava link for hiking details)
We woke up to an amazing sunrise and had coffee by the lake before packing down our stuff and hiking back. There was this mist almost dancing on top of the lake, it was pretty amazing. Here’s a couple shots…and check out the video on my Strava where you can see the mist moving on the lake.
Fans (0) and friends (2) from all over the world – we’re back with another blog post!!! (Actually the fan part, is getting to 1 or 2 now).
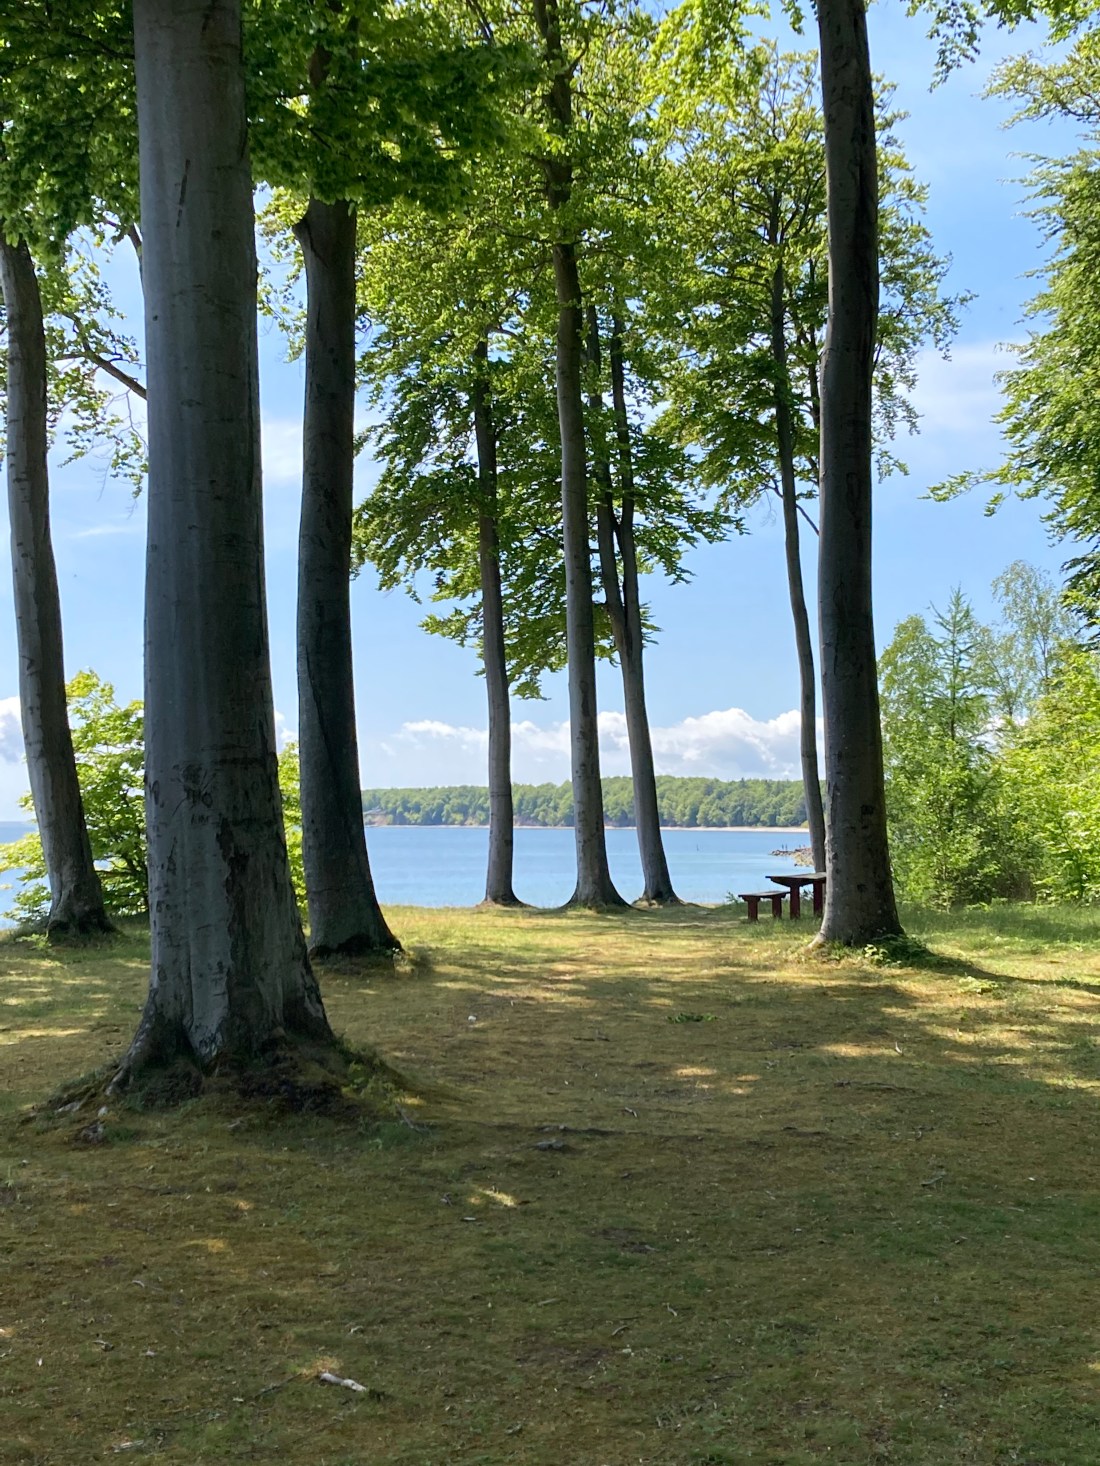
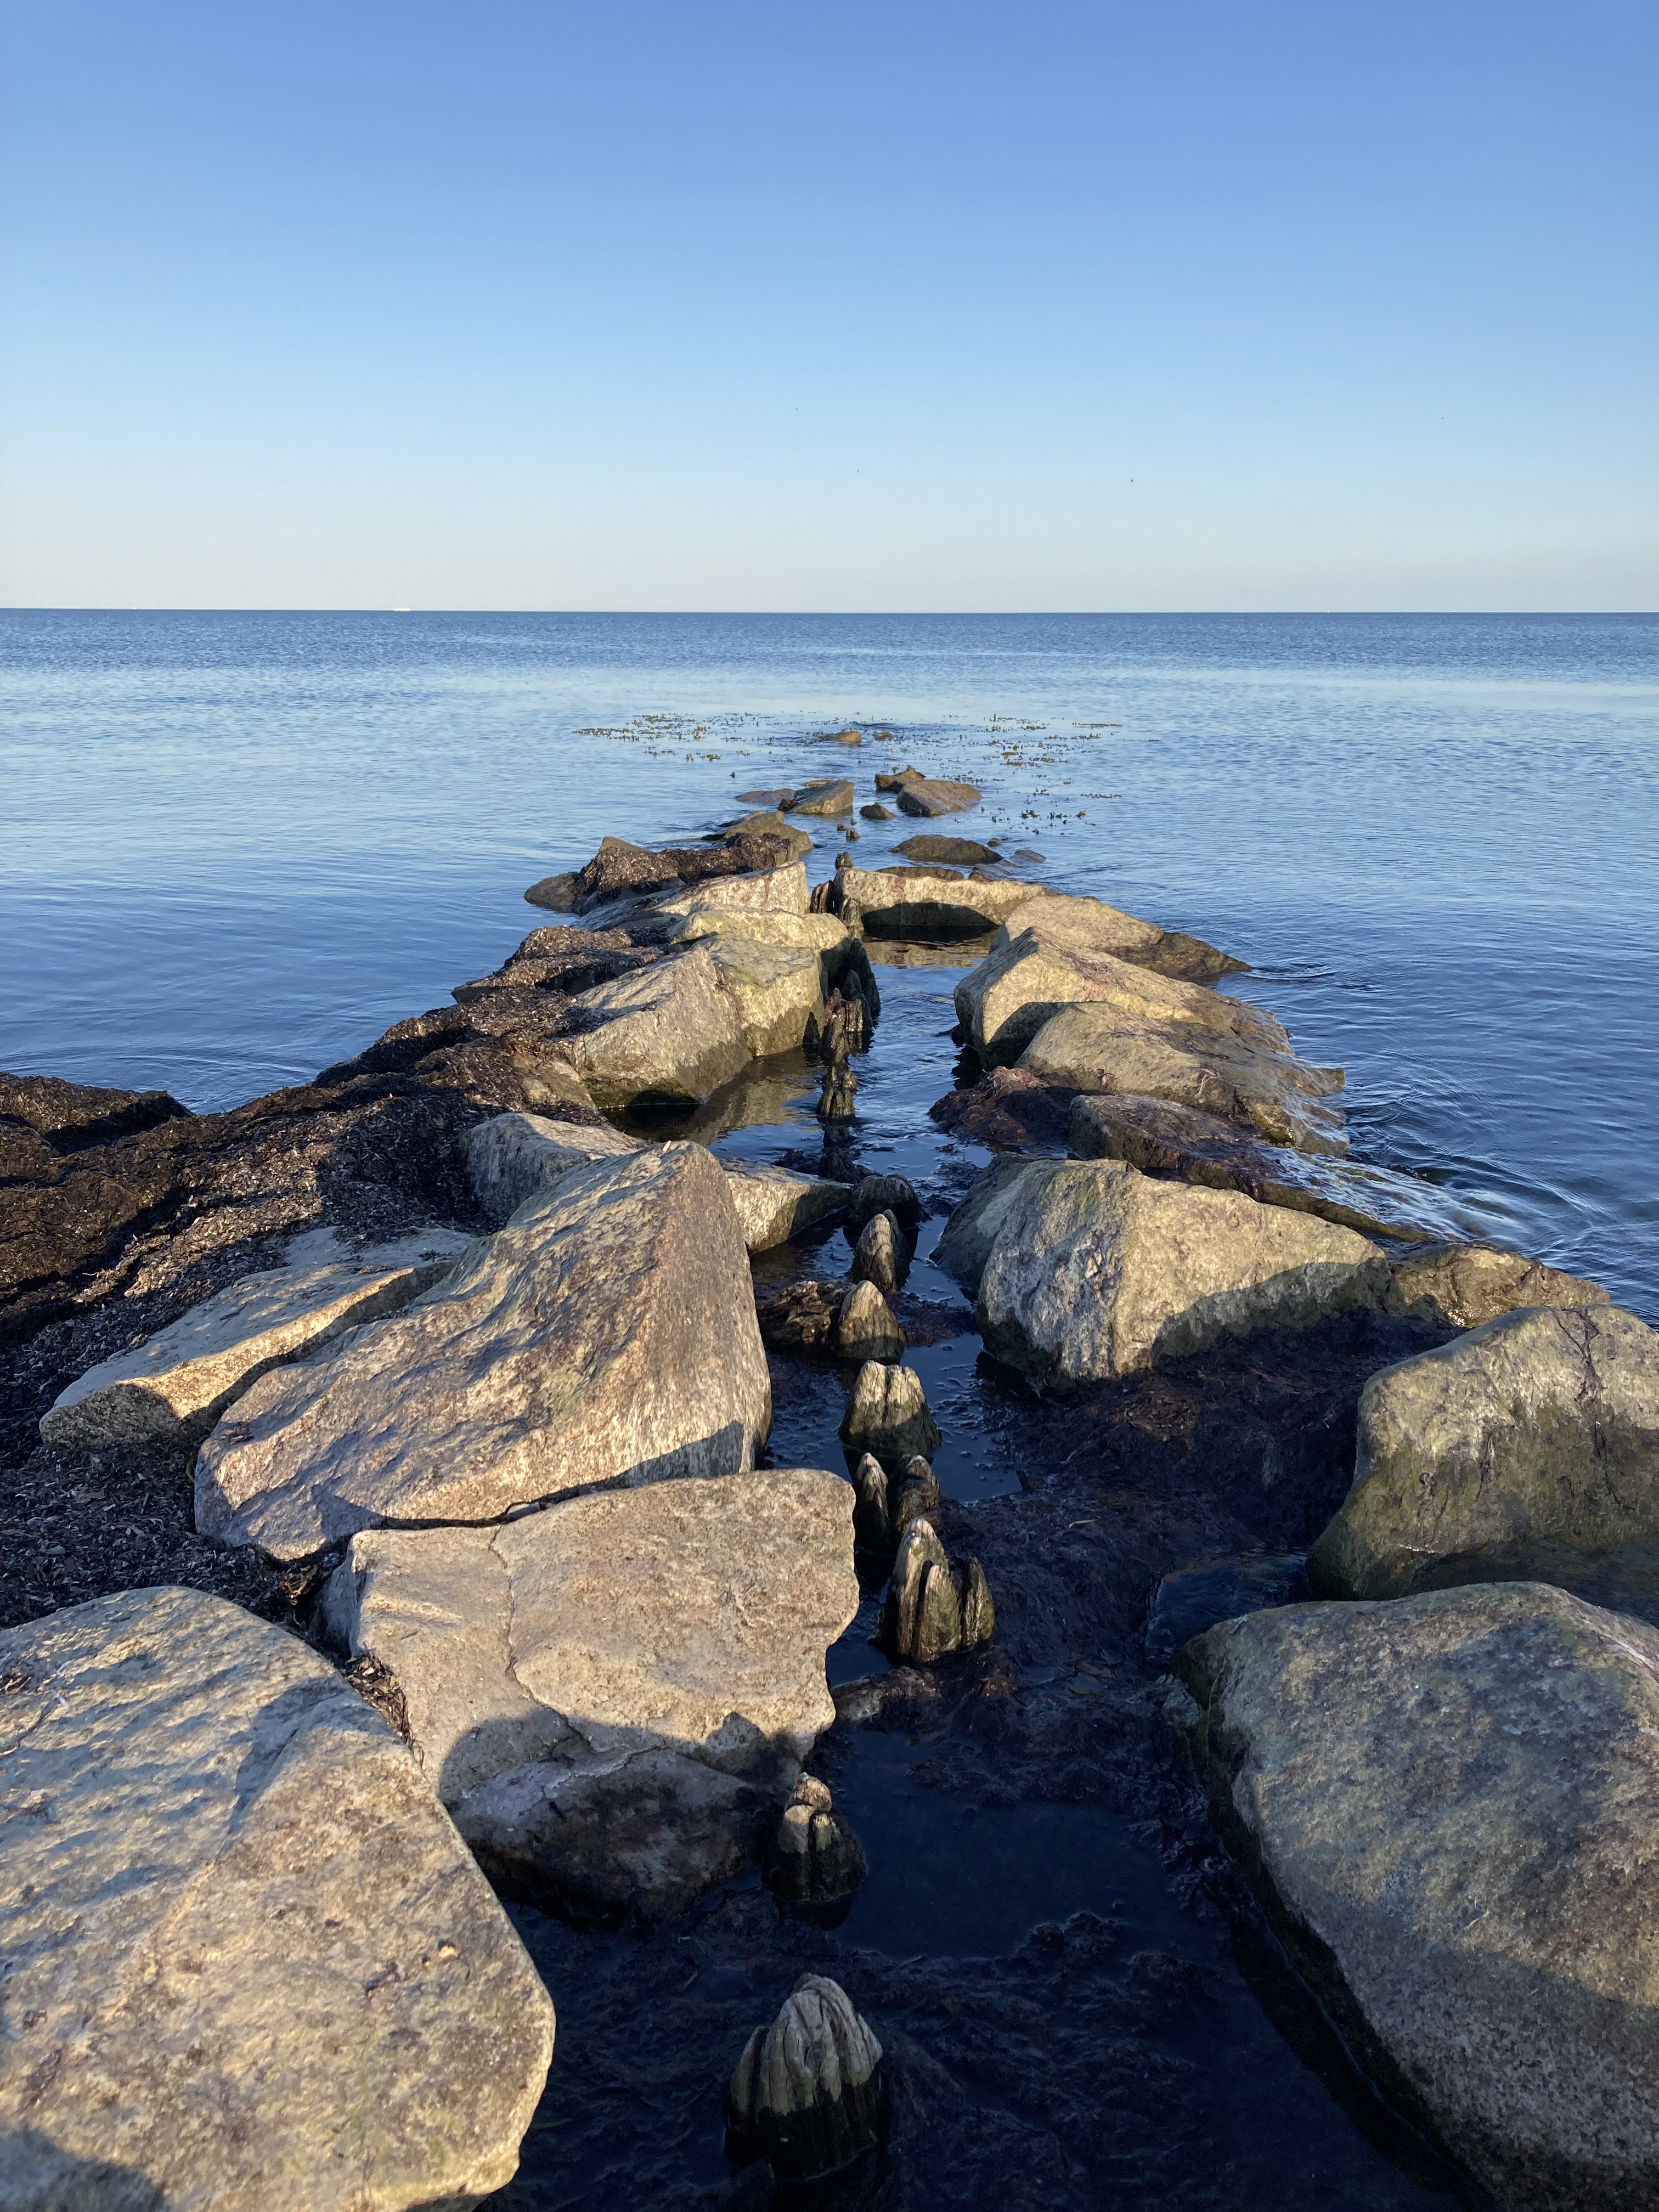
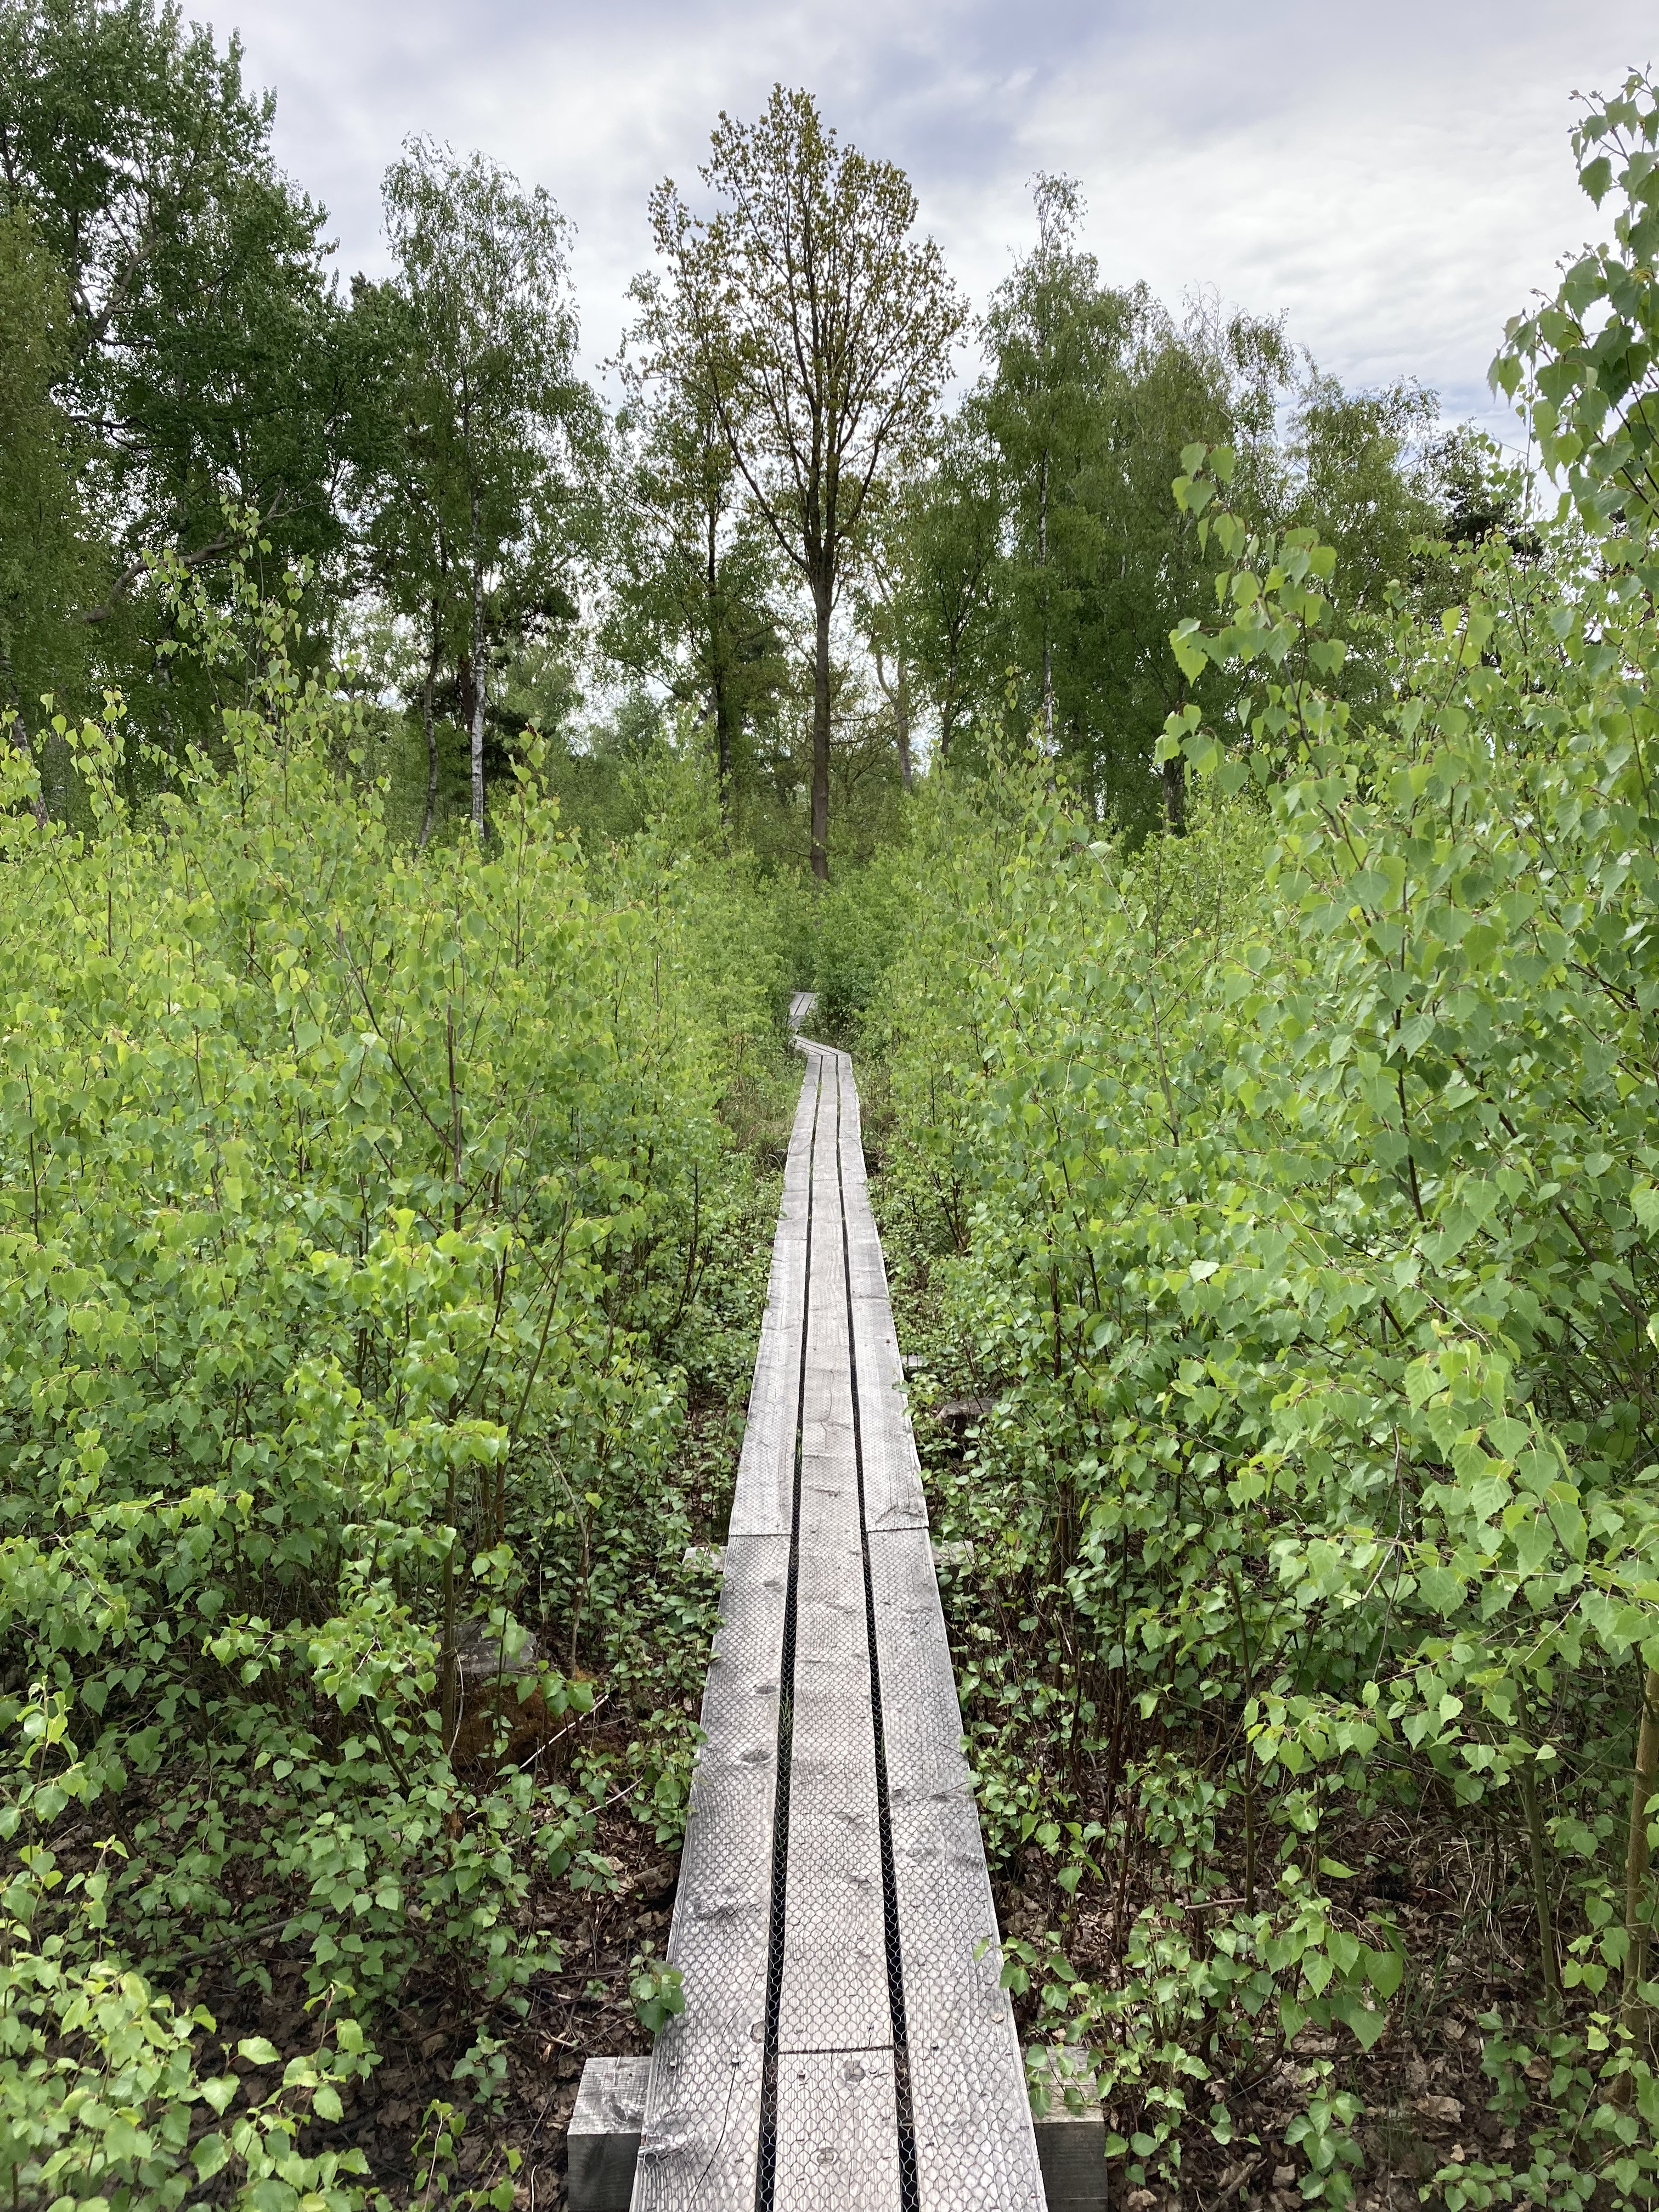
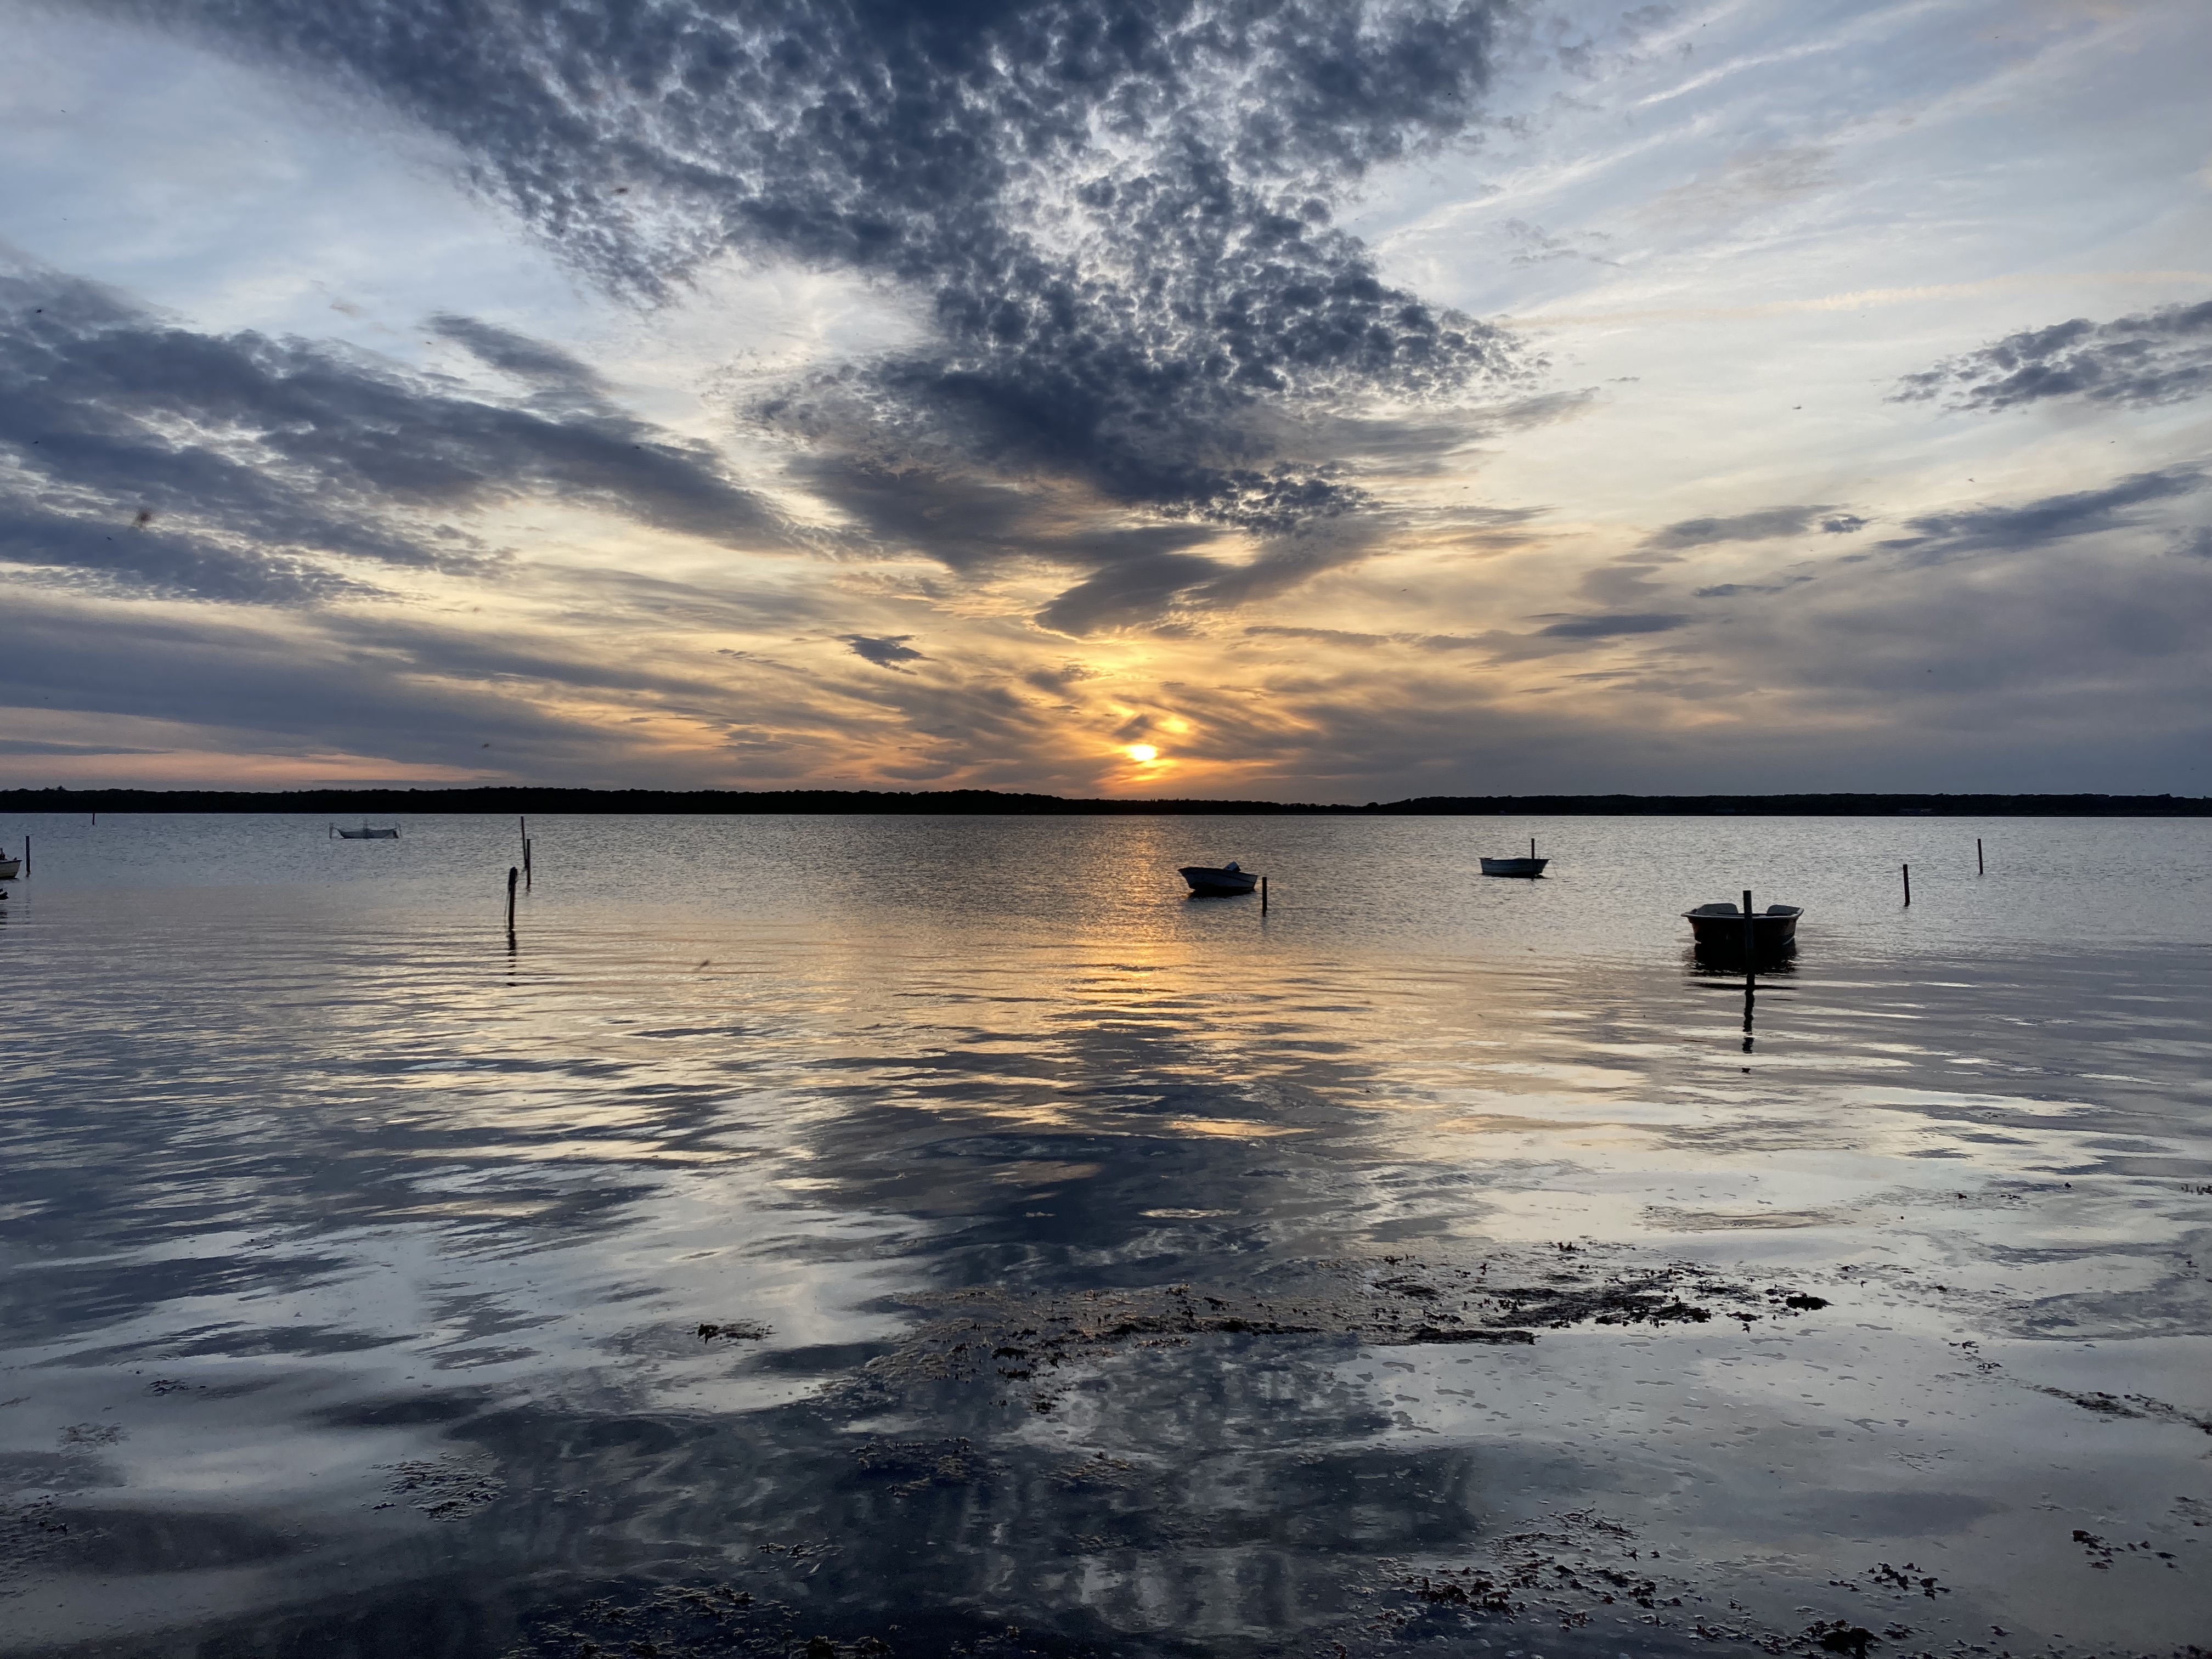
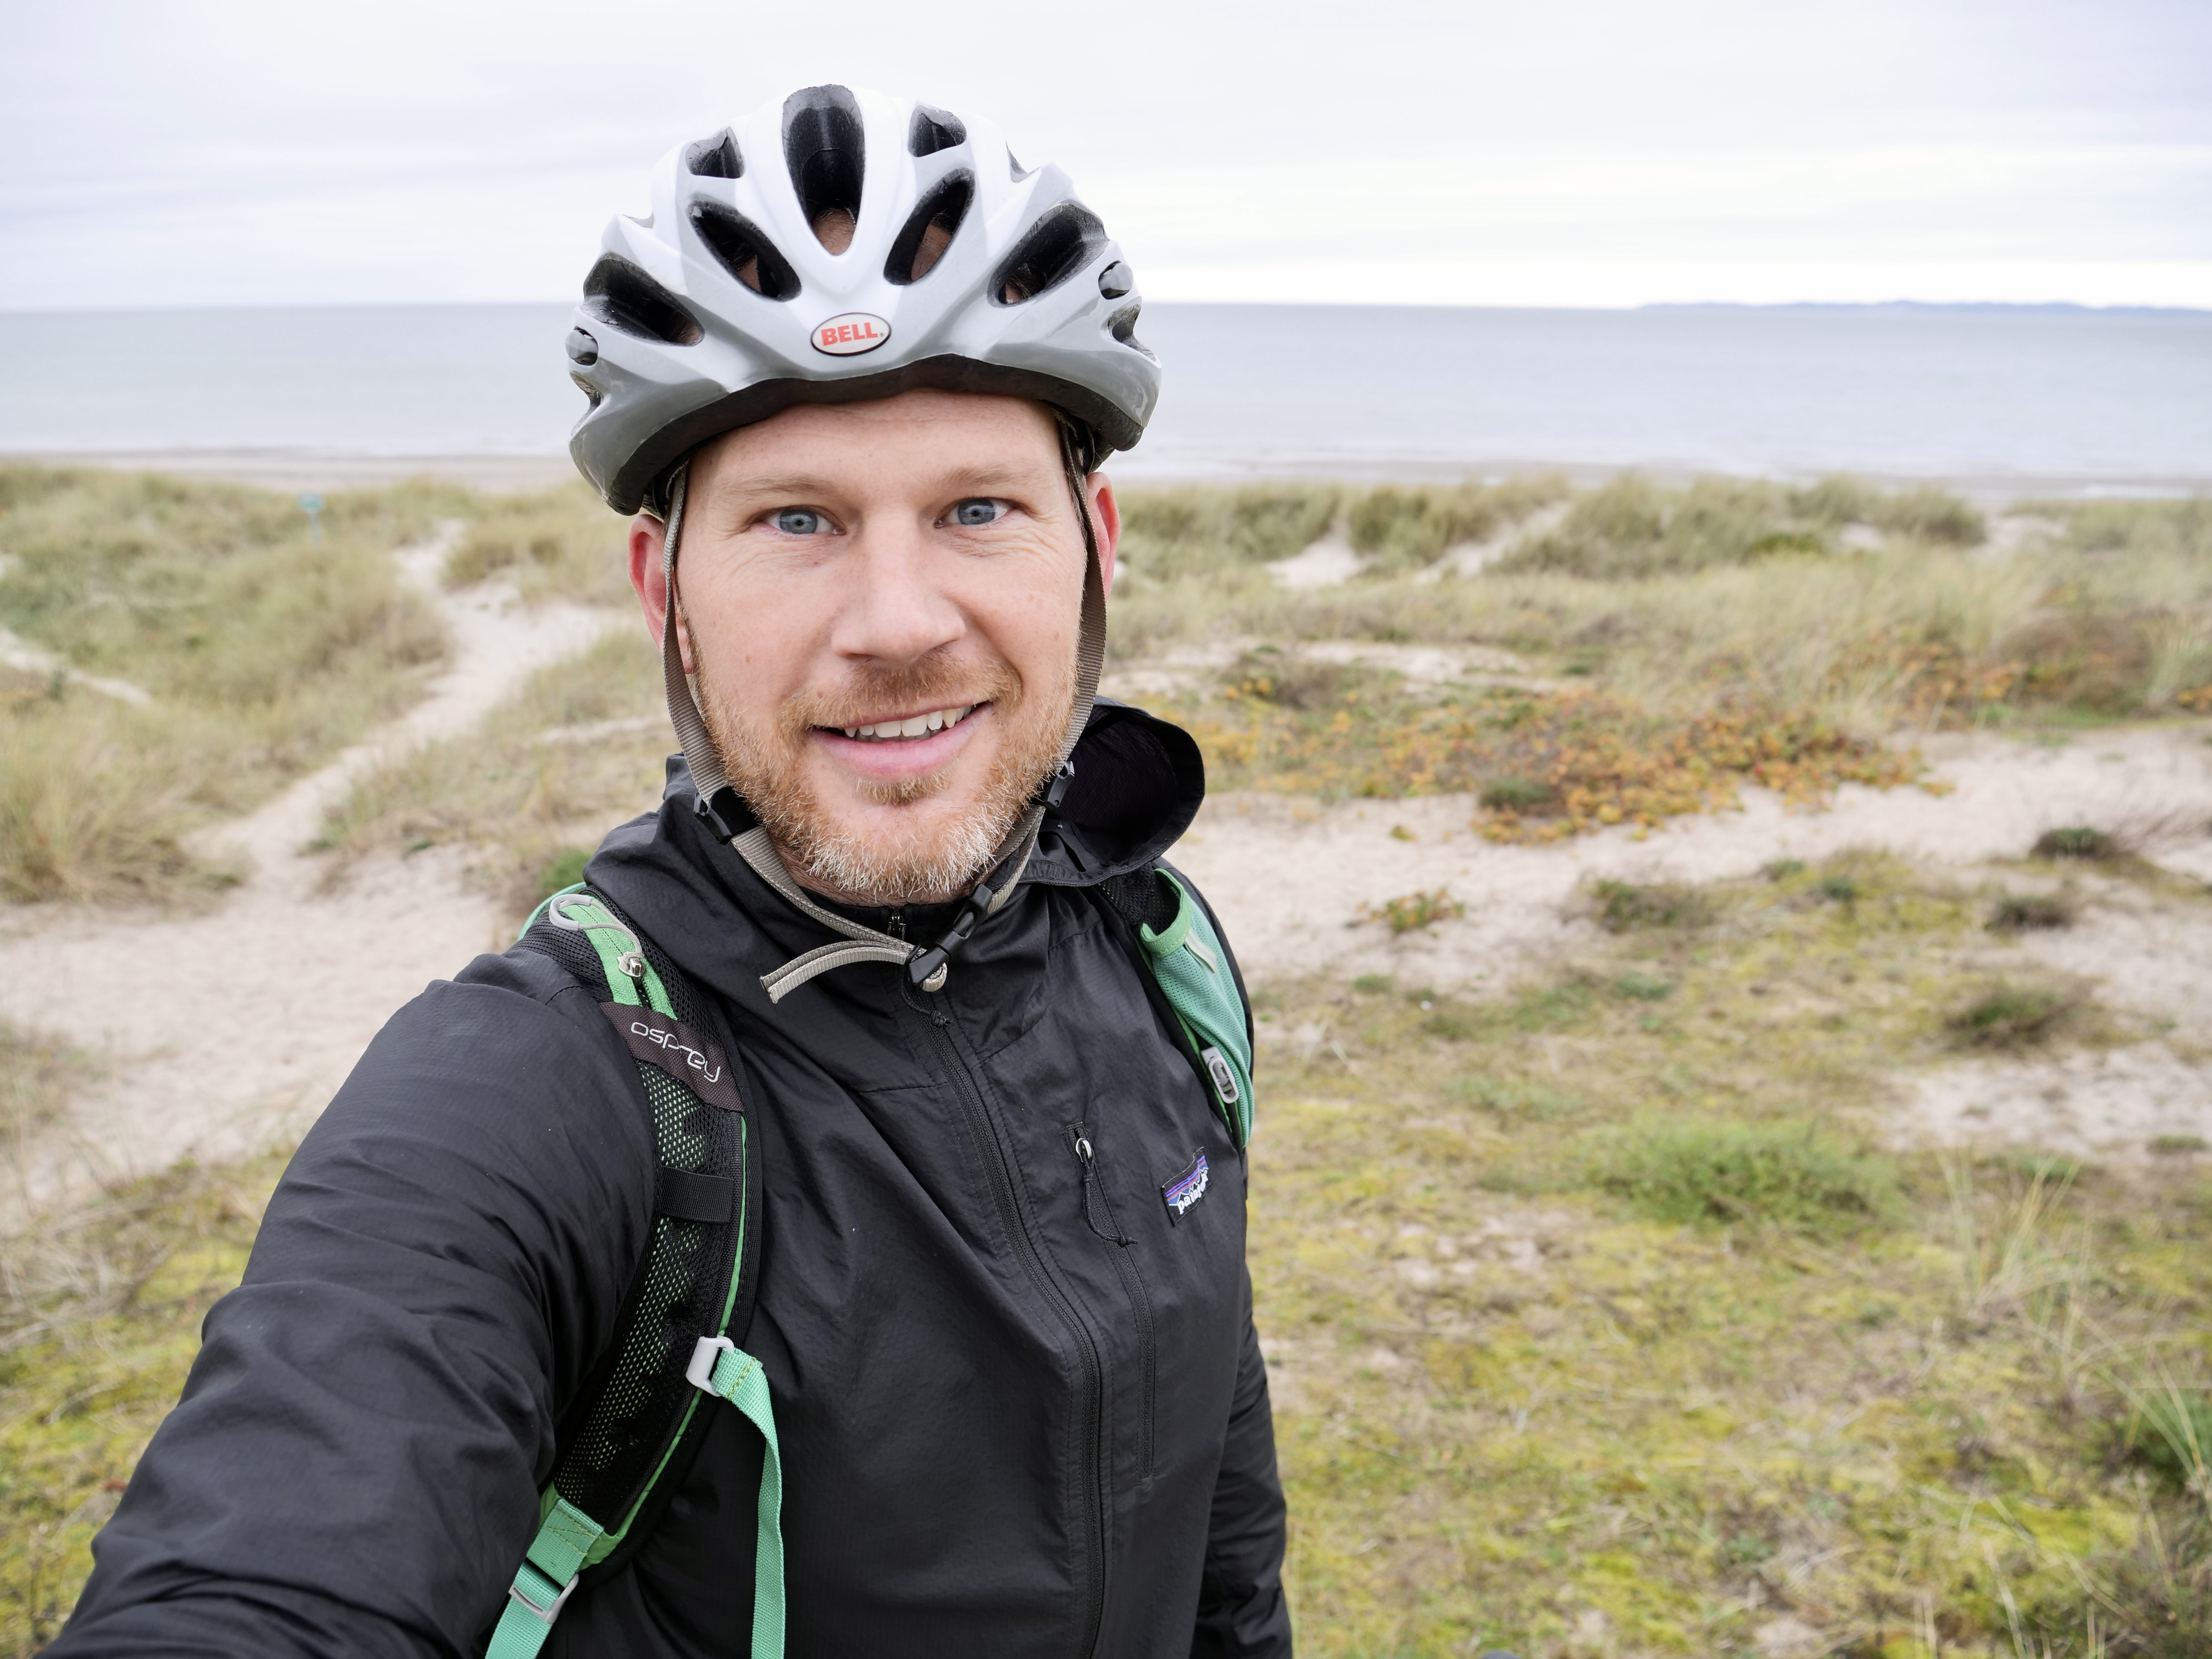
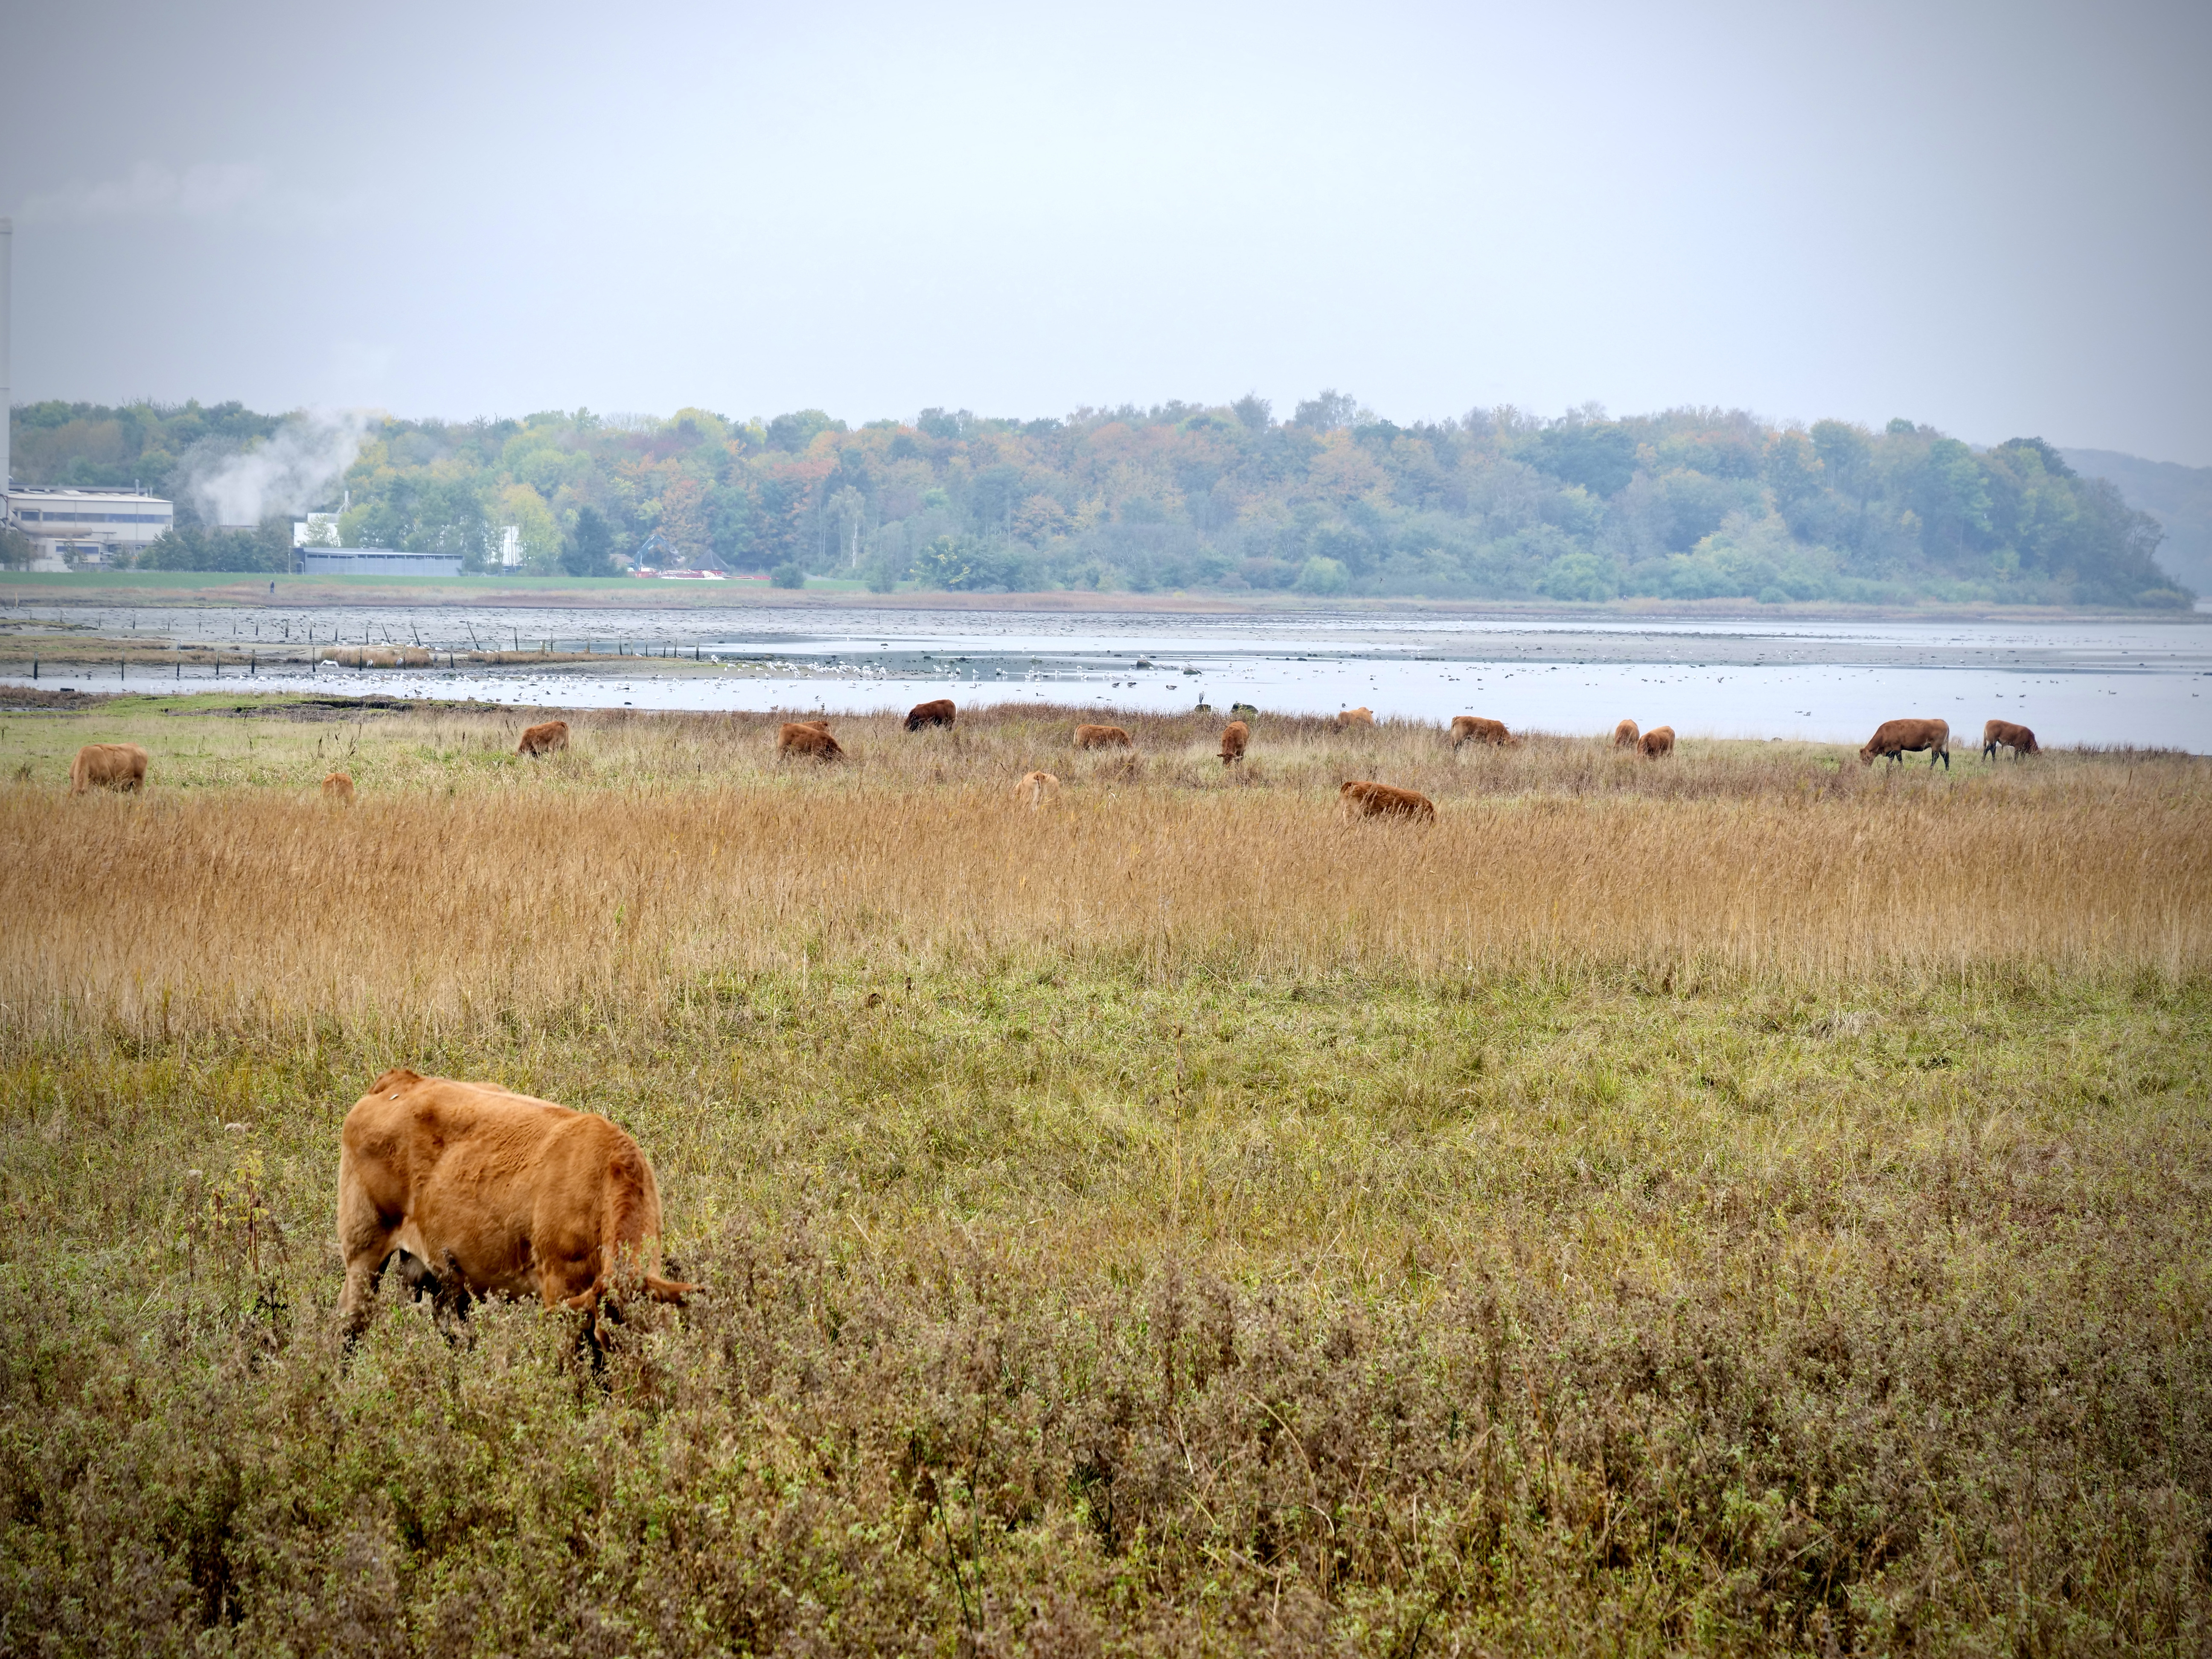
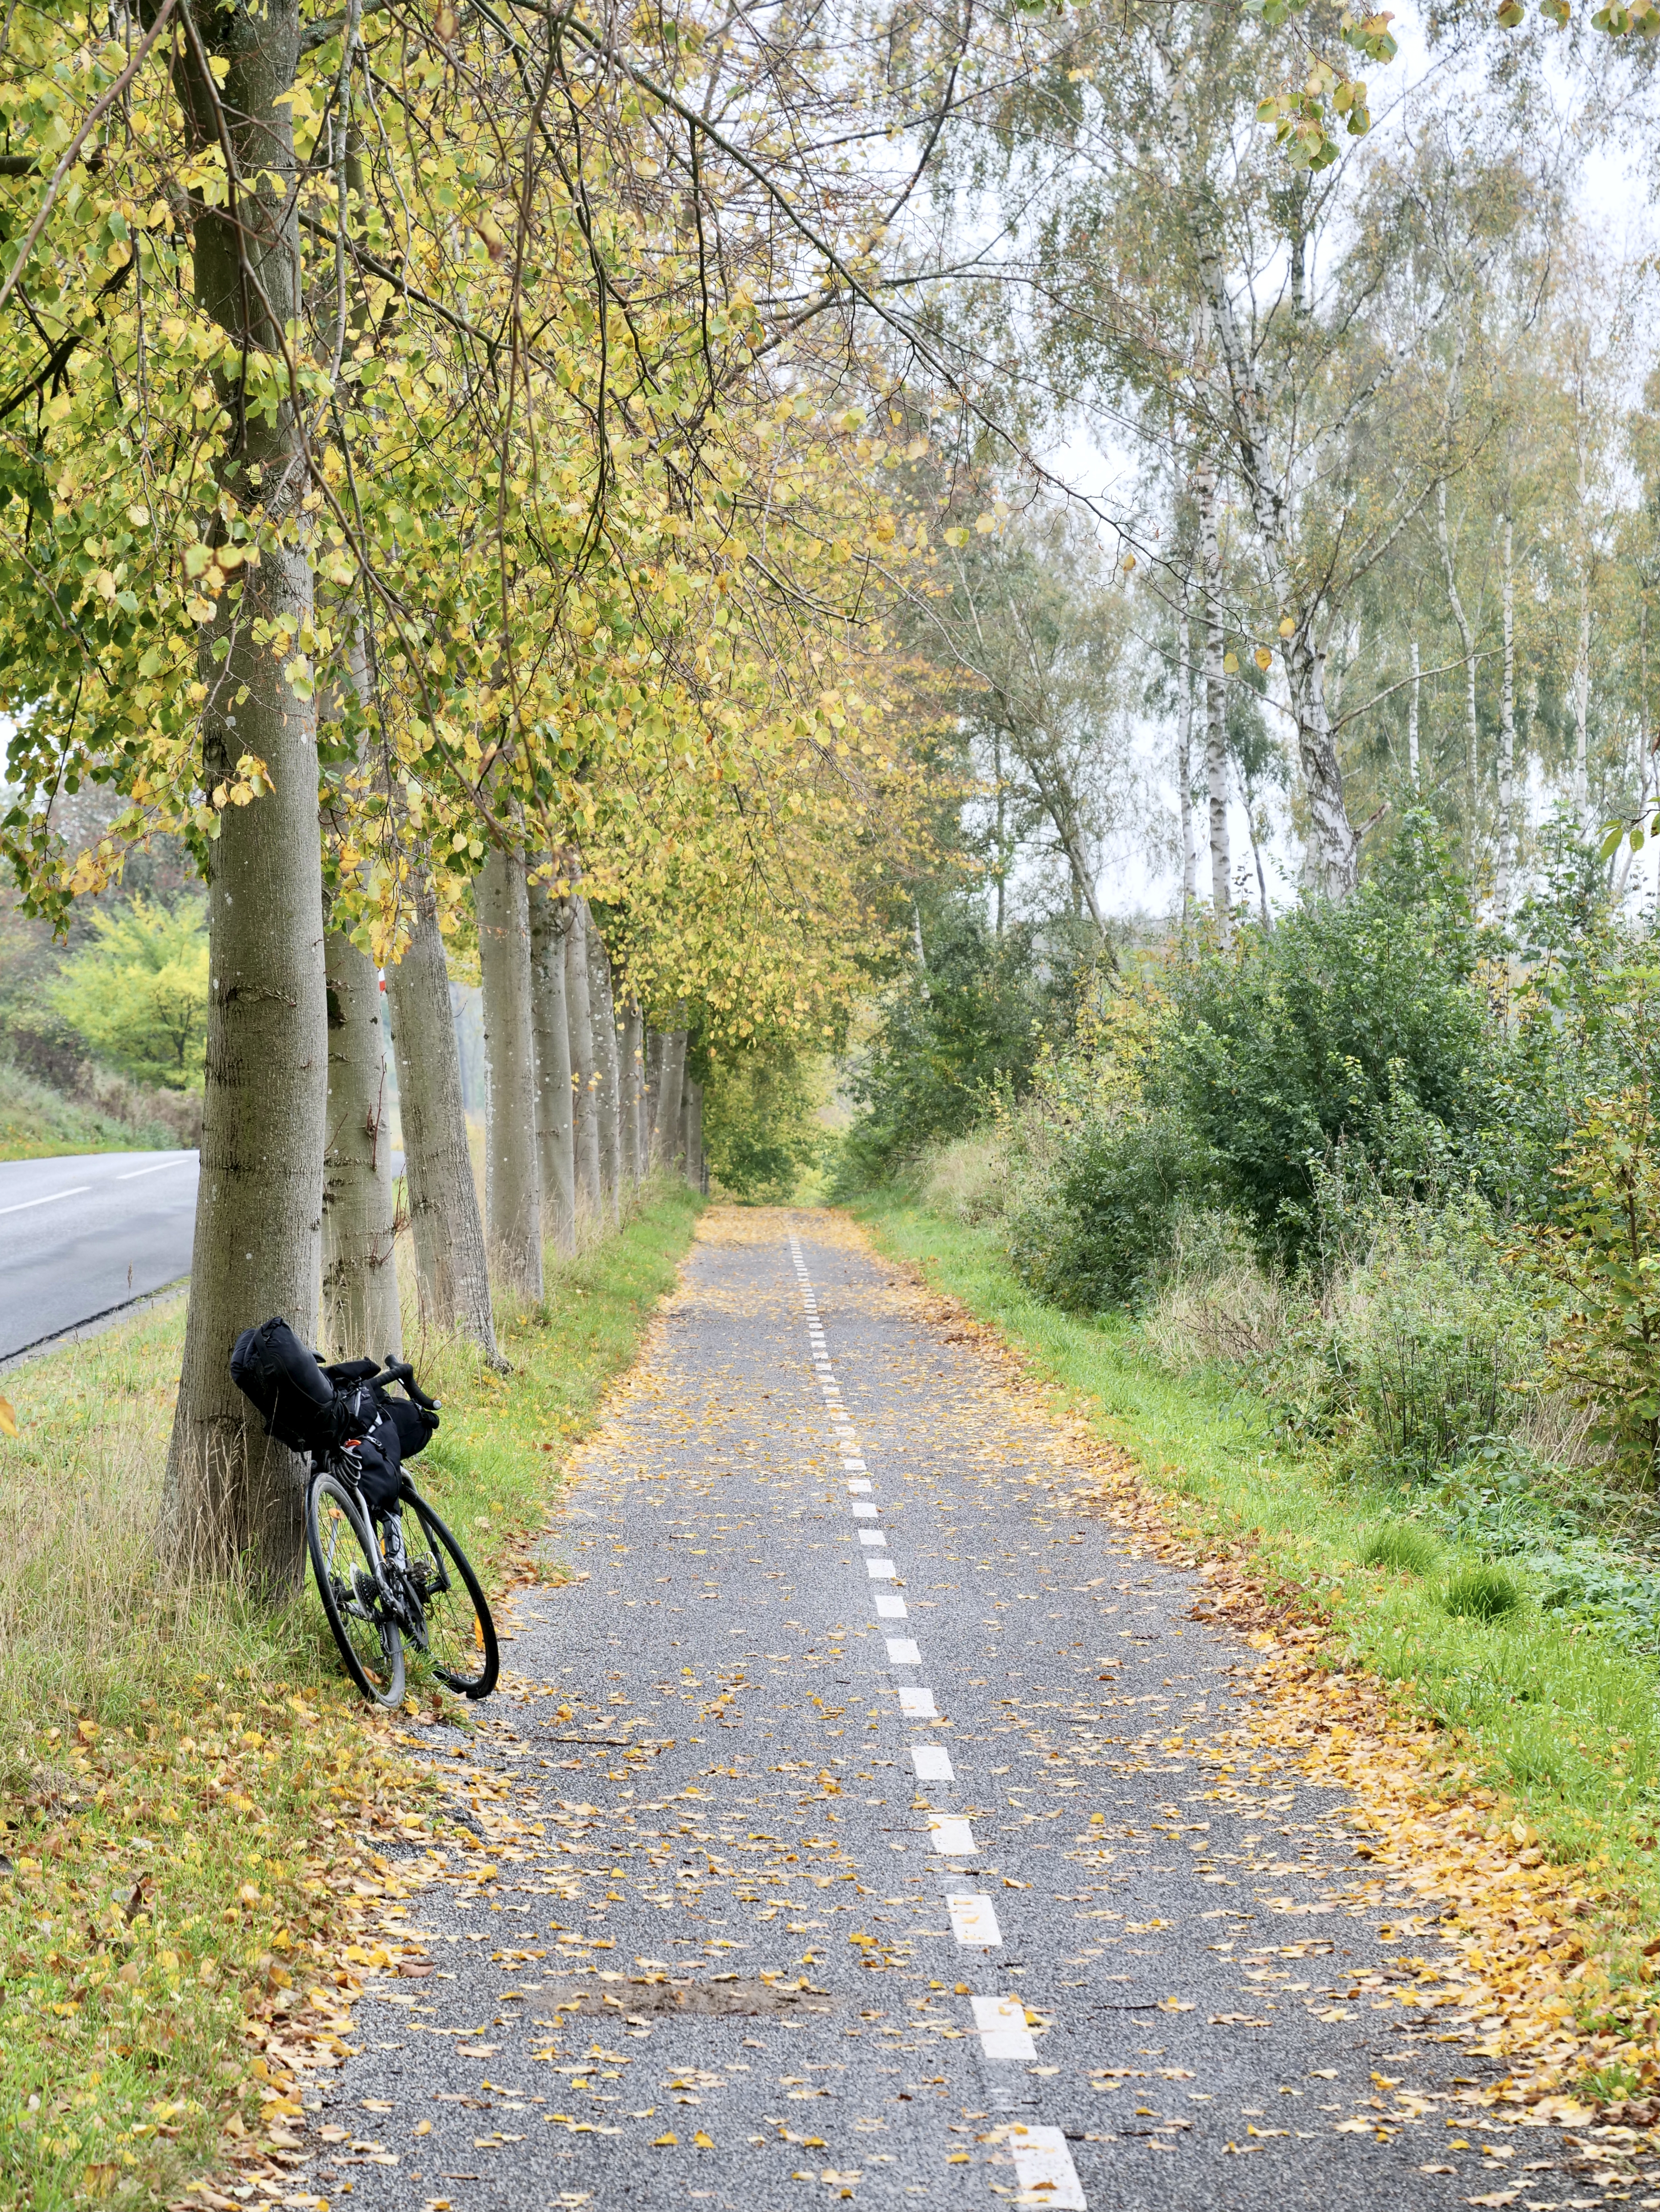
I was forced to go back to Denmark for the last part of my green card process so I thought I’d spend some time wisely and go for a hike. Falster is an island in Denmark and I lived there for 4 years before moving to Colorado. My parents have lived there for almost 20 years so I know the island pretty well. I always wanted to hike around it but never did for some reason. I really liked the route I created so hopefully I won’t be the last person to do it.
My pack was really light for this trip since I didn’t anticipate to do a hike. I didn’t carry much food, no stove and no camera besides my phone. So that was really interesting and very freeing to not have a lot in the pack and not think about cooking. It simplified things quite a bit.
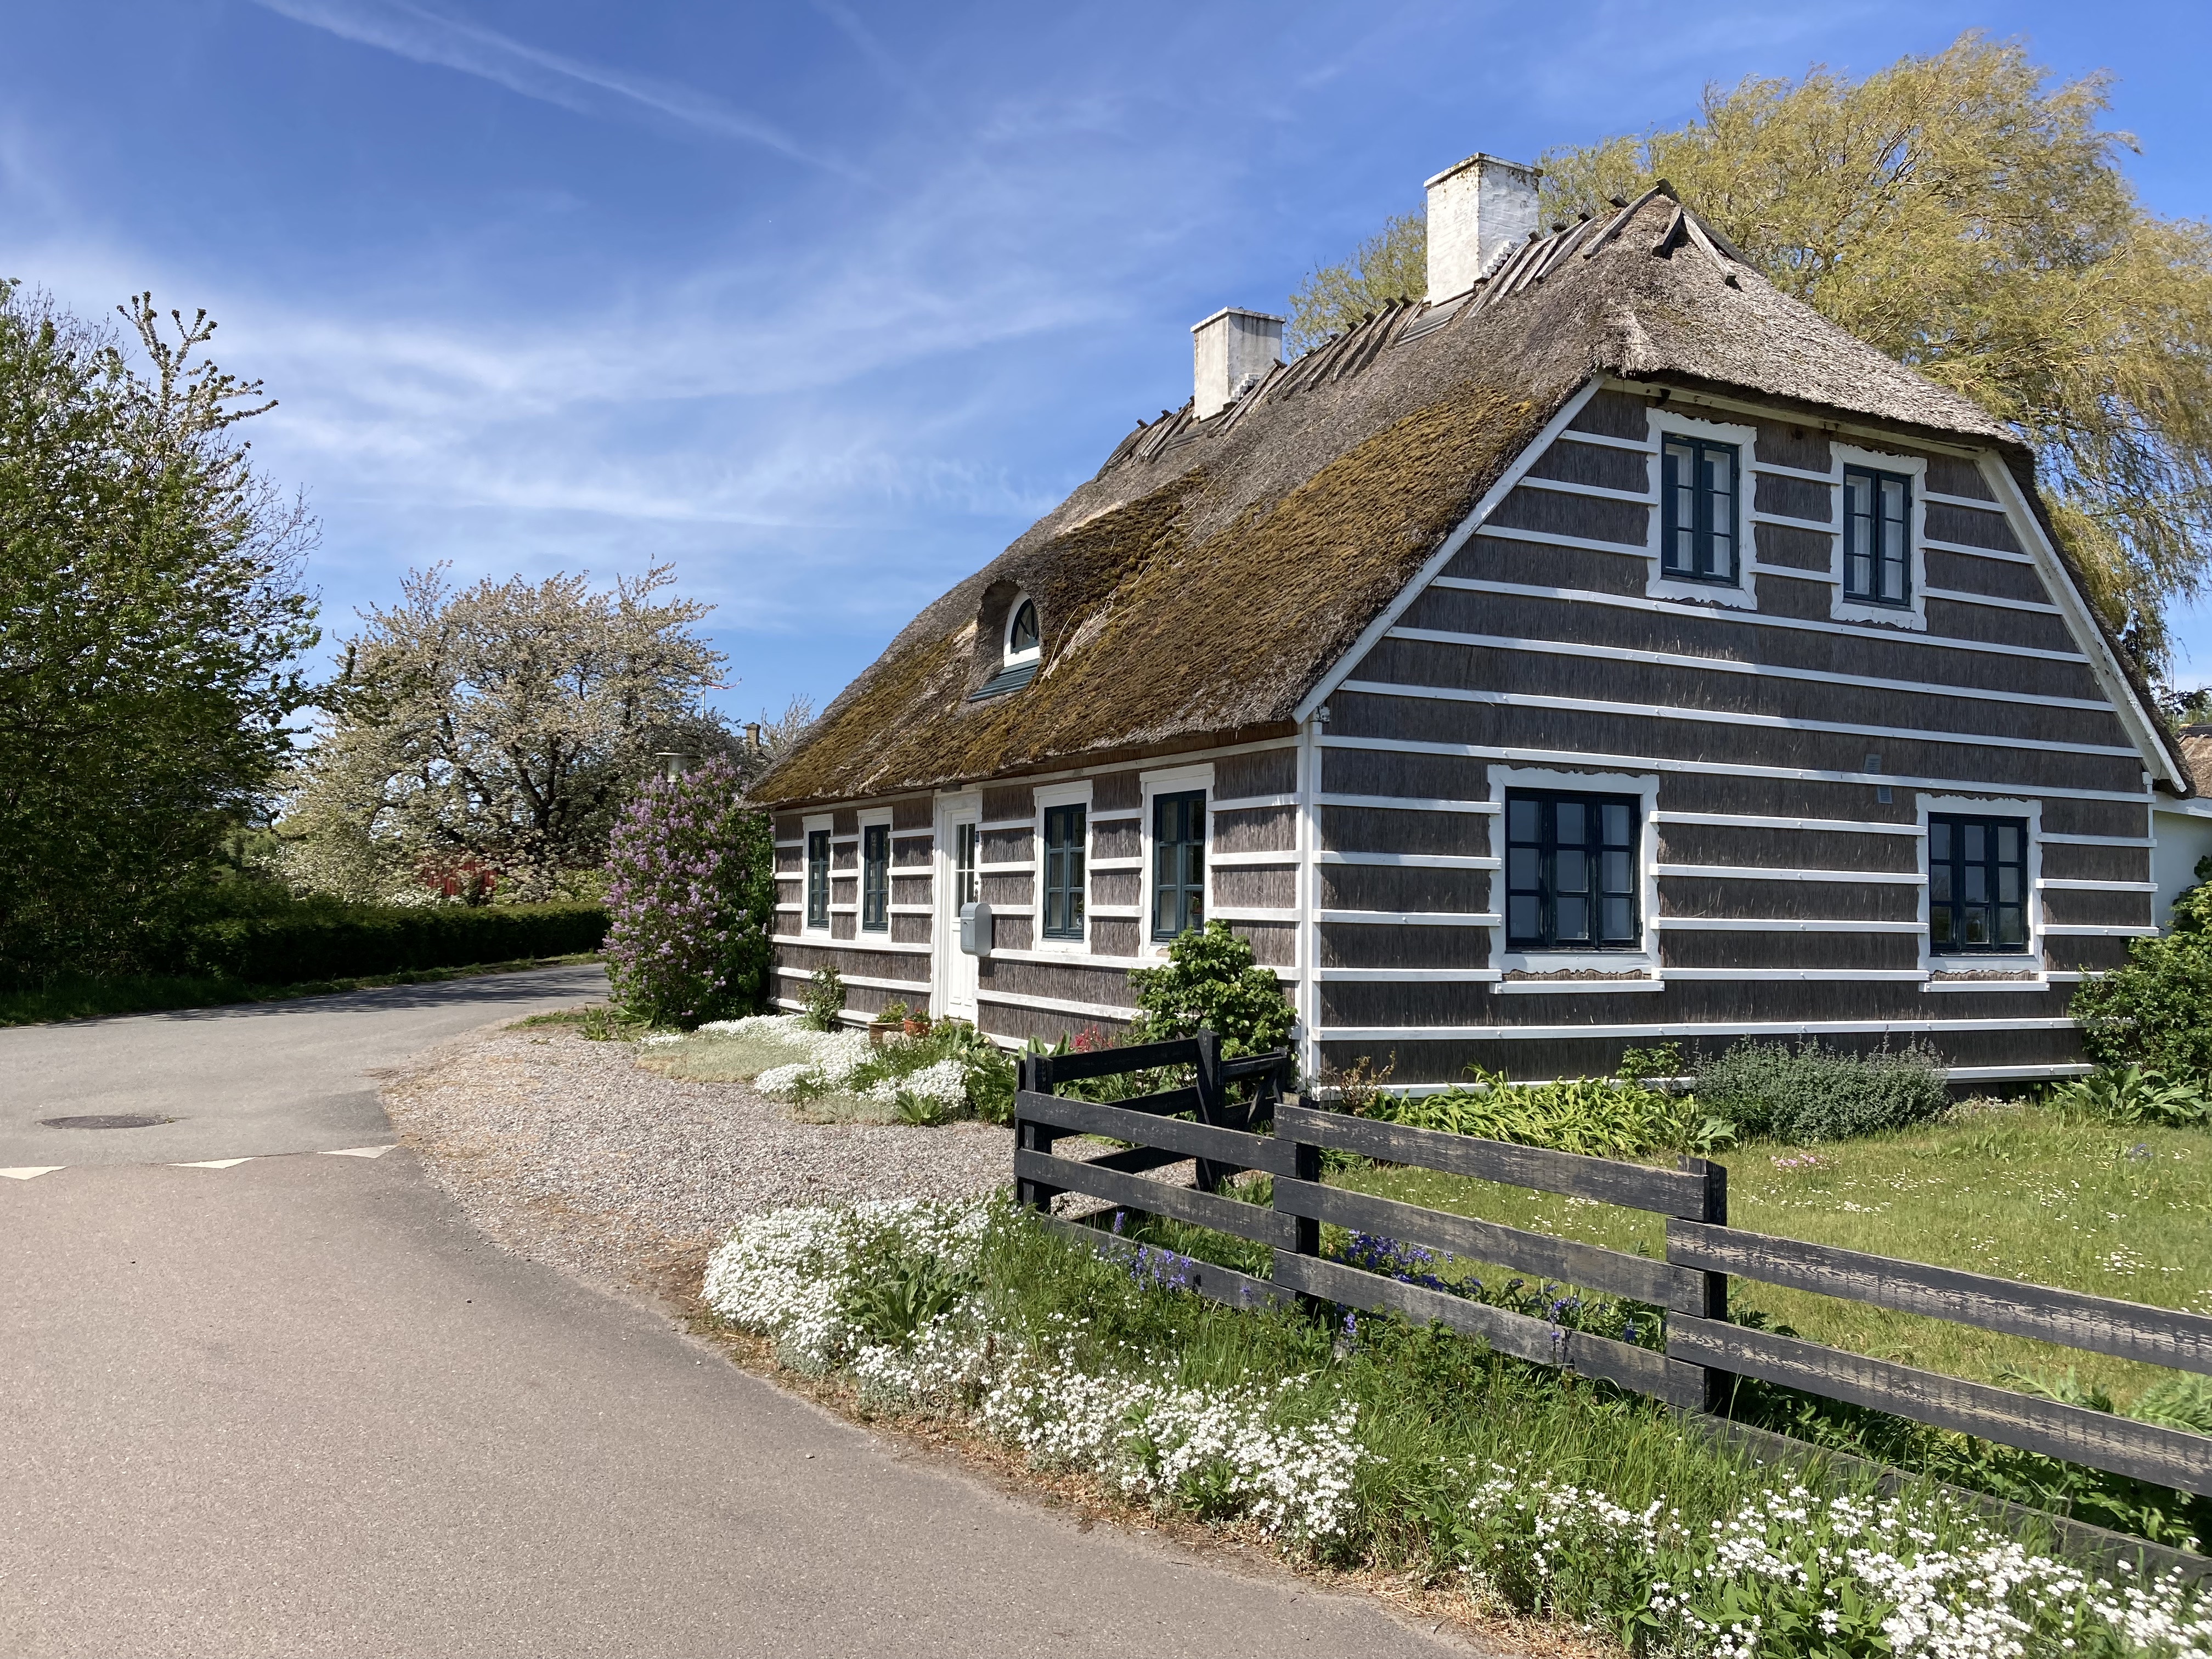
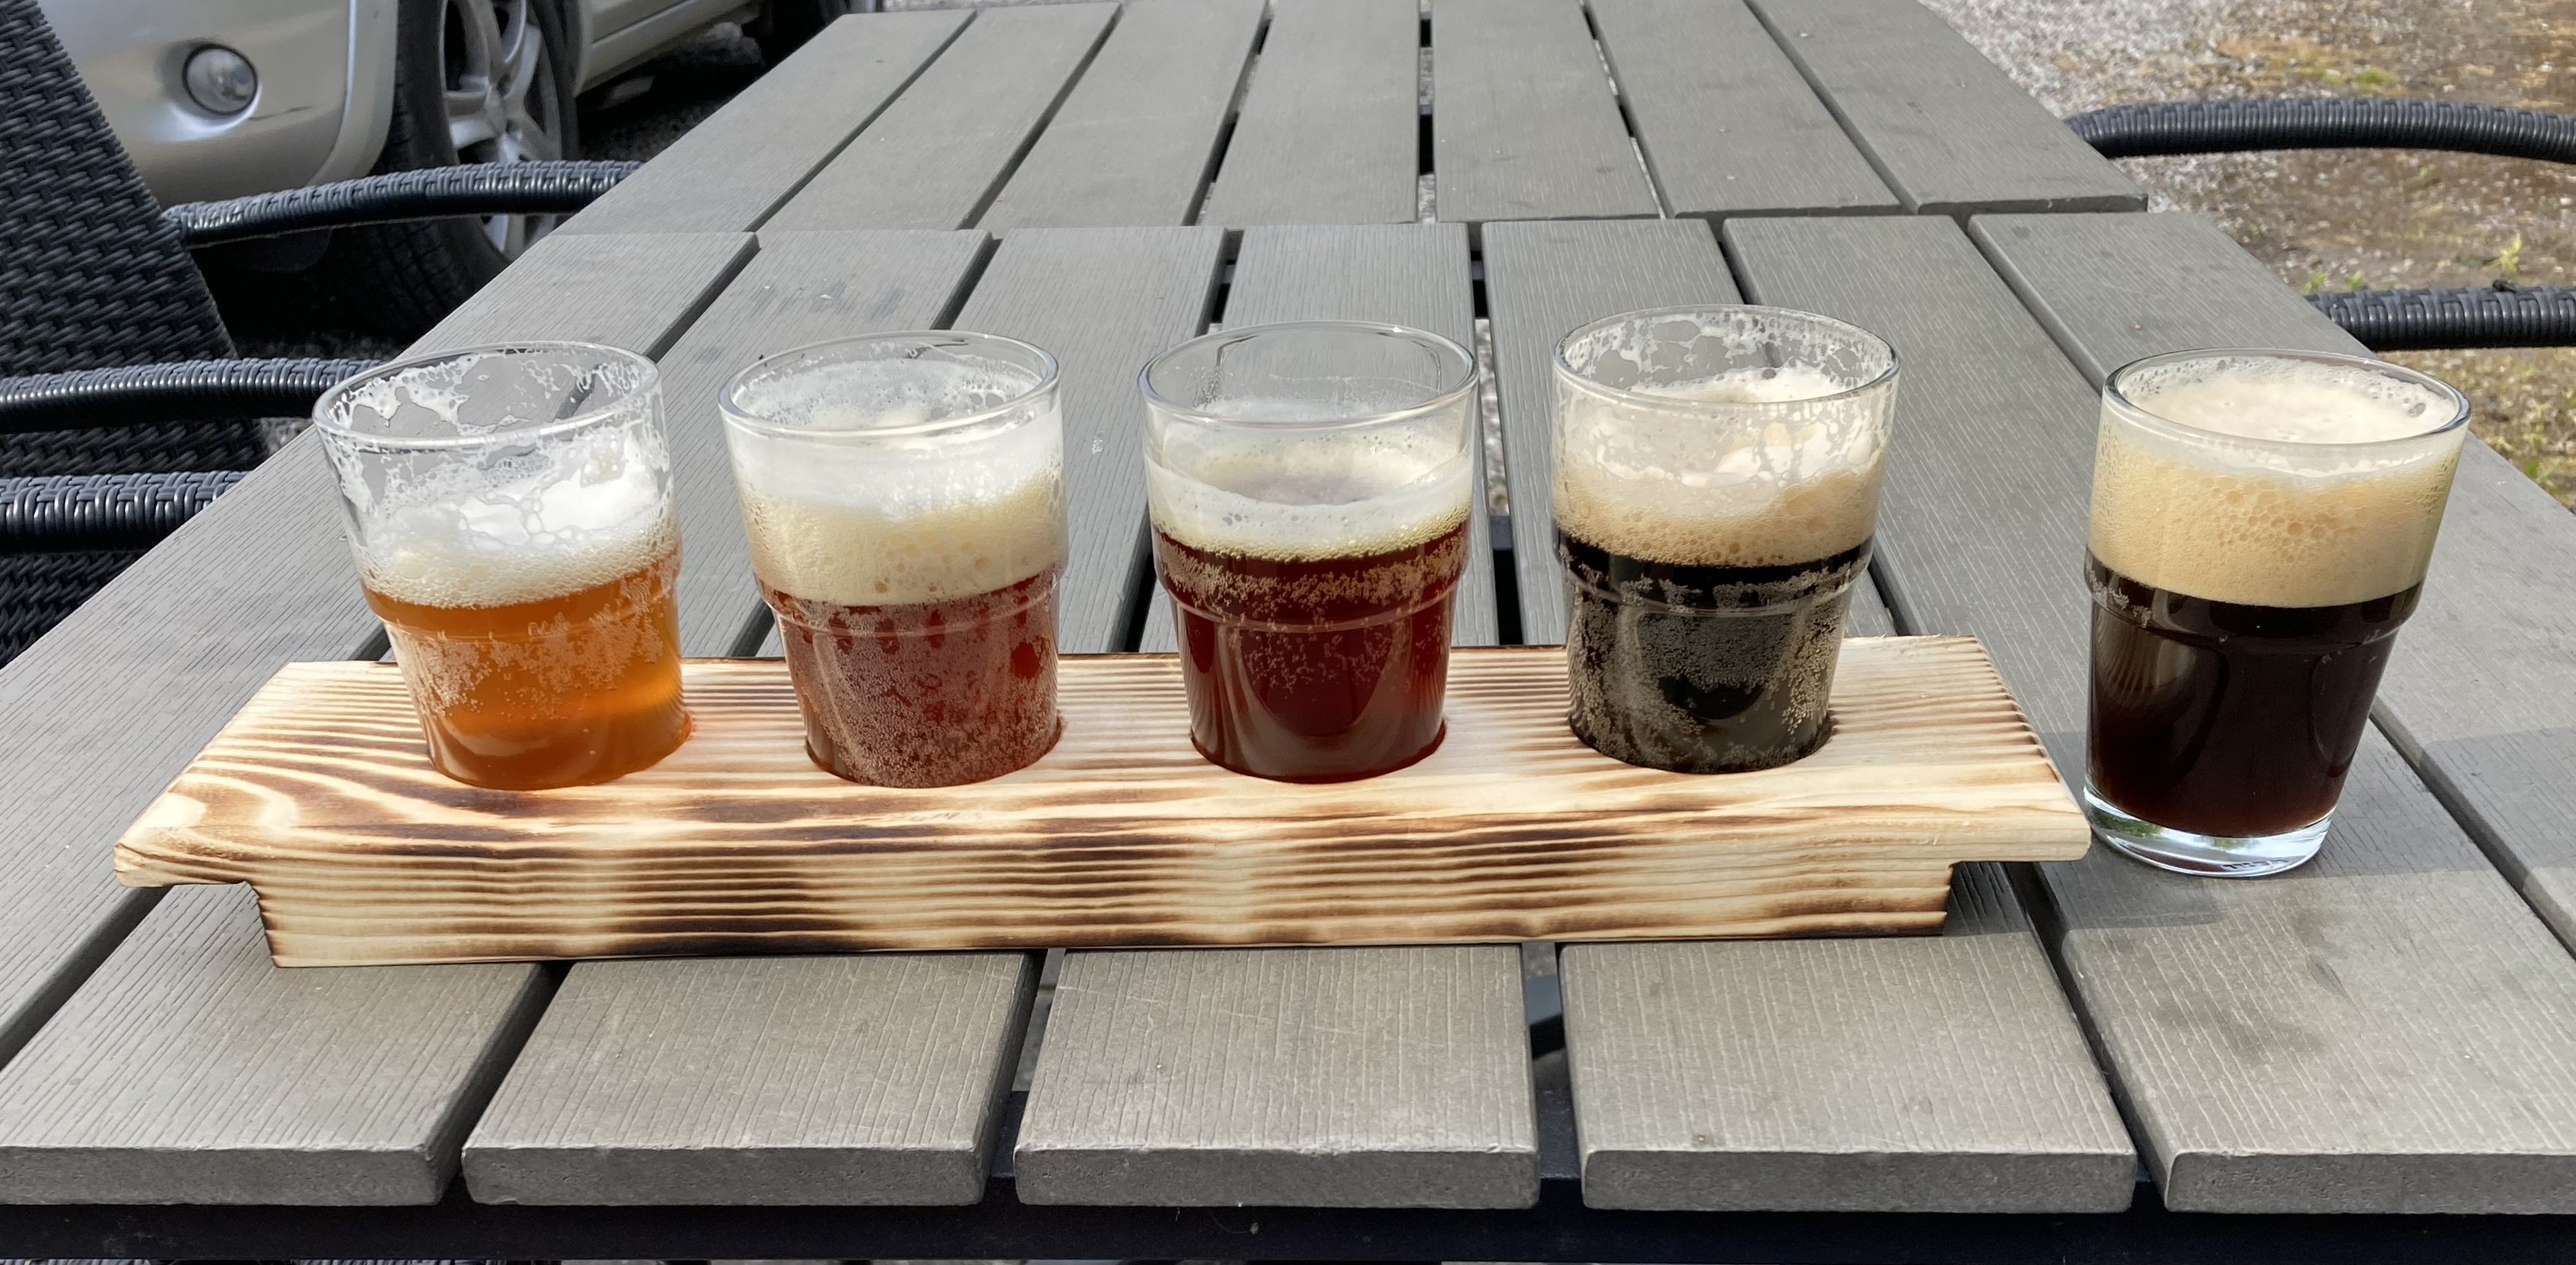
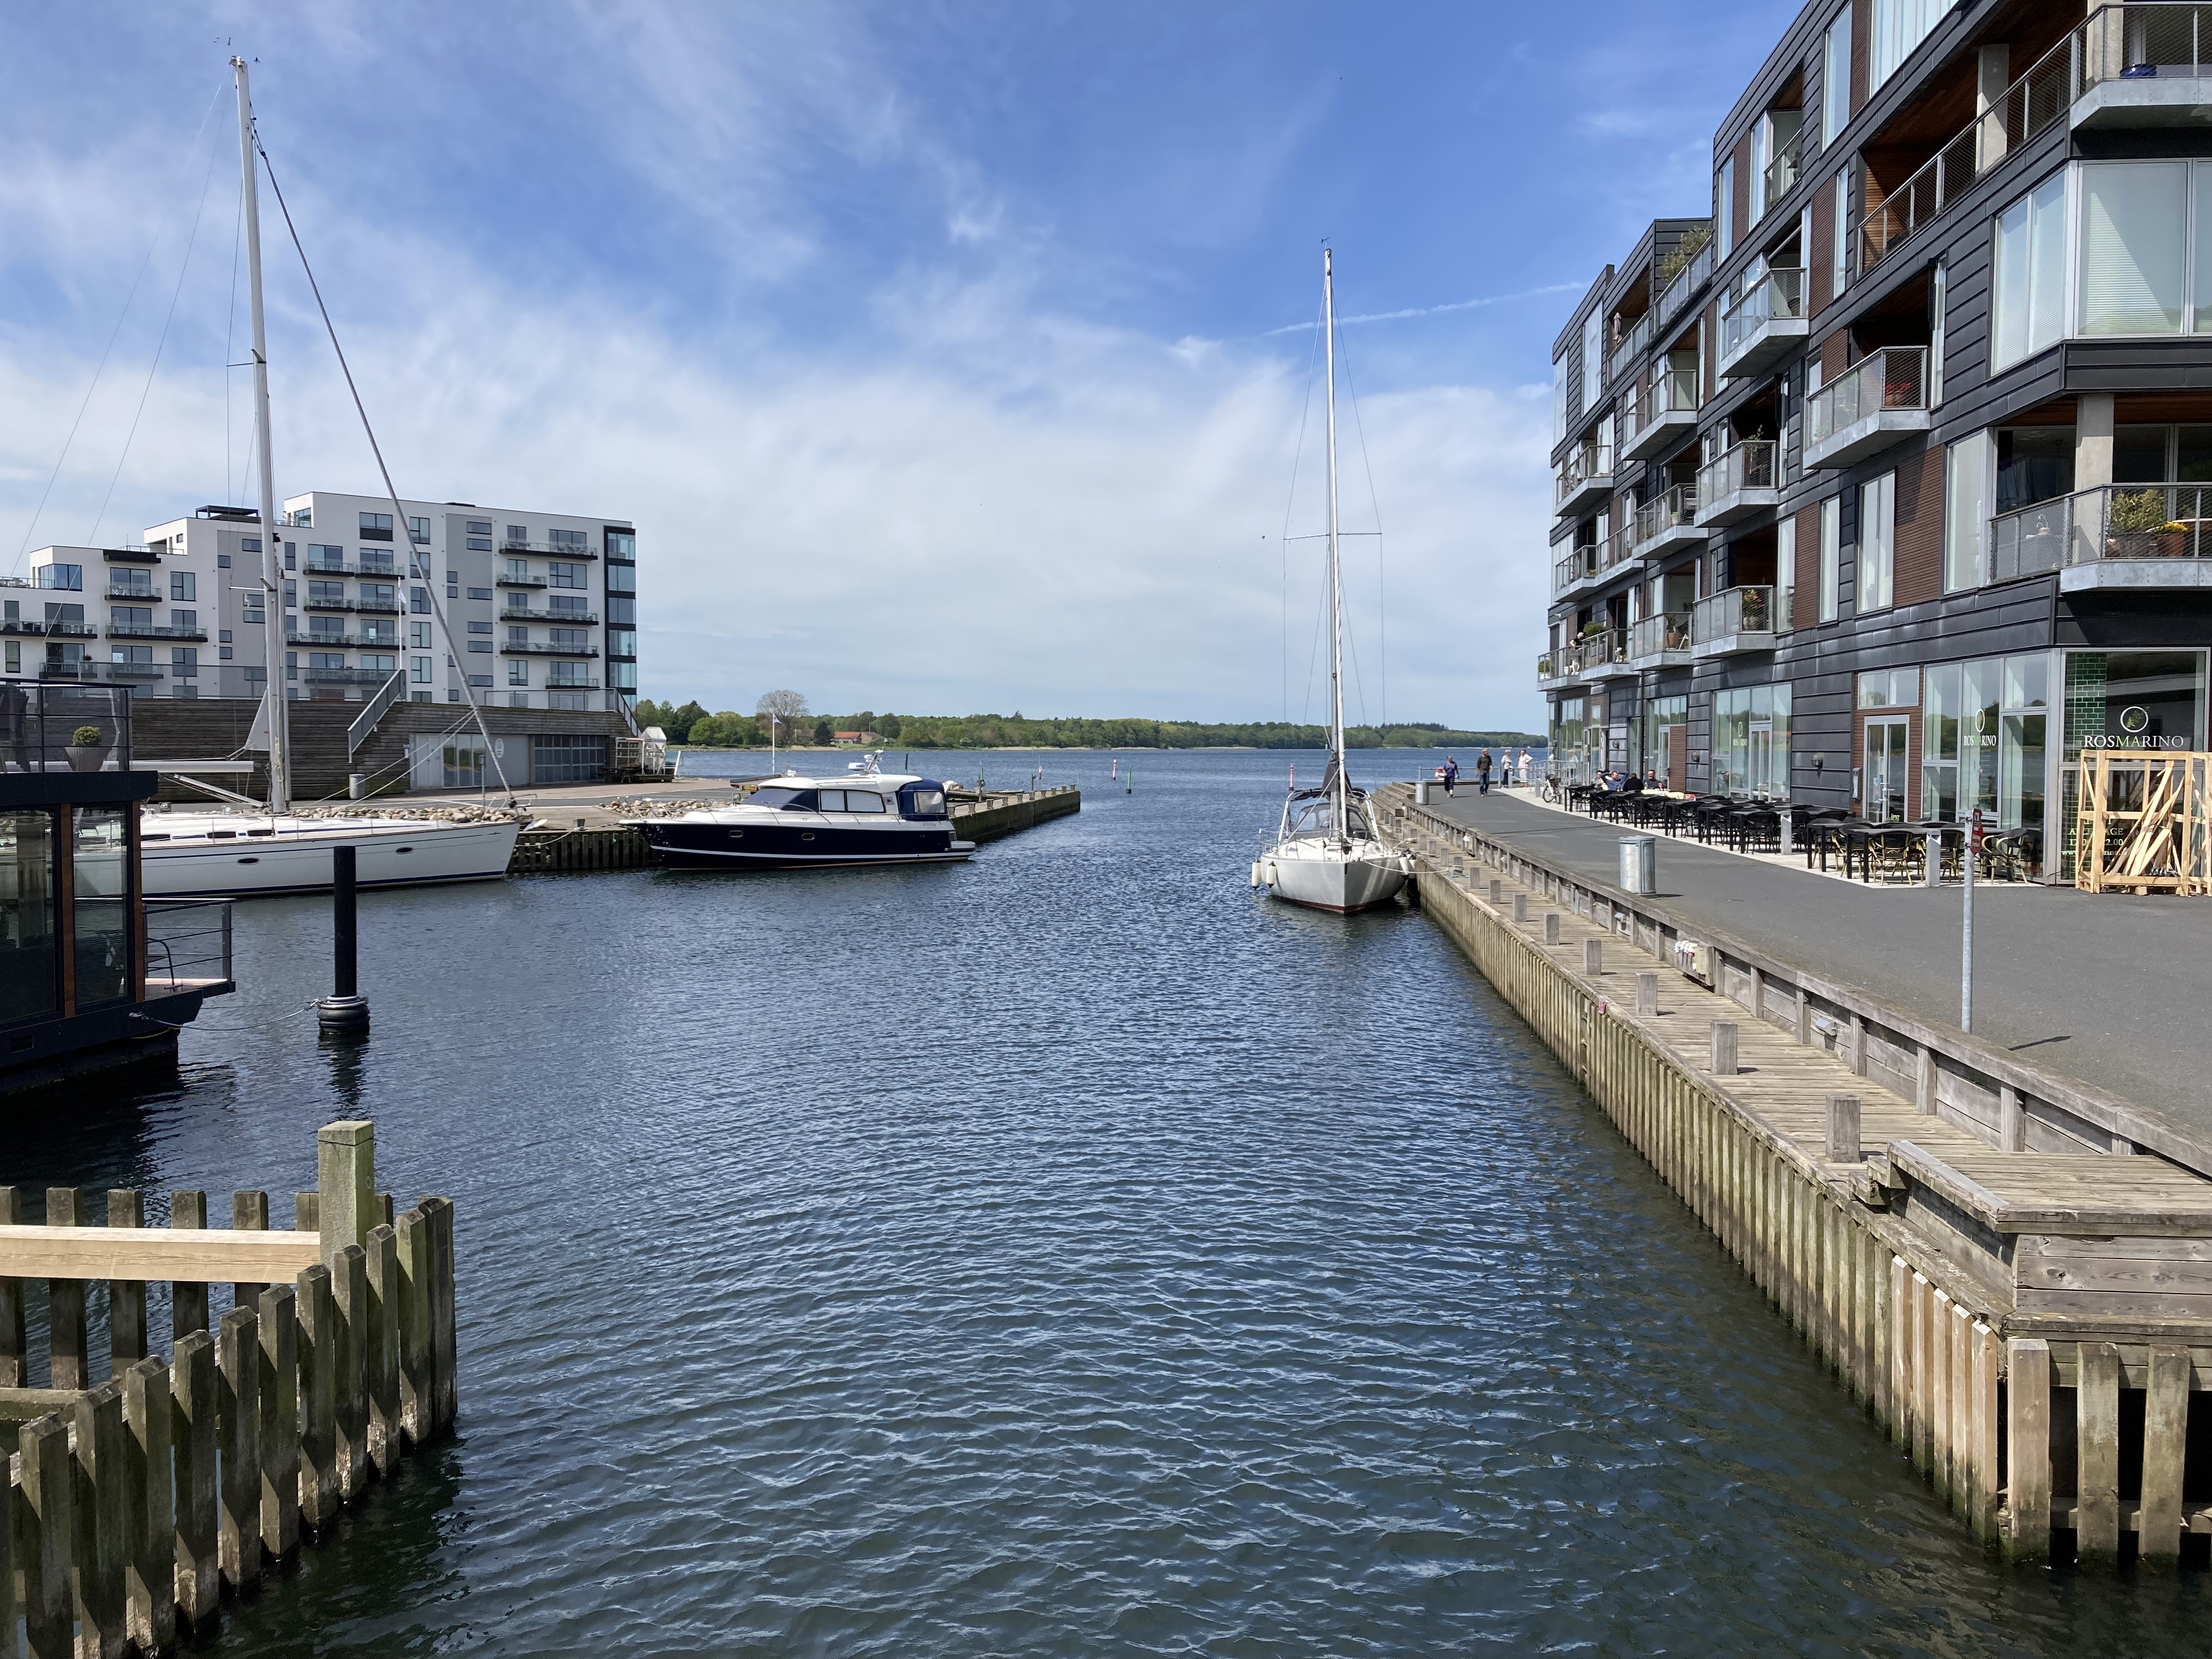
Most people don’t know that the whole east coast of Falster is pretty amazing. From Stubbekøbing you can walk along the coast all the way to Gedser, most of it is trail or dirt road. Stubbekøbing is an absolute beautiful old town with huge potential, though unfortunately it is very dead. It’s more lively in the summer due to the summer house areas and some bike tourists and there’s a great new café (called “Caféen på torvet“) on the square across from the church. I think more and more people are realizing Stubbekøbings potential and slowly but surely I think it will develop over the next 10 years. You can easily stock up for your hike with groceries (Netto, Fakta), pizzaria, ice cream on the harbour and there’s a great local liqour store on the harbour also.
Day 1: Stubbekøbing – Havlykke fricamping(32 k)
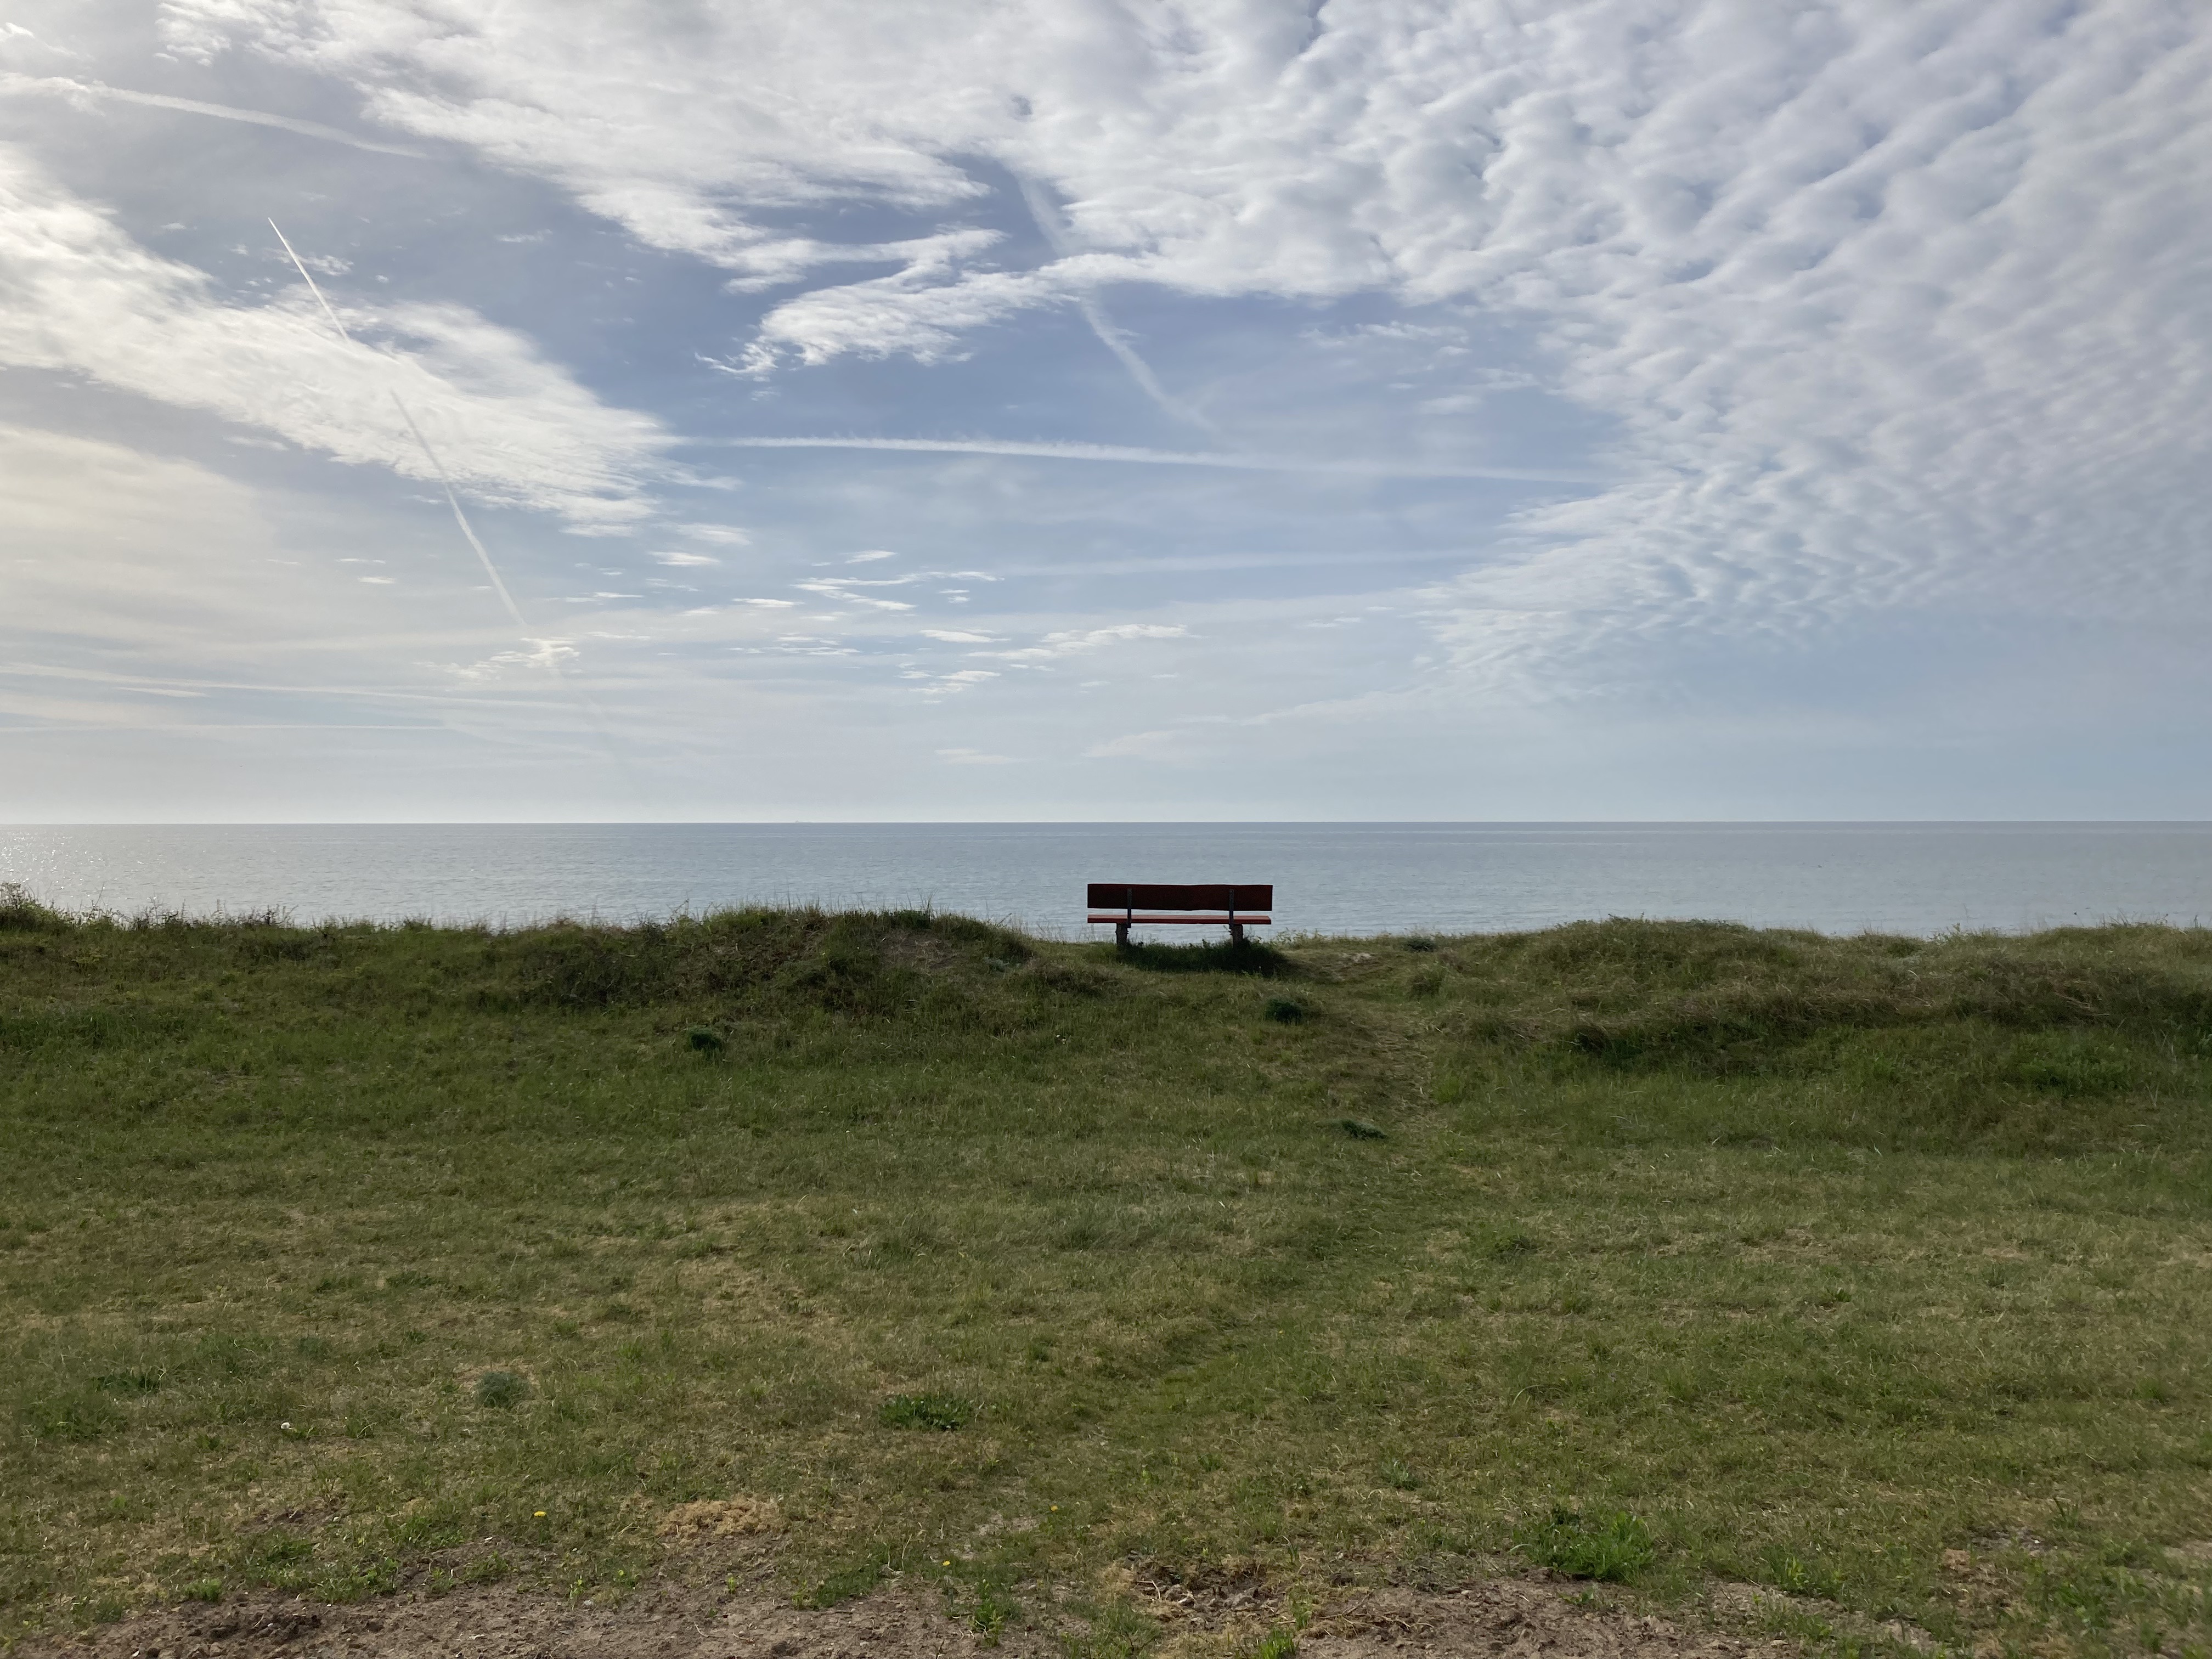
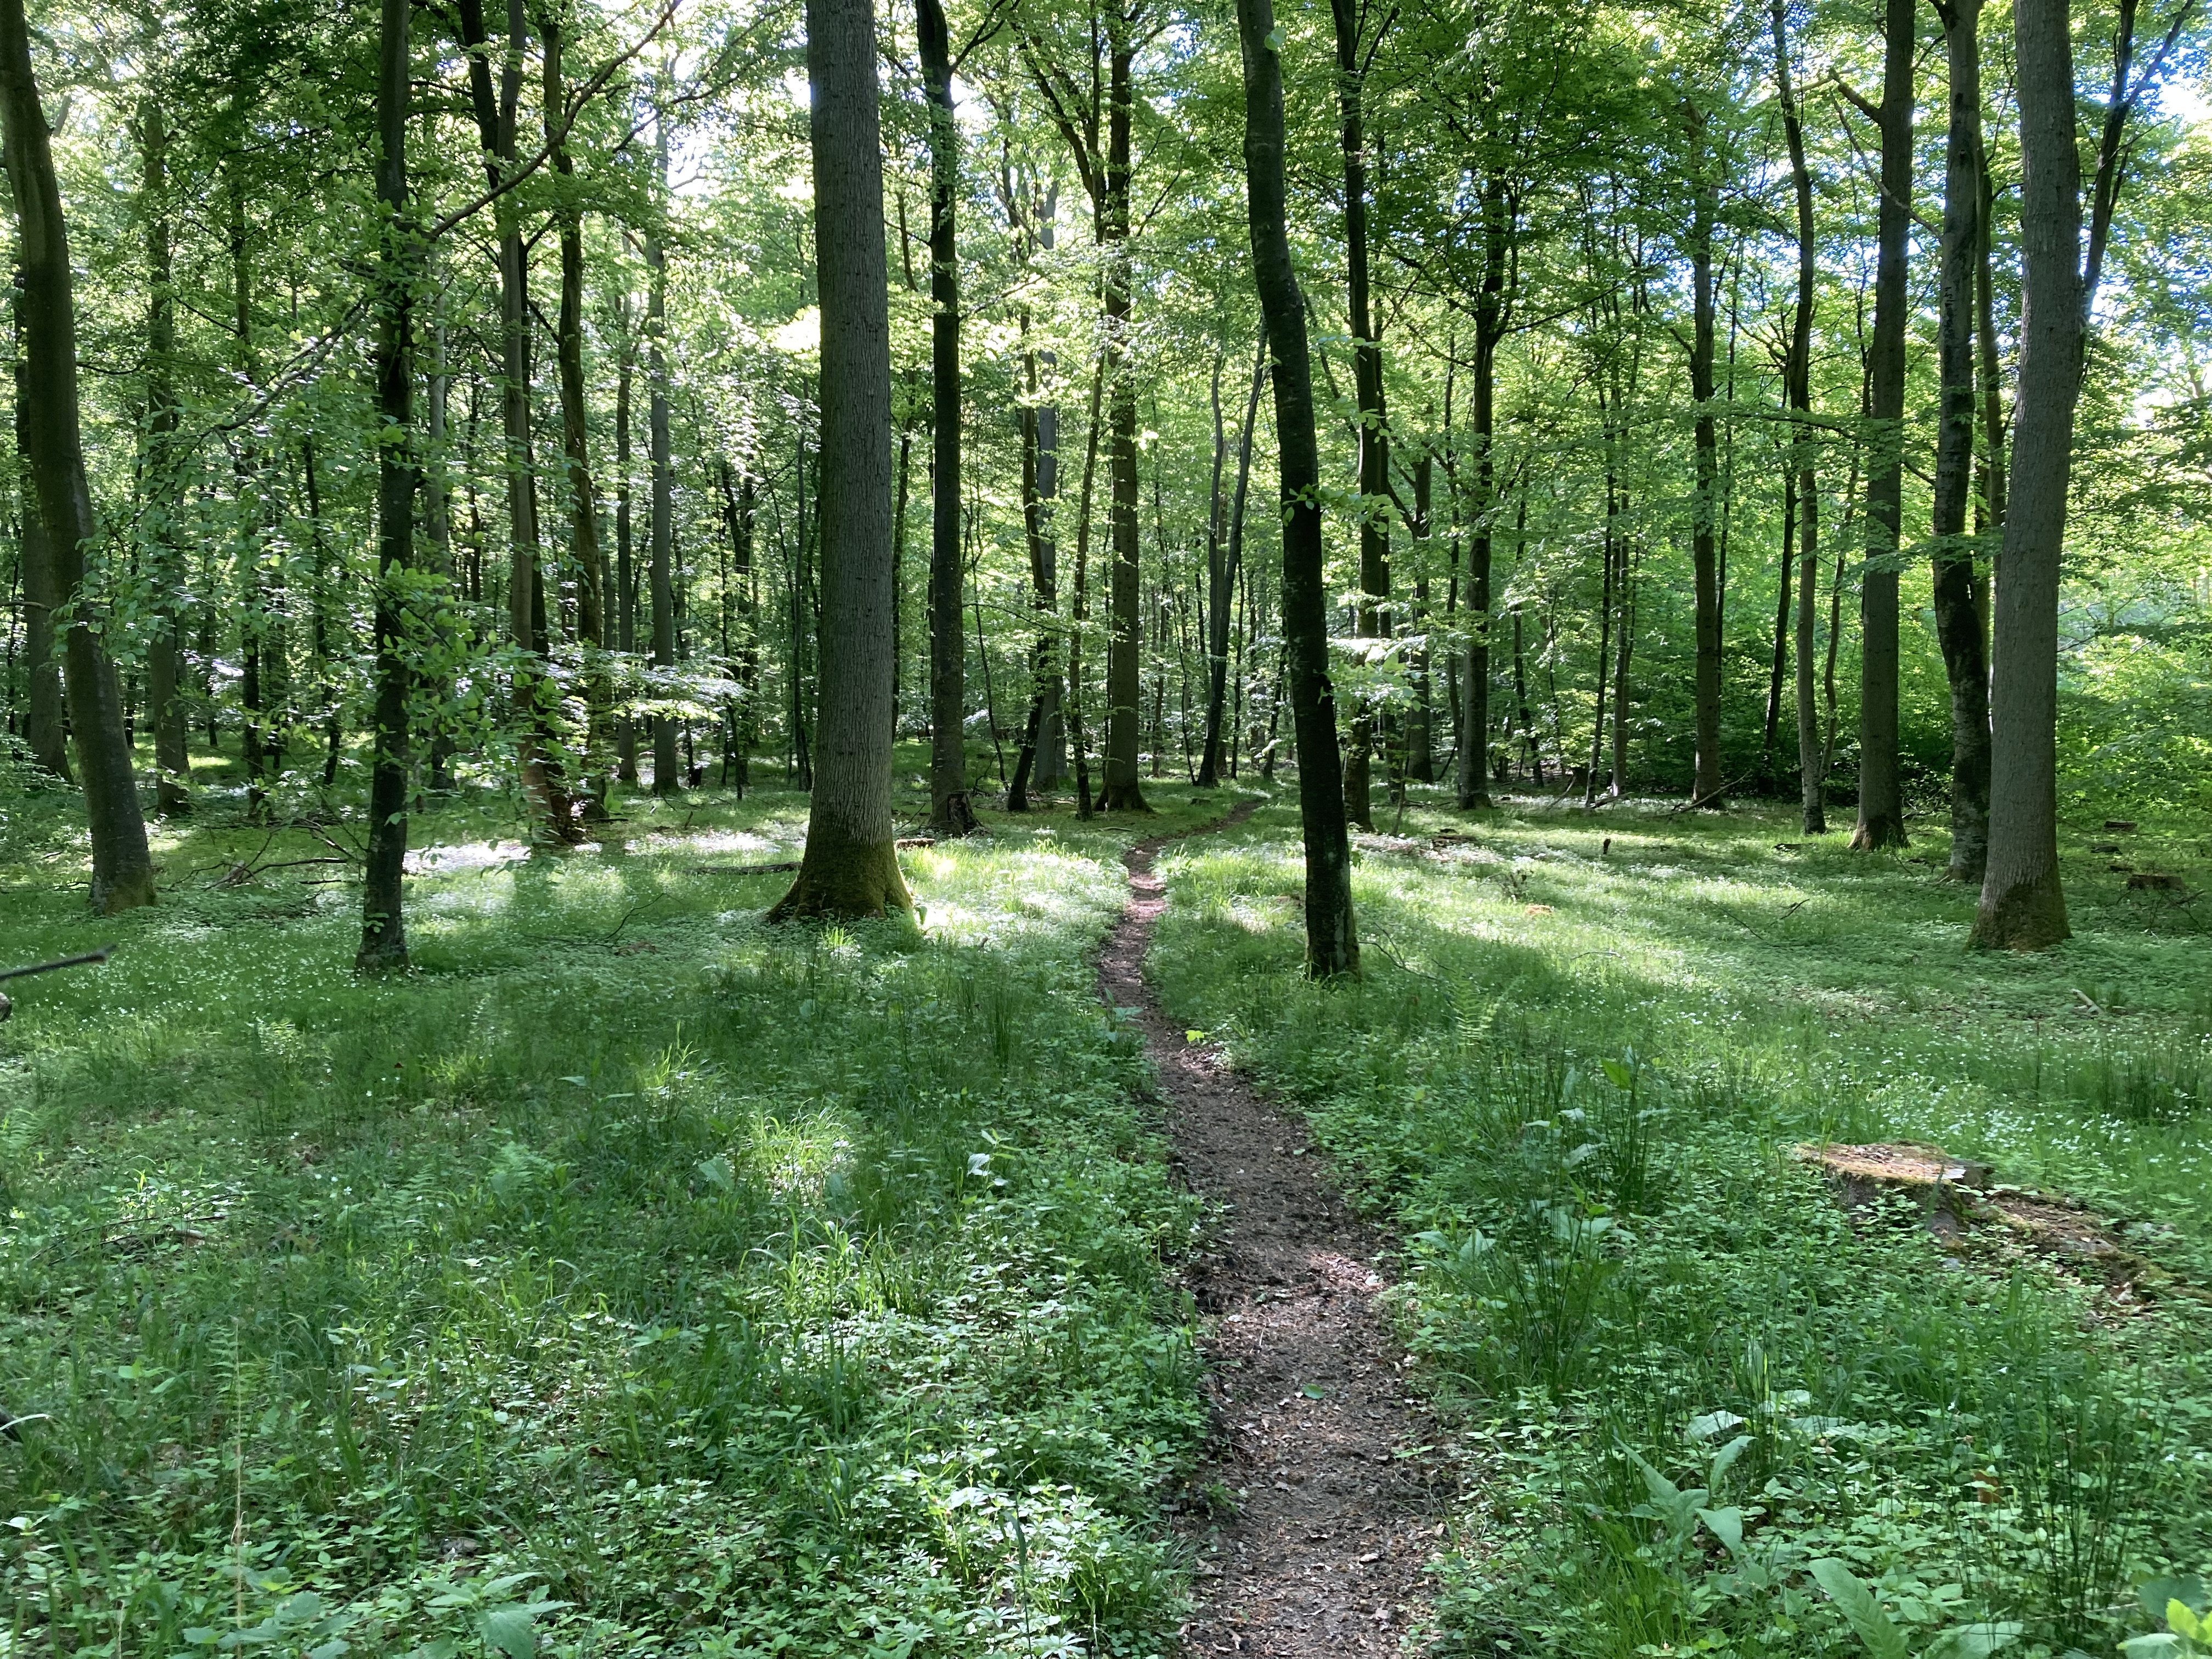
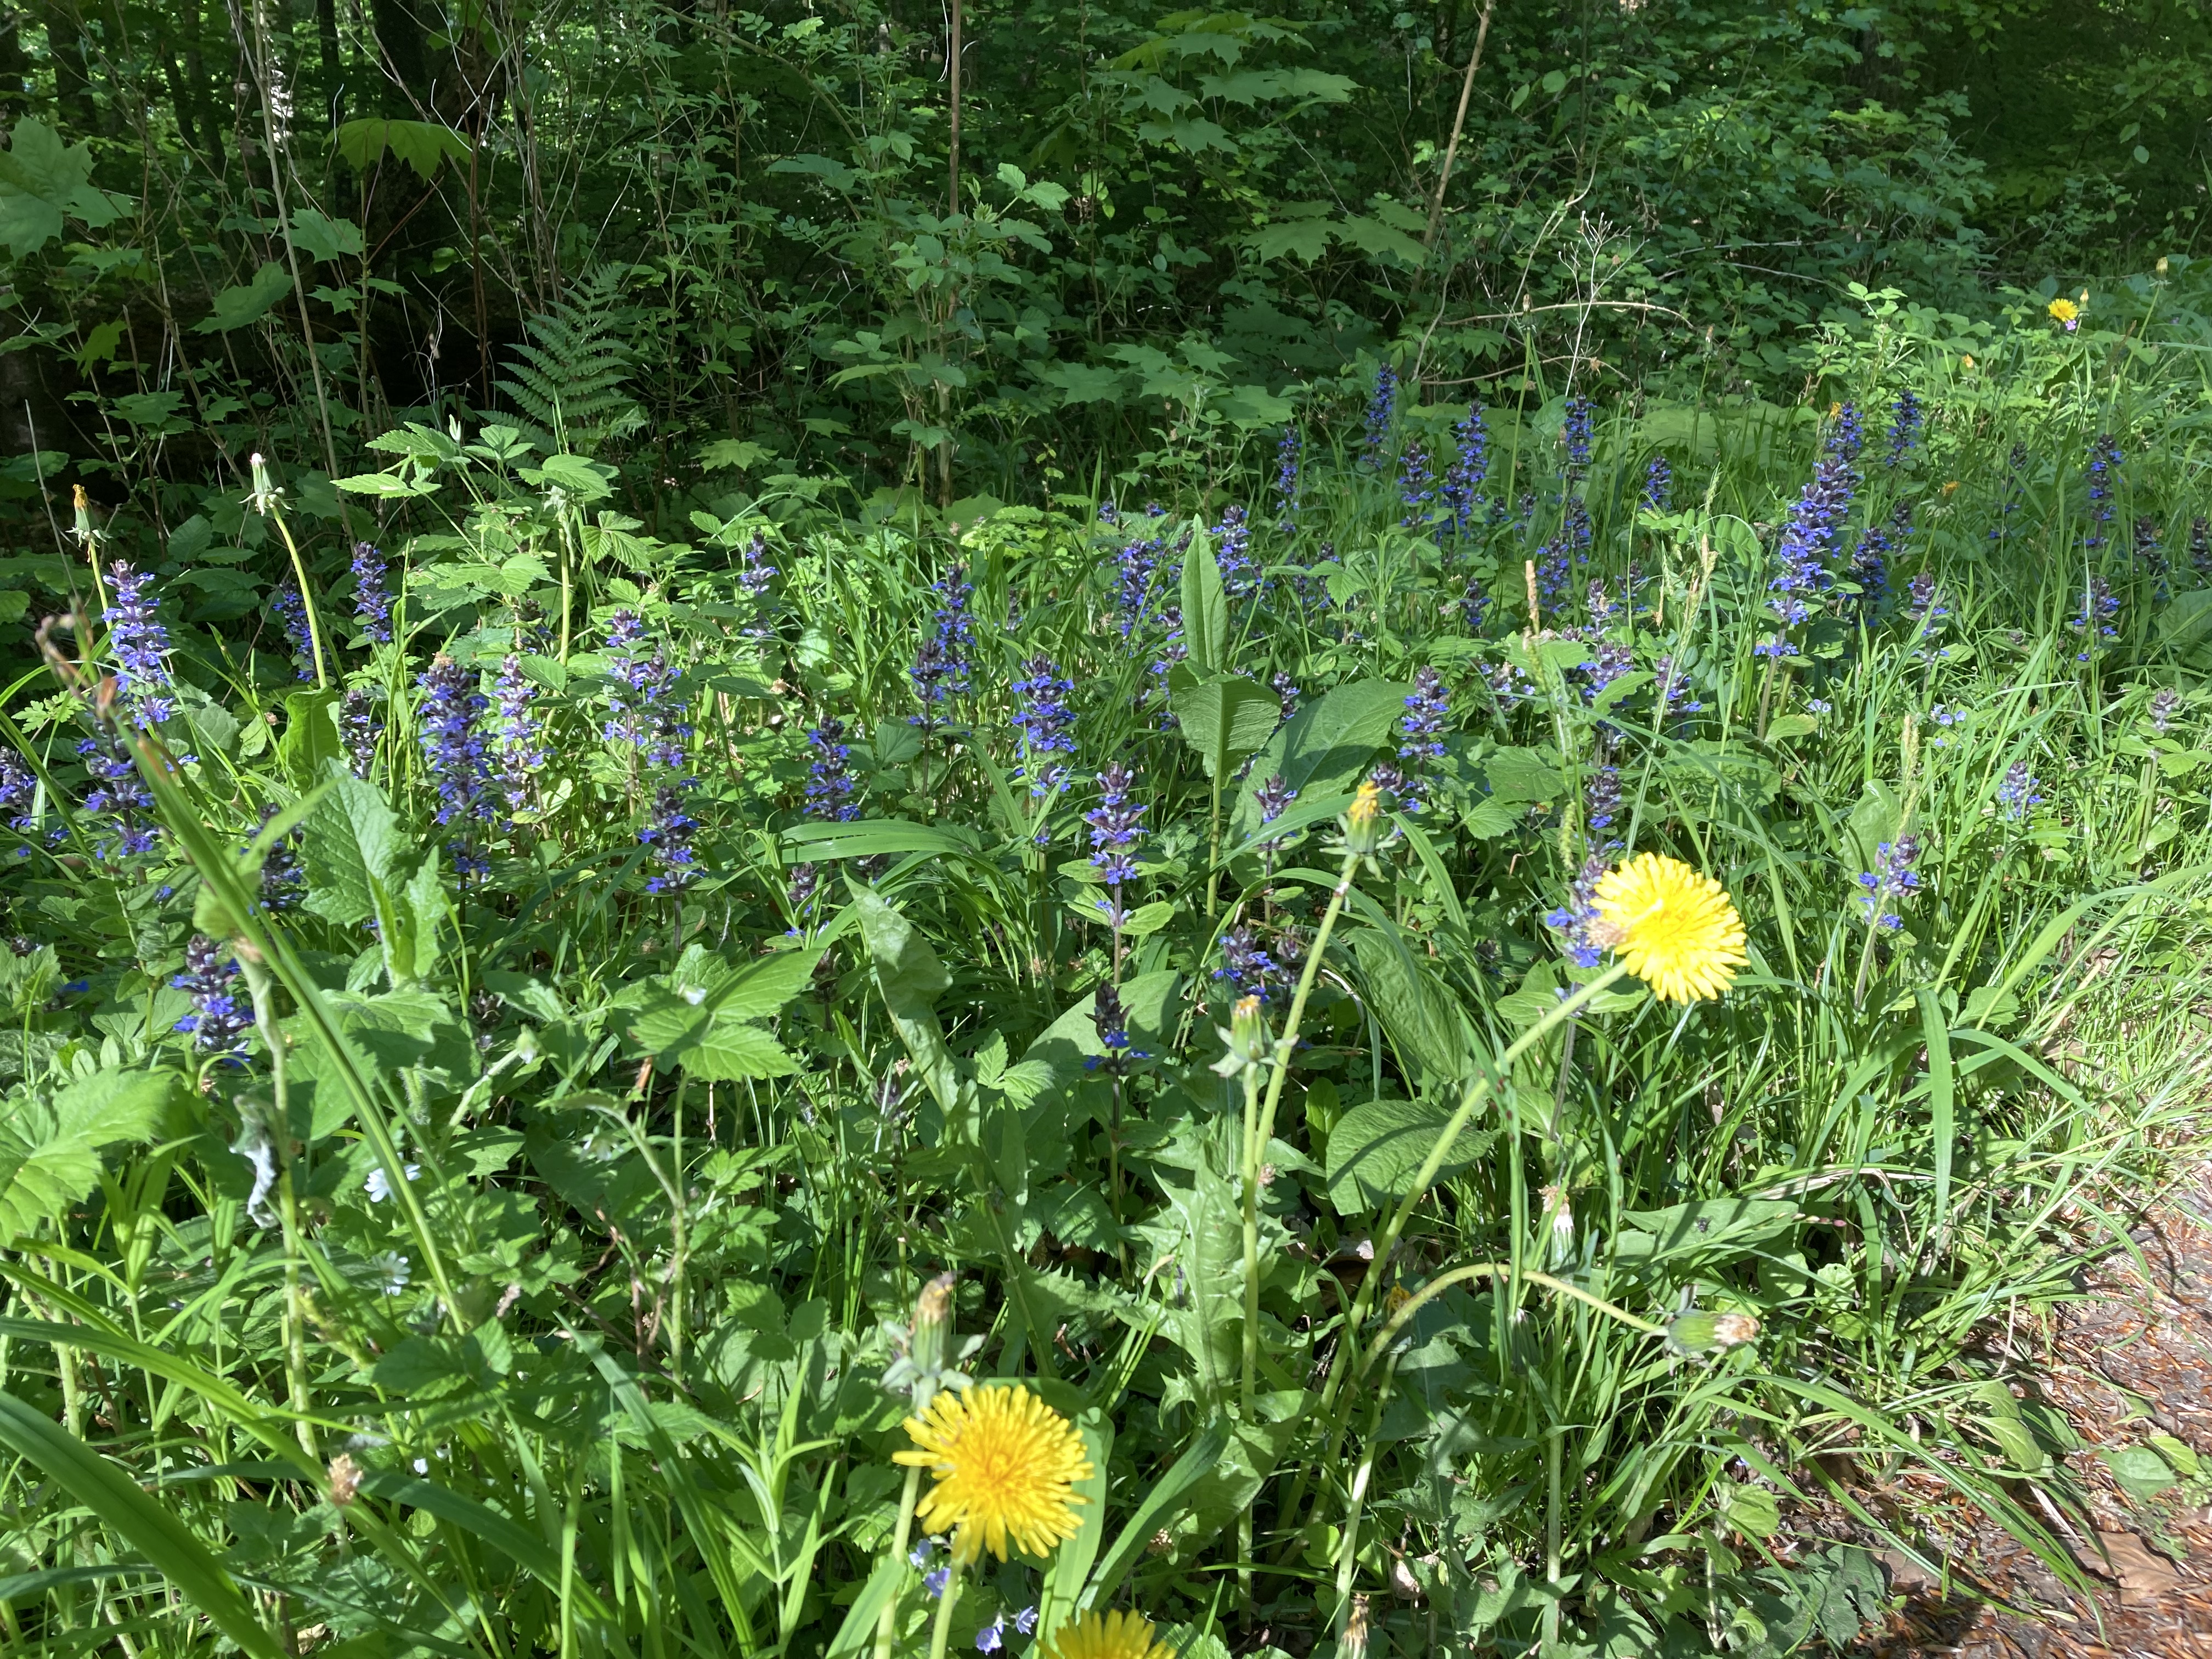
This first day is absolutely amazing. You are walking along the coast all the way with cliffs, forests and wild beaches. Coming out of Stubbekøbing you walk through a summerhouse area and basically follow bike route 8 & 9 after. Here you walk on pavement through the fields for a little bit until you come back to the water where it hits a trail. And from here it’s possible to walk along the coast for the rest of the day. Once you get into Korselitze forest after Næsgaard make sure to find the trail that runs along the beach in the woods. It’s much more exciting than staying on the bike routes. In Hesnæs there’s a great new bakery/café that’s worth a stop, it’s also a good chance to refill the water bottle. Following the coast you will eventually hit Havlykke fricamping which is around 2k south of Ulslev Strand Camping. This makes for a good stop to refill water buy coffee/ice cream and use the restroom. There is a toilet at Havlykke but it is not very nice and when I was there it was actually closed but the campsite is really nice and it’s free (there are toilets a couple km south of Havlykke and plenty along the way in the summerhouse area).
Day 2: Havlykke Fricamping – Bruserup Strand shelter(37,5 k)
On day 2 I was walking along the coast with a breakfast stop in Marielyst. There’s a really nice bakery “Homemade Bakery” south of the main square that’s worth a visit (unless you are there on a monday like me). The town is a very popular summer holiday town with great beaches and lots of cafés and restaurants. So plenty of options unless you arrive monday morning, then your options are Netto or the Kiosk where they have some decent baked goods but horrible coffee. But like my old colleague used to say: “bad coffee is much better than no coffee”, especially on a hike like that. Actually on the way to Marielyst a guy, Jesper, from one of the summerhouses yelled “goodmorning” and invited me for coffee which was really good, so I already had one cup. Funny story, he used to play drums for the band Aqua in the 90s, and we had a great talk which made for a great morning. I love randomly meeting people like that.
After Marielyst summerhouse area you arrive at Bøtø forest which is pretty cool. It is managed by Den Danske Naturfond that does a great job with reintroducing and protecting nature in Denmark. They reintroduced original species of trees and wild horses. They also bought Marielyst Enge that used to be industrial farmland and are now a haven for birds. It’s connected to Bøtø forest so definitely also worth checking out. Den Danske Naturfond directs 100% of donated means into the projects with no administration fees so if you’re looking for a good environmental organization to donate to this is a great option. It’s 12 kr per square metre so the money goes towards buying old farmland or other land that can be restored back to nature.
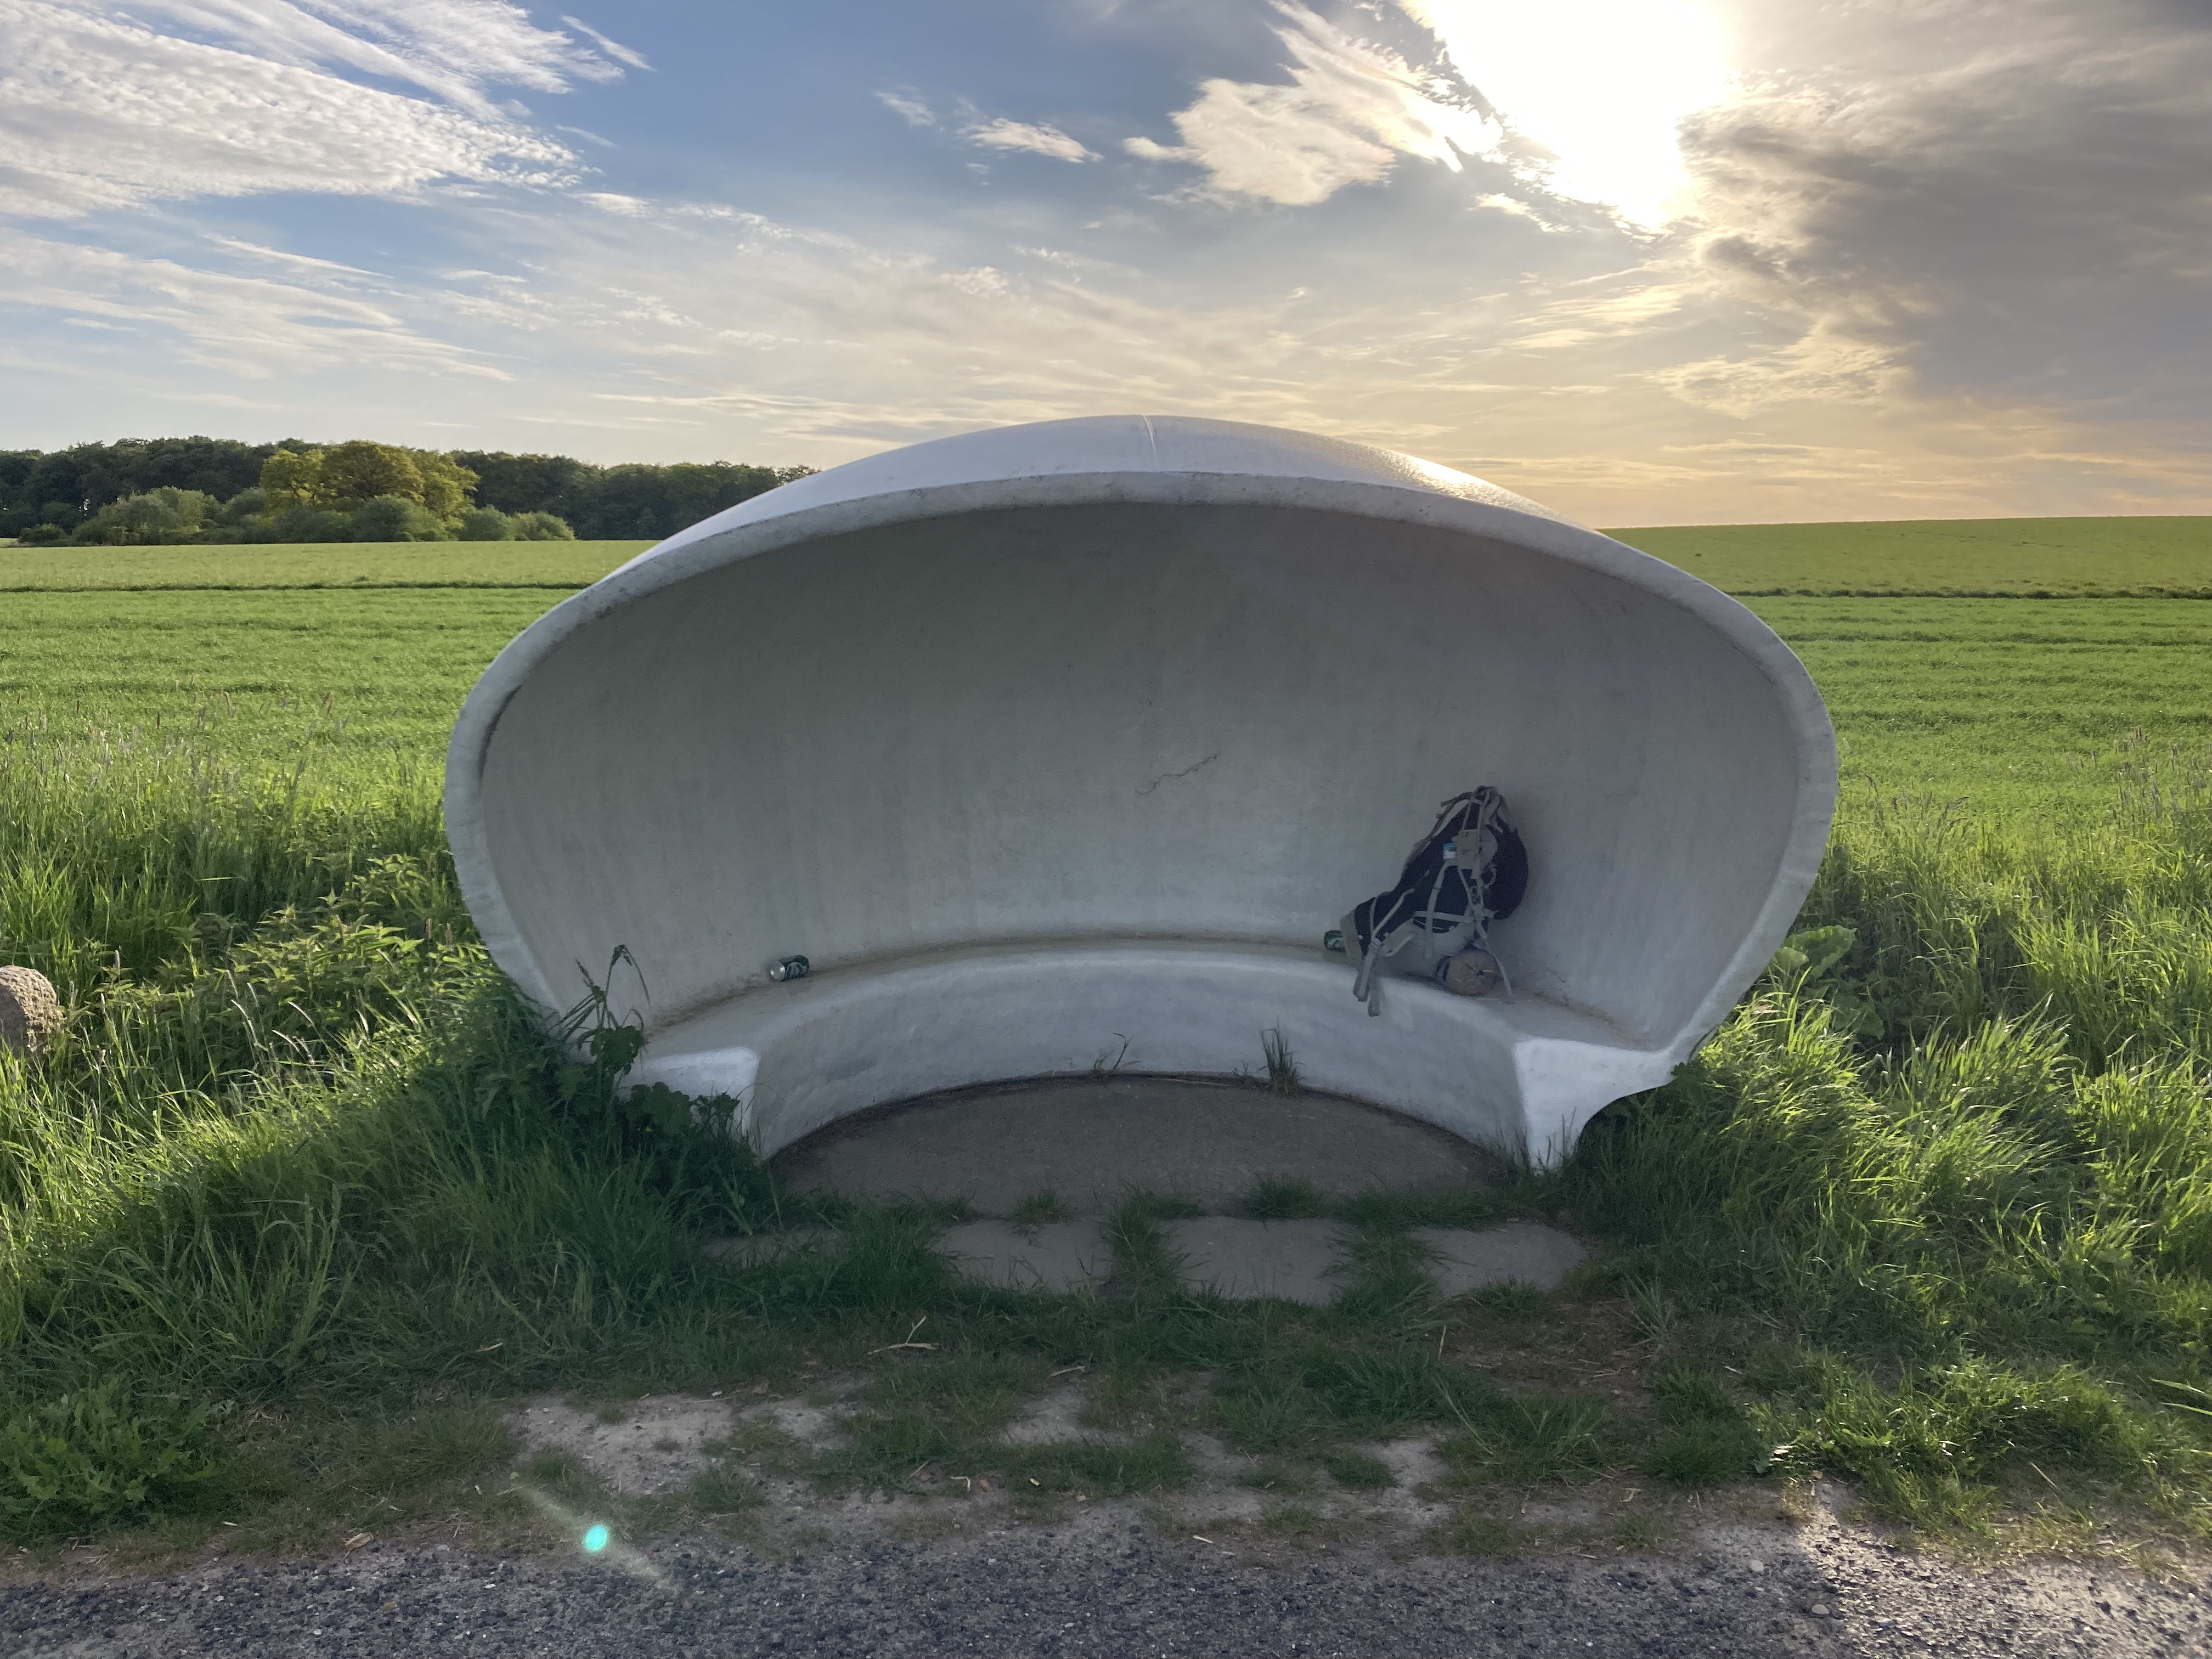
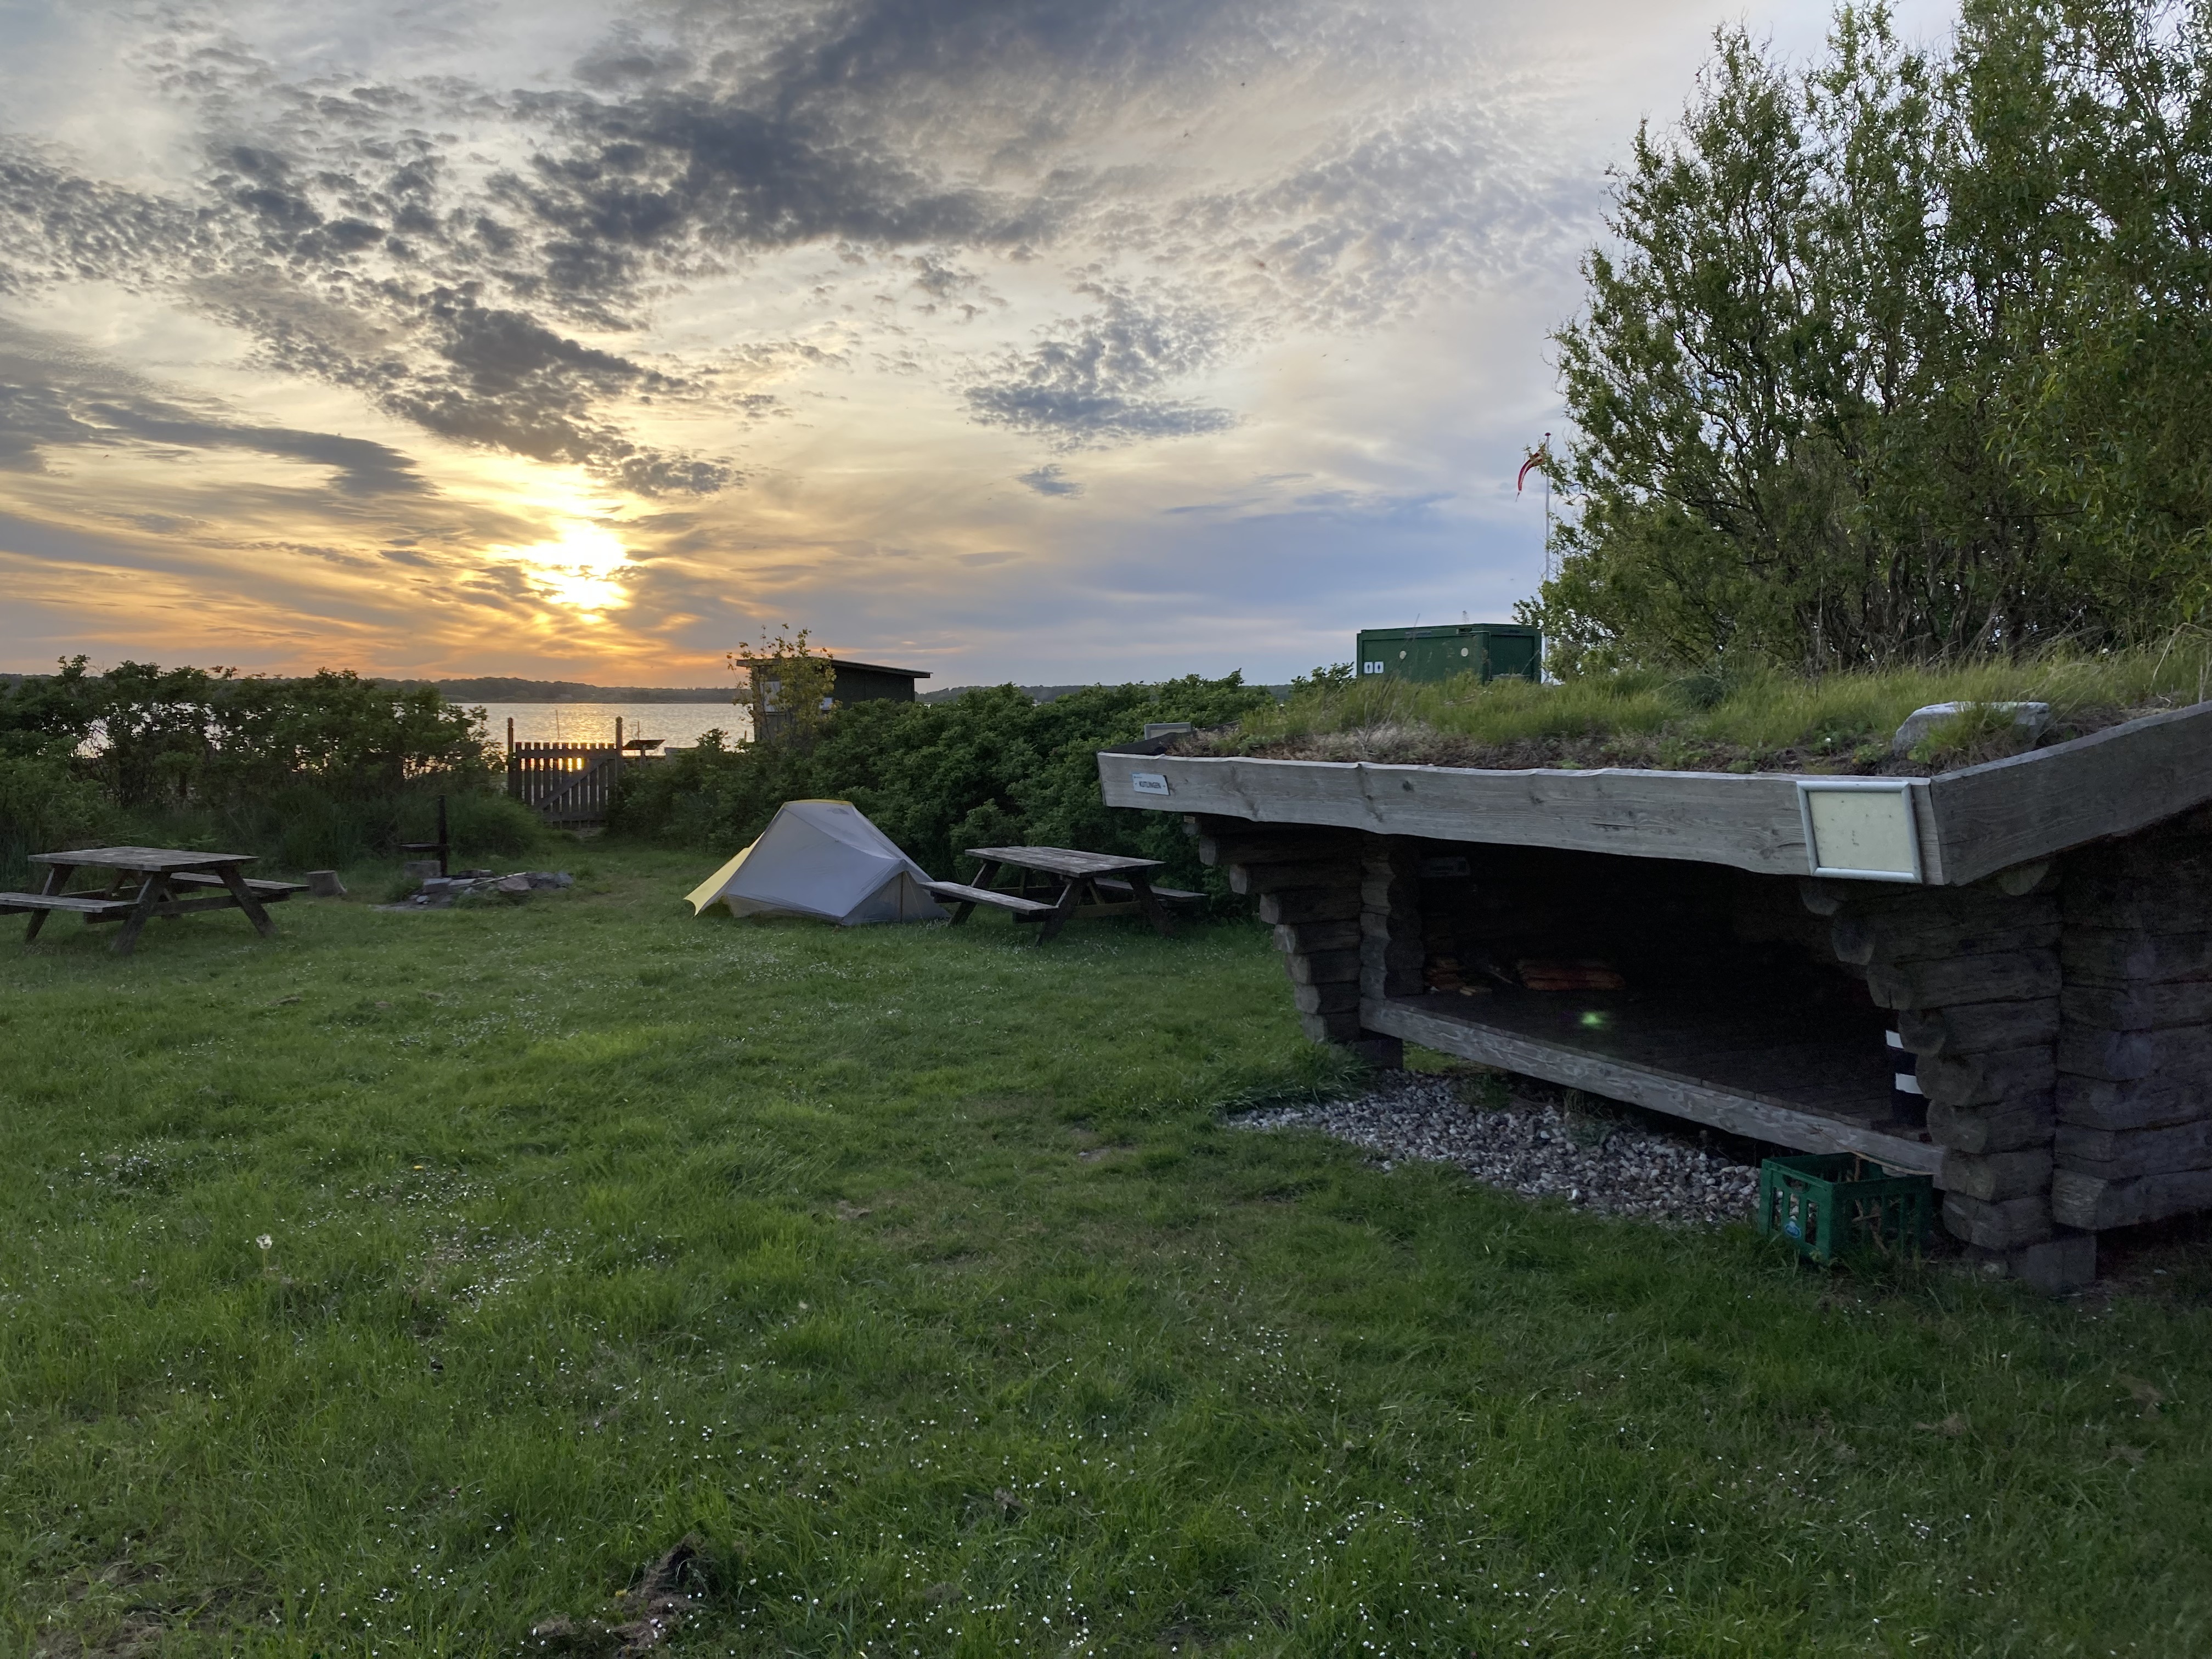
After Bøtø I walked through another summerhouse area and then eventually got to the lighthouse. At the lighthouse I turned right towards Gedser but it’s possible to go to “Sydstenen” which is the very most southern point of Denmark. Sydstenen is 1,5k in the other direction. In Gedser I found a newly opened great local brewery called “Café Købmandsgården”. It was actually closed but I just walked in and the owners was there and welcomed me with open arms and plenty of good beer. Neatly it was close to the only pizzaria in town so the combo was a great decision. I originally planned to stay the night in Gedser (there are 2 shelter options) but decided to move on to Bruserup Strand Shelter spot, that was 12k north of Gedser. The walk there from Gedser is pretty boring but the shelter spot is nice right next to the water with toilet, water and a nice sunset. Another option is to go back through Bøtø and maybe Marielyst Enge and stay at the shelters in Marielyst camping.
Day 3: Bruserup Strand shelter– Stubbekøbing (43 k)
The first part of day 3 was walking on pavement to Væggerløse. I arrived in Væggerløse pretty early and was looking for somewhere to get a coffee and bread. There is nowhere in town to get coffee so I went to Dagli Brugsen where they had some good bread and pastries and luckily the guy at the counter was really nice and made me a fresh brew of coffee. I sat outside the local whiskey distillery and had a great morning. After Væggerløse the walk starts to get more exciting along the coast through Hasselø. At some point theres a nice nature trail you can follow around the coast that ends with a shelter spot. I continued to Nykøbing Falster and had a great lunch omelette at Café 3kanten that’s right next to the water. Unfortunately I ate the omelette faster than I could get out my camera so I only have a picture of an empty plate!
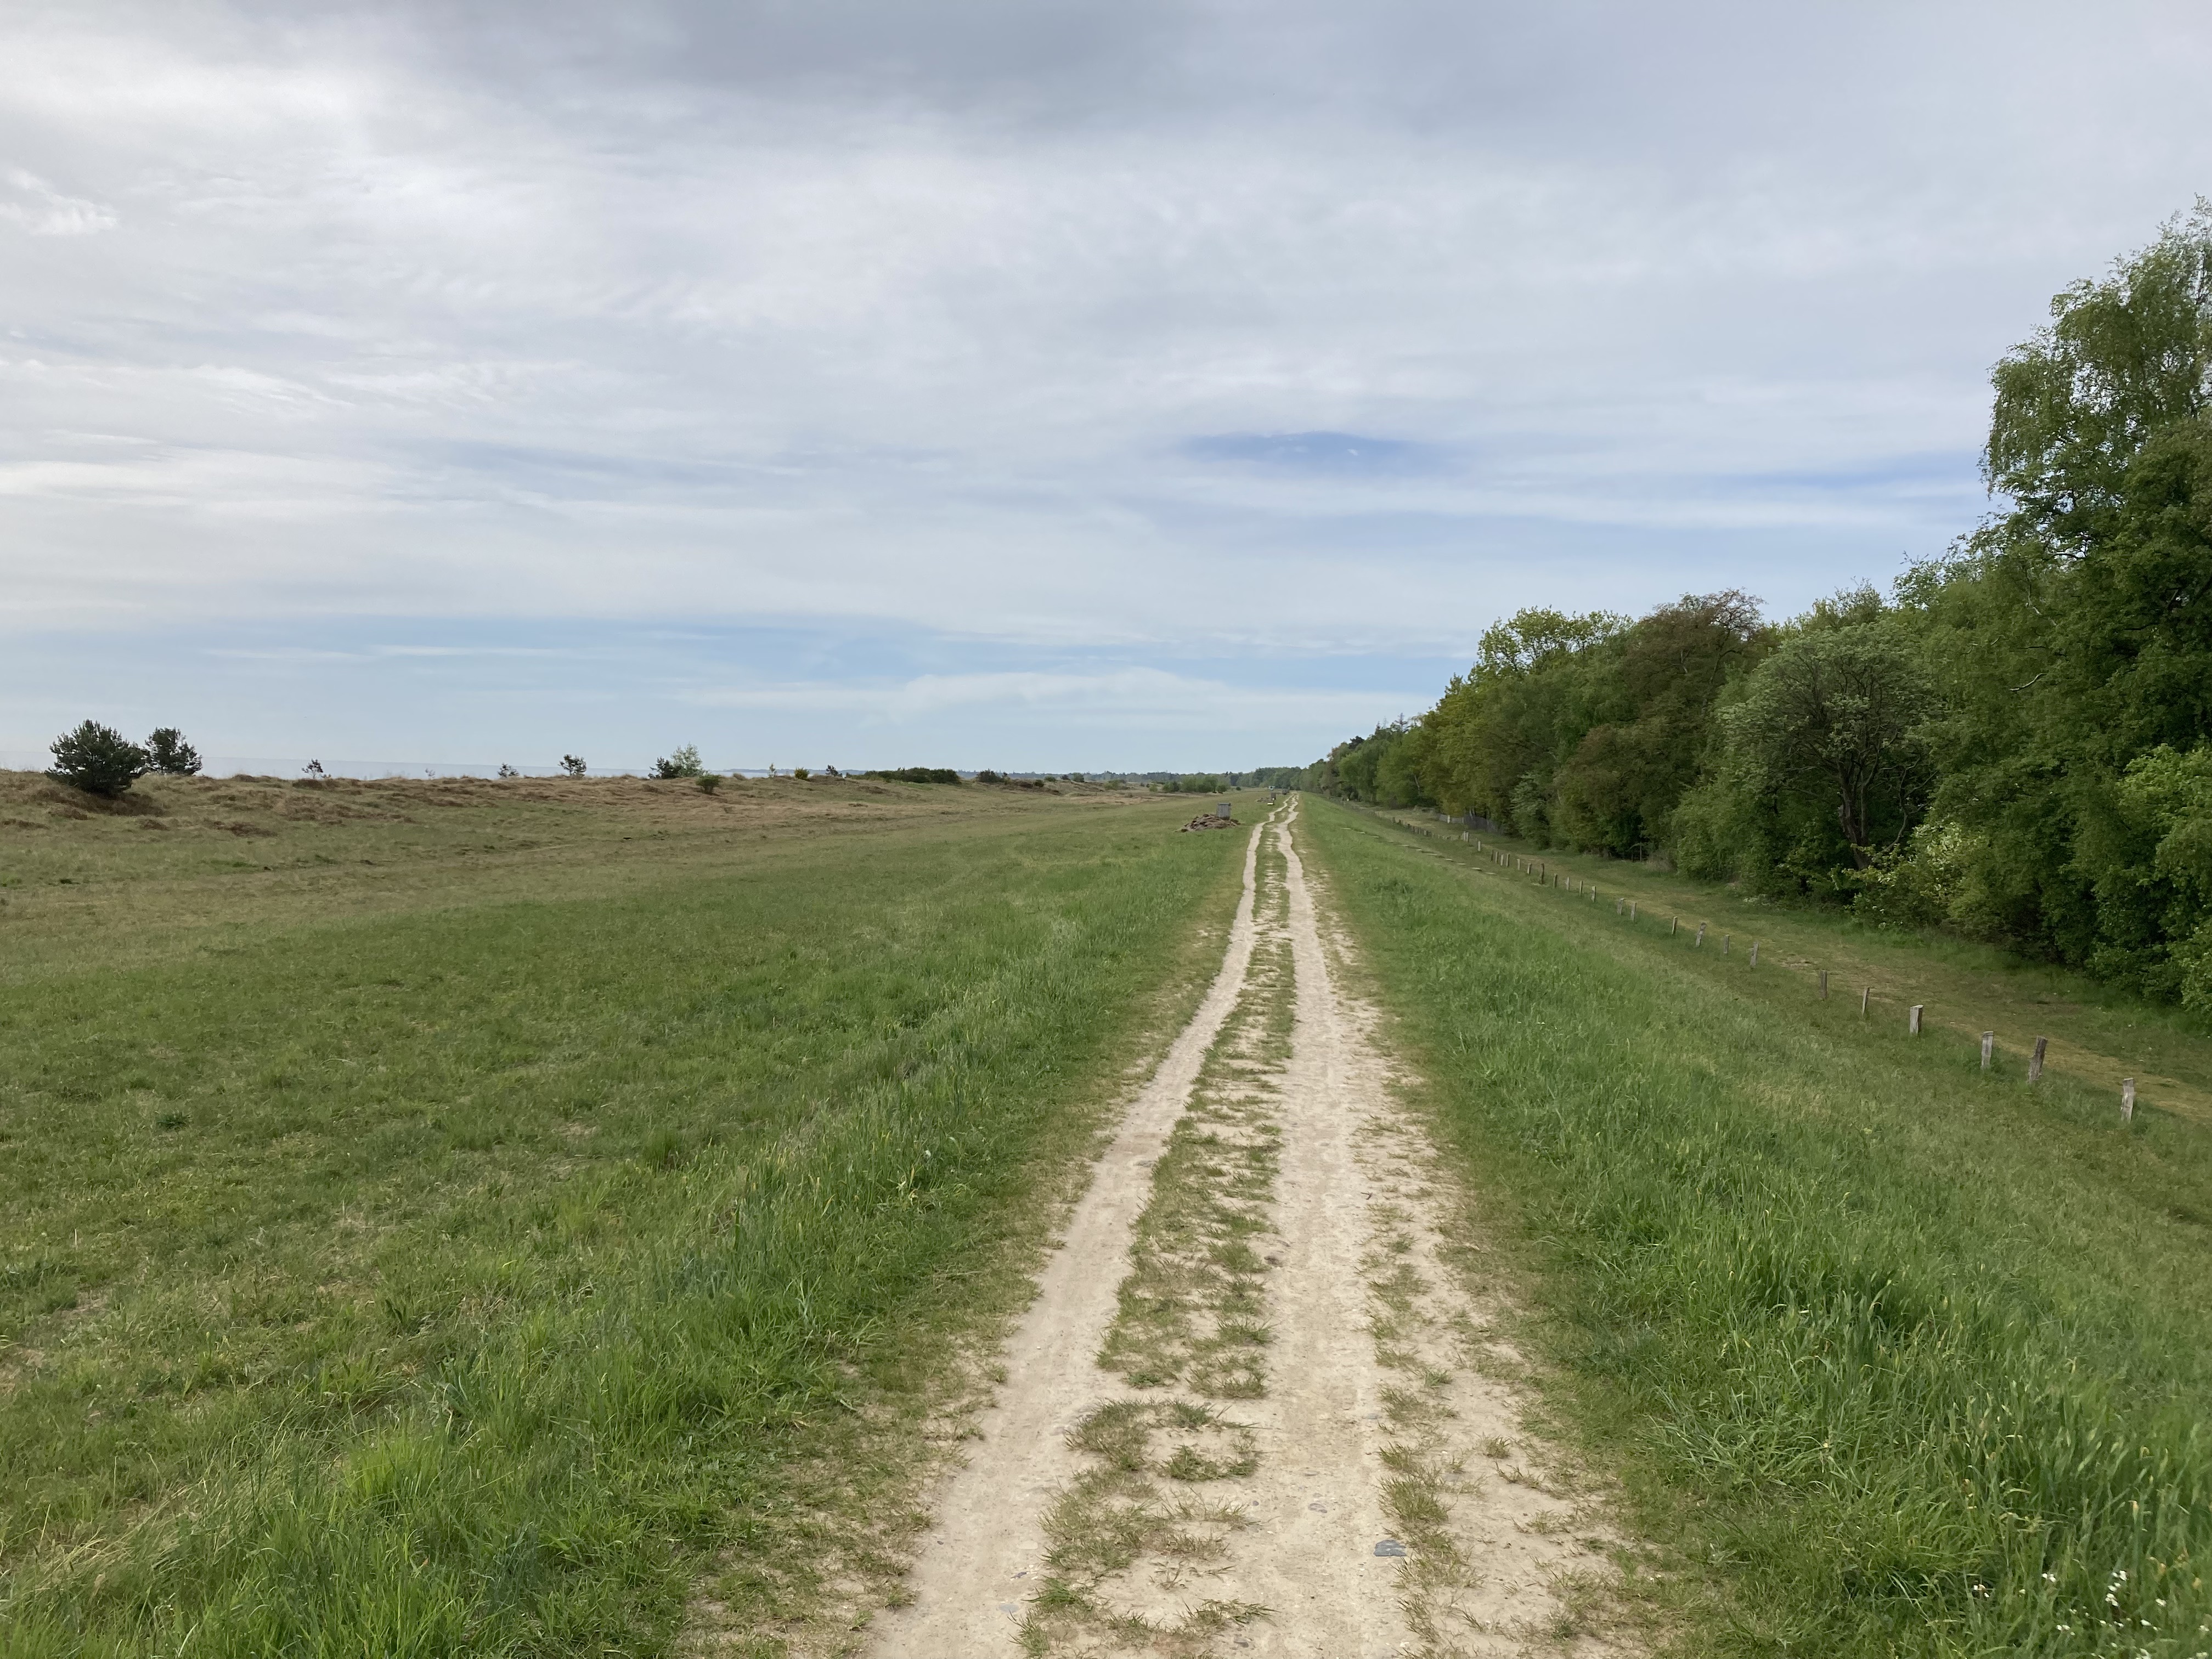
After Nykøbing there is a couple options, I chose to go straight towards stubbekøbing through the Hannenov and Ovstrup forests which is really nice. I was thinking to stay the night in the shelter at Hannenov but decided to go all the way to stubbekøbing. Also you are allowed to pitch your tent anywhere you like in those woods. Another option from Nykøbing is to stay by the coast on Sundruten but then you would need another day. Sundruten and most other bike routes are also visible on the off line app I use called MapOut. I highly recommend it, it’s great in the field and It’s a one time payment around 7 usd with no subscription. Just download the map areas where you are going beforehand.
Anyway…here’s a few phone shots from day 3…
Maps & stats:
Day 1
Day 2
Day 3
Walking time:
5:50 h
6:58 h
8 h
Distance:
32 k
37,5 k
42-43 k
Asc:
73 m
9 m
29 m
Dsc:
79 m
9 m
39 m
Average speed:
5,2 km/h
5,2 km/h
5,1 km/h
Here’s a screenshot of my route. Check it out in more detail on my google map or strava (day 1, day 2 and day3)
Useful links:
Udinaturen.dk: Shows you a map of most shelters and places to pitch a tent in Denmark – great tool to plan your hike or bike trip in Denmark
Naturlandet.dk: More local to Lolland-Falster and you can choose English so probably more useful for foreigners. Find routes, book shelters etc.
MapOut: If you like hiking and biking off grid this is THE best value map tool that also integrates a lot of local routes. You can even create routes in the field and see the distance to your end destination. No subscription just a one time fee around 7 usd, absolute best value. Get it and you will thank me later! (and btw my 5 blog-likes haven’t gotten me any sponsorships yet so no affiliation. Maybe when I get to 10!)
Hope you enjoyed the read and found some useful stuff.
Here’s a couple of really cool winter day hikes to do in Rocky Mountain National Park (RMNP). If you want to go straight to maps and stats scroll down the post, otherwise keep reading.
Winter landscapes are amazing: The cold, the snow, the ice, the beauty, the challenges, everything. Besides, I love that there is no crowds especially during the weekdays (sometimes the weekends can still be busy on the popular trails, especially in sunny weather). The weather and temperature in RMNP varies a lot so check before going and prepare accordingly.
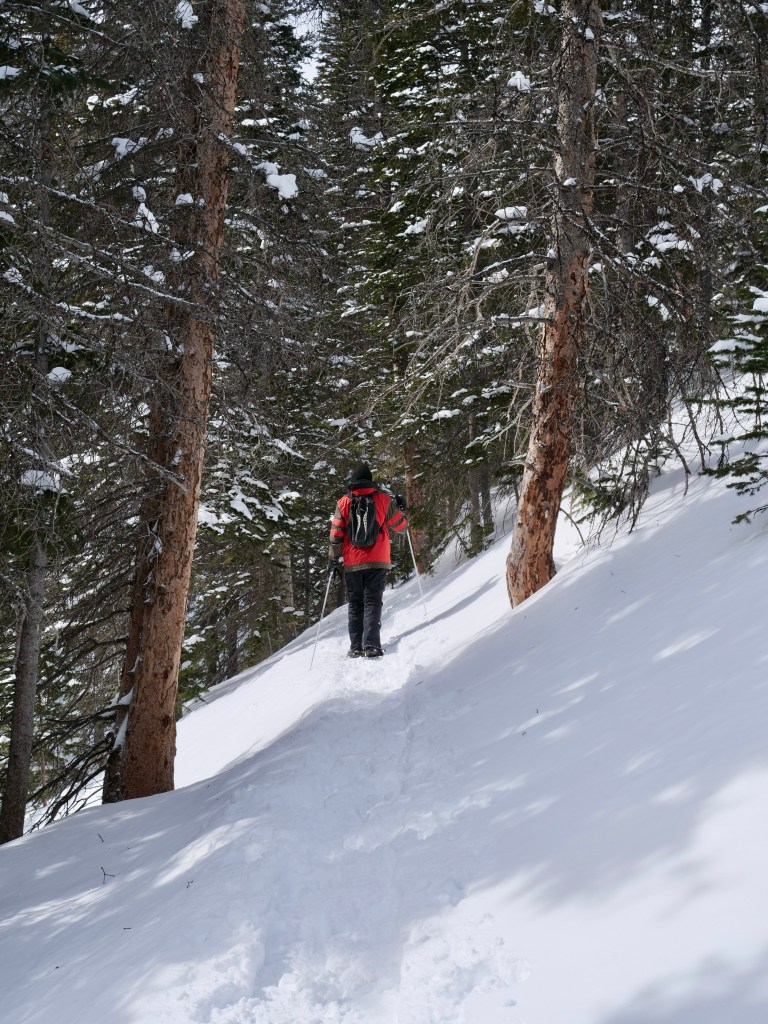
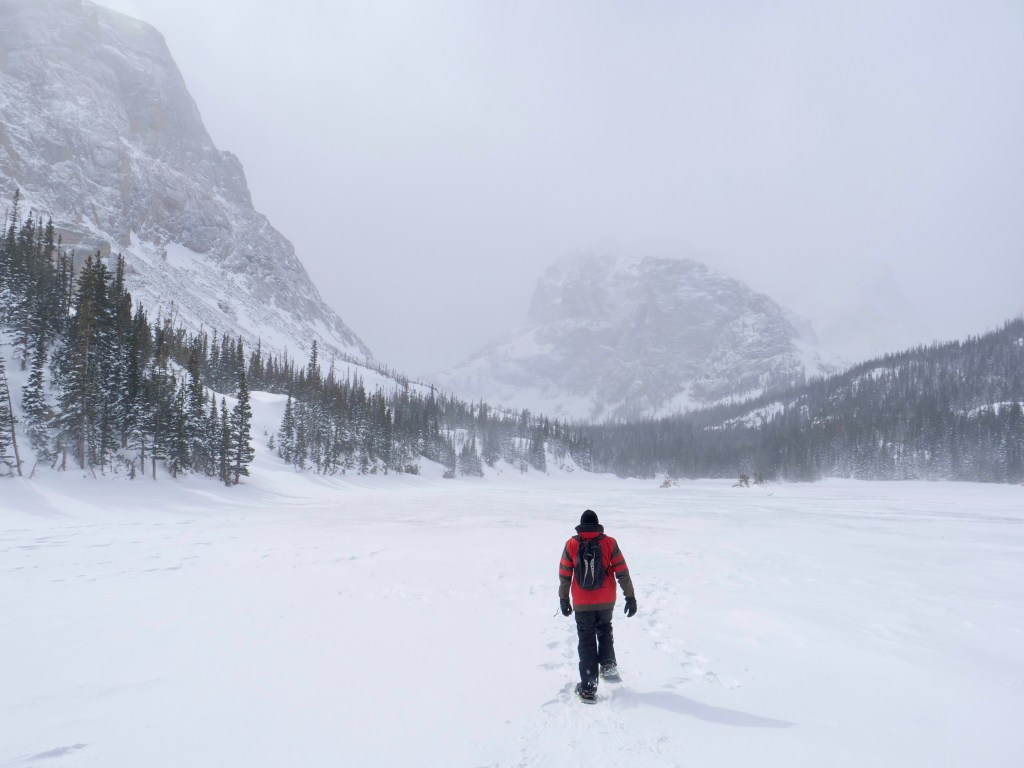
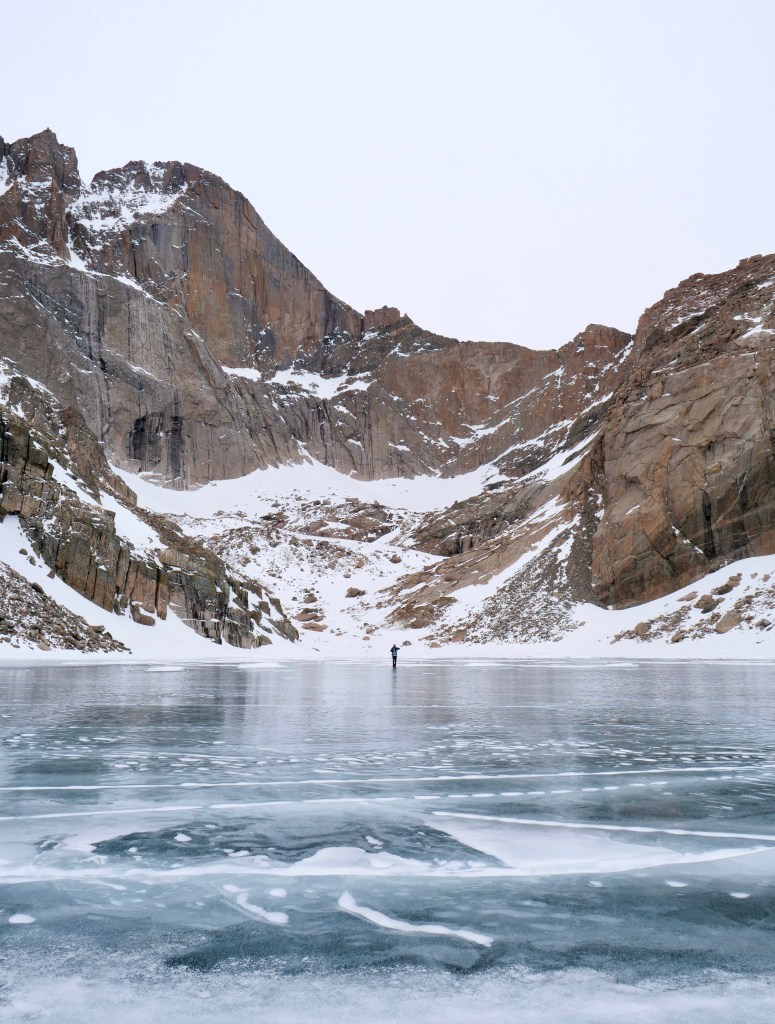
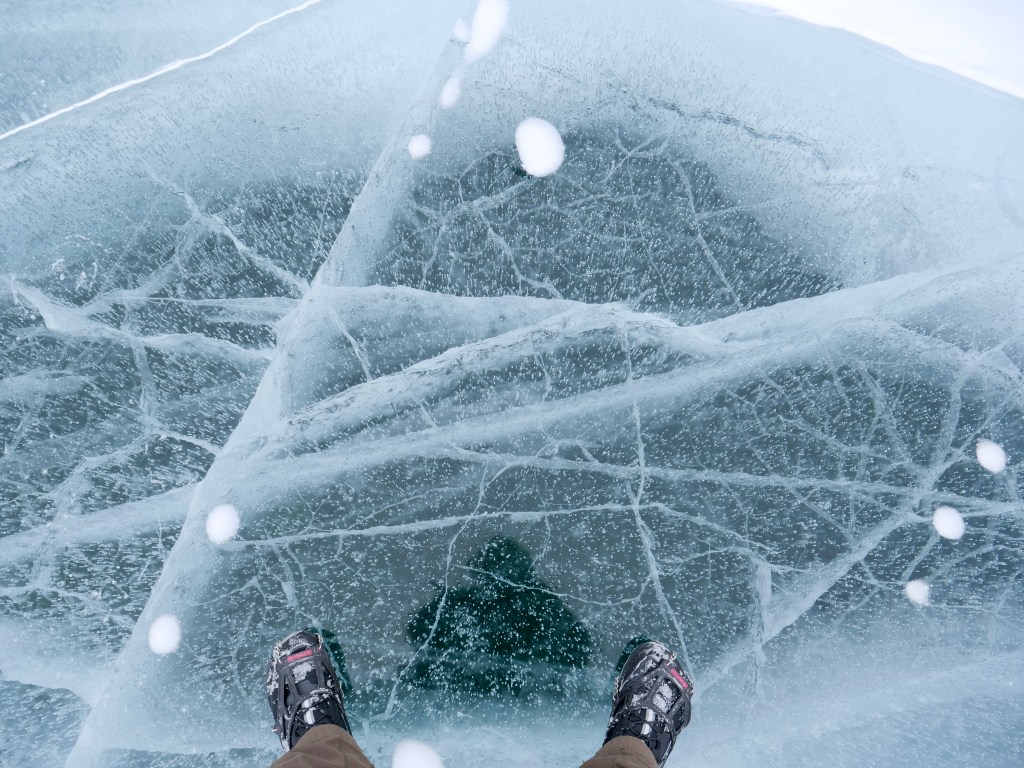
Glacier Gorge Trailhead – The Loch – Sky Pond (almost)
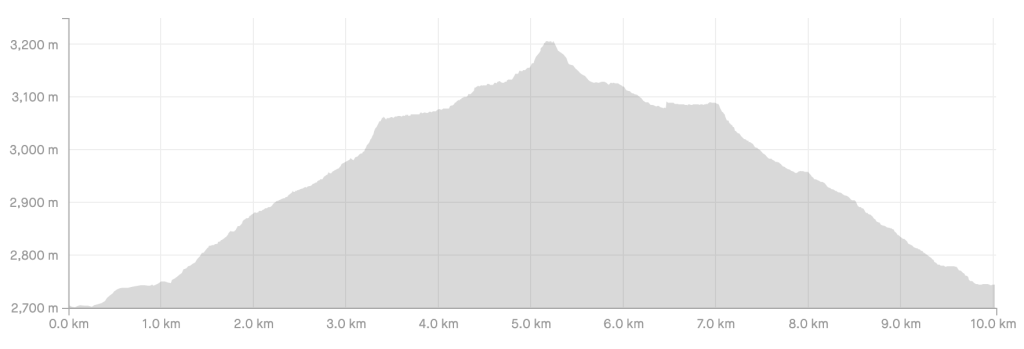
It was pretty cold and snowed a lot when I did this hike (in snowshoes all the way). My camera died because of the cold when I got up there in the wind, it was probably -15 to -20 degree celsius. It is approved to -10 so totally fair but I was still hopeful though. I had it on my chest the whole time so it was constantly exposed to the cold, if I had kept it covered or in a pocket I think it would have been fine. Anyway, the idea was to go to Sky Pond or as long as I could. Turned out that I had to turn around just below since I wasn’t too sure about the last part. I knew there was a river and a waterfall somewhere, but I couldn’t see it because of all the snow. I didn’t want to take the risk of something bad happen so I turned around and have to return to Sky Pond some other day. I got just above the tree line, so still really nice views, and it’s also really nice at The Loch. There’s a winter trail (it appears on maps.me and most other hiking apps) that shortcuts some of the way to The Loch that’s faster than the usual one. It’s a pretty easy and rewarding hike. Here is some pictures, map and altitude profile. For more details on the route see my strava here.
If you wonder about the mystical creature in the pictures it’s Dave-The-Rave…as far as I know nobody has ever seen his face!
Dave-The-Rave walking the frozen Loch.
This is around when my camera gave up, so unfortunately no pics above the tree line…luckily it came back to life when it warmed up later.
Really loved this one!! Also not too hard, of course with respect to the altitude. Once again, Dave-The-Rave showed up and again I didn’t see his face!
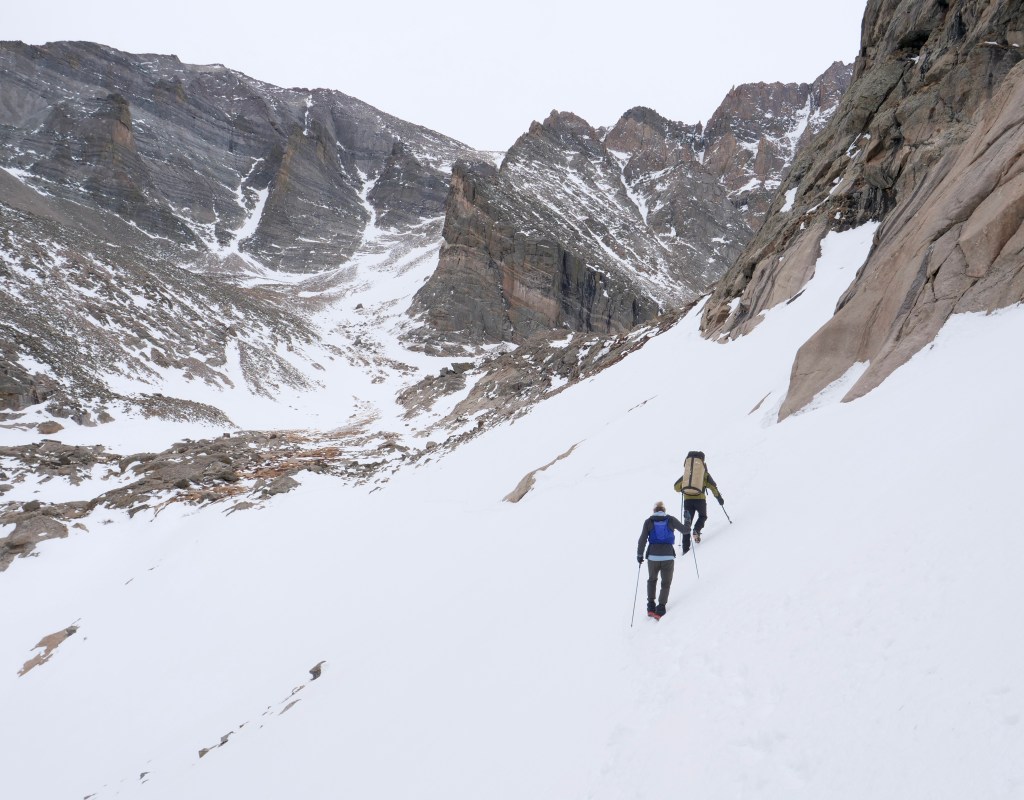
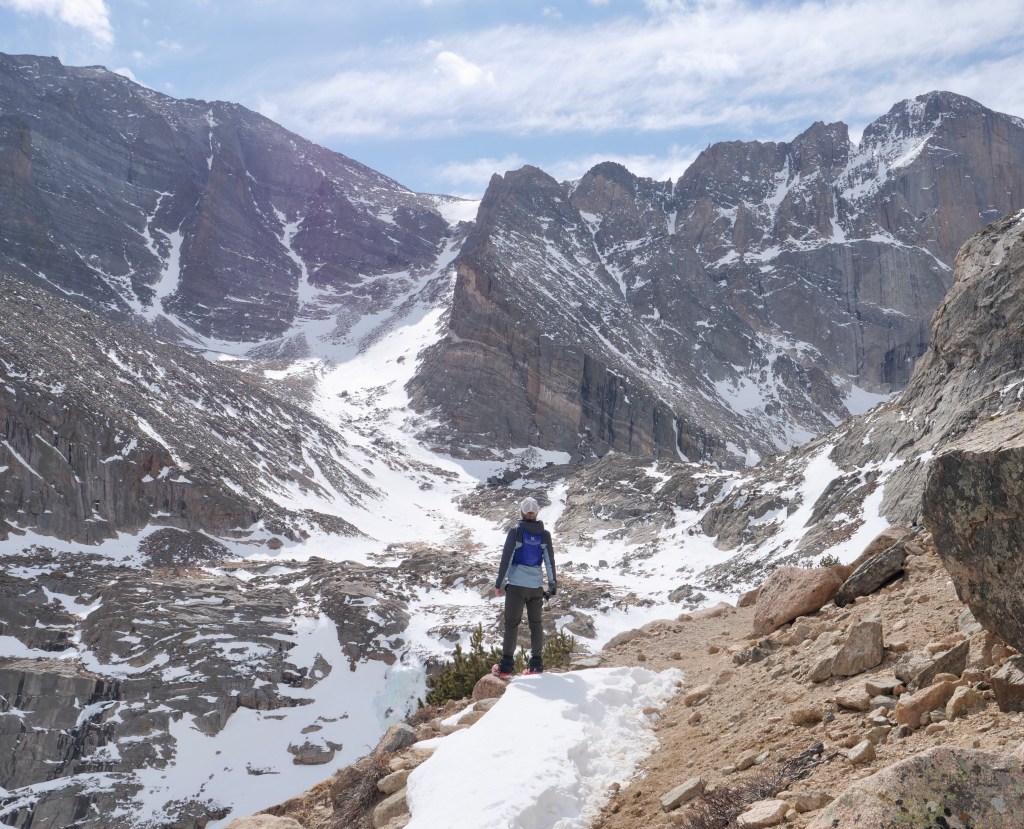
The Longs Peak Trail begins from the parking lot and is very easy to find. The trail goes through the forest and once you get above the tree line the views start to open up, and what amazing views! Theres a plateau above the tree line that would be great for pitching a tent, I imagine people do it sometimes when they go to the top of Longs Peak if they want to break it into two days or more. In high season you have to have a permit in advance though. Thats part of why I love going to RMNP in winter, you can just go to Beaver Meadows Visitors Center and get a permit if you want to stay overnight. Anyway, once you get up to the ridge that runs south of the plateau you can either hike up to Longs Peak or go to Chasm Lake. In this junction there are great views also but I went along towards Chasm. There’s a part thats a bit sketchy in winter since it’s very steep and I had to walk on snow. Luckily it was overcast and pretty cold so the snow seemed firm. There was another guy, Sean, up there who wasn’t sure to cross either, so we talked a little bit. I actually decided it wasn’t safe and was about to turn around but then 55 year old climber, Dan, came along geared up and everything since he was gonna climb The Diamond the following day. He said it was safe to cross as long as the snow was still hard and we could just follow his footsteps. He looked like he knew what he was doing (in his own words: “FUCK YES I know what I’m doing!”) So we followed along…
We got up to Chasm Lake and it was absolutely stunning…
Just after the junction with Longs Peak in the background. The trail (on the right) leading to the snowfield, if you look carefully you can see Sean in the snow debating with himself wether to cross or not. The vertical face of Longs Peak that Dan was gonna climb is in the background . Crossing the snowfield with Dan in front.Chasm Lake and Longs Peak. The Ice creates some amazing art.Going back from the lake the sky opened up, it was really nice.
Stats for the nerds…(go to my Strava for more details)
Please leave a comment if you’d like – I’d love to interact with whoever is reading this stuff.
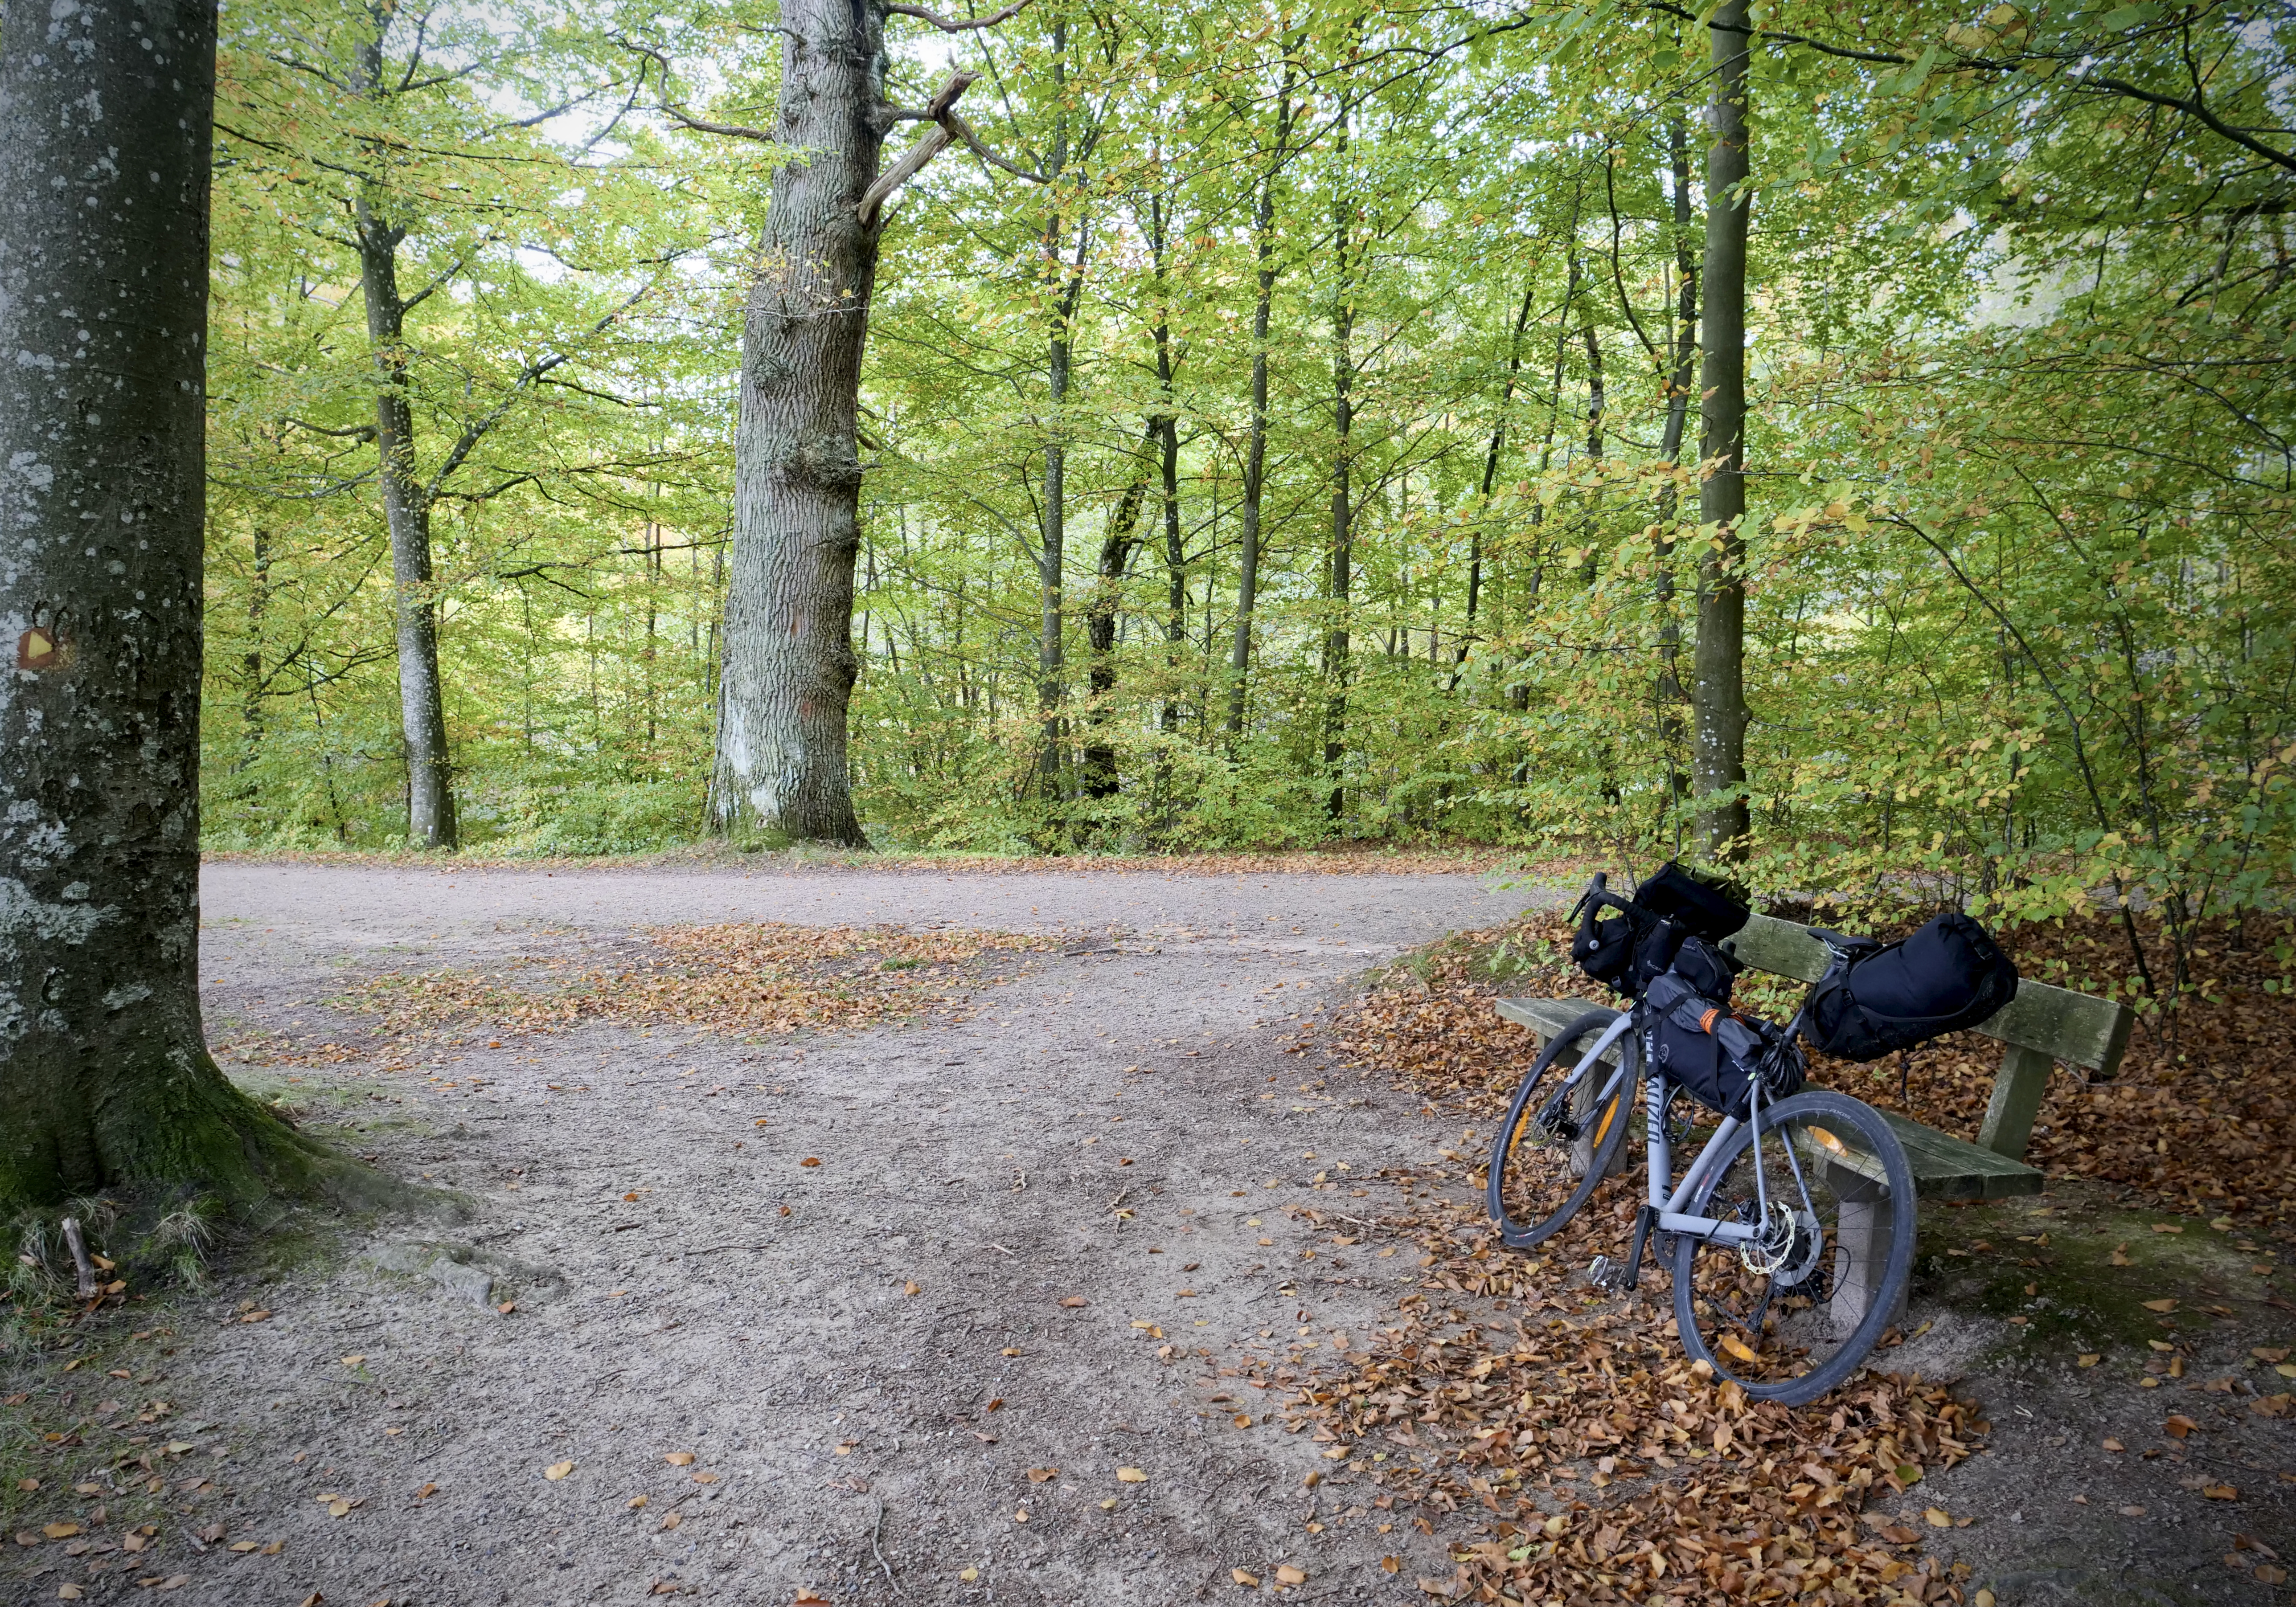
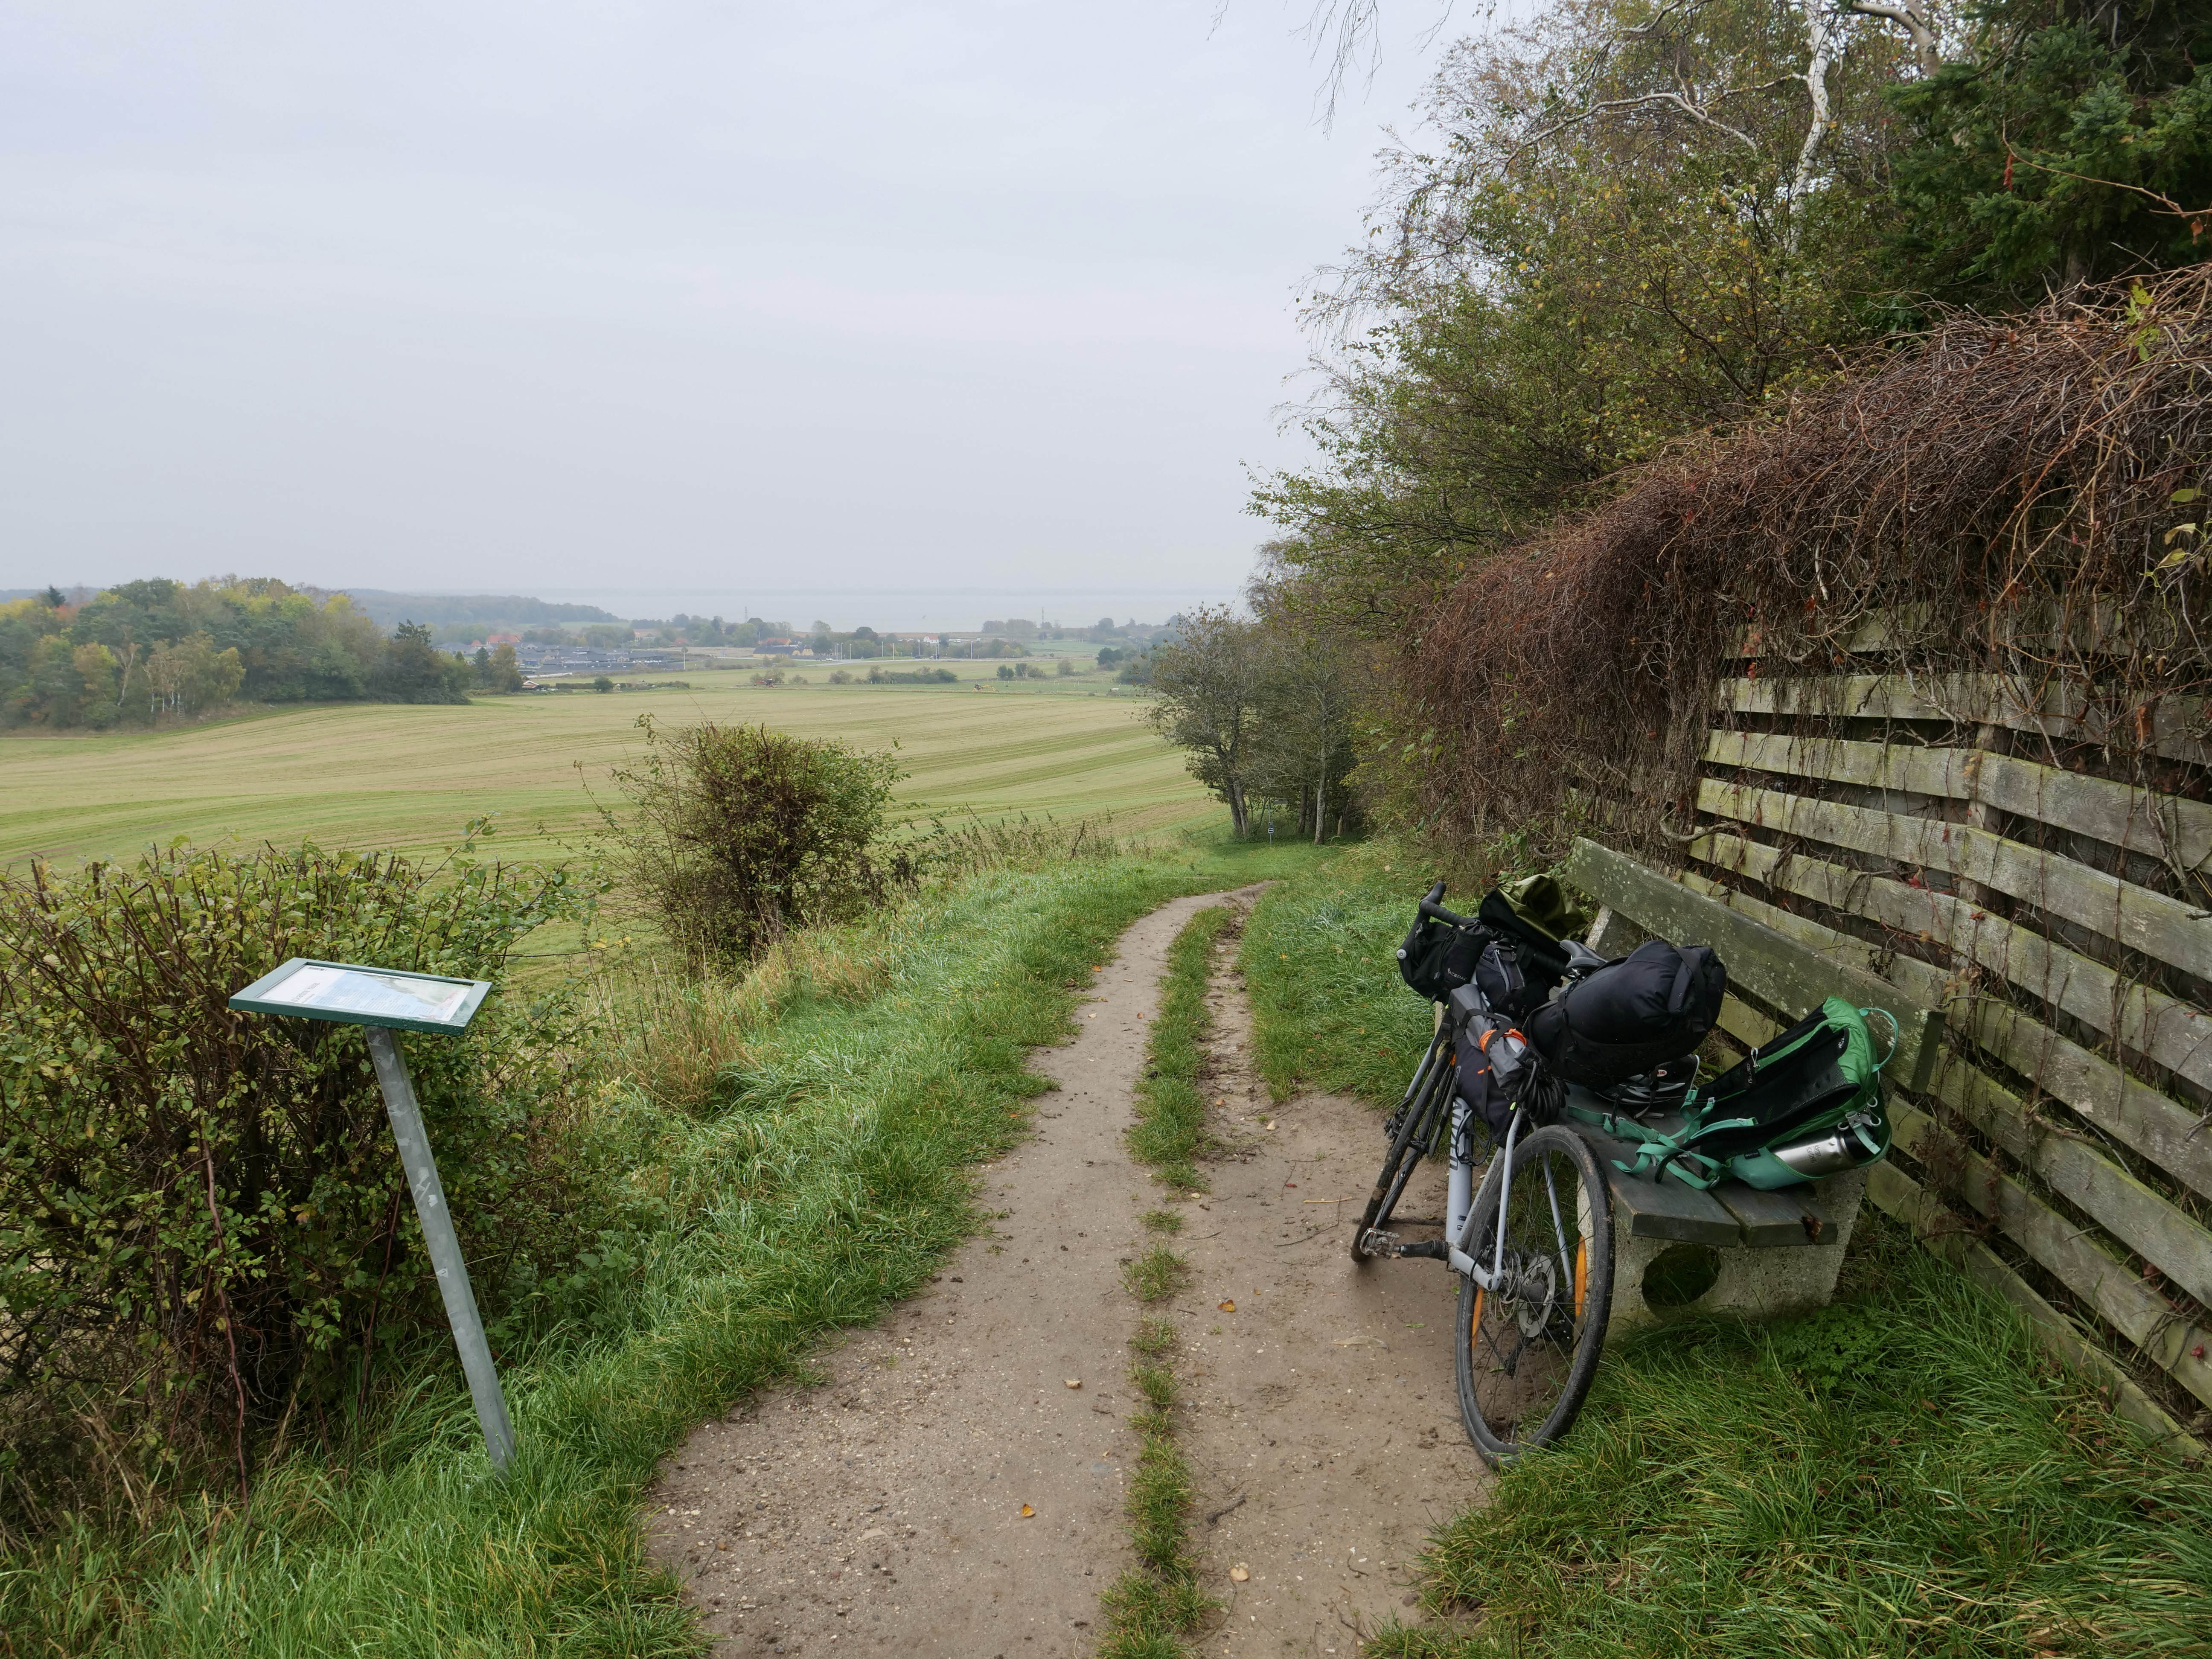
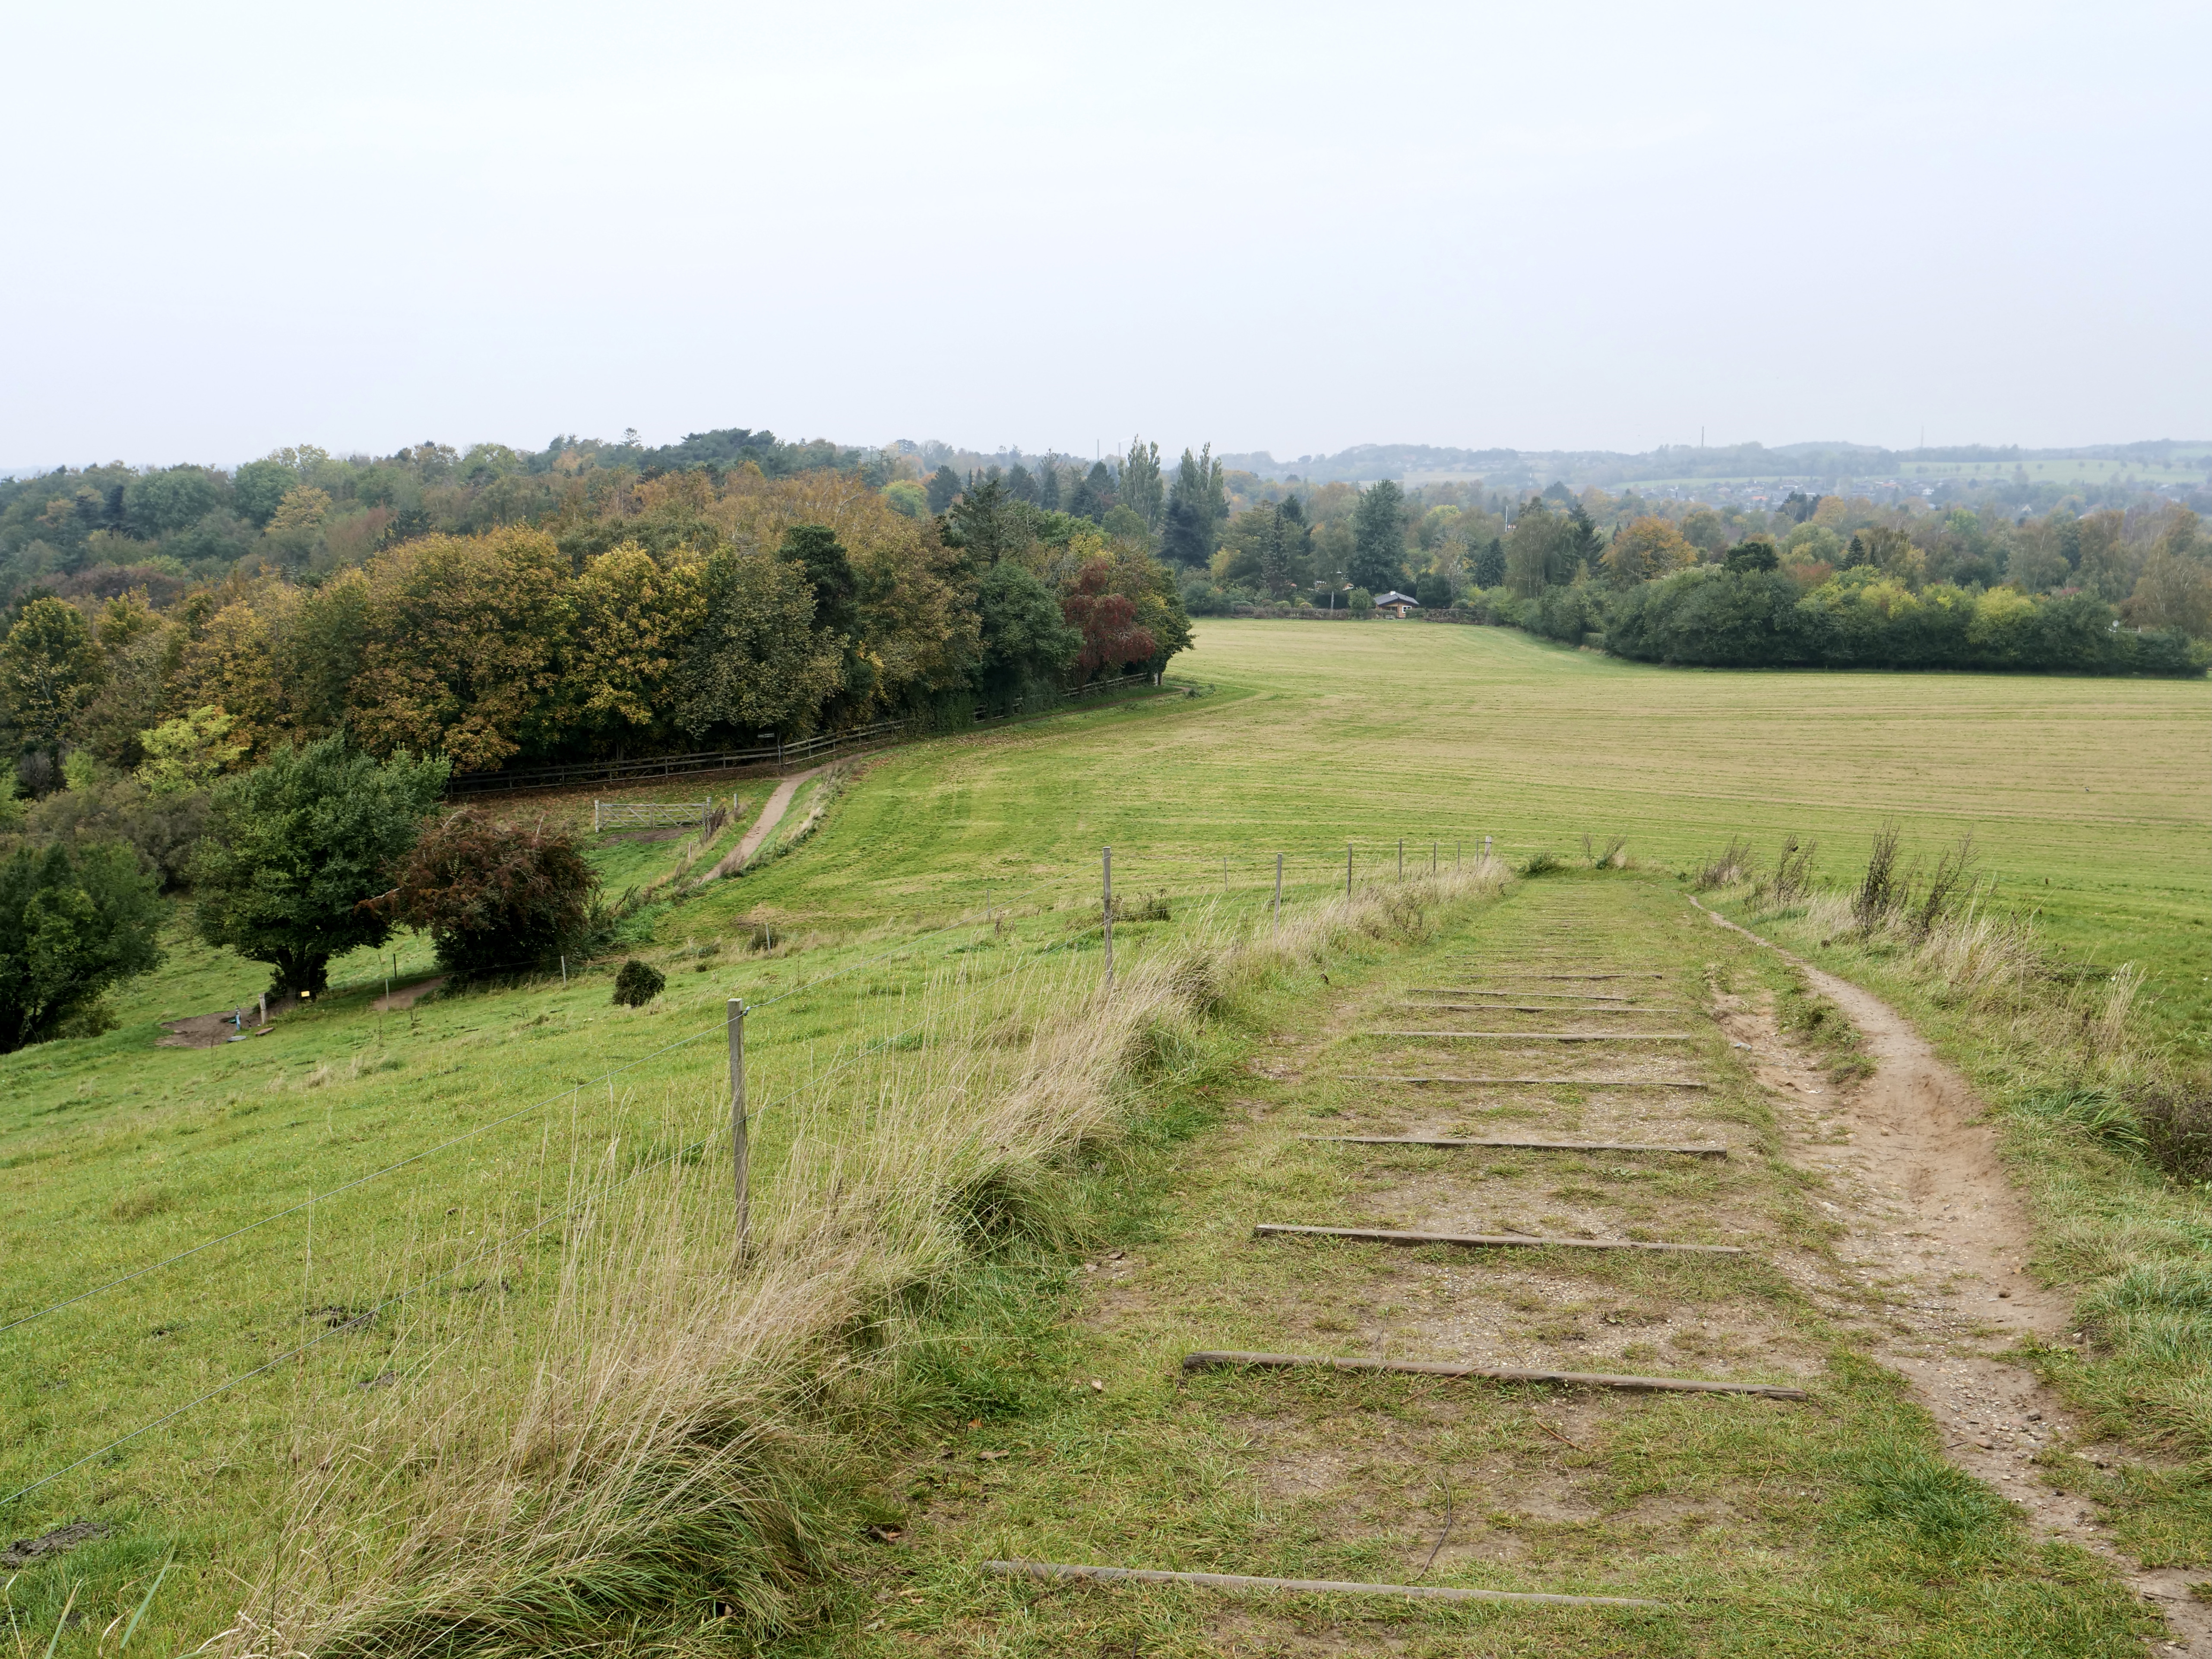
I was born and grew up in the area of North Zealand (Nordsjælland) which is an area just north of Copenhagen. I have always looked outside of Denmark for adventure since it’s very flat and has no wild nature, so i didn’t have much expectation other than to ride my bike, take some fall pictures and explore the area were i grew up. Usually when I set my expectations low I get positively surprised…
Now, there is no big wild nature here or anywhere in Denmark, so i set my expectation just for the ride itself and no crazy nature experiences. The first day i biked along the east coast straight from Østerbro in Copenhagen I stopped for lunch in Helsingør which is a beautiful and historic town. On the way along strandvejen the ride goes past some of the most expensive houses in Denmark. I more or less followed the northern part of the number 9 national bicycle route that goes from Gedser to Helsingør (https://www.visitdenmark.dk/danmark/oplevelser/cykelferie/danmarks-11-nationale-cykelruter). There are small hubs of forest on the way so it’s possible to do some detours (especially “Dyrehaven” if you want to see some big red deer) but i just stayed on the road to not distract my mind with on-the-go route planning. I had a nice lunch in Helsingør and continued along bike route 47 “Nordkystruten” to Tisvildeleje (https://www.visitnordsjaelland.dk/nordsjaelland/det-sker/nordkystcykelstien-rute-47-gdk680396). The first part to Hornbæk is really nice going through a forest and lake area and from there to Tisvildeleje it’s basically one big summerhouse area. The beach in Hornbæk is really nice and I used to go there in summers with my friends but I also got excited about the area around Rågeleje and Tisvildeleje, it was quite hilly by danish standards.
In Tisvildeleje I did a pitstop in “Brød & Vin”. It’s a really good bakery that also serves wine and I decided to go to Asserbo shelter for the night. I biked through Tisvilde Hegn that serves as home base of the Red deer in Denmark (or at least in Sjælland). Unfortunately it was getting dark so I didn’t see them when I biked through the woods. There was one trying to invade the shelter but he took off quickly when he saw me. The shelter was great with plenty of room.
That more or less wrapped up day 1. The summerhouse towns are extremely lively in the summer but more mellow at this time in the fall which is I like. There are still plenty of good places to stop for coffee and food though.
Day 2 I went to Frederiksværk to eat breakfast at a bakery, from here the plan was to hit bike route 40 west towards Hundested and connect it south with route 2 towards Kulhuse and cross Roskilde Fjord. However I discovered that I made a big mistake…there was no bridge, and the ferry only sails in the summer, so I had to go all the way back to Frederiksværk and continue south along bike route 40 and connect it with route 2 in Frederikssund, a 20 k extra warm up. The 40 route turned out to be quite nice and pretty hilly. After connection with route 2 I ate lunch as soon as I hit the forest south of Buresø. Then just before Bastrup Sø I decided to go with the Buresø – Fiskebæk bike route (that I also discovered on Naviki, more info: https://www.furesoe.dk/oplevelser/brug-naturen/cykelruter/#moelleaadalen-2:-fiskebaek-til-lyngby). This route actually went through my old hood around Farum and was the highlight of the trip for me. There is quite a lot of singletrack on this route, so my road tires didn’t do very well but I managed without falling. A really nice stretch. Then from Farum i followed bike route 2 again along the freeway into Copenhagen. Originally i wanted to bike north of Furesøen through “Vaserne” to Holte which is a really nice stretch but that will be next time…
Naviki is an awesome free app that I use both for planning and on the road. I could even see the route number on the map in the app. It automatically gives you the best routes for biking. Highly recommend !
I also used this: https://trafikkort.vejdirektoratet.dk/index.html?usertype=3 where you can plot the 11 big bike routes in Denmark. Makes for an easy overview if you want to connect them. Fx i connected 9 and 2 with the smaller 47 “Nordkystruten” that i got from Naviki. I also connected bike route 40 so the whole route went: 9, 47, 40, 2, Buresø – Fiskebæk (BF) and 2 again. Route 47, 40 and BF I both discovered in Naviki on the road.
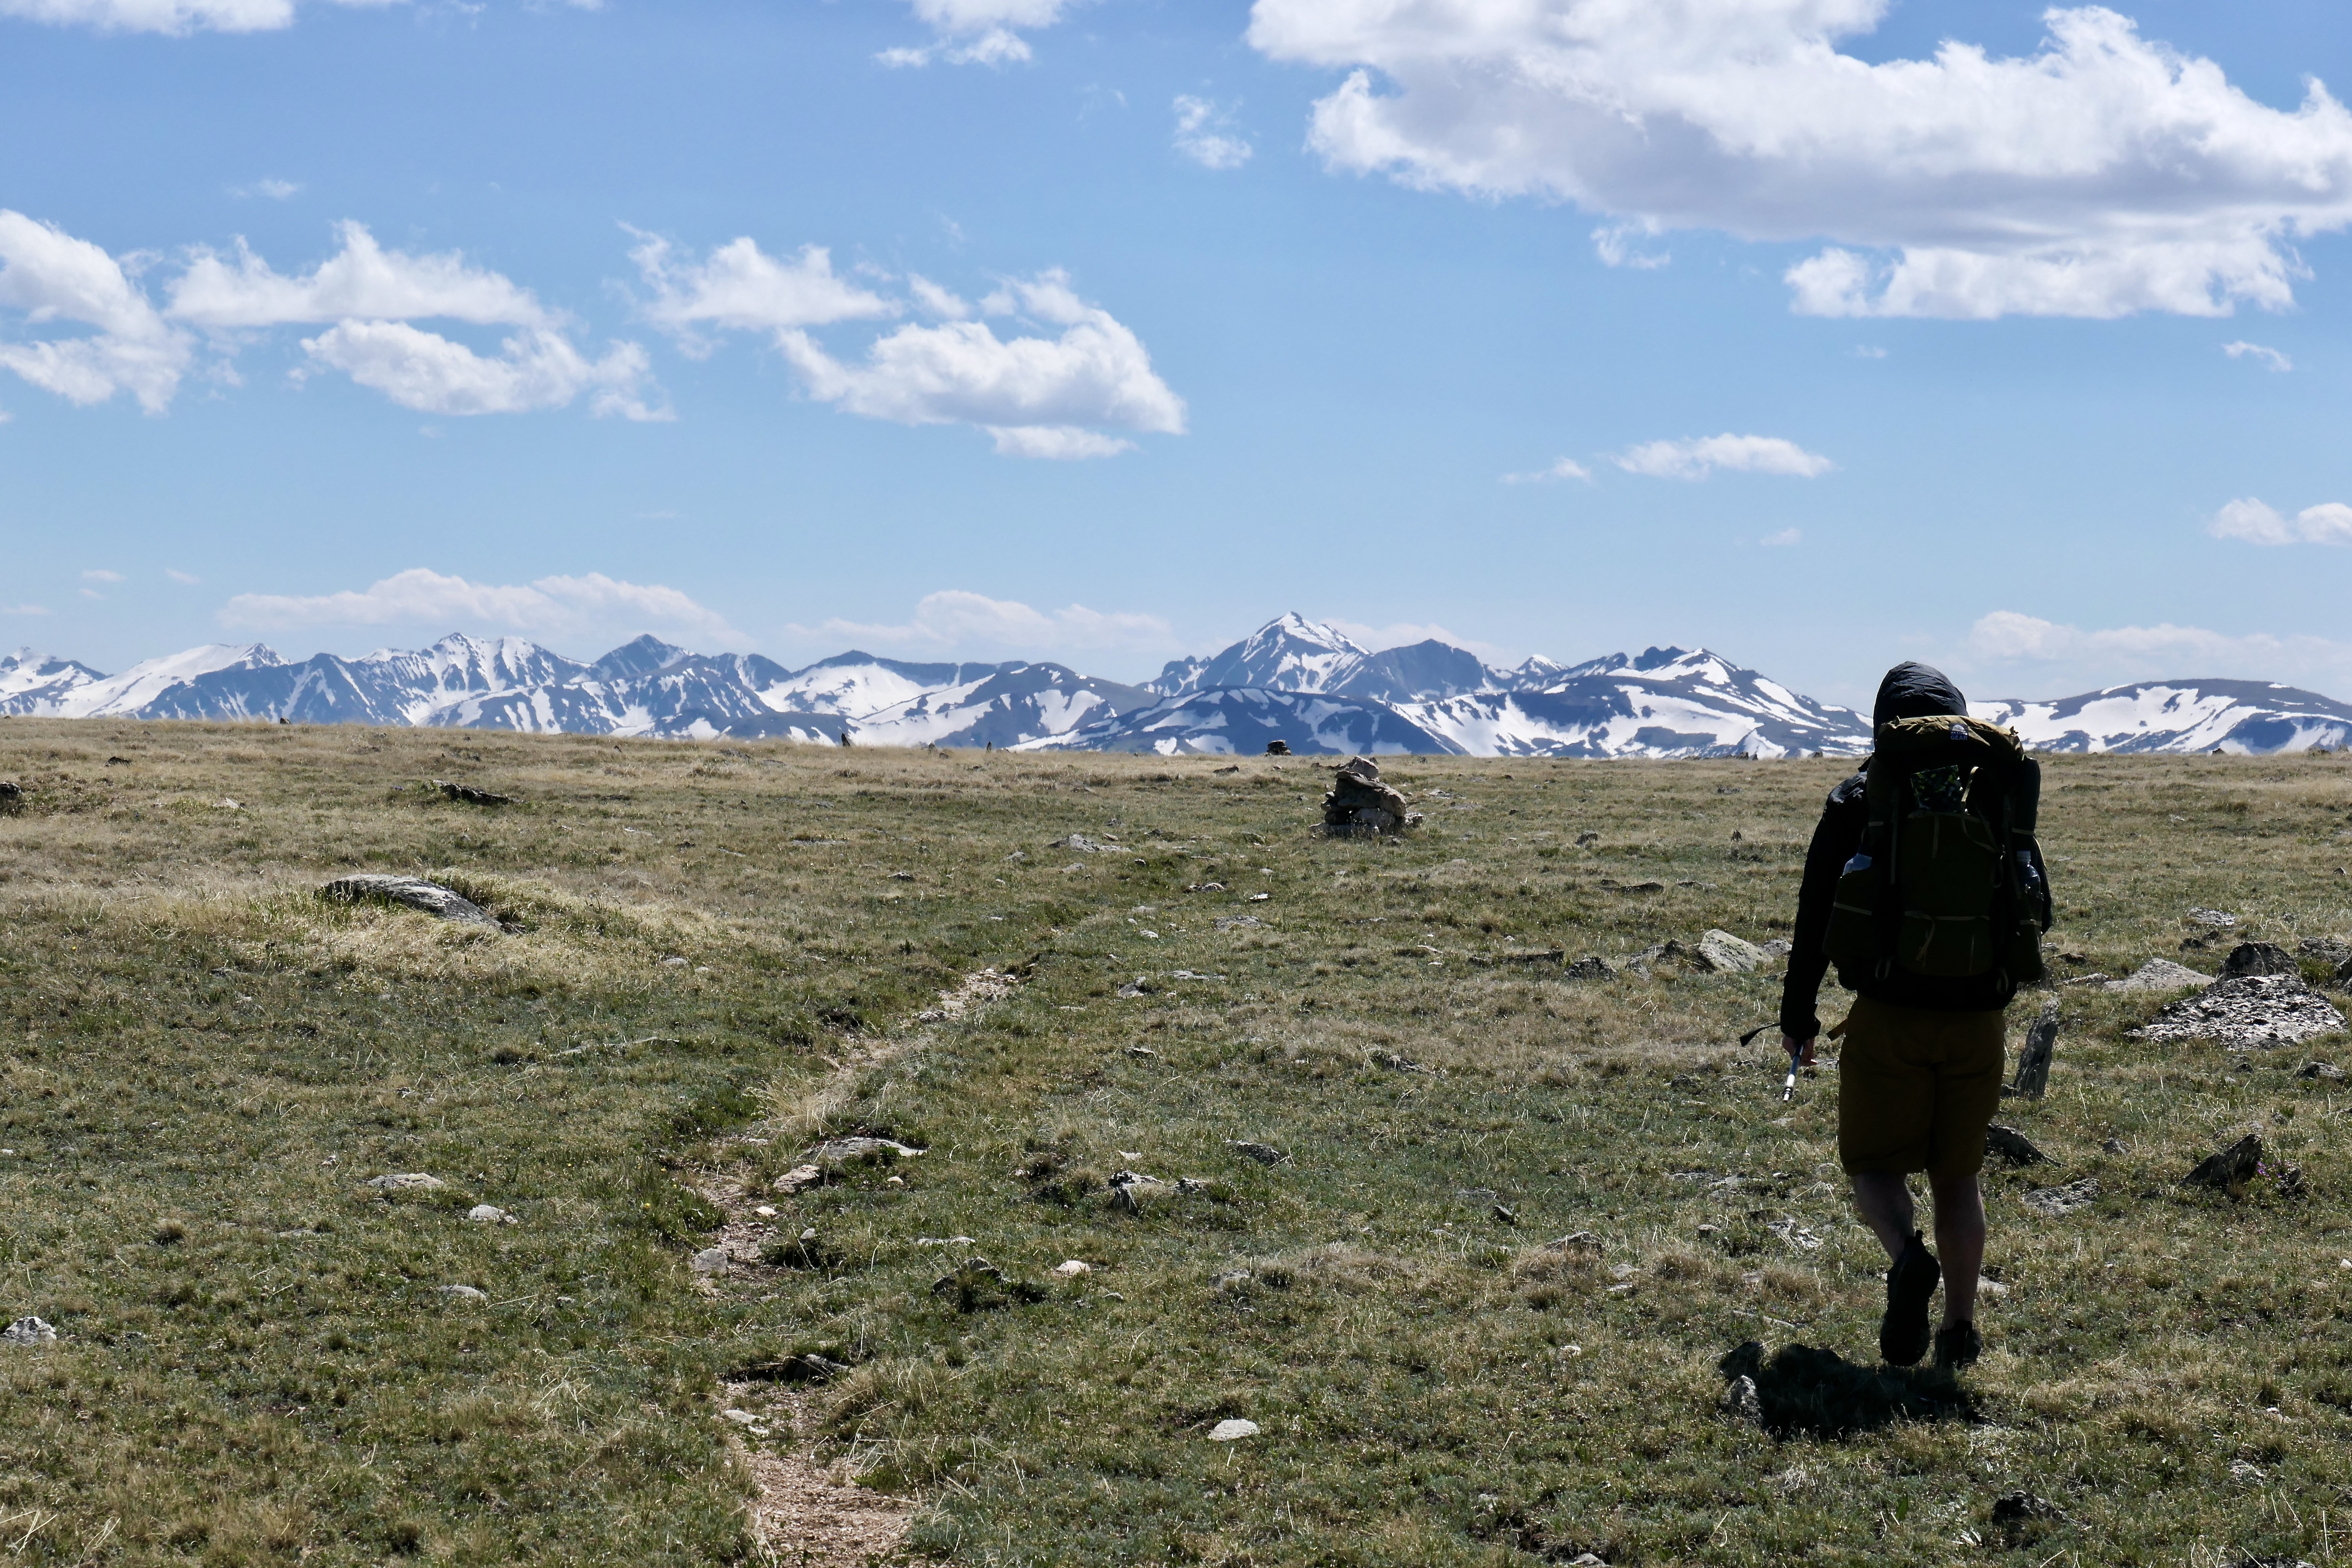
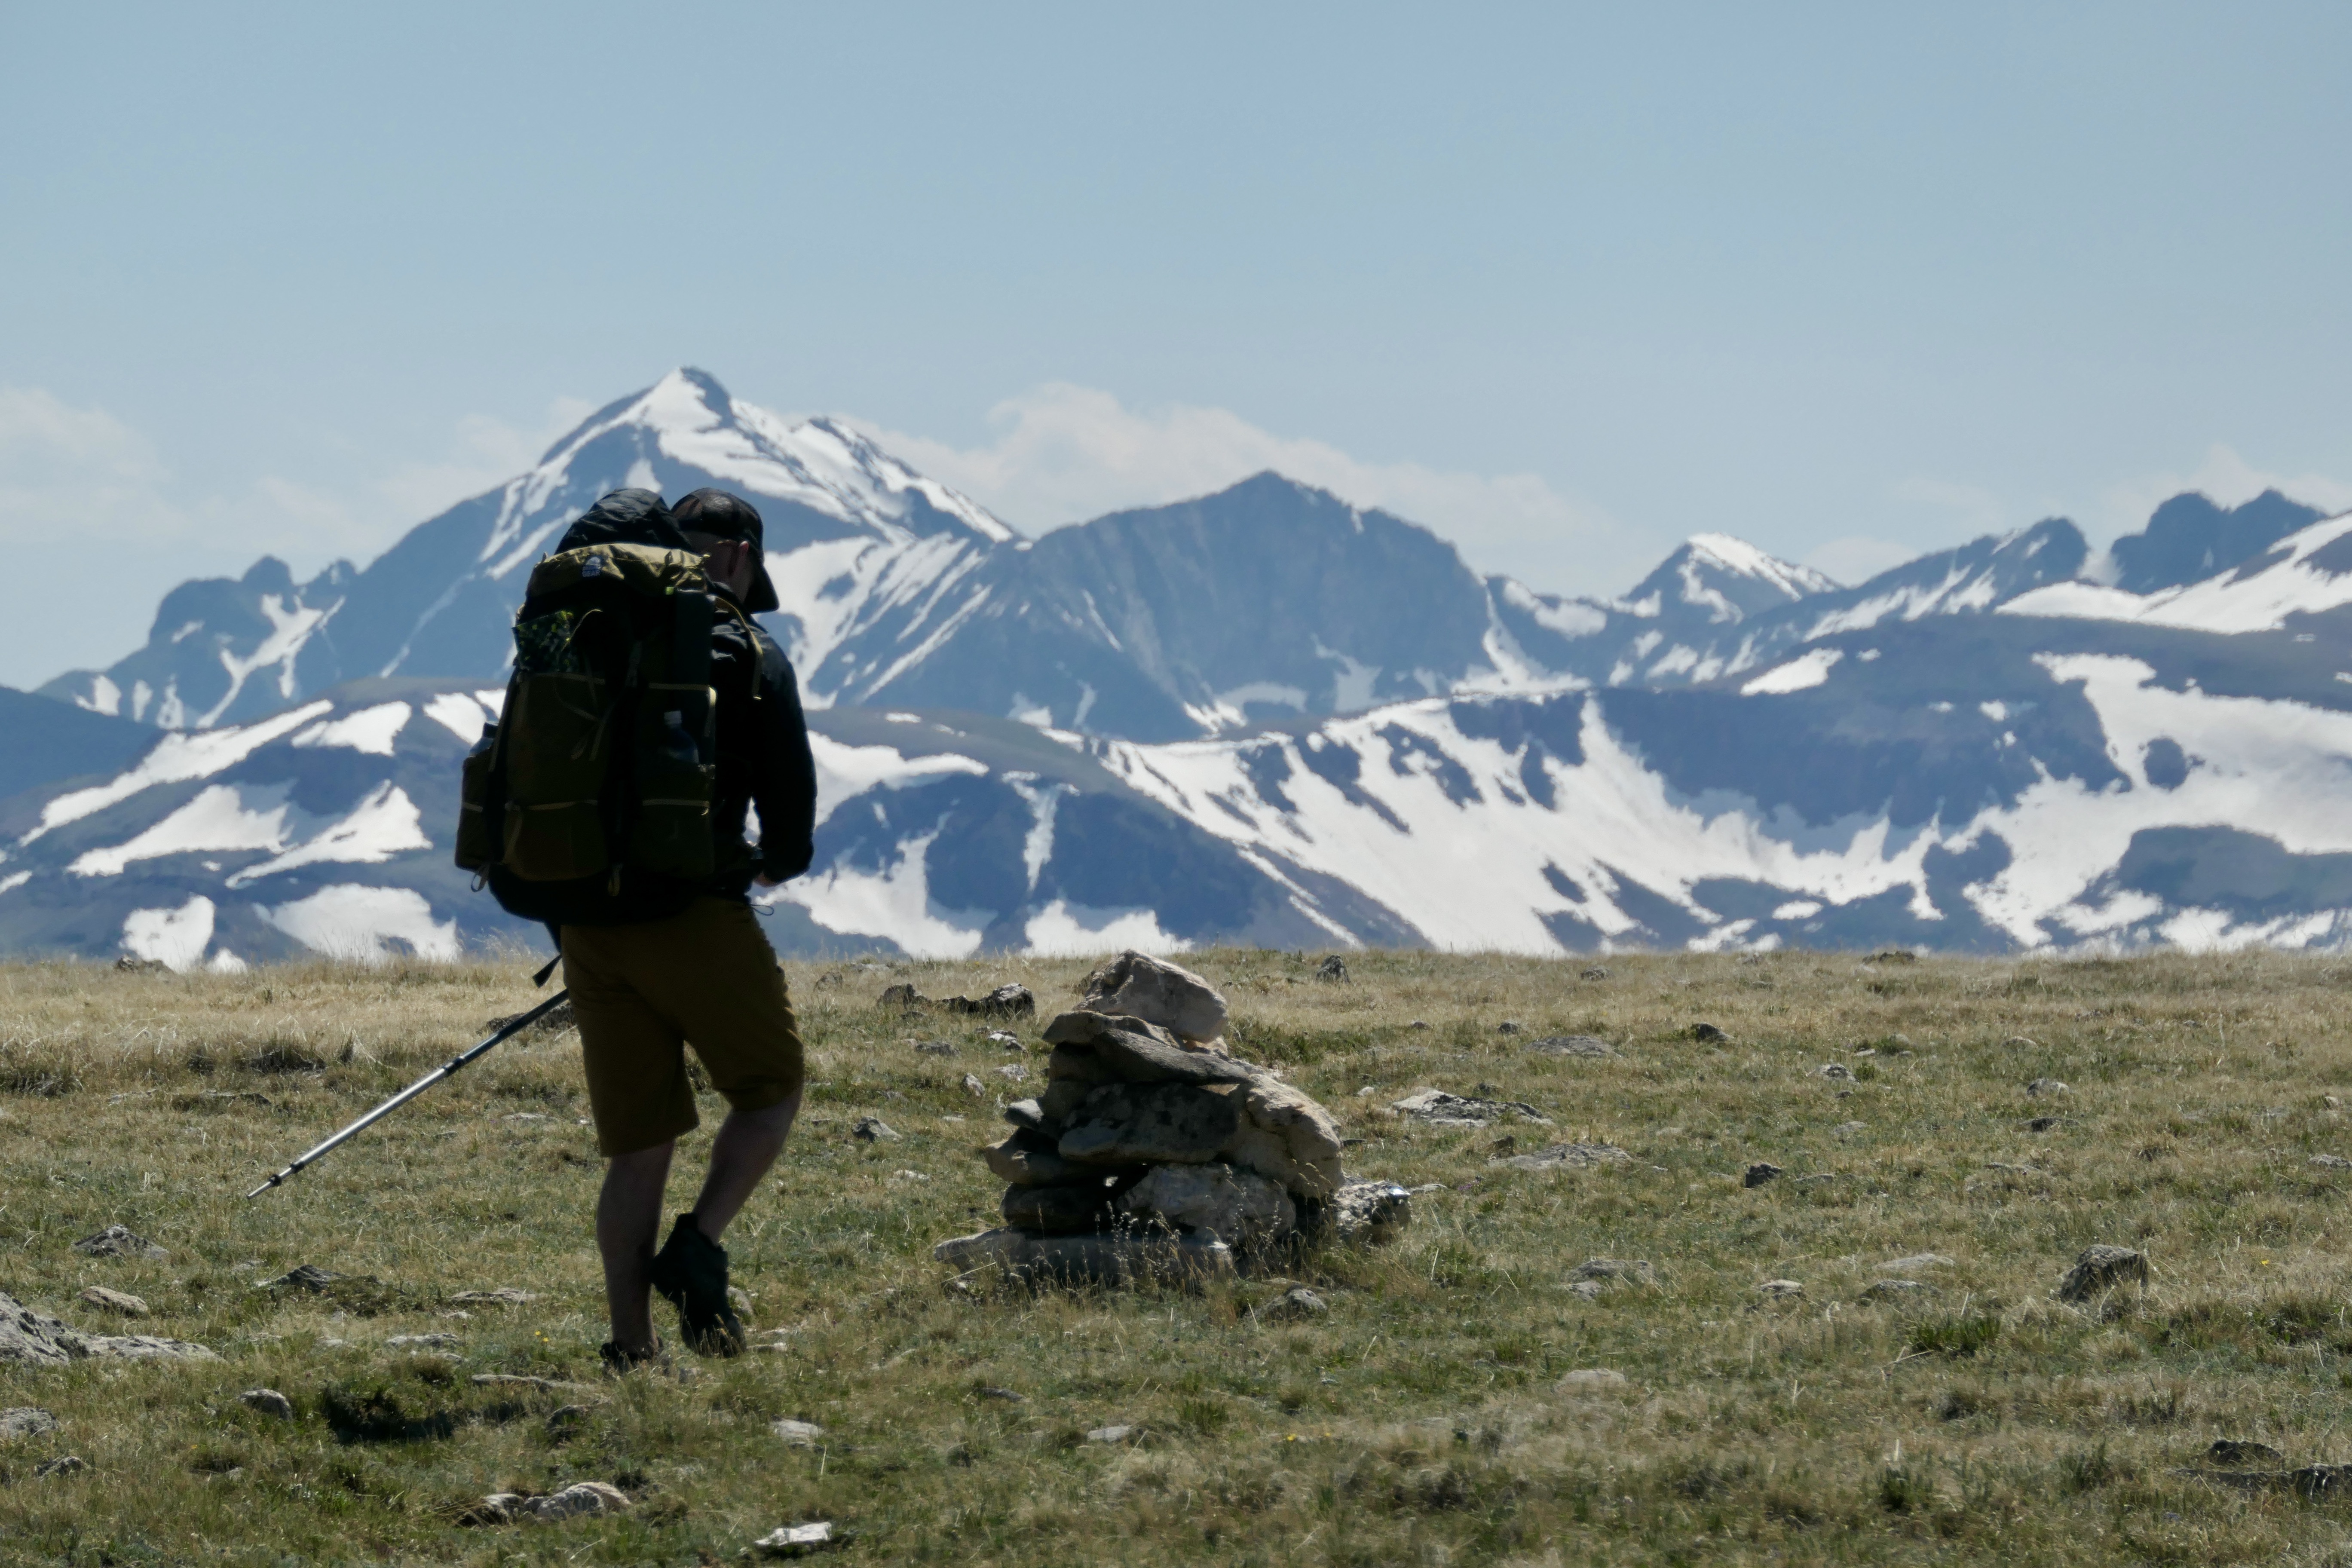
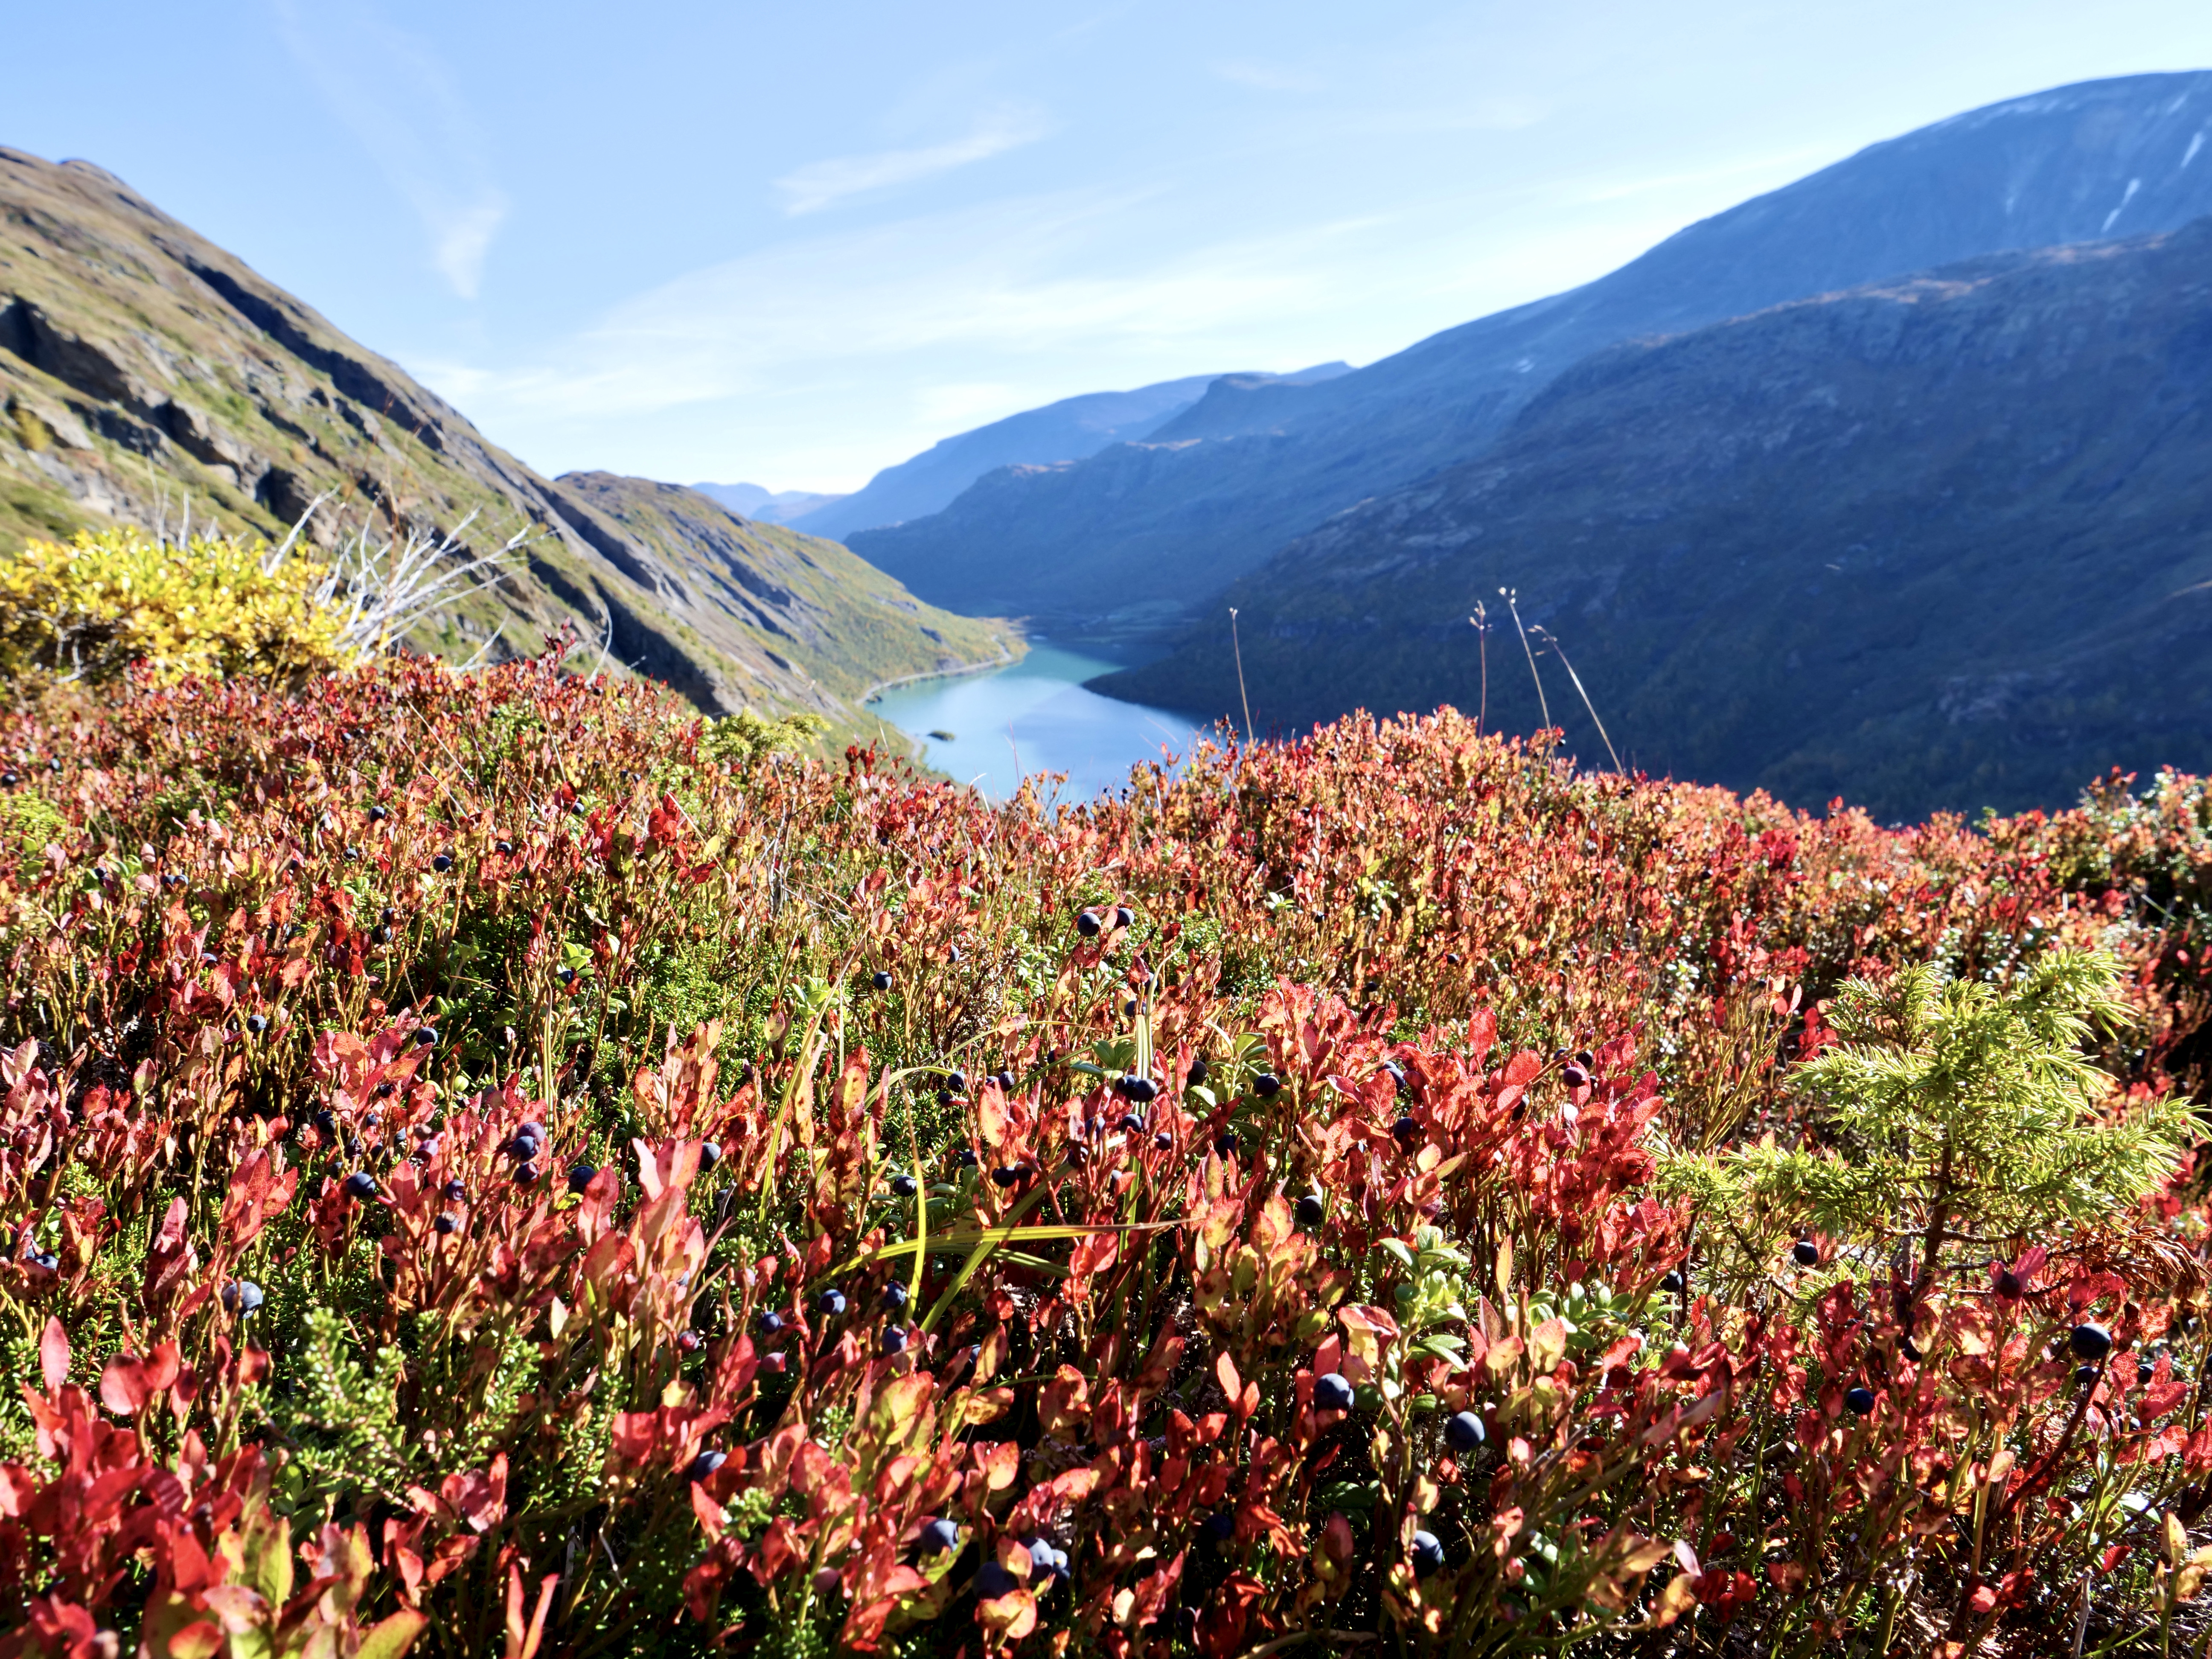
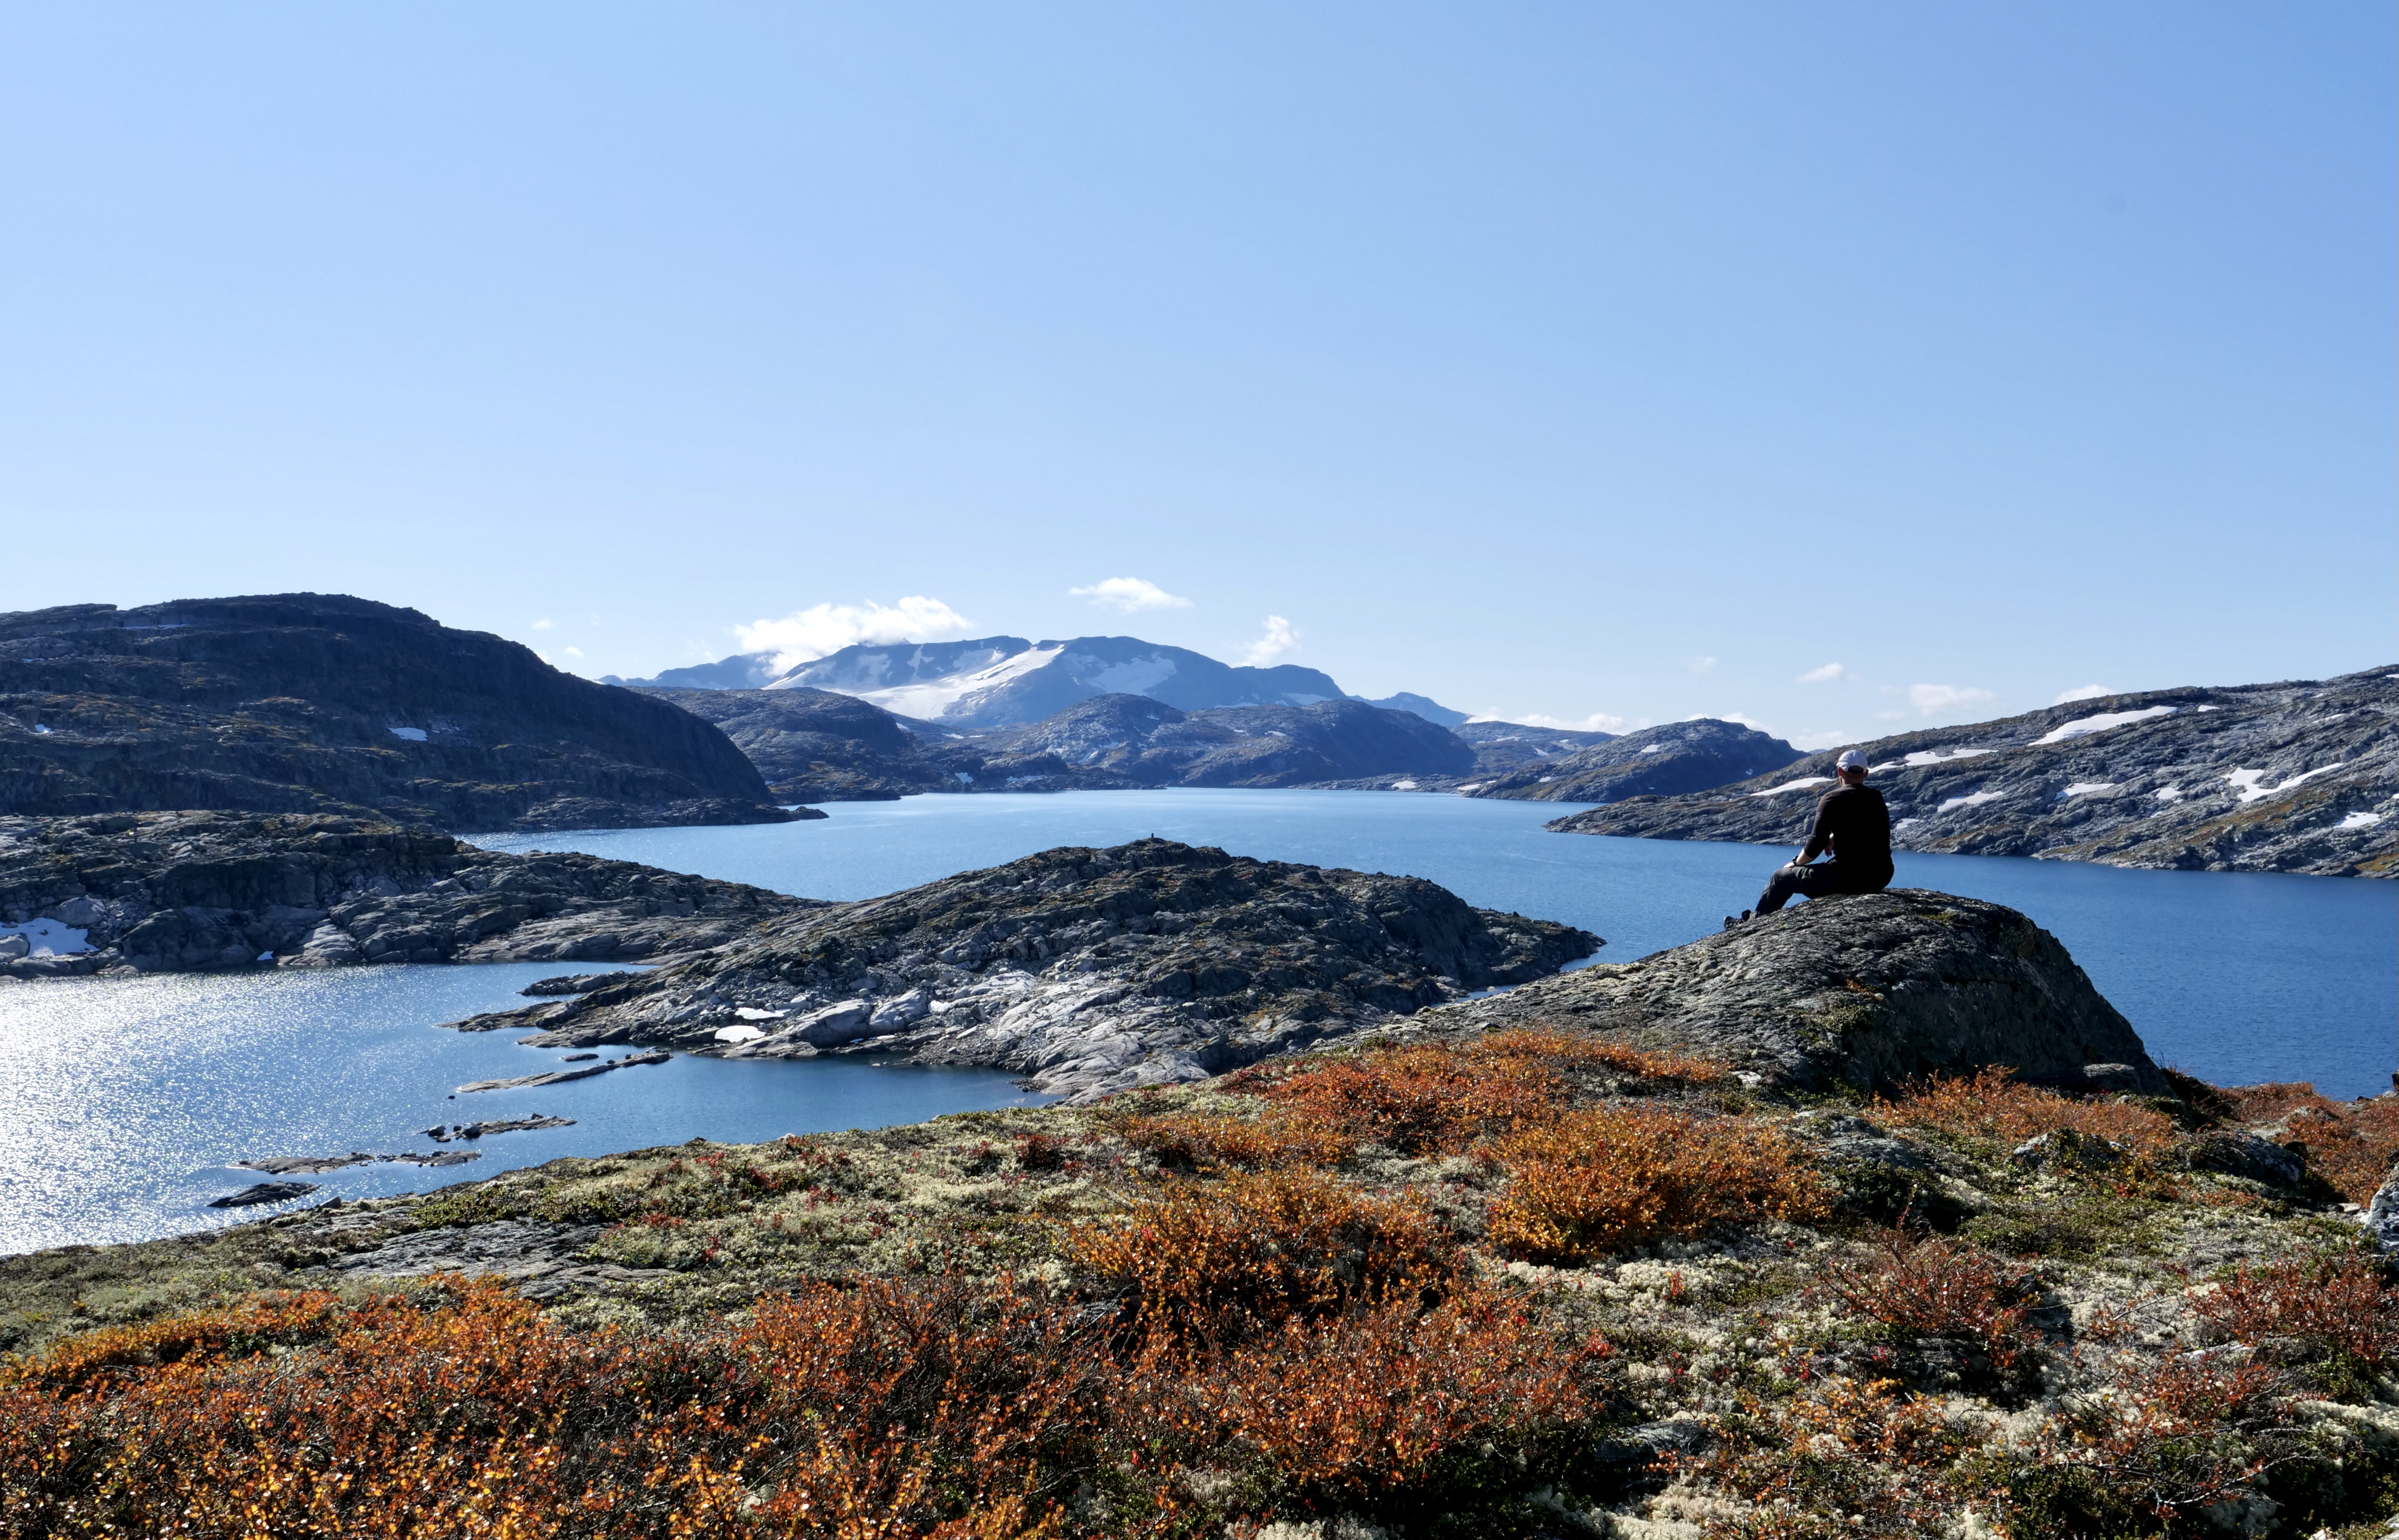
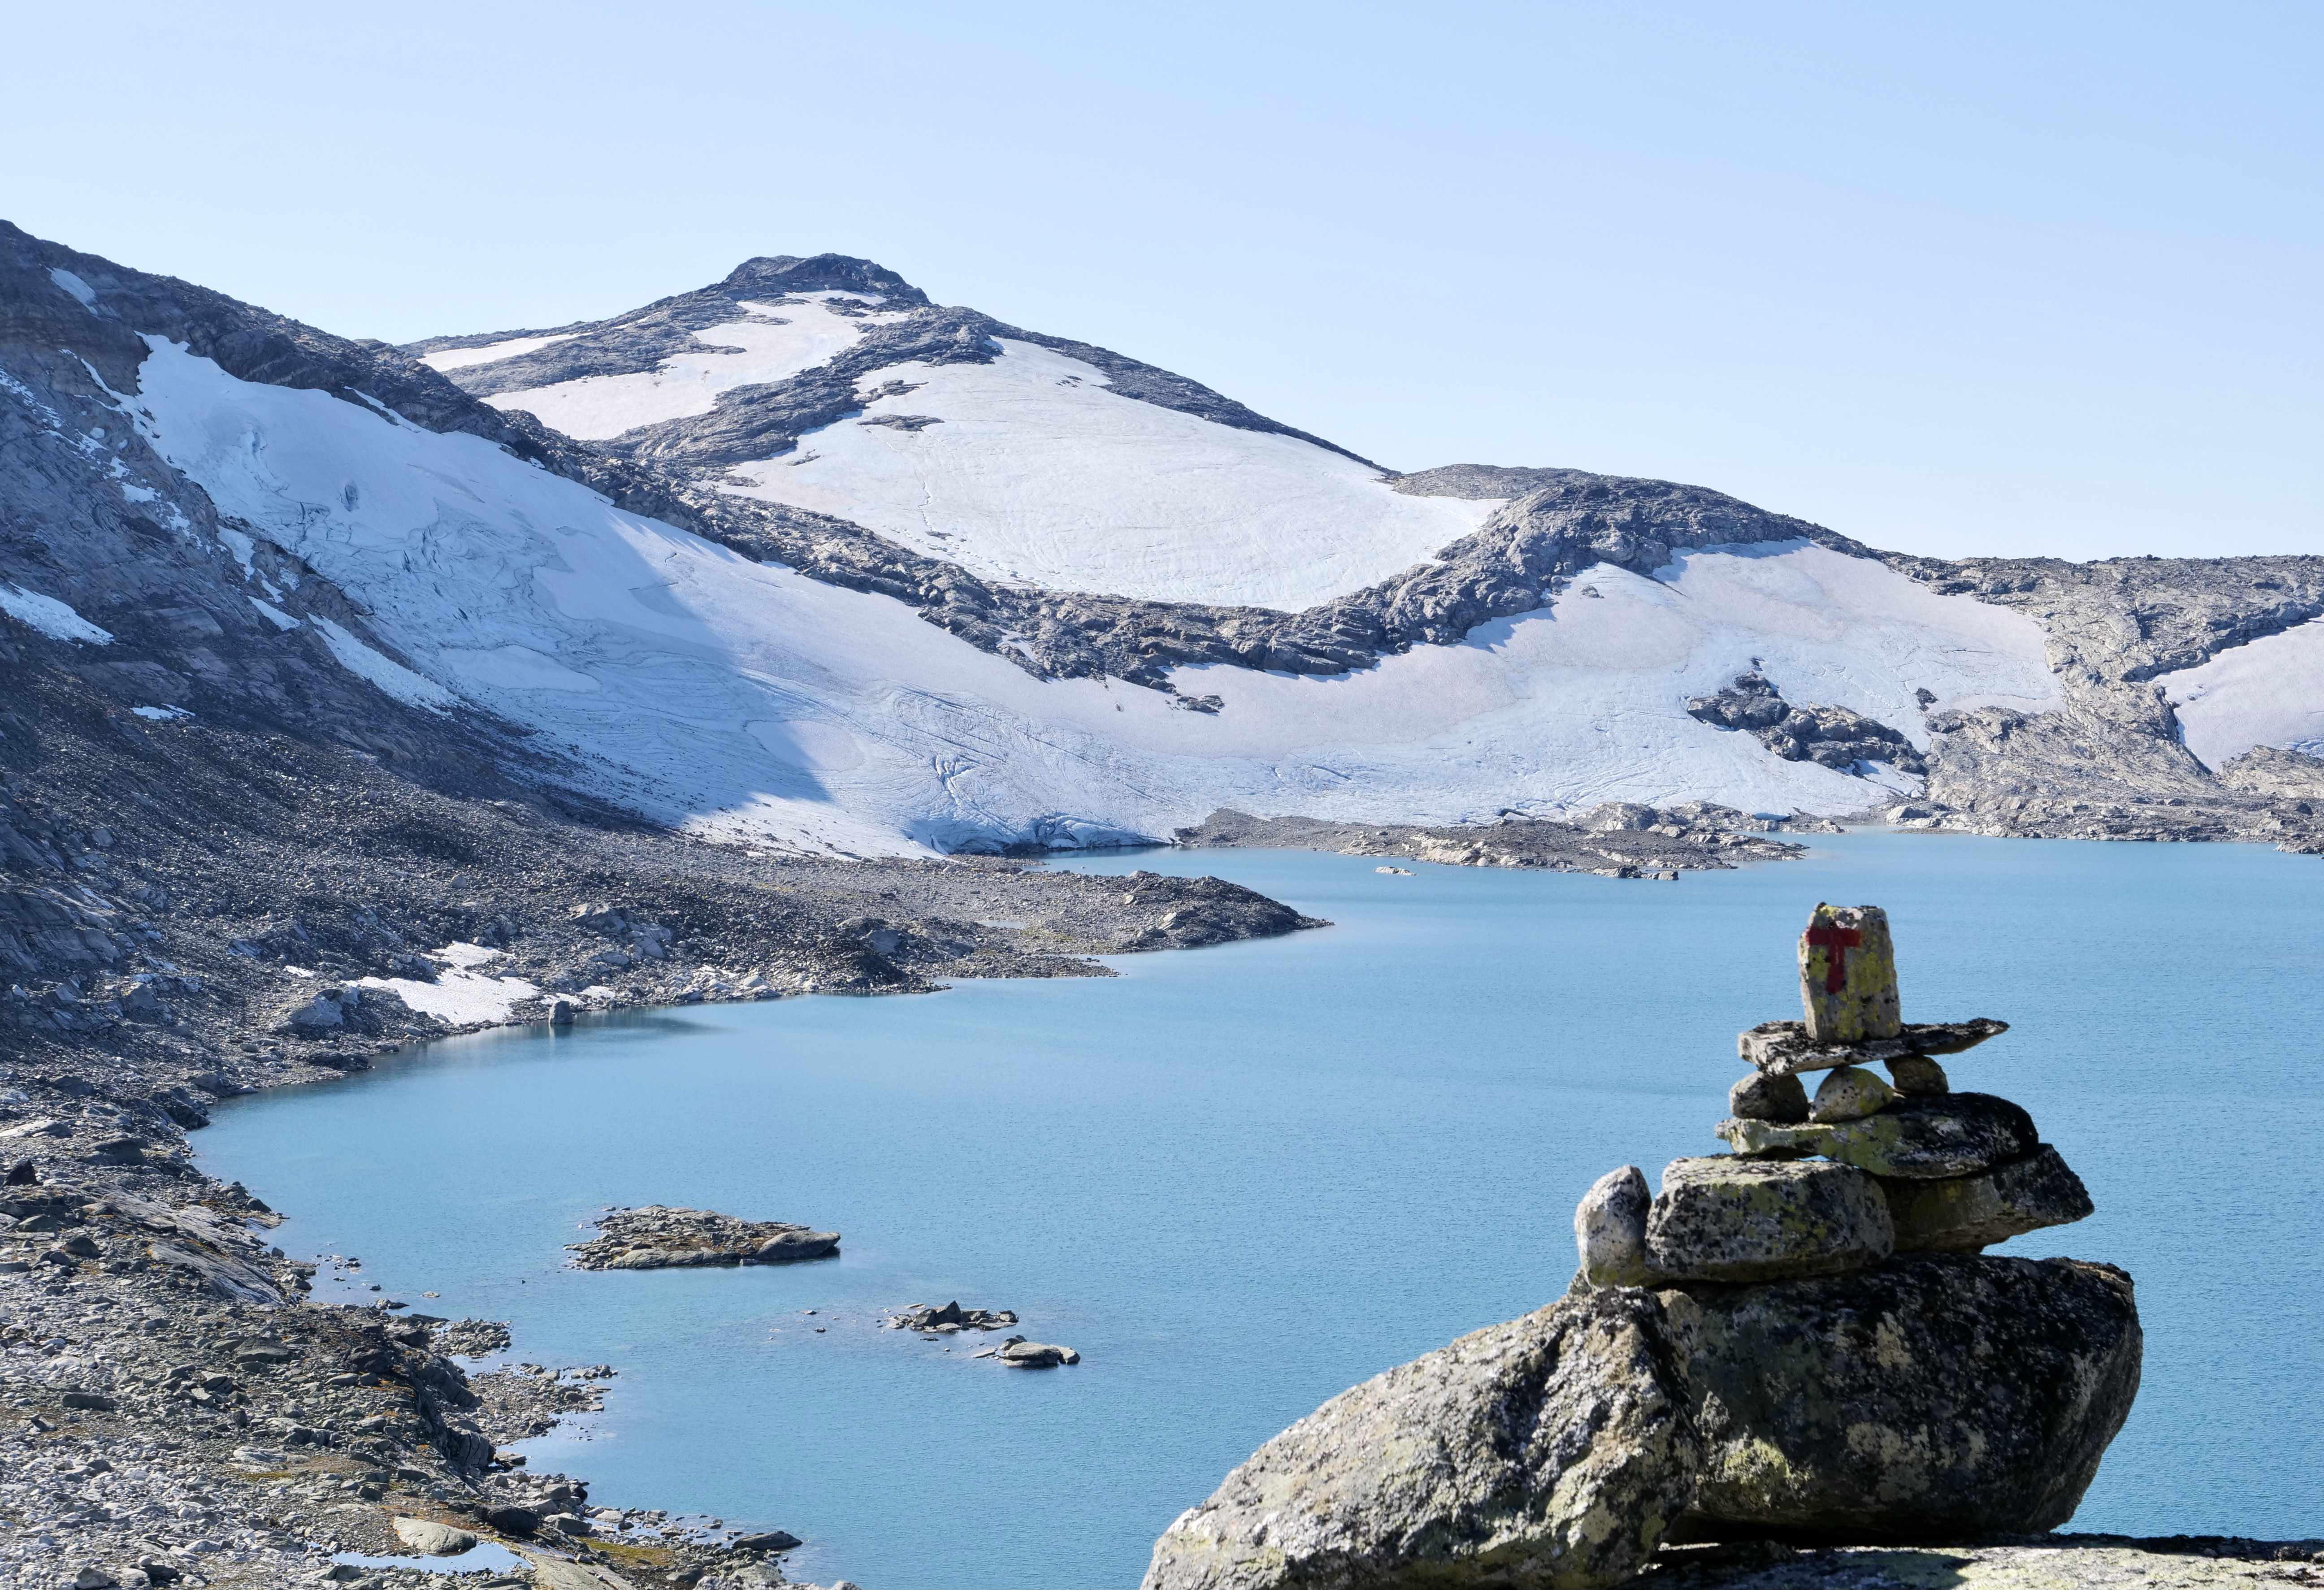
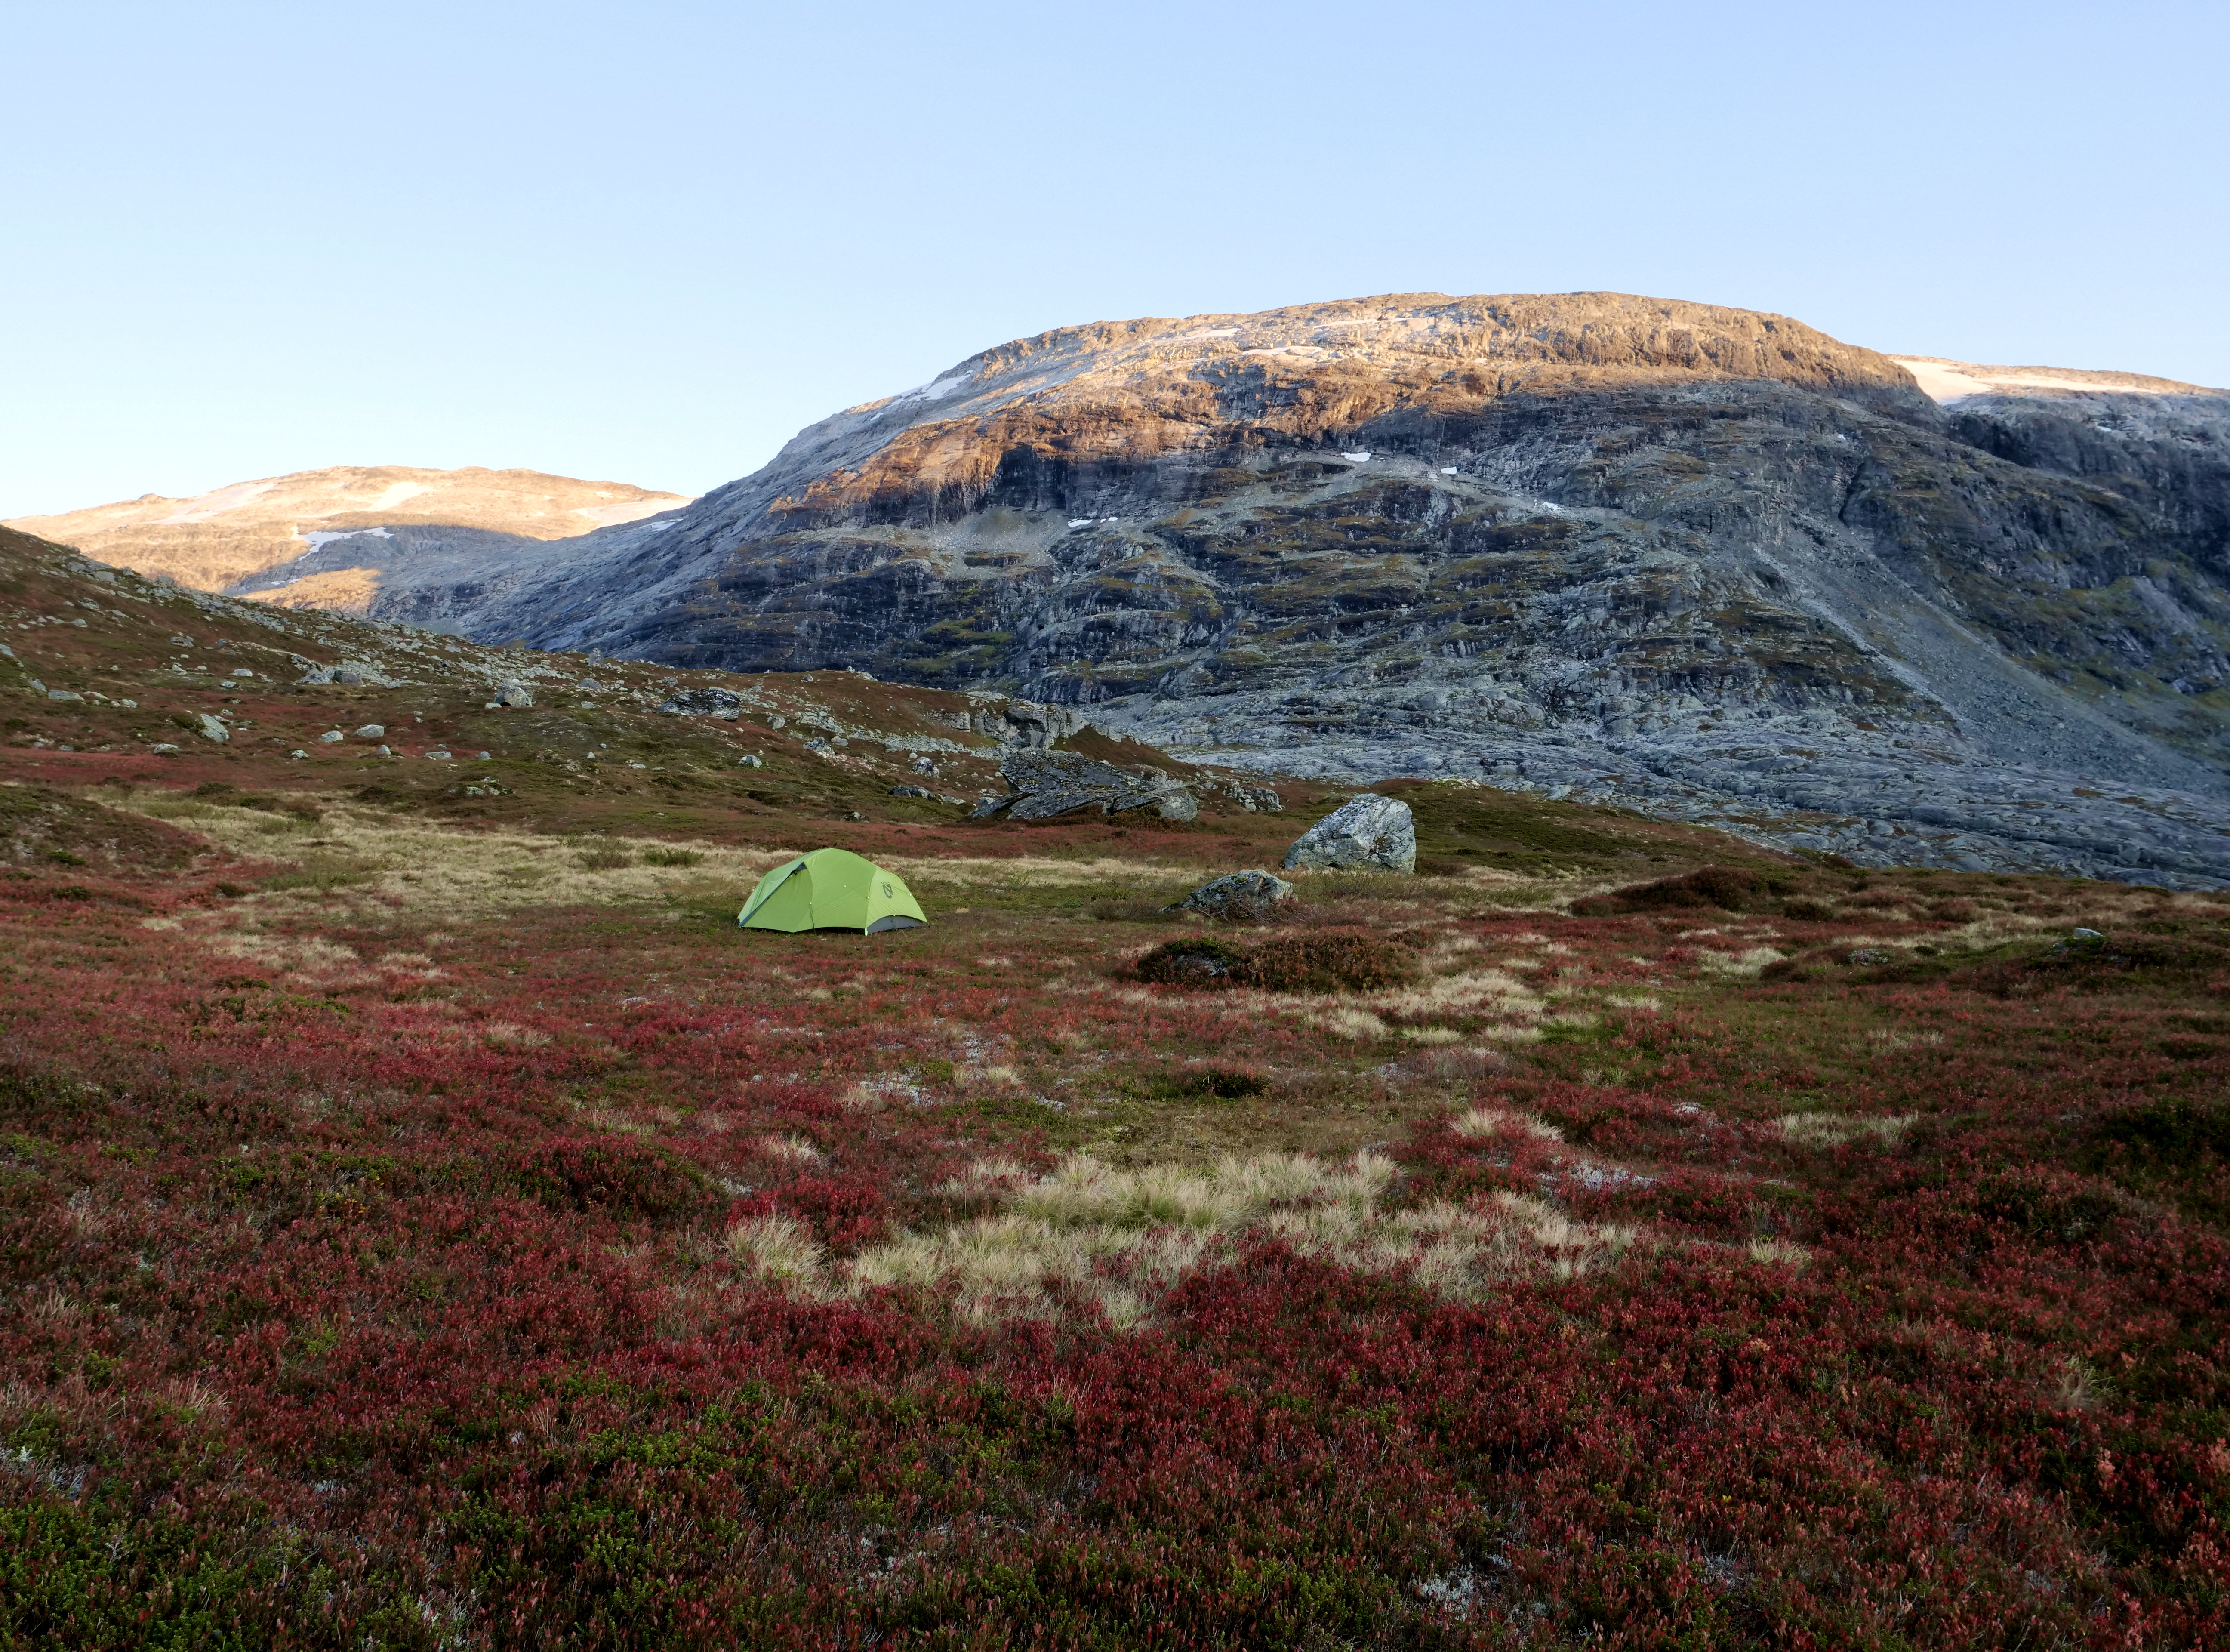
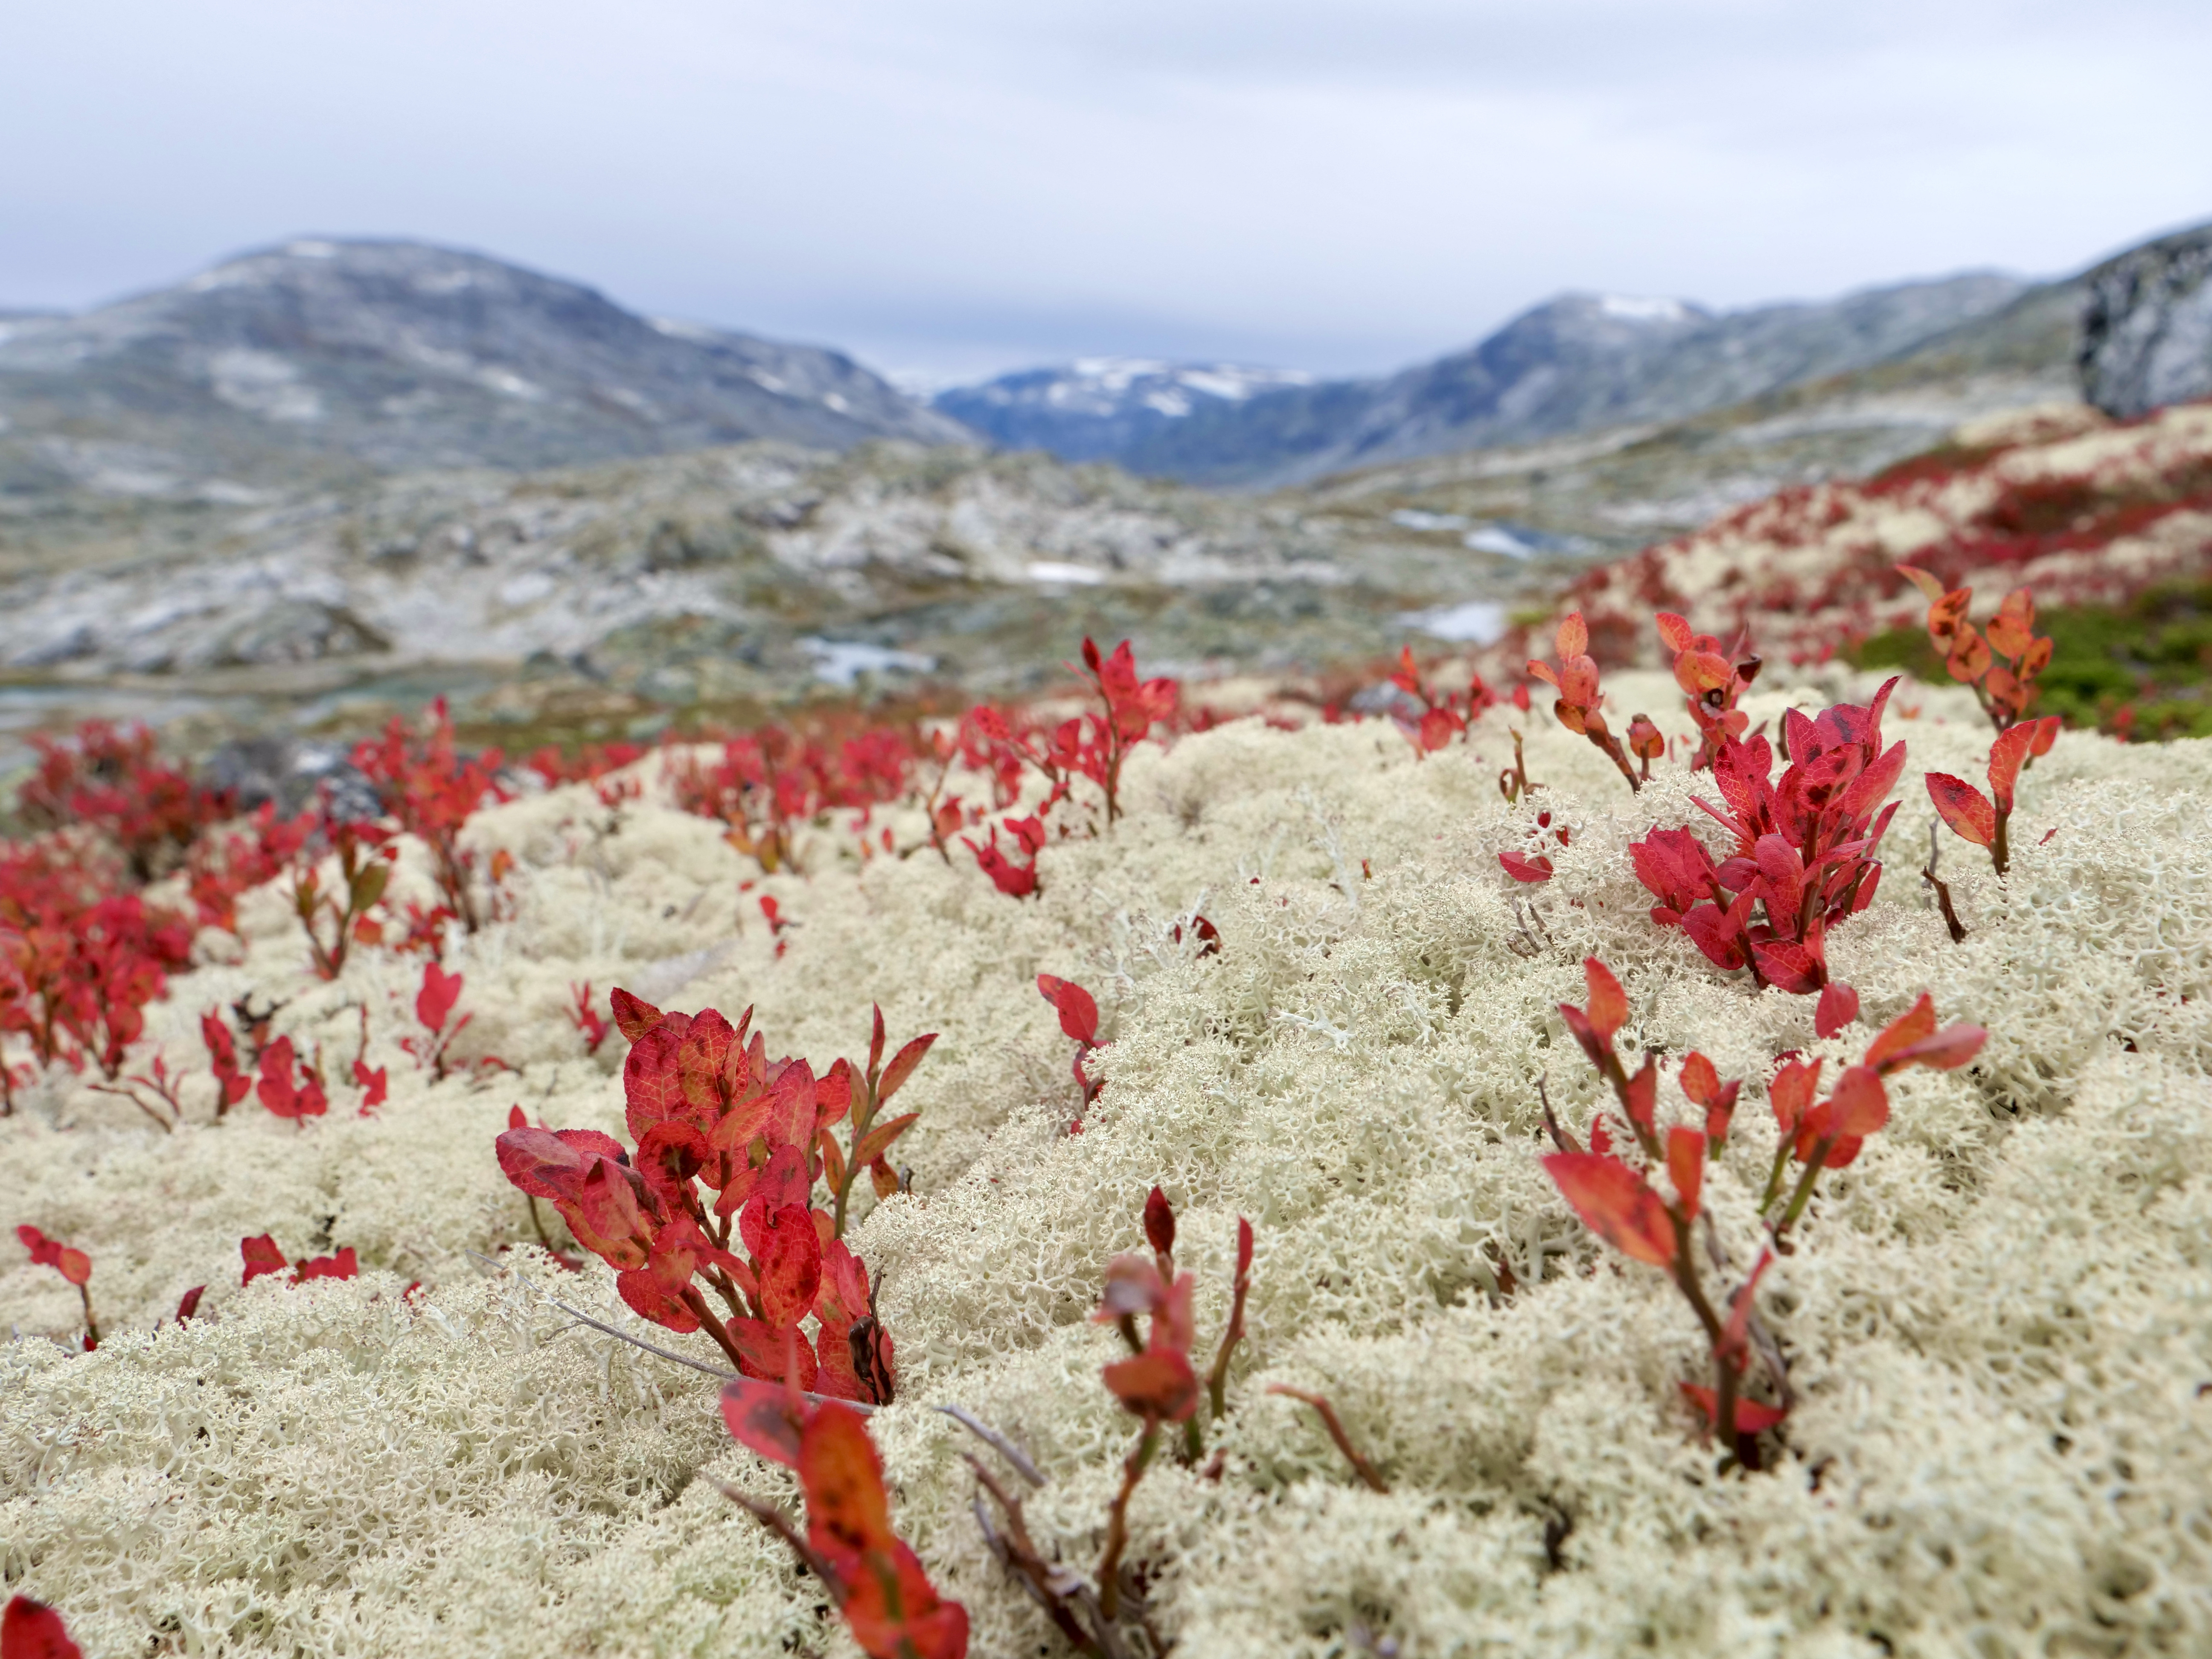
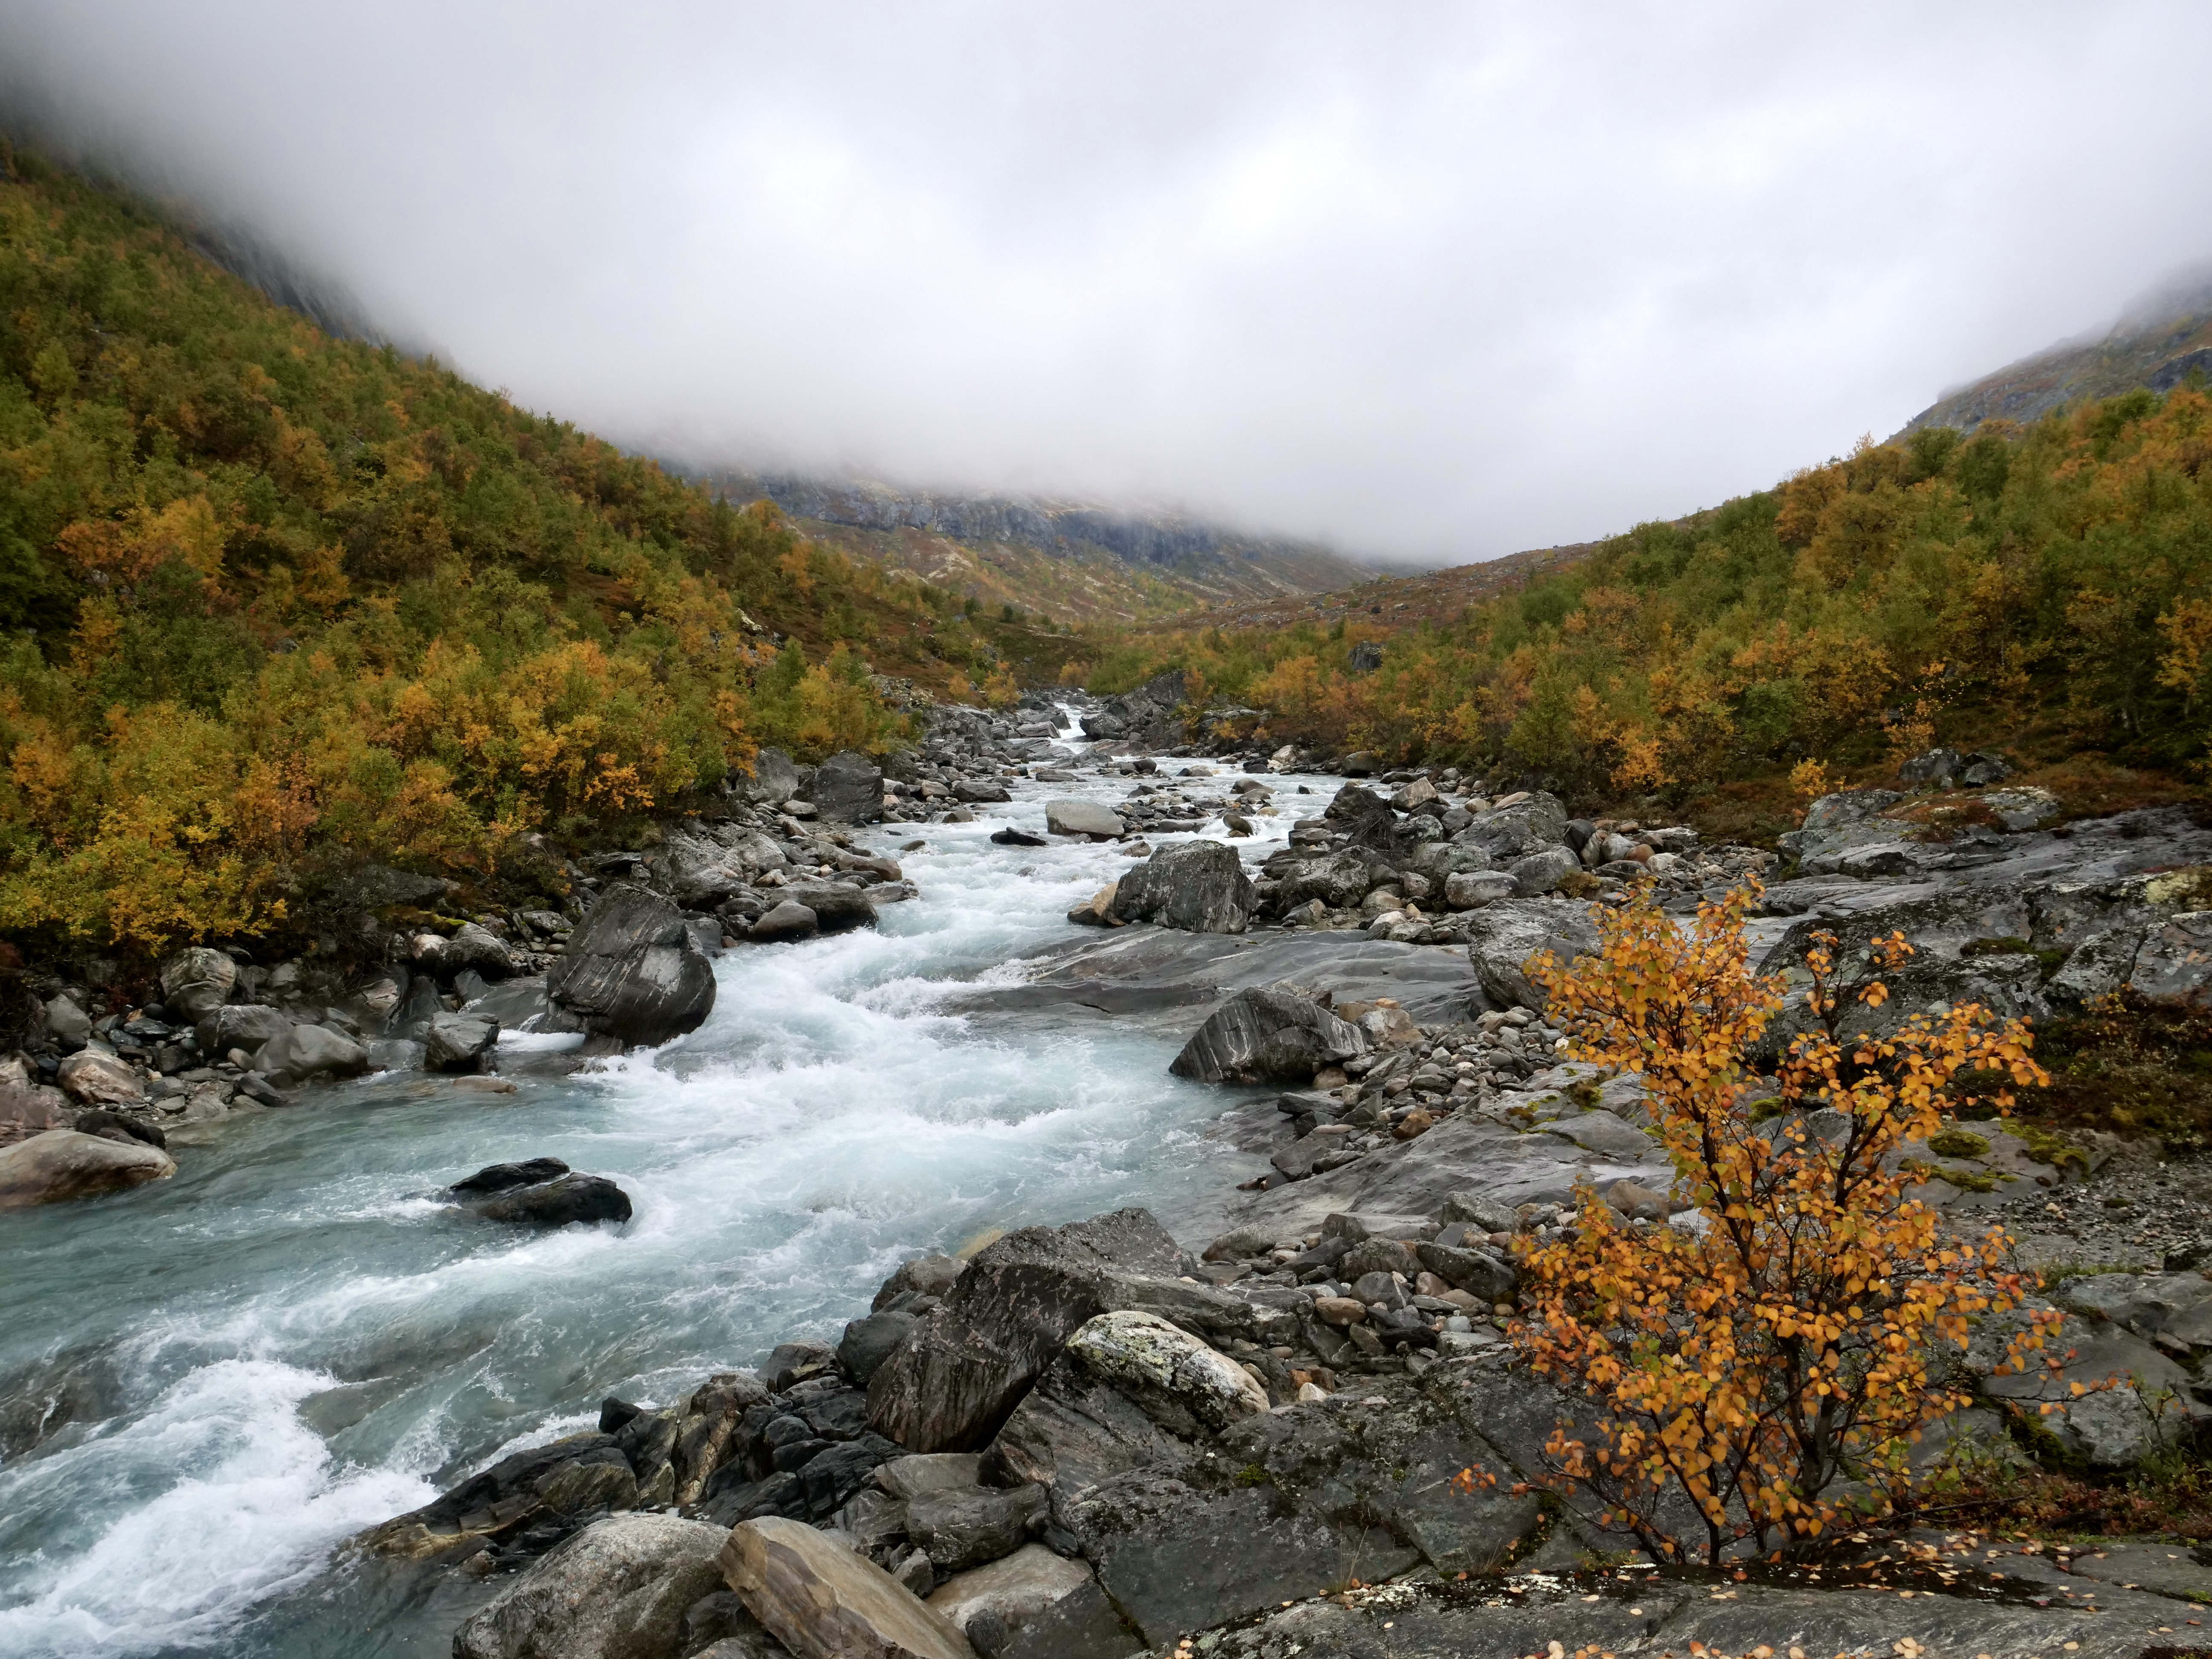
When i go to google maps to see reviews of Breheimen National Park there are none, so i figured it would be a good place for me to explore. I am familiar with Breheimen from other trips and it has been on my list to explore for a couple years now. It is located just west of the more famous Jotunheimen National Park which gets a lot of visitors. Breheimen is a recent national park established in 2009 and is one of the most diverse places in Norway with big glaciers, mountains and lush valleys. It was formed by glaciers and landslides and it really shows when you experience this otherworldly amazing place.
I just did the trip in mid september which is the perfect time to experience all the fall colors. The beauty of the place in this time is just out of this world. The huts had just closed so I did’t meet any people in the 3 days. I got the feeling of being insignificant completely on natures terms, it is very humbling but also a big confidence boost to go through something that I was nervous about beforehand. I knew i was alone out there if something happened.
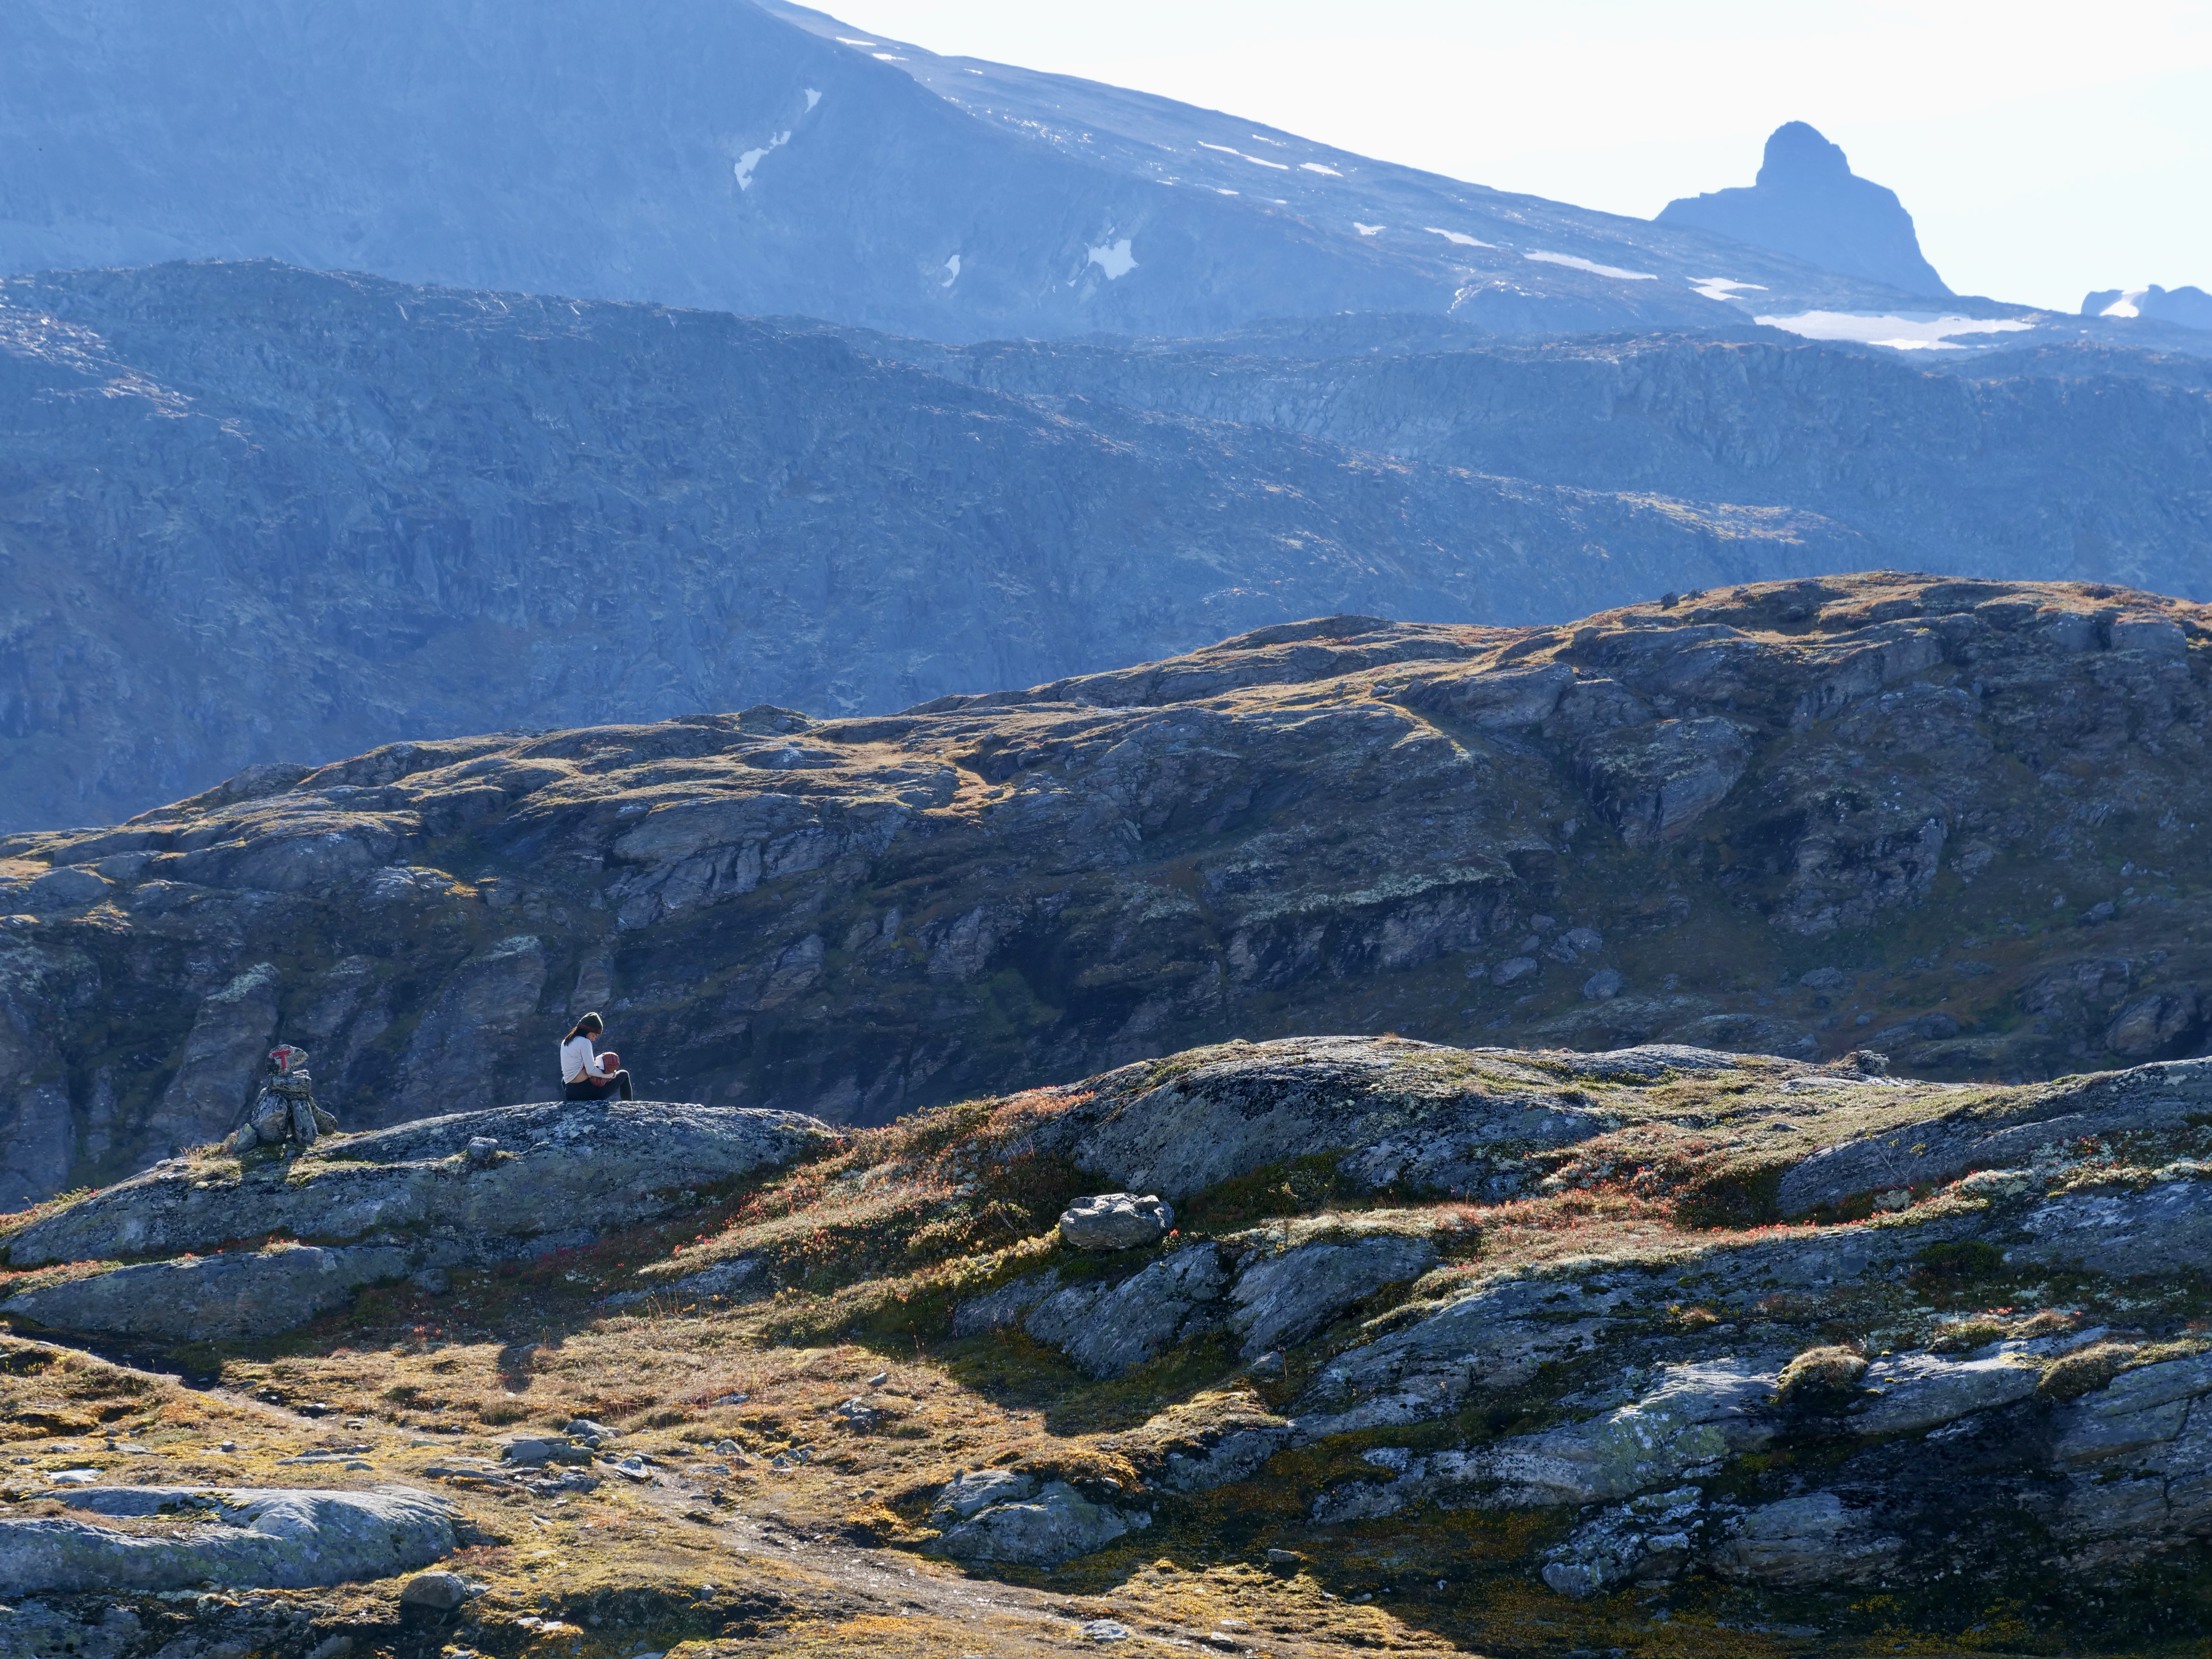
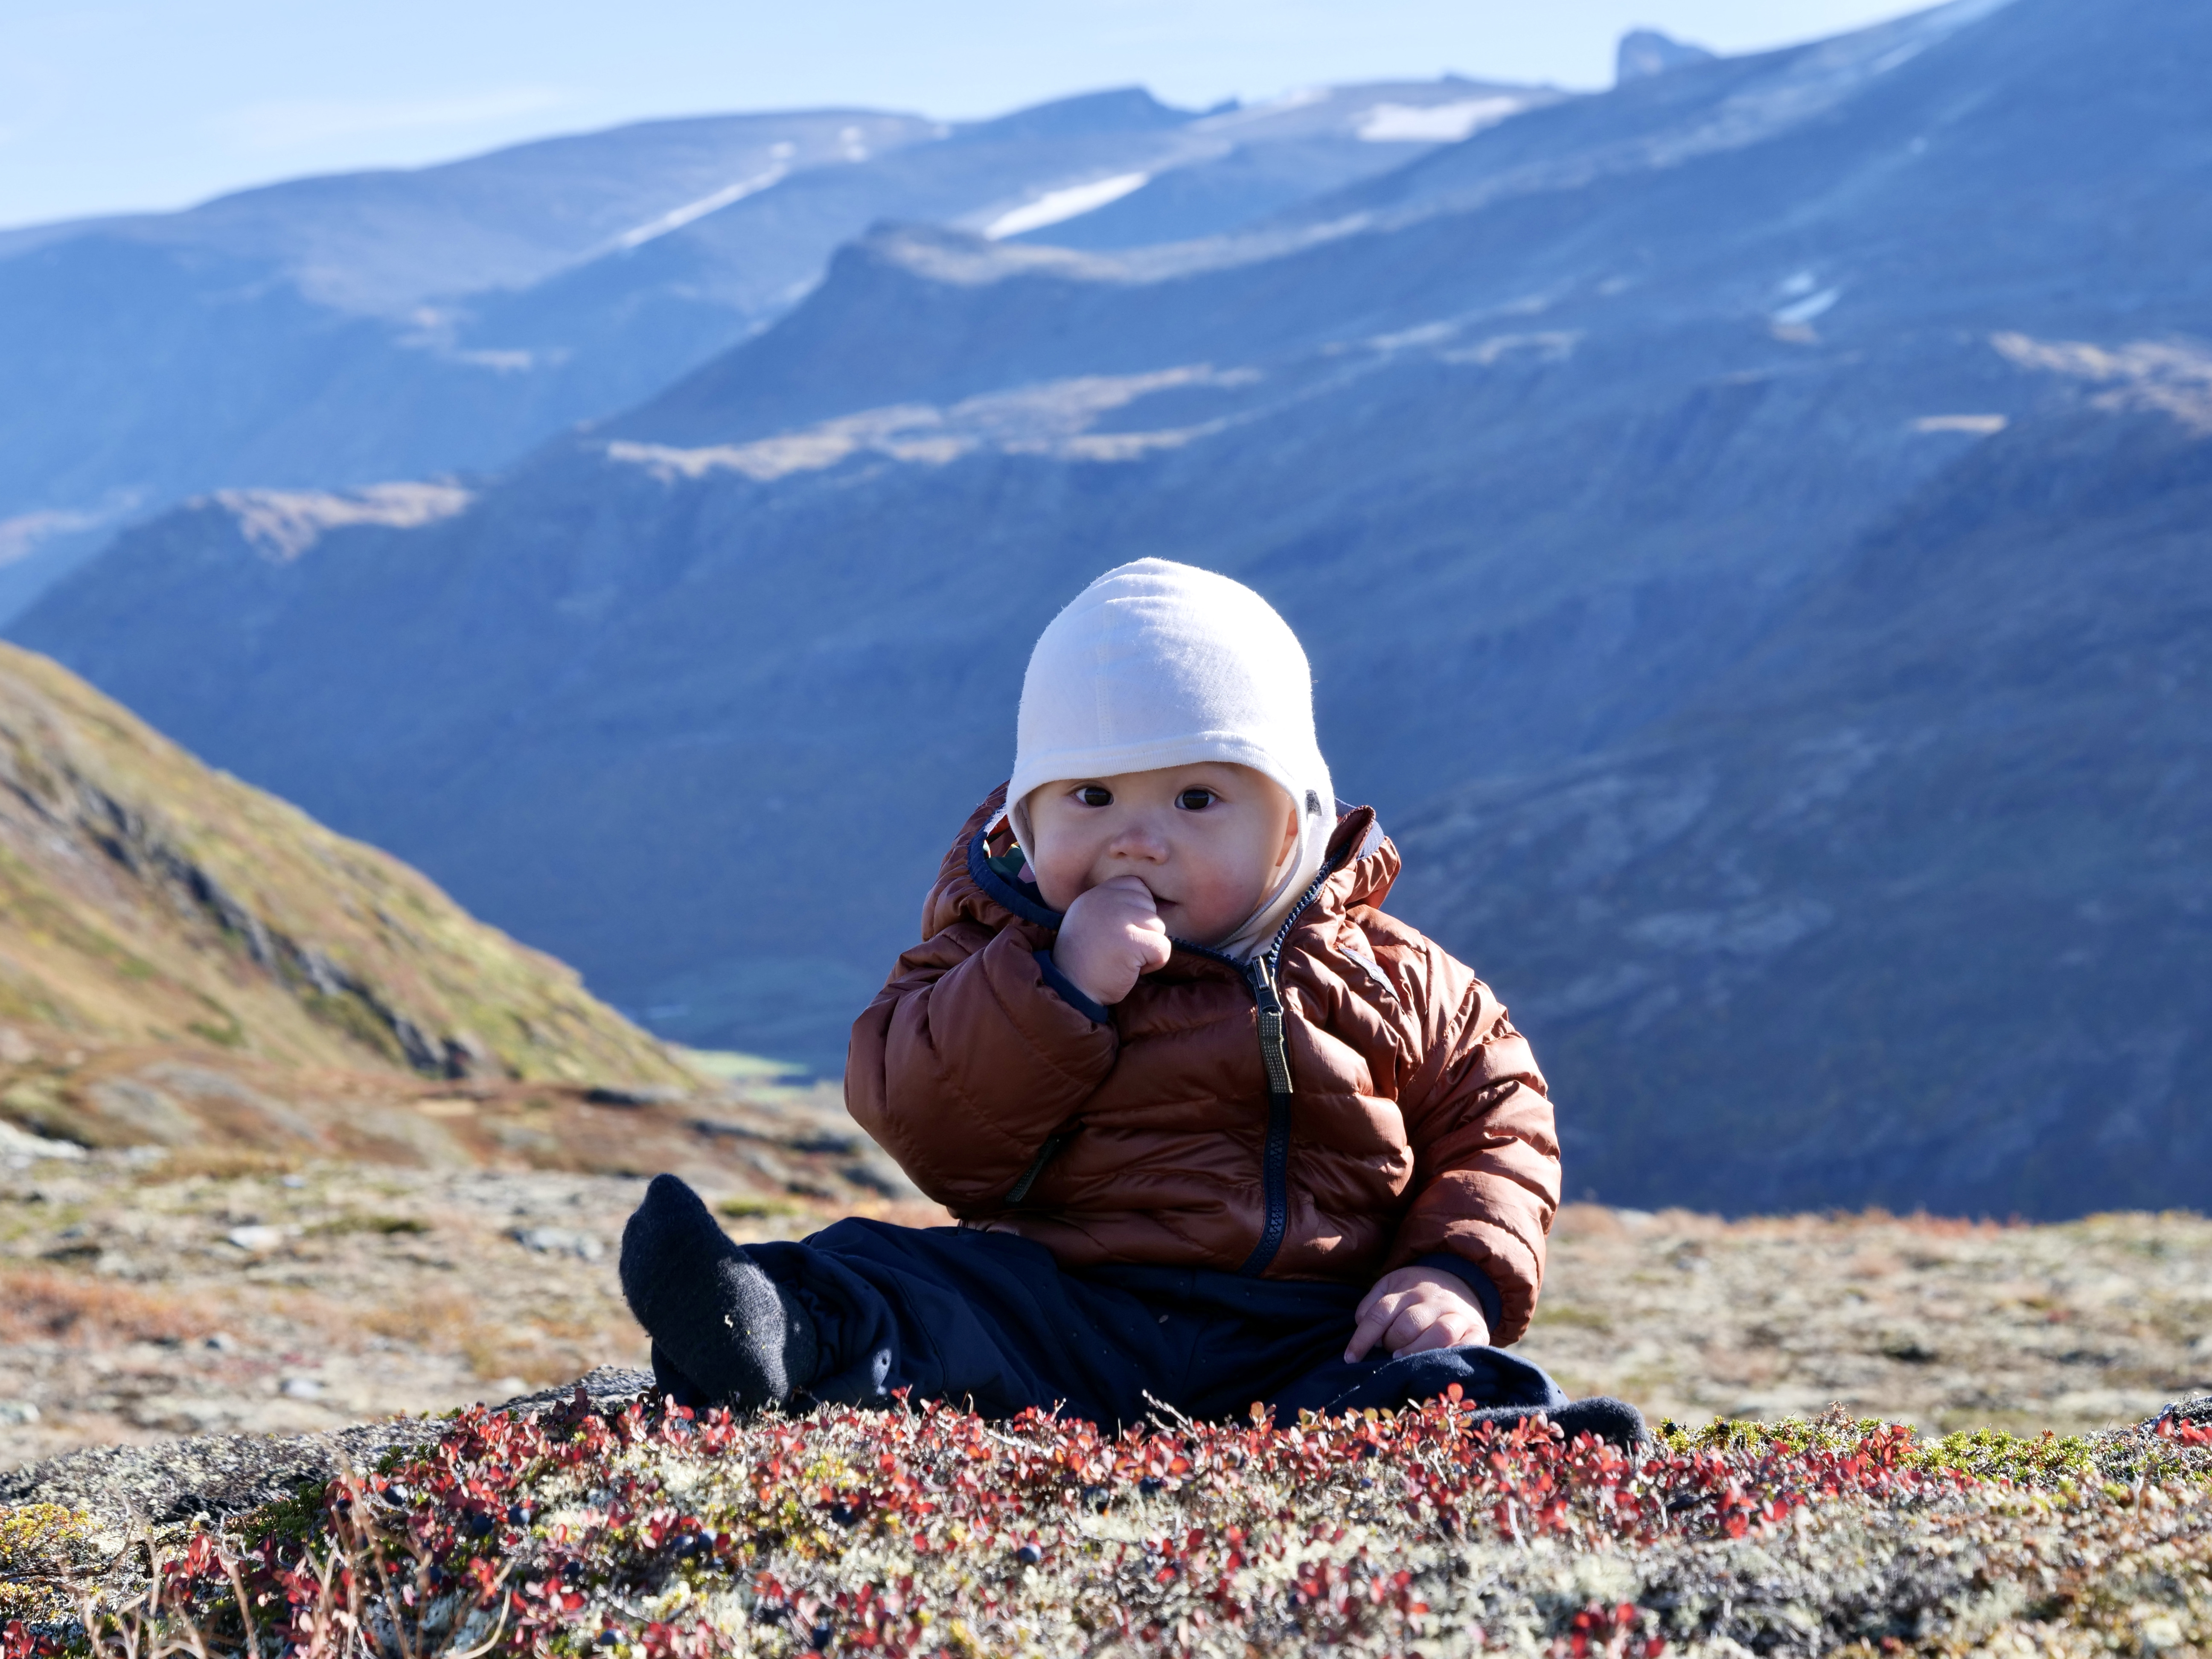
I’m in Norway for a while with my son and wife, so they followed me a couple kilometres up the trail from Bøvertun to send me off. At this time there are blueberries all over the place and my son Kai found out quickly. It was a great moment seeing him sitting on top of a mountain 9 months old and picking blueberries straight from the source.
The weather in this area is all over the place. In generel Breheimen is a very wet place, but i was lucky with very sunny weather the first day. Day 2 and 3 were more cloudy and a bit of rain but still good.
When you prepare for a hike in Norway you always have to expect the worst. I was extremely happy with my minimal packing for this trip, i brought only the layers i needed plus a dry set of socks, t-shirt and underwear and i packed a minimum of food and gas. I figured if i ran out of gas i just had to eat the pasta with cold water and a bit of extra crunch. For breakfast i brought oatmeal that i ate with cold water to save gas and time – it was actually good.
If you have any questions about the trail or area feel free to ask in the comments.
Below are the numbers, pictures and maps:
Day 1, Bøvertun – Nørdstedalseterhut
Time: 6:56 h (slow pace)
Distance: 18 km
Asc: 1031 m
Dsc: 995 m
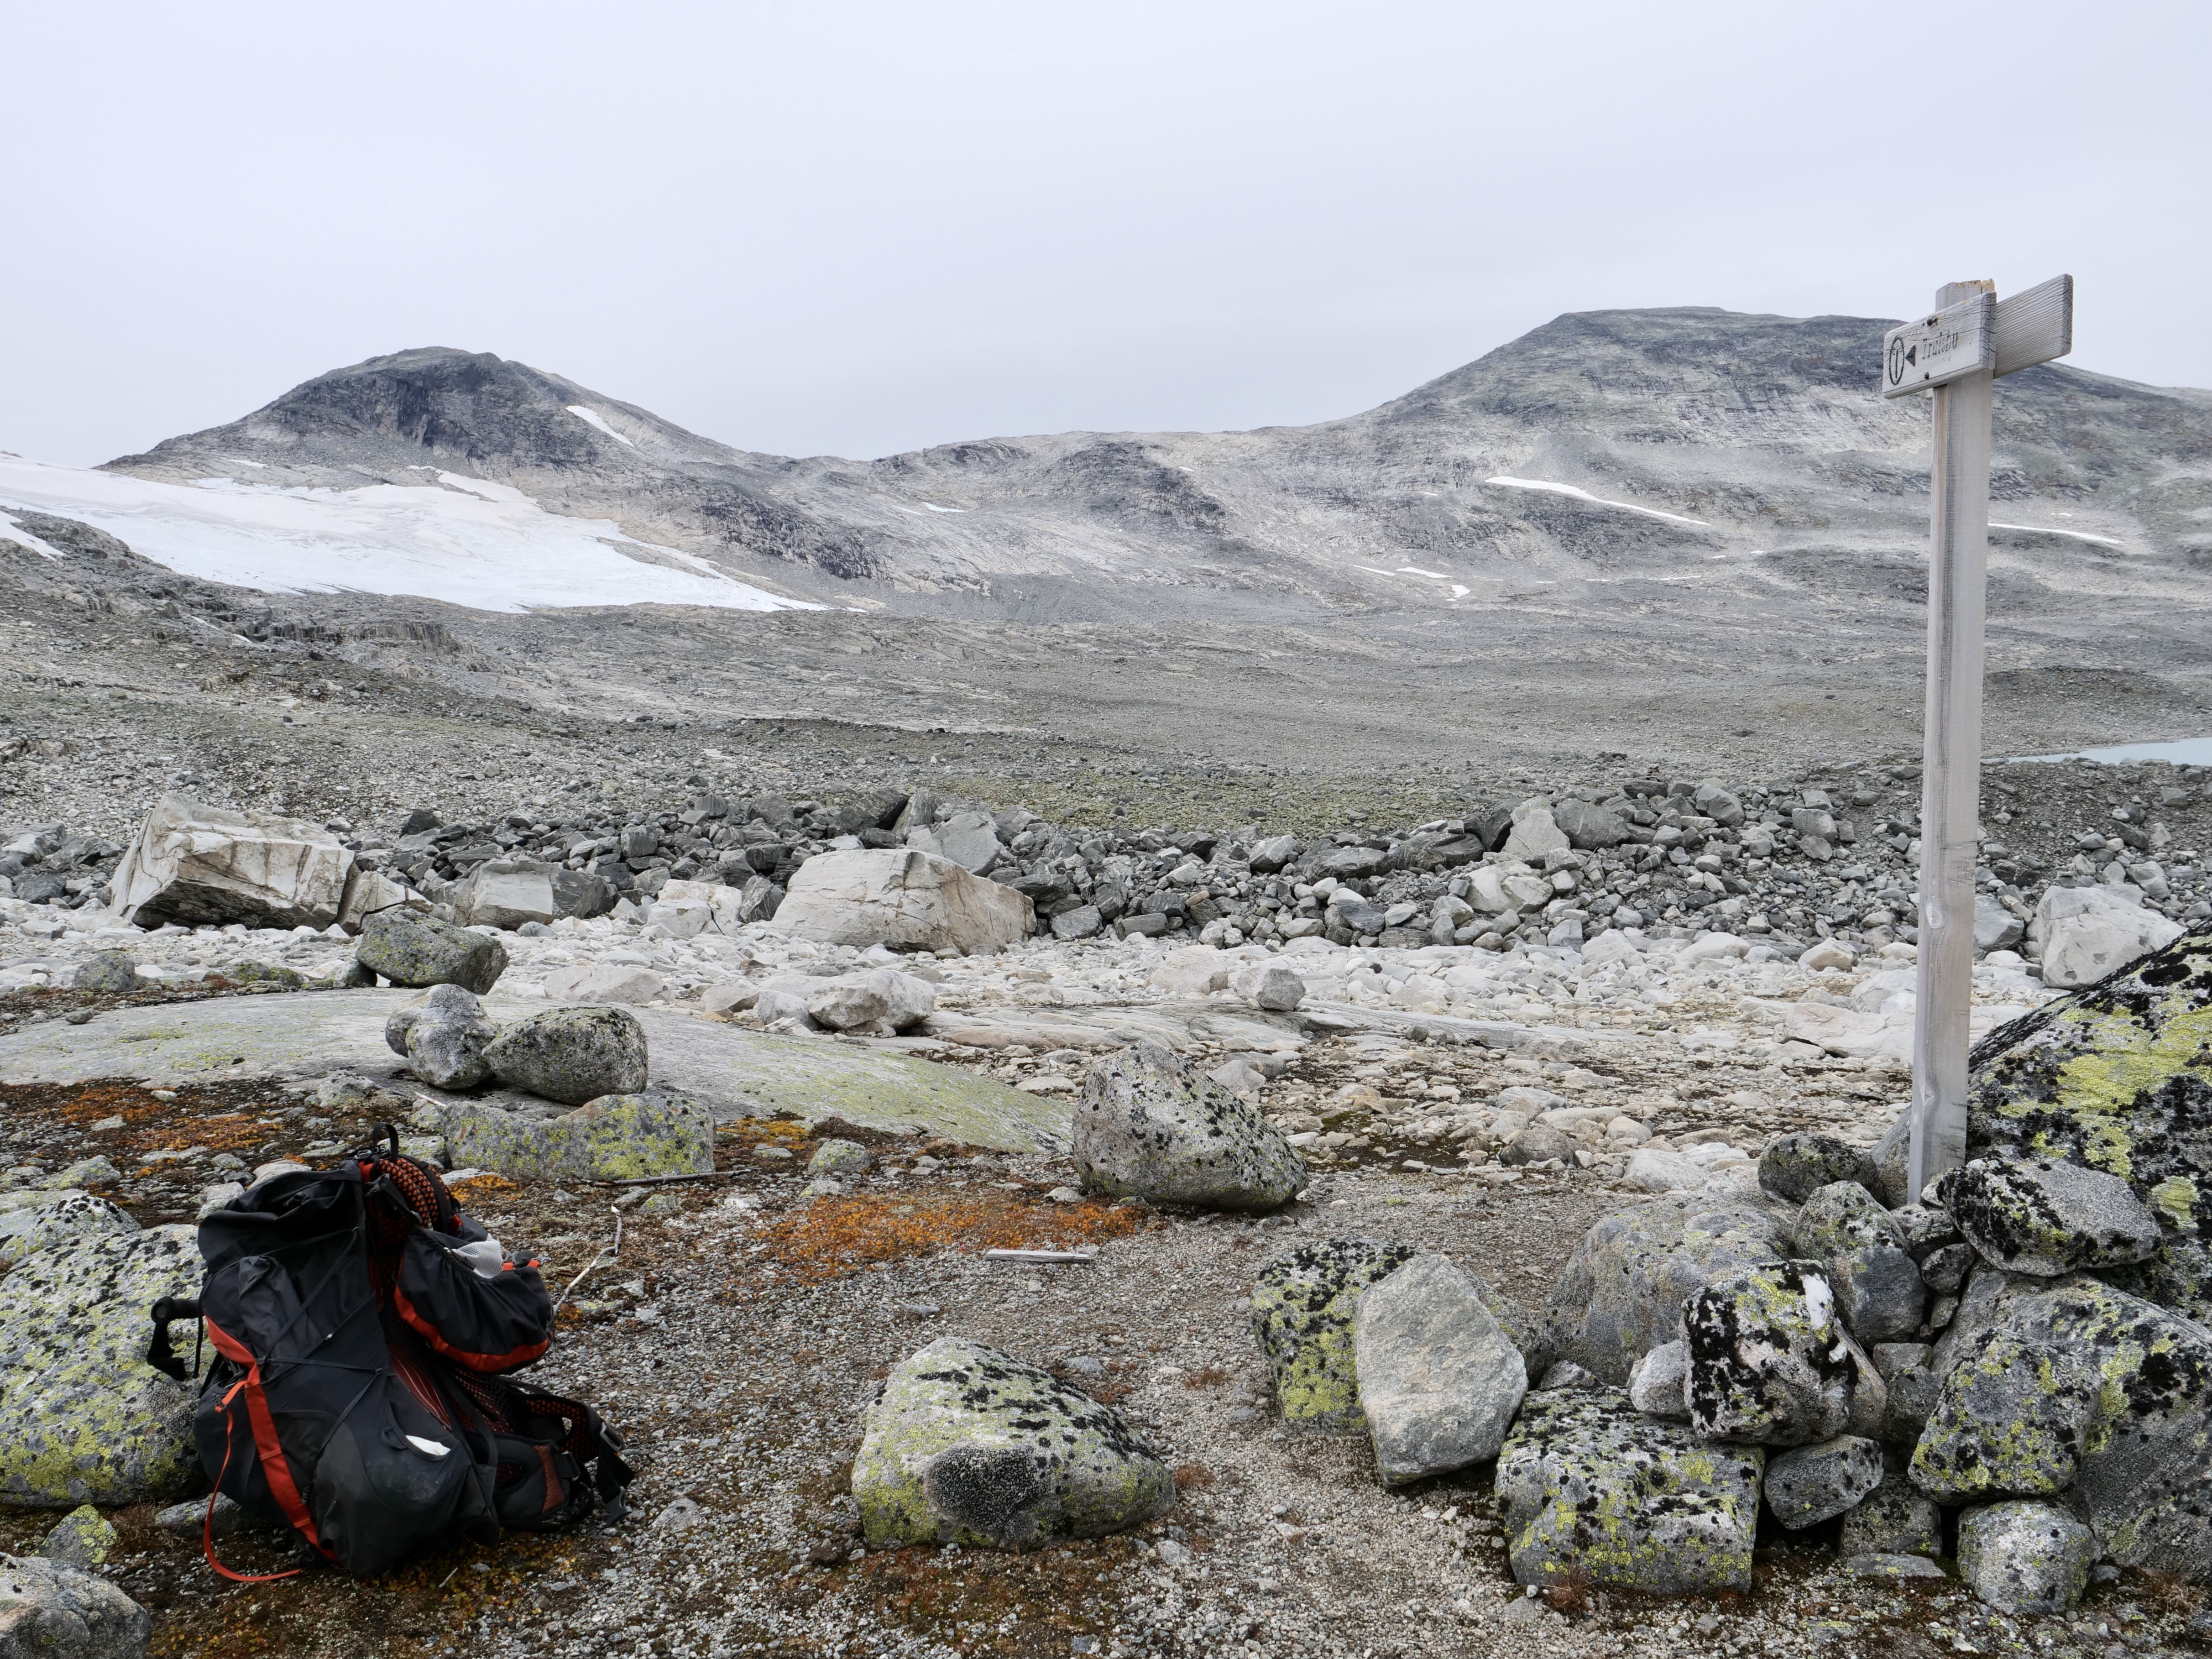
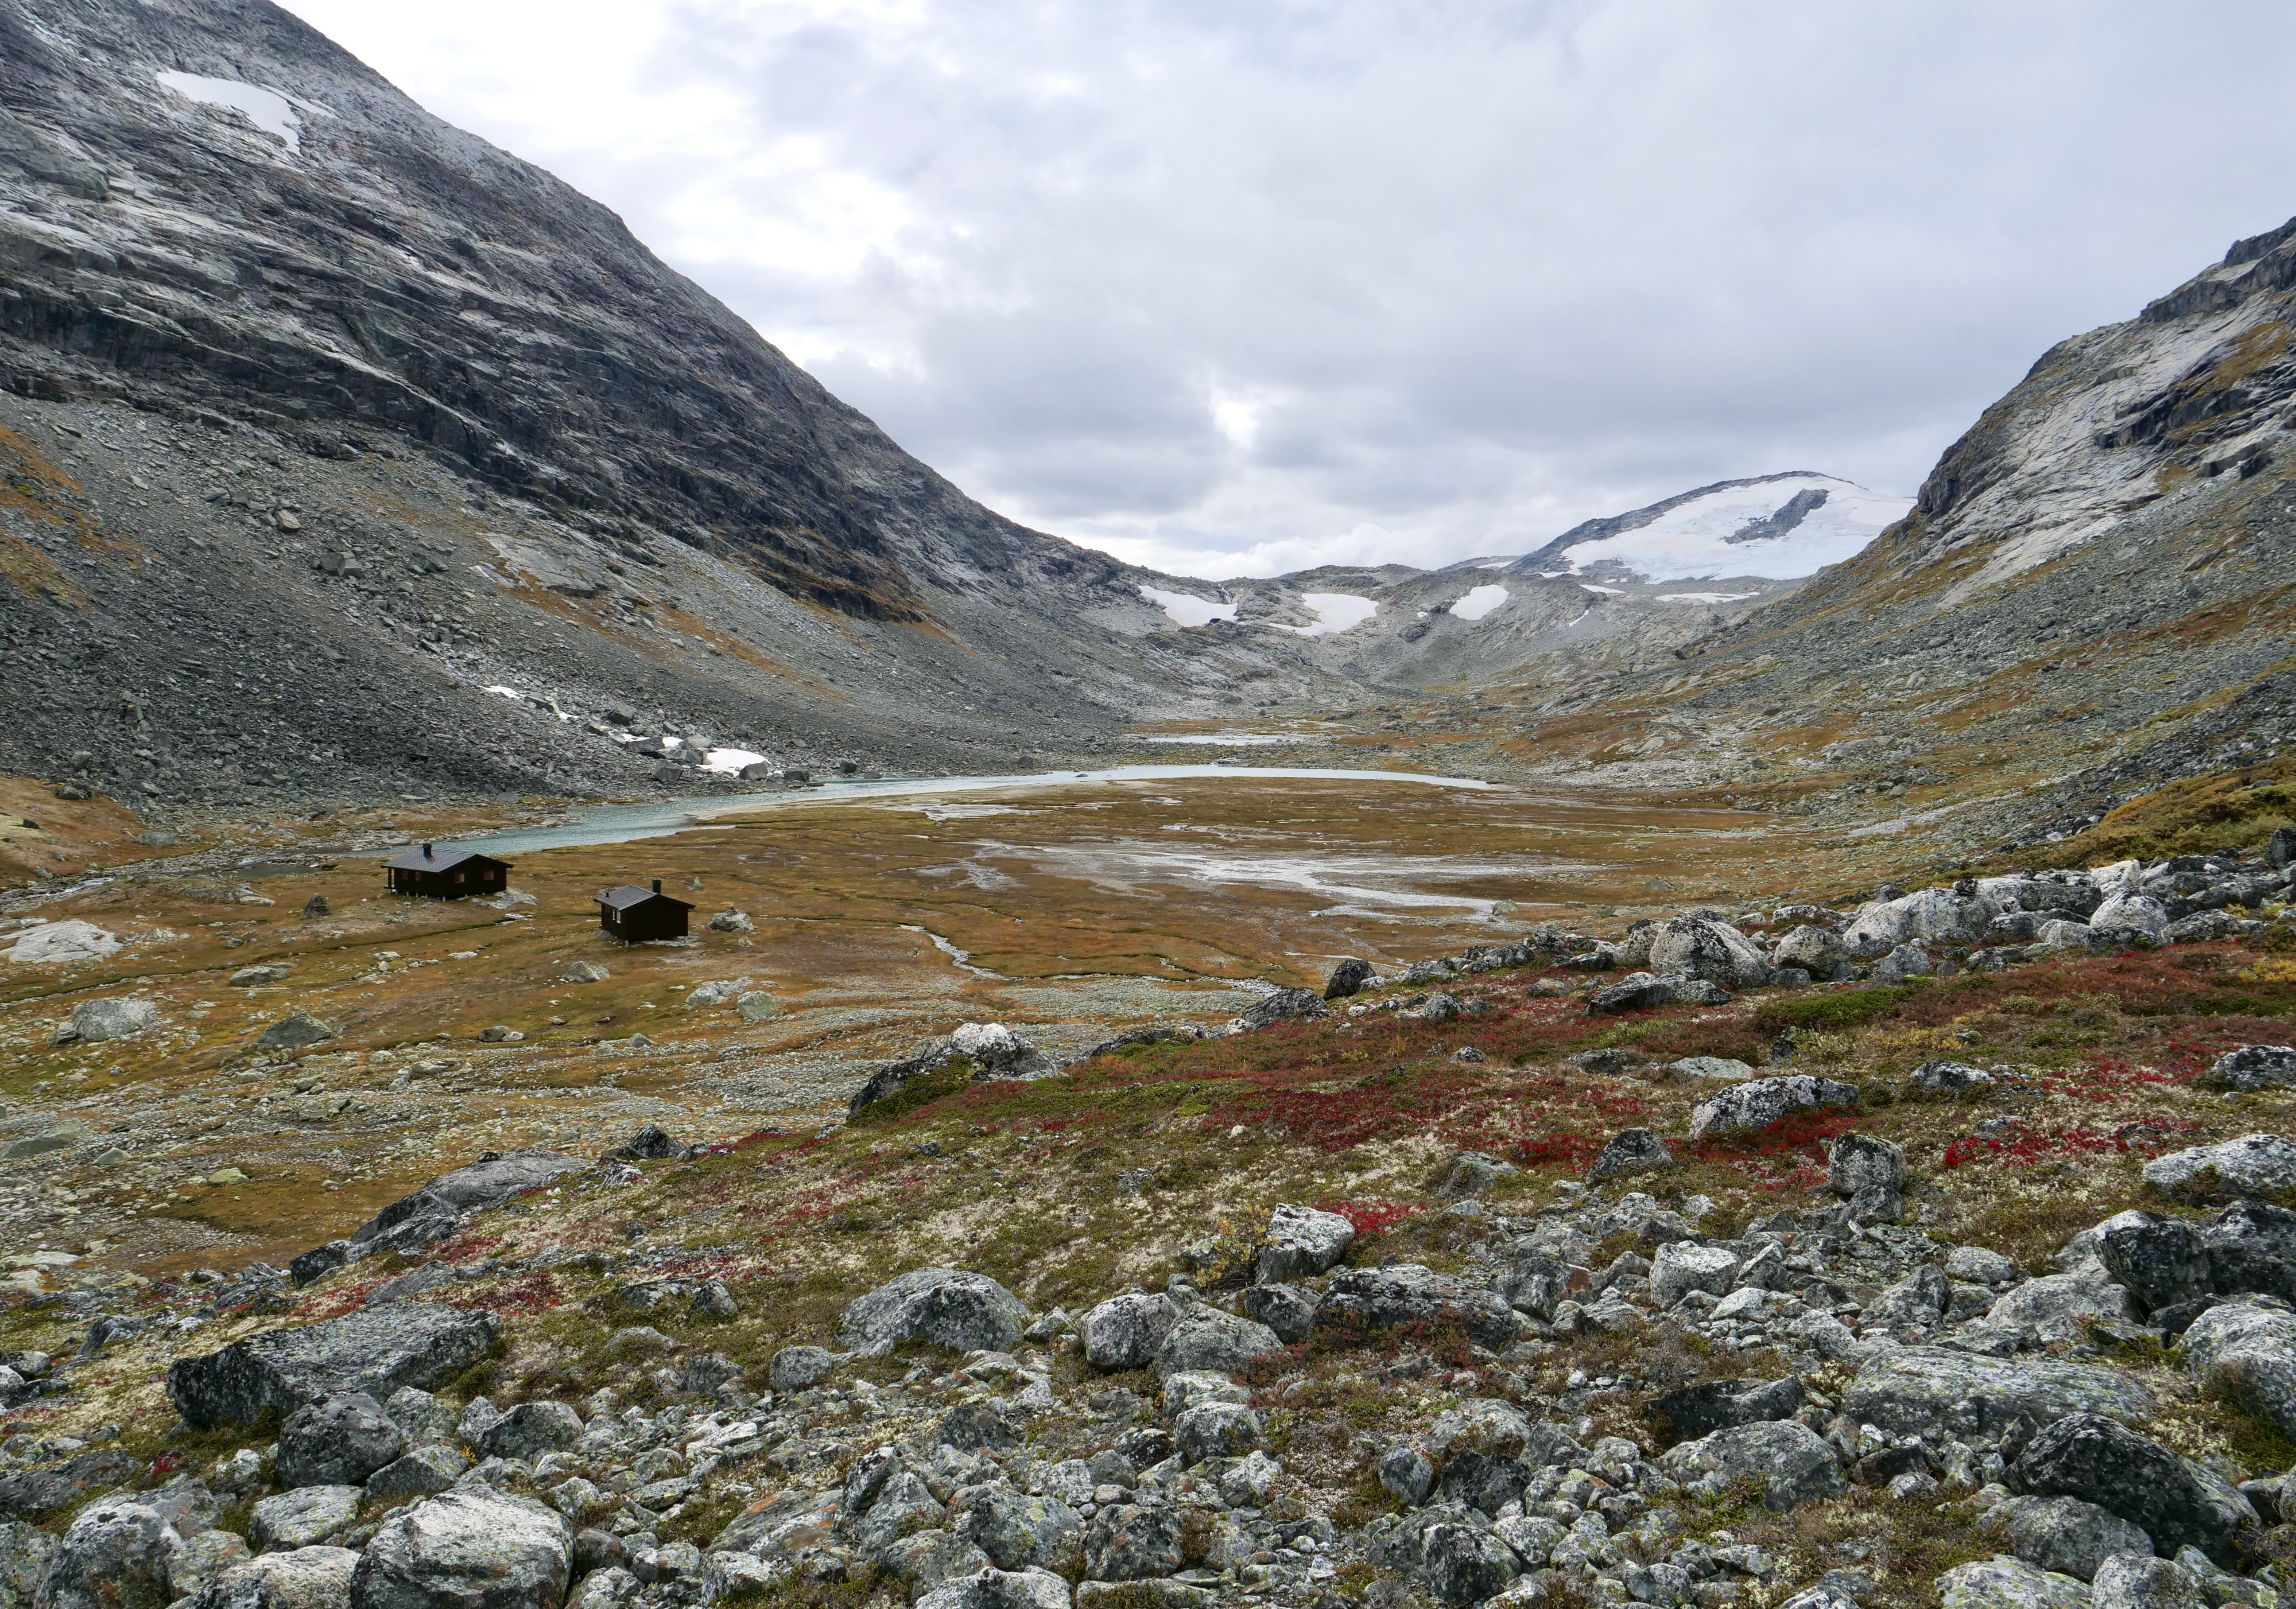
Day 2, Nørdstedalseter hut – Trulsbuhut
Time: 4:37 h (decent pace)
Distance: 15,5 km
Asc: 532 m
Dsc: 227 m
Day 3, Trulsbu hut – Lundadalen parking (through Lundadalen)